

Find a free crochet teddy bear pattern that guides you step by step to crochet an adorable handmade gift filled with charm and warmth for loved ones.
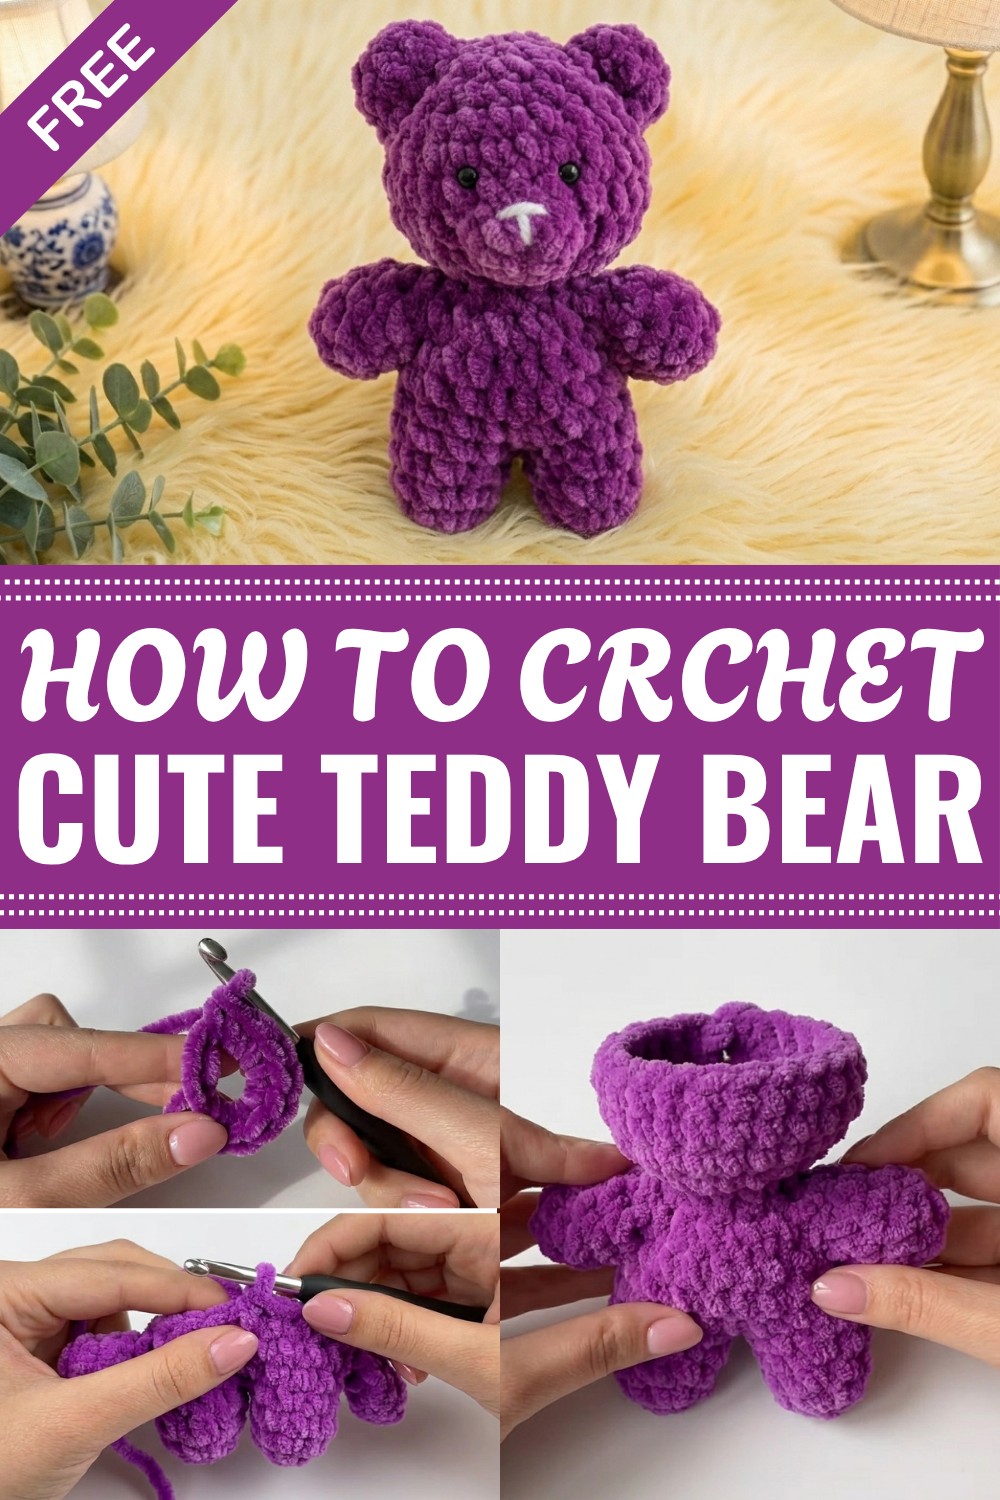
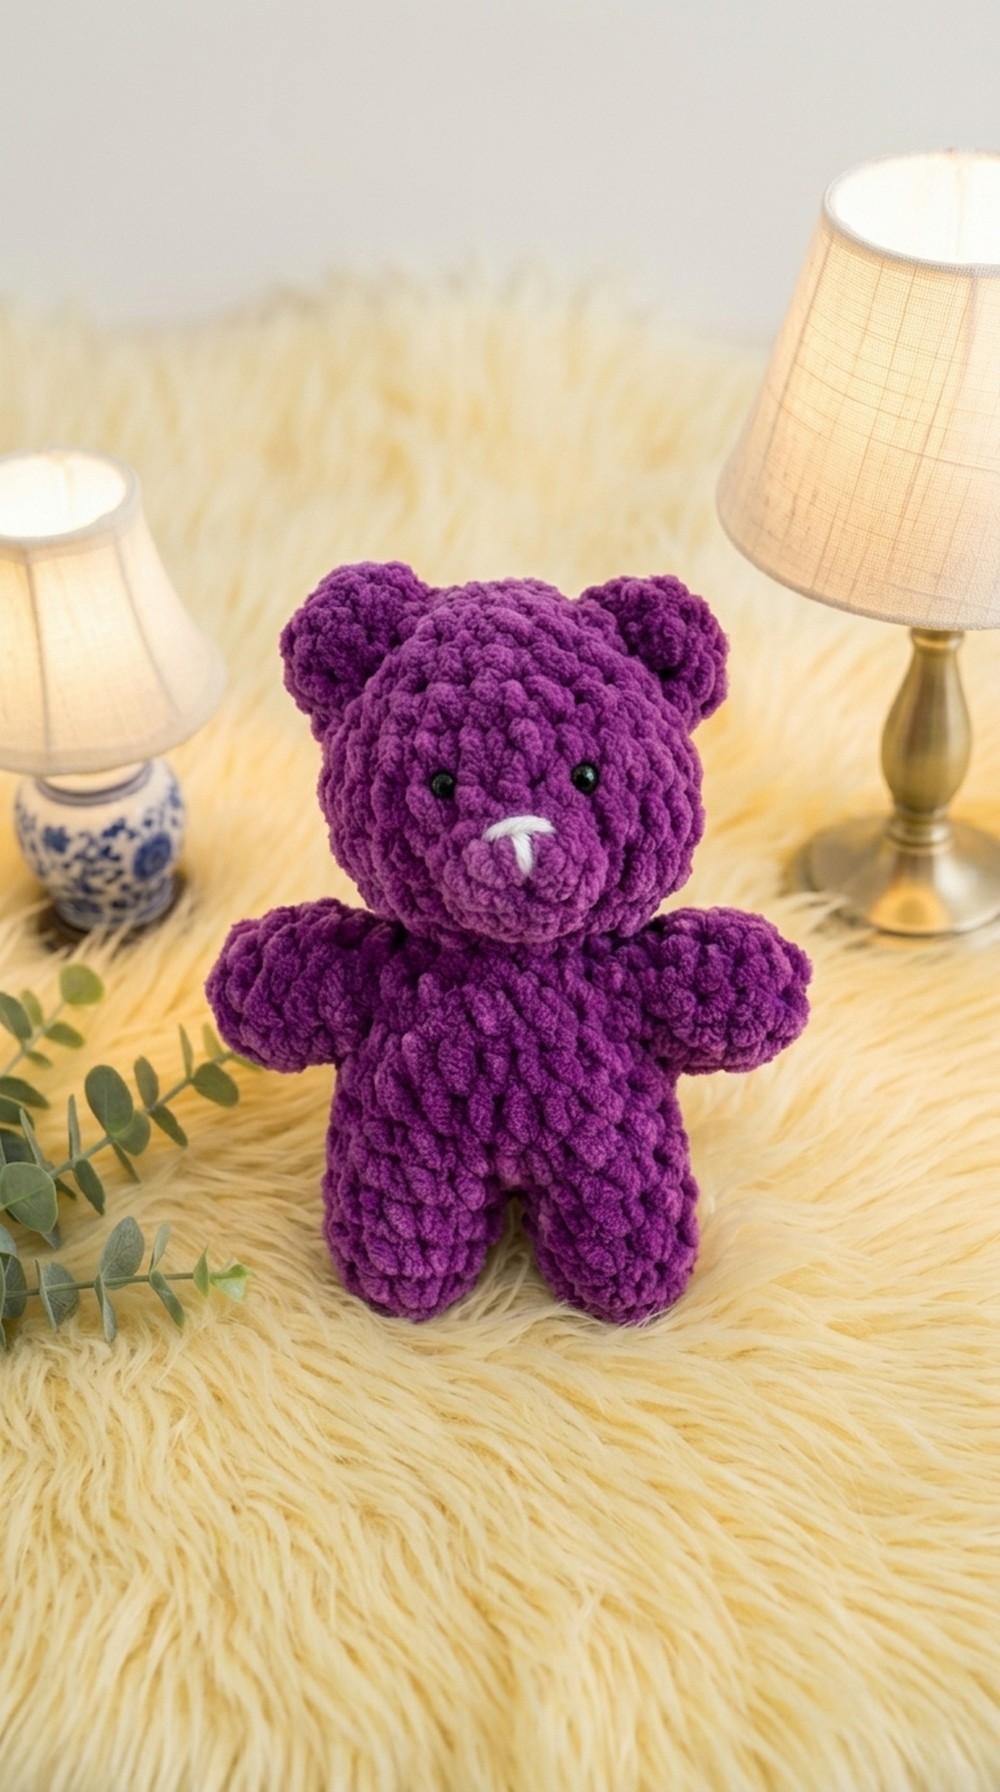
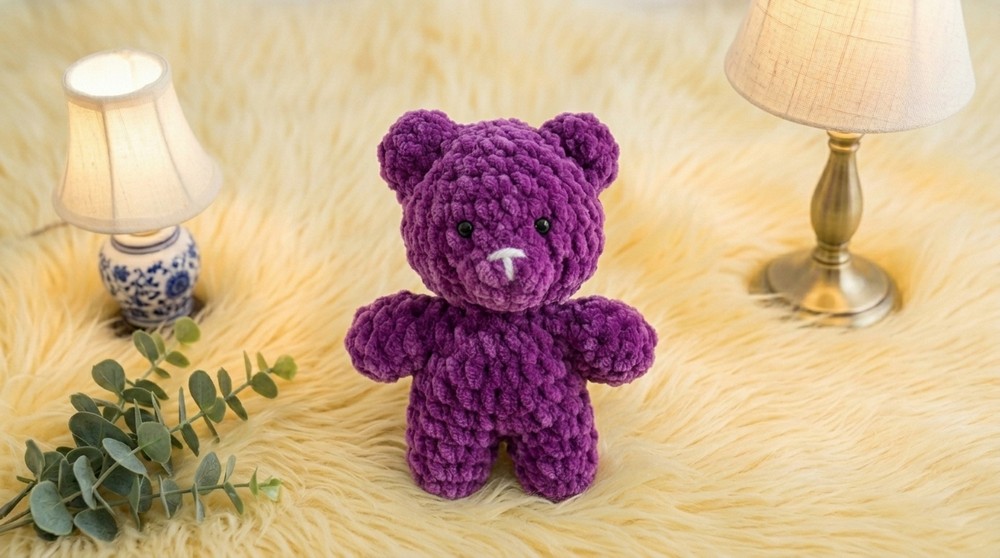
There’s something truly special about handmade toys that brings warmth and joy to anyone who holds them. The free crochet teddy bear pattern is a wonderful way to create a soft, cuddly friend that looks charming and sweet. With its simple shapes and adorable features, this teddy bear stands out as a perfect companion for children and adults alike.
This pattern shows you step-by-step how to make a teddy bear that’s both cute and sturdy. The design focuses on rounded shapes for the head, body, arms, and legs, giving the bear a friendly and inviting appearance. The texture comes from using soft yarn and basic crochet stitches, which make the bear feel smooth and cuddly in your hands. Its small details, like the embroidered nose and eyes, add character and charm without making the project too difficult.
Free Crochet Teddy Bear Pattern With Easy Stitches
You can use the free crochet teddy bear pattern to make gifts for kids, newborns, or anyone who loves stuffed animals. It’s great for baby showers, birthdays, or simply as a comforting toy for children. Because it’s handmade, each teddy bear has its own unique look, making it more special than store-bought toys.
This pattern is perfect for beginners and experienced crocheters who want a quick and satisfying project. Children learning to crochet can try it too, with a bit of guidance, as the steps are simple and easy to follow. You can also personalize your bear by choosing different yarn colors or adding accessories like small scarves or hats.
Making a teddy bear this way not only creates a lovable toy but also a meaningful keepsake that can be treasured for years. It’s a fun, creative, and rewarding project anyone can enjoy.
Crochet Plush Bear Pattern
Before You Start
- Read through the full pattern before beginning.
- Prepare your workspace with all materials and tools.
- Familiarize yourself with magic rings, rounds, increases, decreases, and sewing techniques for amigurumi.
- Use stitch markers to track the beginning of each round.
- Ensure you are comfortable joining limbs, working in rounds, and embroidering simple details.
Pattern Notes
- The bear is crocheted in joined rounds from magic ring starts.
- Limbs and head are attached to the body as you work, creating a seamless plush.
- Ears and nose are sewn separately after all parts are crocheted.
- The face is completed with a crocheted nose and simple embroidery for the mouth.
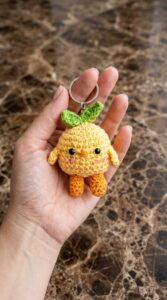
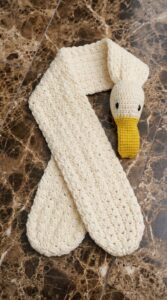
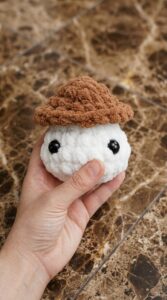
- The scarf and hat are optional accessories, available in external pattern resources.
- Stitch tension should be tight so stuffing doesn’t show.
How I Made the Crochet Pattern? (Summary)
- Created arms and legs separately using magic rings and single crochet.
- Joined legs and attached arms while crocheting the body in the round.
- Shaped head with increases and decreases, then stuffed and closed.
- Crocheted ears and nose separately, then sewn onto head.
- Embroidered details using white yarn for nose/mouth.
- Optional: scarf and hat patterns referenced externally.
Skill Level
- Beginner/Intermediate
Basic amigurumi knowledge recommended, but steps are explained for new crocheters.
Finished Size
- Approximately 12–15 cm (5–6") tall, stuffed.
Materials
- Worsted or plush amigurumi yarn in bear color and white for embroidery
- 4.0 mm crochet hook (or size recommended for yarn)
- Fiberfill stuffing
- Yarn needle for sewing/weaving in ends
- Stitch marker
- Scissors
- (Optional) Yarn in desired color for scarf and hat
Measurements / Sizing (Schematic)
- Body diameter: approx. 4 cm
- Head diameter: approx. 5–6 cm
- Ear diameter: approx. 2 cm
- Arm and leg length: approx. 3–4 cm
Gauge
- Gauge is not critical. Your stitches should be tight so stuffing does not show.
- Stitch pattern: Single crochet in joined rounds.
Stitch Abbreviations
- MR – Magic ring
- ch – Chain
- sc – Single crochet
- sl st – Slip stitch
- inc – Increase (2 sc in same stitch)
- dec – Decrease (see Special Stitches)
- st – Stitch(es)
Special Stitches
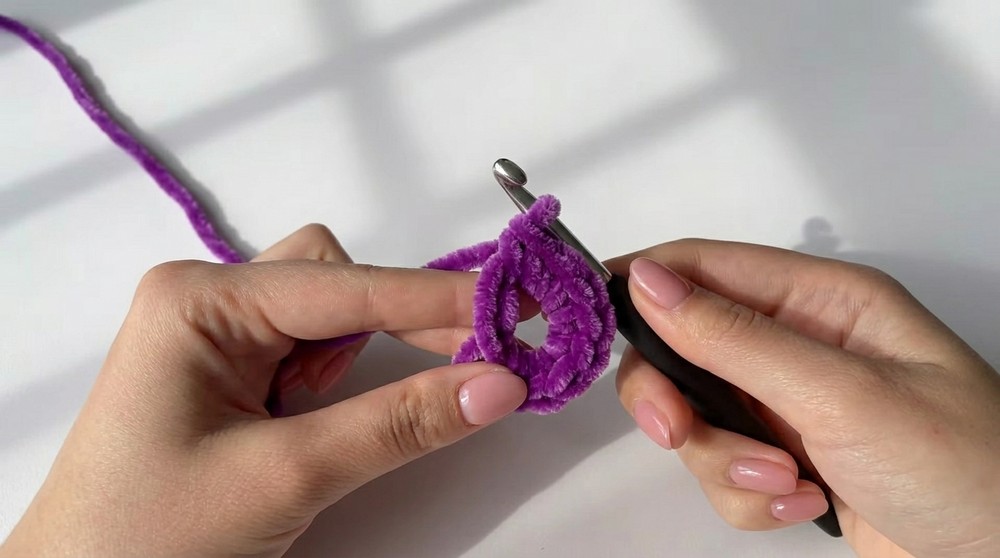
- Magic Ring (MR): Wrap yarn to form ring, crochet directly into it to start rounds.
- Amigurumi Decrease (dec): Insert hook through front loop only of next two stitches, yarn over, pull through both, yarn over, pull through both loops.
- Increase (inc): Make two single crochets in one stitch.
The Pattern!
Arms (Make 2)
- Round 1: MR, ch 1, 7 sc in ring. Tighten, sl st to first sc (7 sts).
- Rounds 2–3: sc in same st as sl st (use stitch marker), sc in each around, sl st to first sc at end (7 sts).
- Finish:
Ch 1, cut yarn, leave tail. Tighten ring and hide tail inside arm.
Make second arm identically.
Arms are quick and simple, formed in the round for a plush finish. Hide tails for neatly finished limbs.
Legs (Make 2)
- Round 1: MR, ch 1, 4 sc in ring. Tighten, sl st to first sc (4 sts).
- Round 2: In each st: inc (2 sc in each) = 8 sts. Place marker, sl st to first sc.
- Rounds 3–4: sc in each around (8 sts), sl st to first sc at end.
- Finish:
Ch 1, cut yarn, leave tail, tighten ring and hide end.
For second leg, do NOT cut yarn after round 4. Legs will be joined next.
Legs are made with increases for shape. The second leg remains attached for assembly.
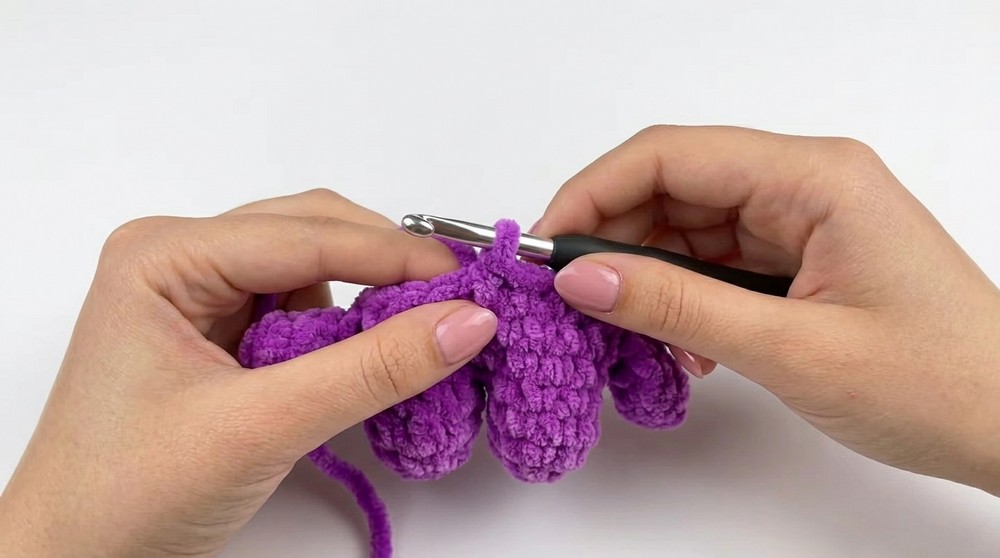
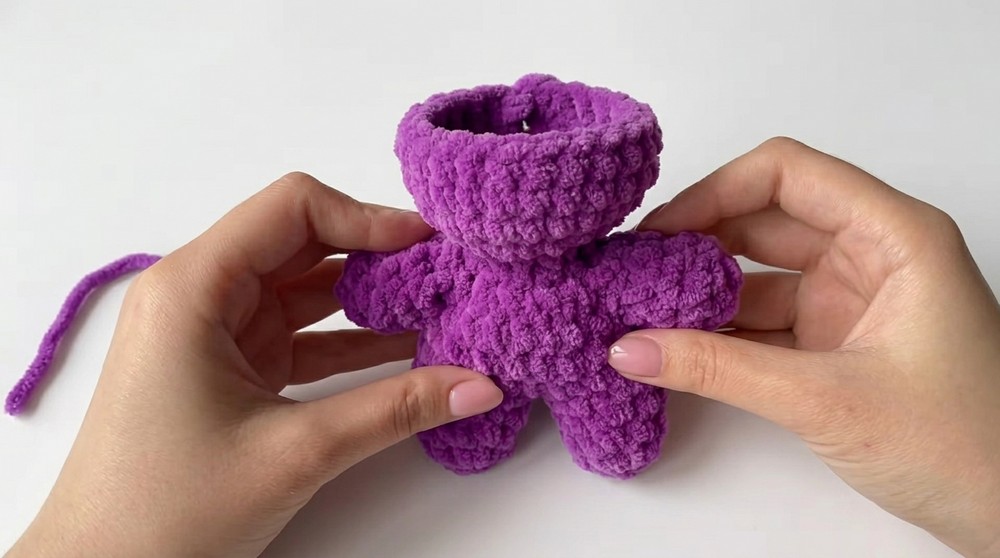
Joining Legs & Forming Body
- Ch 1, sc into the nearest st of first leg. (Mark this as first st of round 5.)
- Round 5: sc around first leg (8 sts), sc into chain between legs (1 st), sc around second leg (8 sts), sc into chain between legs (1 st). Sl st to first sc. (18 sts total)
- Round 6: sc in each st around (18 sts), sl st to first sc.
Legs are connected by crocheting across both and the chain spaces, forming the base of the body.
Attaching Arms
- Round 7: sc 4, attach first arm (insert hook through arm and body, sc together), sc 8 across body, attach second arm (same method), sc 4 to end. Mark start. Sl st to first sc.
- Round 8: sc 7 across each arm, sc 18 across body. (32 sts) Sl st to first sc.
Arms are crocheted directly onto the body, making a seamless plush bear.
Body Shaping and Head
- Round 9: dec in each st using front loops only. Mark first st. Sl st to first sc at end (16 sts).
- Round 10: dec in each st (front loops only), sl st to first (8 sts).
- Round 11: inc in each st around (16 sts).
- Round 12: (sc 1, inc) around. Last st is an inc. (24 sts)
- Rounds 13–15: sc in each st around (24 sts per round).
Body narrows with decreases. Head grows with increases. Pause to add stuffing after round 15.
Face & Head Completion
- Add safety eyes now (optional)—place between rounds 14 and 15, about 3 sts apart.
- Round 16: (sc 4, dec) around; last st is dec.
- Round 17: (sc 3, dec) around; last st is dec.
- Round 18: (sc 2, dec) around; last st is dec (12 sts). Add stuffing.
- Round 19: dec in each st around (6 sts).
- Sl st, ch 1, cut yarn, leave long tail for sewing.
- Using yarn needle, weave through all 6 sts, pull tight to close hole. Go around stitches again to secure, knot, hide end inside head.
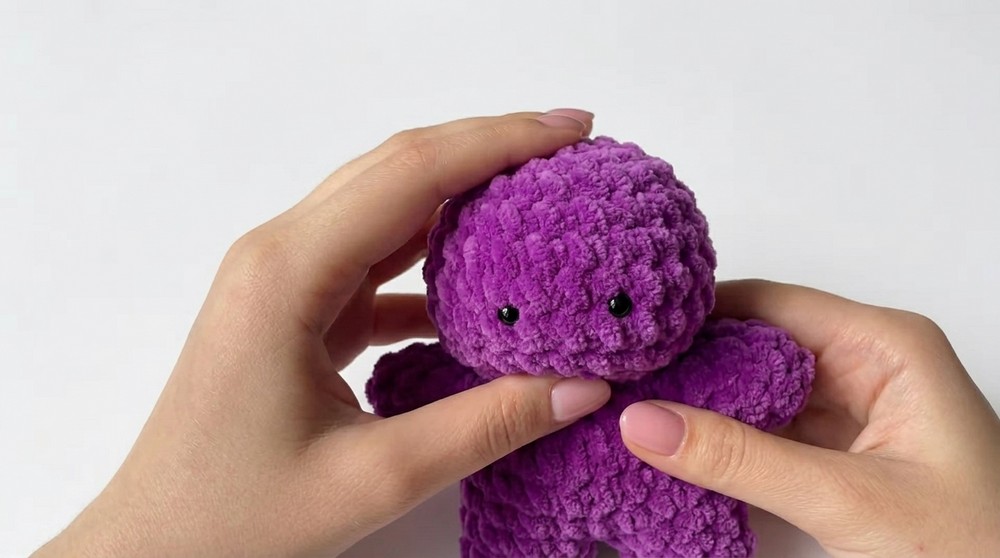
Shape the head, add eyes, and stuff firmly before closing. Finish with a strong closing and hide all yarn tails inside for a neat finish.
Ears (Make 2)
- Round 1: MR, ch 1, 8 sc in ring, tighten, sl st to first sc (8 sts).
- Round 2: sc in each st around (8 sts), sl st to first sc.
- Finish:
Ch 1, cut yarn, leave long tail for sewing.
Ears are small rounds of single crochet. Sew on after both are completed.
Attaching Ears
- Place ears near second to last round on head, position as desired.
- Use yarn tail with needle, sew around ear edge, stitching through both the ear and head stitches. Make sure ears sit evenly. End with a knot inside head, hide tail.
- Sew second ear at matching height.
Take your time sewing ears for a symmetrical, cute look.
Nose
- Round 1: MR, ch 1, 6 sc in ring. Tighten, sl st to first sc.
- Ch 1, cut yarn, leave long tail for sewing.
Nose is a small circle. You’ll sew it to the face in the next step.
Attaching Nose
- Trim short tail from MR.
- Sew nose to center front of face, just below eyes, using tail and needle.
- Go through a head stitch, then through two loops in next nose stitch. Circle around nose, keeping it round and centered. End with knot inside head, hide tail.
The nose forms the centerpiece of your bear’s face. Sew neatly for best results.
Embroidering Mouth & Nose Details
- Use white yarn and embroidery needle.
- Begin at side of head, bring through next to nose, then back under nose, loop under yarn, exit at back of head. Adjust tension, trim tail, hide in stitches.
Use simple needlework to create a classic bear smile. Small touches finish the expression!
Assembly & Finishing
- Hide all yarn tails inside parts after sewing.
- Stuff limbs gently for a soft plush.
- Adjust and reposition features if needed—ears, nose, and mouth.
- Use a small knot inside the head to secure sewing.
- (Optional) Make scarf and hat with separate pattern or follow external instructions.
What You Can Make by Using These Stitches
- Plush bears
- Amigurumi animals (cats, dogs, rabbits)
- Mini dolls and toys
- Simple nose/mouth embroidery for other plushies
- Accessories and hats for amigurumi projects
Congratulations!
Your finished plush bear is adorable and ready for cuddles or gifting! If you wish to make a scarf or hat, follow the additional instructions or explore other patterns. This pattern combines all essential amigurumi techniques, making it perfect for confident beginners or seasoned makers.
Leave a Reply