

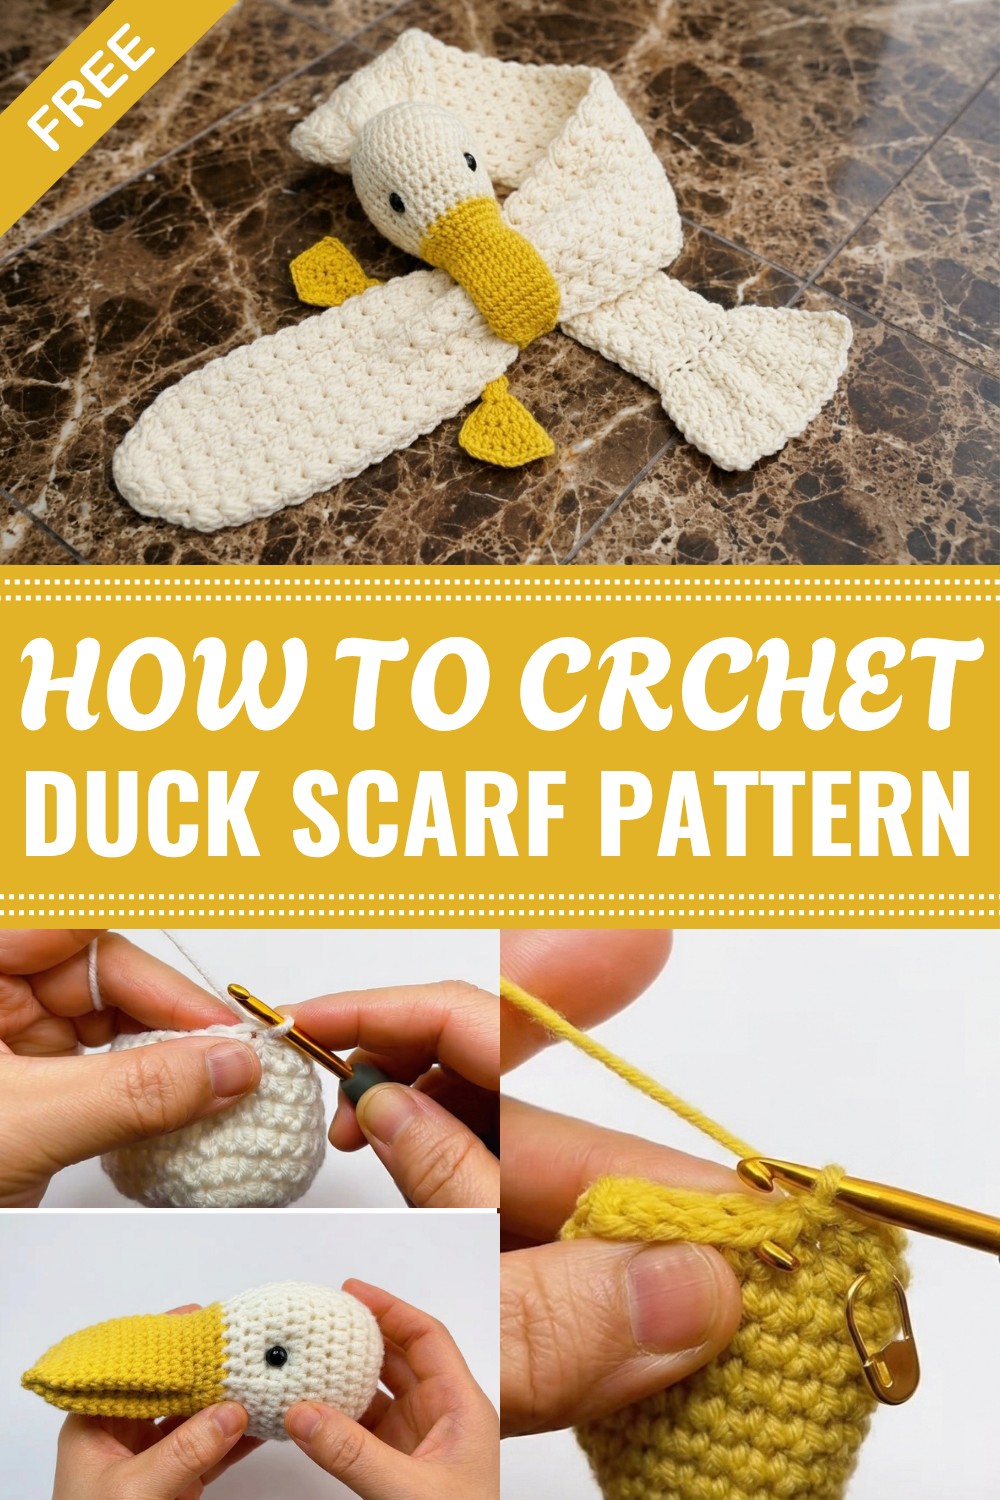
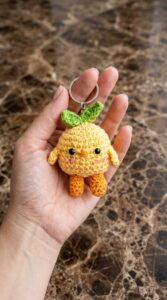
Quack your way to cozy style with this free crochet duck scarf pattern, complete with cute duck features to brighten your wardrobe and your day.
Crocheting this adorable duck scarf has been one of my favorite and most enjoyable projects lately. I love making cozy accessories that are not only practical but also full of character, and the Free Crochet Duck Scarf Pattern fits perfectly. It’s a playful twist on a classic scarf, featuring charming duck details that instantly bring a smile and warmth to anyone who wears it.
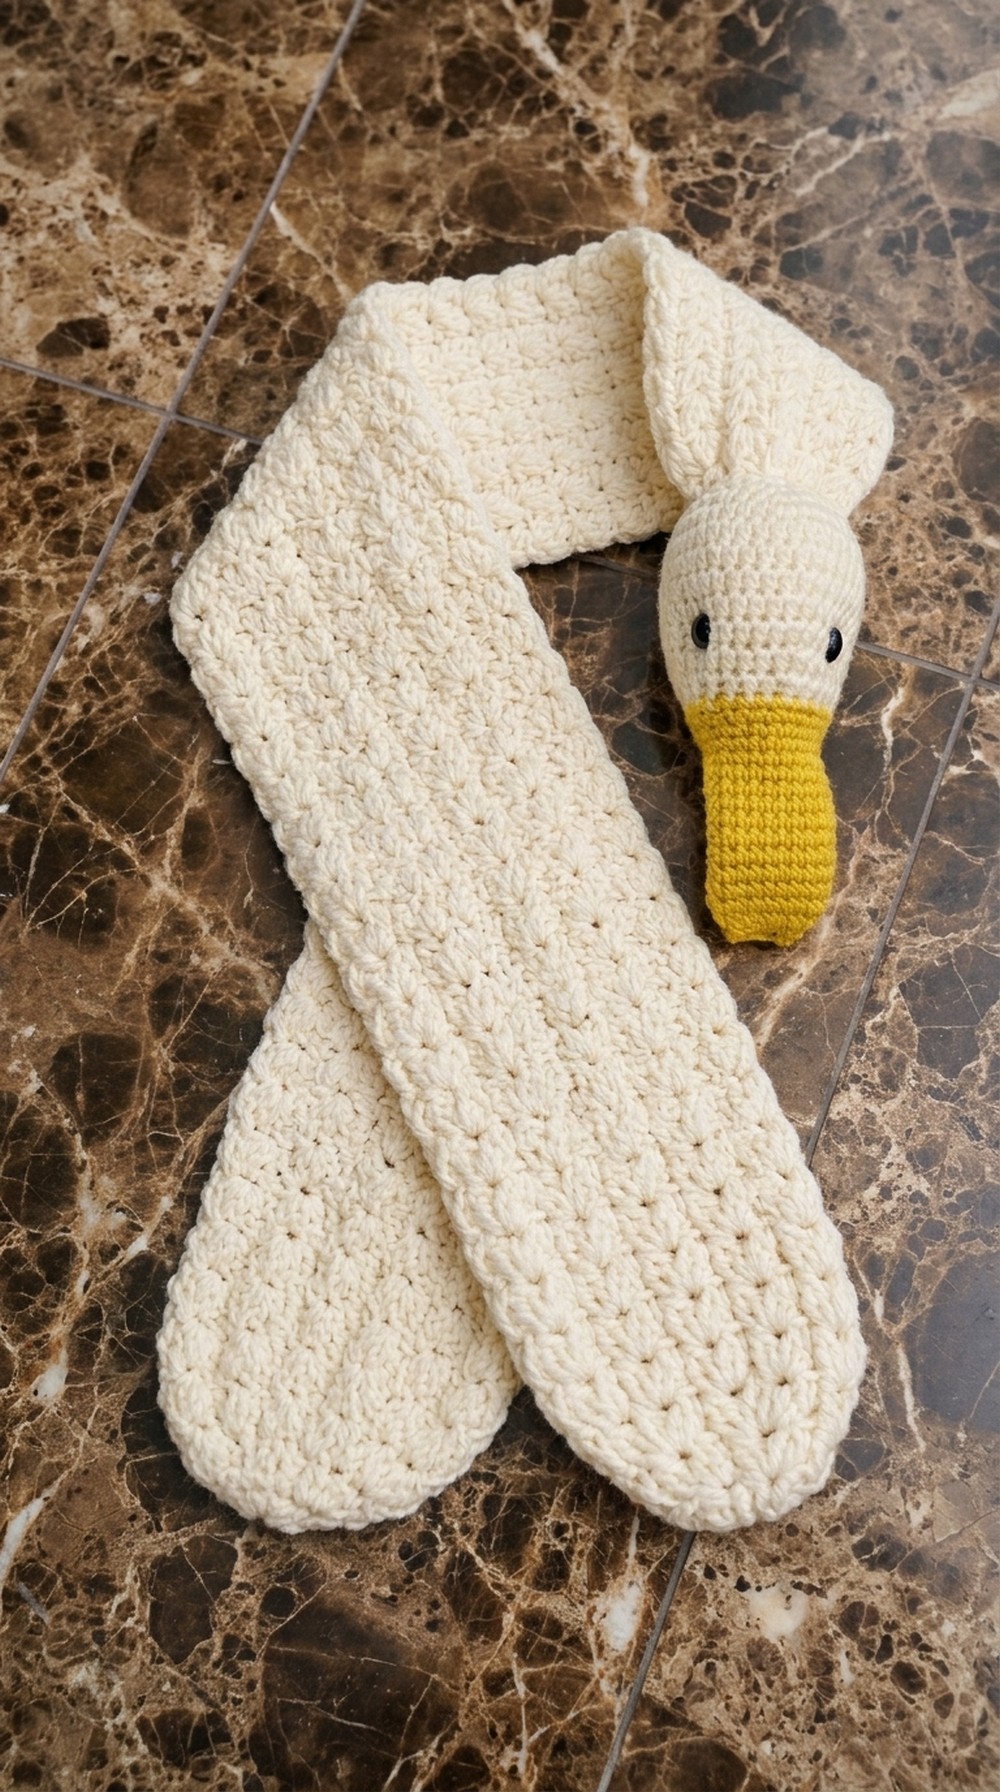
Free Crochet Duck Scarf Pattern for Children
What I really adore about this scarf is how cute and lively it looks with the duck’s head and little feet attached at each end. The texture feels soft and comfy, thanks to the half double crochet and double crochet stitches used throughout. Its shape is long enough to wrap comfortably around the neck while the standout design features—the duck’s expressive head and bright beak—add a fun, whimsical touch. This scarf is a unique blend of style and coziness that’s perfect for chilly days or as a cheerful gift.
The way I worked on this project was first to create the main body using a repeating pattern of double crochet stitches, including some stitch combinations that add texture and interest. The duck’s head and beak were made separately with single and half double crochets, using shaping techniques like increases and decreases to capture the cute details. The feet were crocheted in pieces and then joined together before attaching to the scarf.
This project required an intermediate skill level because of the shaping and joining involved, but it was very rewarding. With a few simple changes, it’s easy to customize the scarf or even create similar animal-themed accessories.
This duck scarf quickly became one of my favorite handmade accessories. It’s perfect for staying warm, making a statement, or gifting to someone who loves unique crochet items. If you enjoy creative projects that combine charm and function, this pattern is definitely worth trying—it offers a fun challenge with a delightful result.
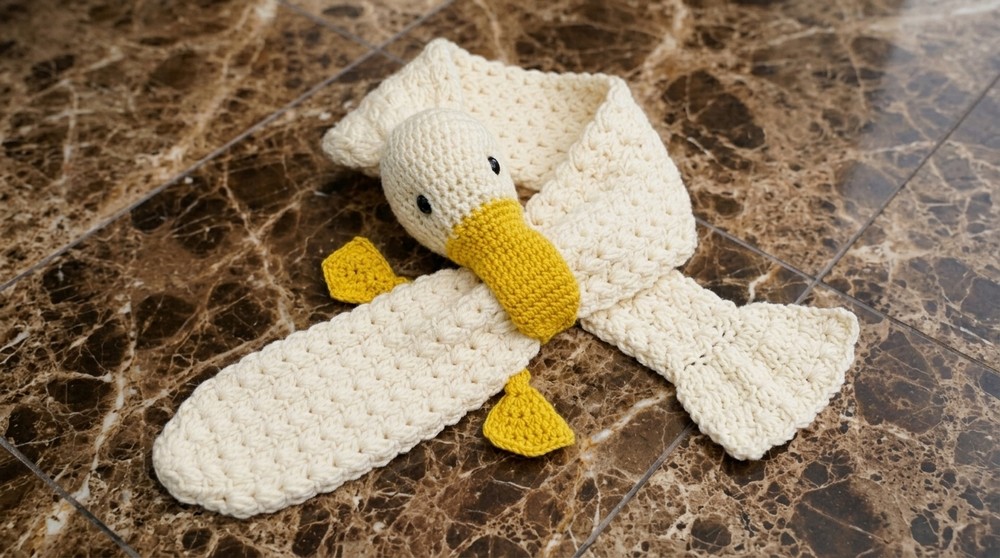
Adorable Duck Scarf Crochet Pattern
Before You Start
- This pattern features a textured scarf body built with joined double crochet clusters, a 3D duck head, feet, and beak, all attached for a playful accessory.
- You will use the magic ring, double crochet, half double crochet, single crochet, and simple increases and decreases.
- Know how to sew on parts (like feet, head, beak, and eyes) for best results.
- A basic understanding of amigurumi construction is helpful, but patient beginners can approach this pattern.
Pattern Notes
- Scarf body is worked in the round using double crochet clusters (worked as “unfinished” double crochets closed together).
- Head is crocheted in rounds and lightly stuffed, with separate upper and lower beaks.
- Feet are made in two layers (front and back) for a thicker, sturdy result and sewn on with a small space between.
- Safety eyes or buttons (or embroidery) can be used for the duck's eyes.
- Use invisible decreases for the smoothest shaping on the head and beak.
How I Made the Crochet Pattern?
- Built the scarf with a long chain of joined double-crochet clusters for a soft, squishy texture.
- Rounded the head in amigurumi style using half-double crochet and shaping rounds.
- Designed the beak as a two-part, slightly stuffed piece for a more lifelike effect.
- Created webbed feet in two layers, seamed and then sewn on the scarf’s underside.
- Used simple stitch markers and color-changes for intuitive step-by-step assembly.
Skill Level
- Advanced Beginner to Intermediate.
- Skills: magic ring, round and flat crochet, cluster stitches, simple increasing/decreasing, sewing.
Finished Size
- Scarf length: Approx. 40–50 in (customizable).
- Scarf width: Approx. 6–8 in.
- Duck head: Approx. 3.5–4 in in diameter
- Beak: Approx. 2 in wide
- Feet: Approx. 2.5 in long
Materials
- Worsted weight yarn in yellow (main color), orange (beak/feet), and a small amount of white/black for eyes if not using safety eyes.
- Crochet hook, size H/5.0 mm (adjust for gauge and feel)
- Stitch markers
- Yarn needle for assembly and sewing
- Polyester fiberfill stuffing (small amount for the head and beak)
- Safety eyes, black beads, or embroidery thread for eyes
- Scissors
Measurements / Sizing (Optional Schematic)
- Body: ~47 pattern repeats in length for child size scarf, or adjust for desired length.
- Head: ~3.5” diameter after stuffing.
- Beak: ~2.5” wide, ~1.5” tall.
- Feet: ~2.5" long.
- Placement: Attach feet approximately at the 16th pattern repeat of the scarf body with a gap of three repeats.
Gauge
- Approximately 7 clusters = 4 inches (width); 5 cluster rows = 2 inches (height), lightly relaxed.
- For amigurumi head, 8 sc = 2 inches. Adjust hook/yarn to match preference.
Stitch Abbreviations
- ch = chain
- sl st = slip stitch
- sc = single crochet
- hdc = half double crochet
- dc = double crochet
- dec = decrease (work two stitches together)
- inc = increase (work two stitches in the same stitch)
- MR = magic ring
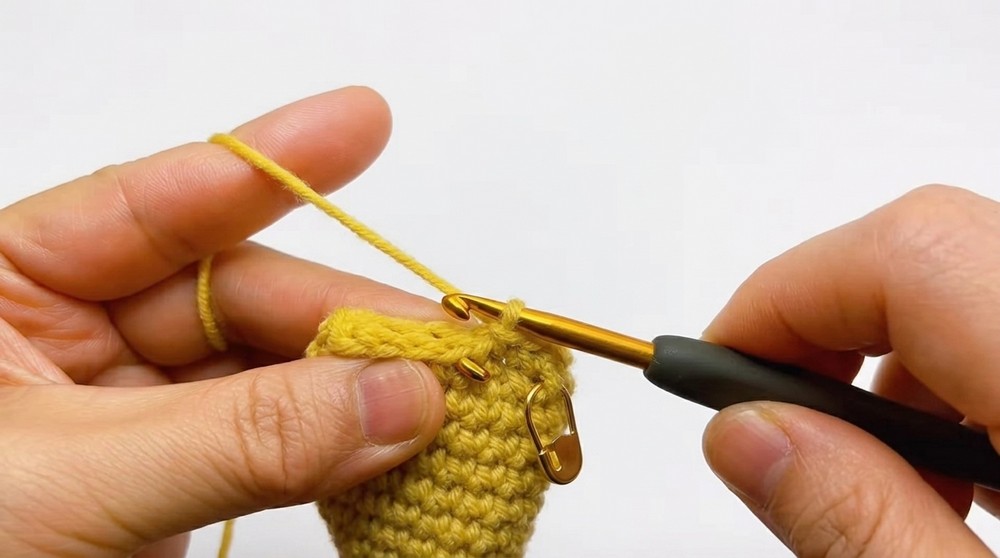
Special Stitches
- DC2tog (“Unfinished Double Crochet”): Yarn over, insert hook into stitch or ring, yarn over, pull through (3 loops on hook), yarn over, pull through 2 loops, stop. Repeat for a second unfinished dc in the same space, then yarn over and pull through all remaining loops. This closes two dcs together as one double-crochet cluster.
- Cluster Pattern: (DC2tog, ch 1).
- Invisible decrease: For amigurumi head/beak shaping, insert hook in front loops of next 2 sts, yarn over, pull through both loops, finish as sc or hdc as written.
The Pattern!
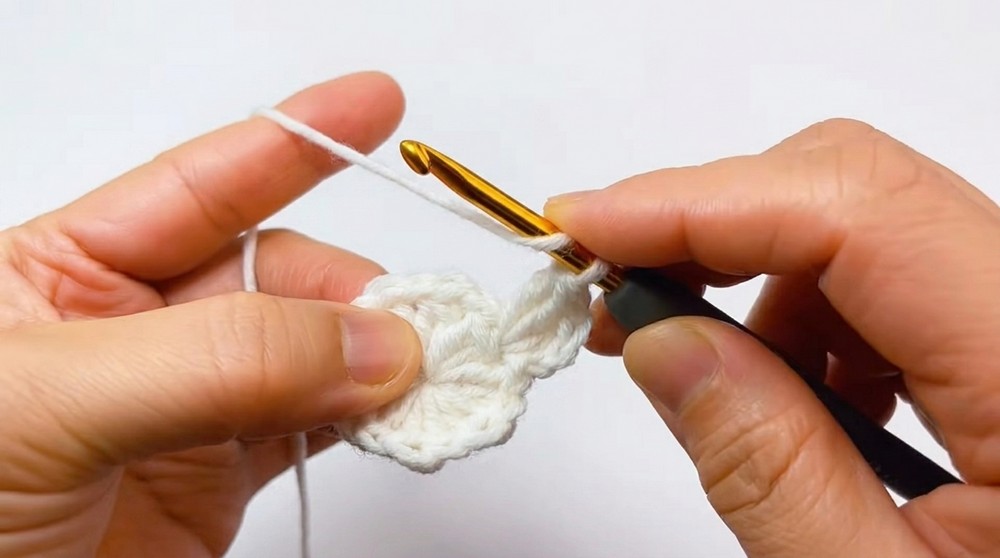
1. Scarf Body
- Round 1:
- Start with a MR.
- Ch 2 (counts as 1 unfinished dc), work 1 unfinished dc in the ring, then yarn over and pull through all loops on hook for a dc2tog cluster. Ch 1.
- Repeat [dc2tog in ring, ch 1] 7 more times to make a total of 8 clusters.
- Pull ring tight.
- Round 2
- Sl st to 1st cluster to join.
- Sl st in ch-1 sp.
- Ch 2 (as 1st unfinished dc), 1 unfinished dc in ch-1 sp, yarn over, pull through all loops, ch 1. Repeat [dc2tog in next ch-1 sp, ch 1] for every ch-1 sp around.
- Rnds 3–4:
- Repeat as in Round 2, working [dc2tog, ch 1] in each ch-1 sp around.
- Rnds 5–47:
- Continue as established: In each ch-1 sp of previous round, [dc2tog, ch 1] for a gentle, expanding rectangle (or work to desired scarf length).
When finished, your scarf body is springy and textured, ready for duck attachments.
2. Duck Head (worked in rounds)
- Rnd 1:
- MR, 8 sc in ring, pull tight, sl st to first st.
- Rnd 2:
- Ch 2 as hdc, 2 hdc in first st, 3 hdc in each of next 7 sts (24 hdc).
- Rnd 3:
- Sl st to join. Ch 2 as hdc, 1 hdc in next st, 1 hdc in next, inc in next. [1 hdc in next 2, inc in next] around, ending with 1 hdc in last st. (30 sts)
- Rnd 4:
- Sl st to join. Ch 2 as hdc, inc in next st, 1 hdc in next 4, inc, [1 hdc in next 4, inc] repeat, ending with 3 hdc in last 3 sts. (36 sts)
- Rnd 5–9:
- Sl st to join. Ch 2 as hdc, hdc around (36 hdc).
- Rnd 10:
- Sl st to join. Ch 2 as hdc, dec over next 2 sts, 1 hdc in next 4, dec, [1 hdc in next 4, dec] repeat, end with hdc in last 3 sts. (30 sts)
- Rnd 11:
- Sl st to join. Ch 2 as hdc, dec over next 2 sts, 1 hdc in next 3, dec, [1 hdc in next 3, dec] repeat, end with hdc in last 2 sts. (24 sts)
- Fasten off, leave long tail for sewing. Stuff lightly.

Your duck's head is a round, slightly flattened “ball” shape. The shape will be finished by attaching the beak and sewing shut.
3. Duck’s Beak (Upper and Lower Parts)
Upper Beak:
- Attach orange yarn to head at the last st.
- Ch 1, sc in same st and next 23 sts (24 sc).
- Rnds 2–3:
- Ch 1, turn, sc across (24).
- Fasten off, pull tail to back.
Upper Beak Top:
- At 4th st from end, reattach yarn, ch 5.
- Starting from first st of beak row, skip 8 sts, sl st in 9th st.
- Ch 1, turn, sc in that st and next 11 (12 sc).
- Sc in starting st, sc in each ch of ch-5.
- Sl st in end st to join round 4.
- Rnds 5–13:
- Ch 1, sc in each st.
- Decrease row (Rnd 14):
- Ch 1, sc, dec x2, sc in next 5, dec x2, sc in last 4. Sl st to finish.
- Fold edge in half, work sc dec, sc in next 3, sc dec to close. Fasten off, stuff lightly if desired.
Lower Beak:
- Attach yarn at 9th st from upper beak row; ch 1, sc in same and next 11 sts.
- Sc in base of upper beak, sc in each ch across (5).
- Sl st to join. Work even as for upper beak for as many rounds as upper beak.
- Decrease to shape, fasten off.
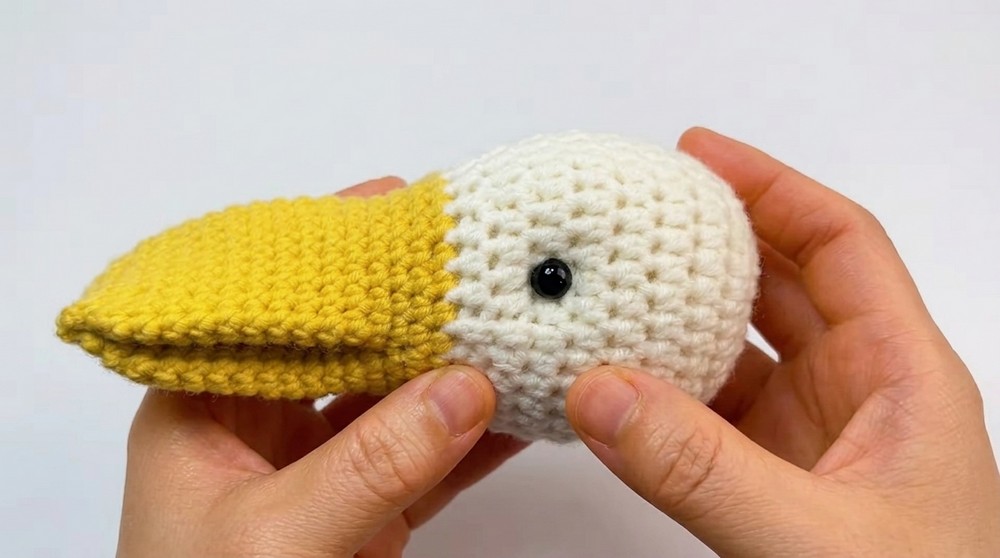
Attach upper and lower beak together at sides with a few neat stitches. Lightly stuff if desired.
4. Duck Feet (Make 2, worked in rows, joined for thickness)
First (Front) Layer:
- Ch as many as needed for desired foot size.
- Sc across, [sc, ch 2, sc] in end sts for shaping webbing.
- Repeat for “toe” shapes by alternating sc rows and (sc, ch 2, sc) in desired spots for webbed appearance.
- Fasten off.
Second (Back) Layer:
- Repeat as for first layer.
Joining:
- Hold front and back together, sc around edges through both, placing extra sc and ch 2 in “web” areas for shaping.
- Fasten off, fold in half, and sew up the long side for toe definition.
Assembly & Finishing
- Sew duck head to the end of the scarf body.
- Sew upper and lower beak to the head; stuff lightly if desired.
- Embroider or sew on eyes (use safety eyes, black thread, or beads).
- Sew feet at round 16 of the scarf body, spaced three pattern repeats apart.
- Block scarf lightly if needed.
- Weave in all loose ends with yarn needle.
Solution of Problem
- If the scarf body flares or curves: Check tension and number of increases per round. Keep a consistent stitch size.
- If the duck head is “lumpy”: Use consistent tension and lightly stuff without overfilling.
- If the feet curl or twist: Block them gently or attach to the scarf with extra small stitches.
What You Can Make with These Stitches
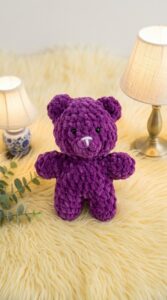
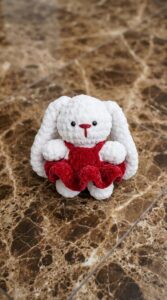
- Animal-themed scarves (bunnies, cats, bears, etc.)
- Playful baby blankets or hats using the cluster body motif
- Amigurumi animal heads and limbs
- Thick decorative edgings for afghans or sweaters
- Soft pillows with cluster stitch pattern
Pattern Summary for Beginners
Work the main scarf as a repeated cluster pattern, increasing as you go. Build the head like a small ball, stuff lightly, then add a beak (worked as two parts). Make sturdy double-layered feet and attach them to your scarf.
Leave a Reply