

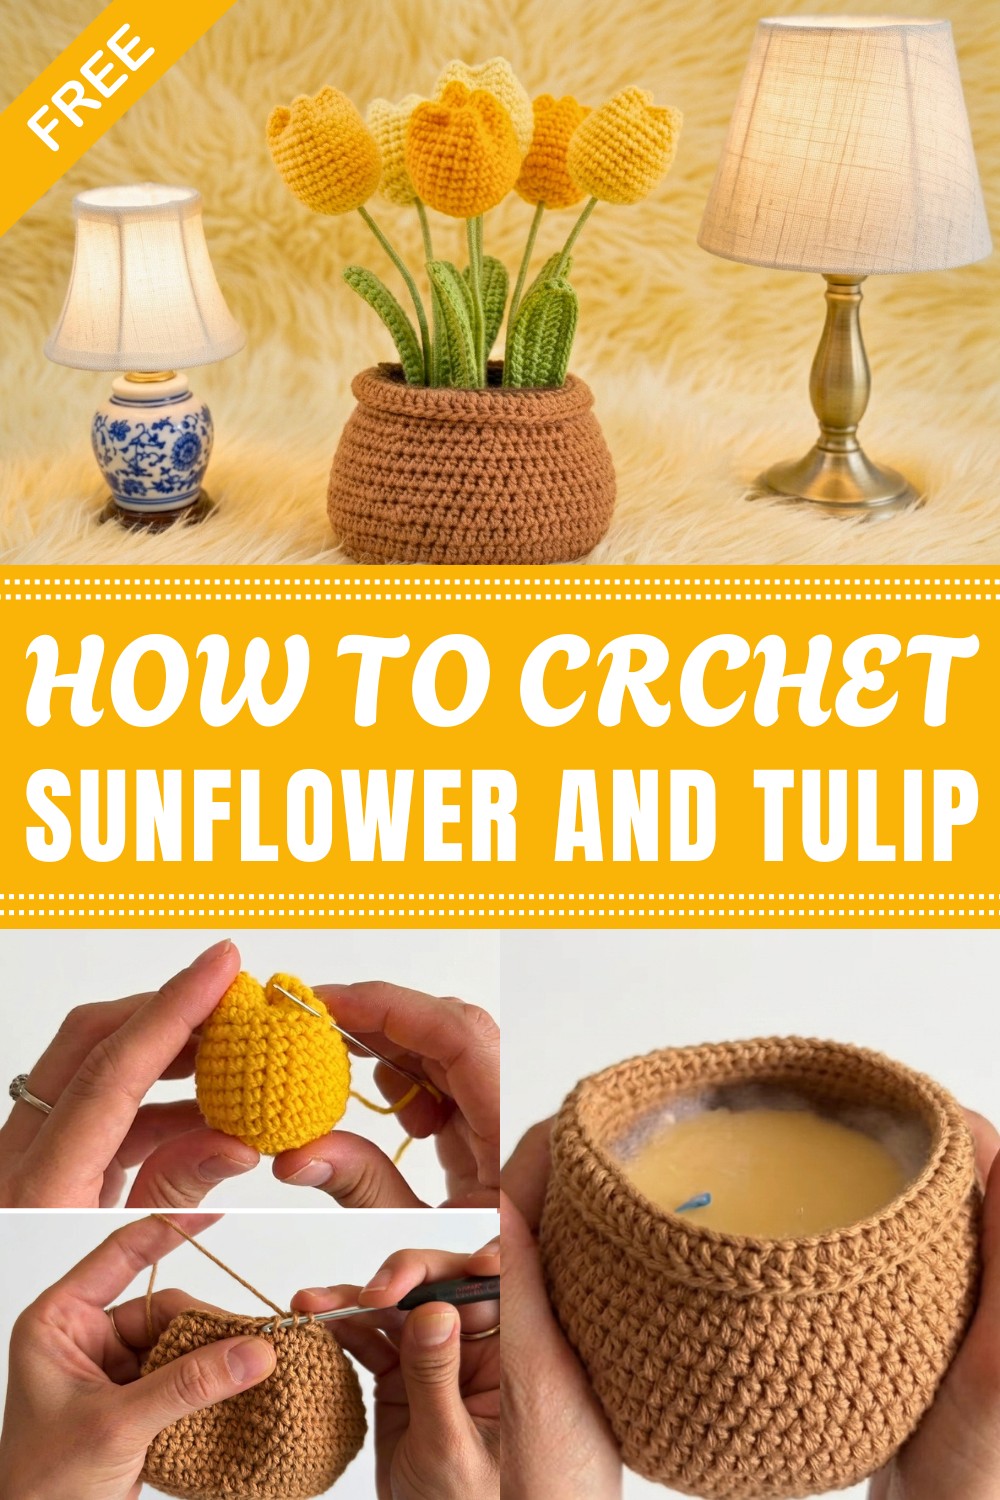
Bring vibrant colors and charm to your home by crocheting a beautiful Tulip Pot with an easy free pattern perfect for gifts decorations and centerpieces.
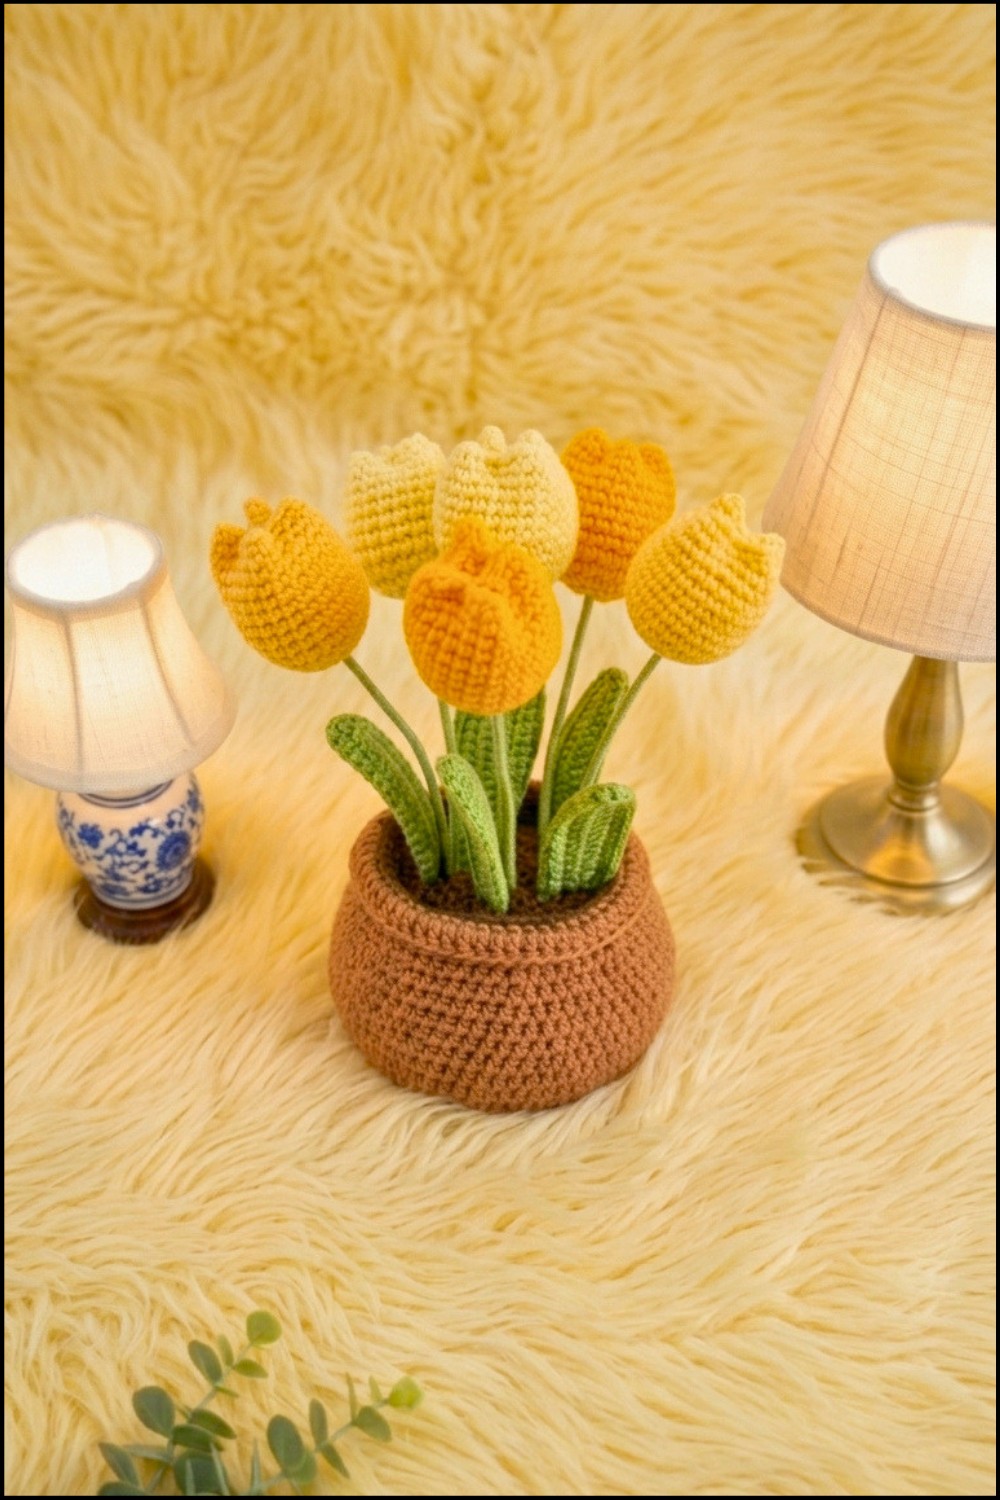
A cute and soft yarn flower pot can brighten up any room. The Crochet Tulip Pot looks like colorful tulip flowers made with yarn. It is a lovely decoration, a nice gift, or a collectible for anyone who likes crochet.
Adorable Crochet Tulip Pot Free Pattern for Spring Décor
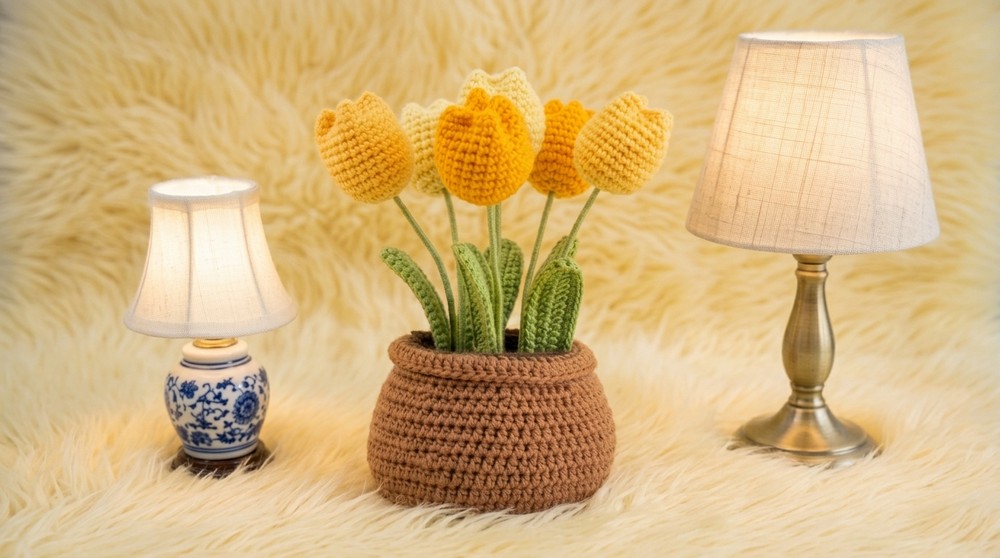
The pot is small and fits easily on tables, shelves, or windowsills. The tulip petals are round and come in bright colors. They sit neatly in a small, strong crochet pot. The flowers look lively and feel soft because of the yarn used.
This project is good for people who know basic crochet. It uses simple stitches like single crochet, magic ring, and easy increases and decreases. These stitches help to make a firm and nice-looking flower pot. The flowers also feel soft and have a 3D shape.
The Crochet items is an easy and fun project. It is not too big or too hard, so it works well for beginners or people who want a quick project. It can be placed in many spots around the home or office to add color.
This yarn flower is a nice way to add warmth and color with a small handmade item. It is a cheerful and simple piece that brings a cozy feel to any space. Anyone who likes yarn work will enjoy having this cute decoration nearby.
Crochet Tulip Flowerpot Pattern
This pattern measures approximately 20 cm and features six tulips in your favorite colors. I hope you enjoy the pattern.
Pattern Highlights
General Construction
- Realistic Flower Arrangement: The project consists of a solid flowerpot base, six wired tulips, and six sturdy leaves, resulting in a charming, life-like display.
- Customizable Colors: Choose any color combination for your tulip flowers to make your arrangement unique.
- Sturdy Structure: Uses wire, foam, and cardboard inside the pot for stability.
- Detailed Finishing: Coffee color yarn for the pot, brown yarn for the soil, and optional finishing touches using stuffing and silicone.
Flexible Usage
- Great centerpiece or home decoration.
- Ideal for gifting during spring or for special occasions.
Practical Construction Features
- Clever assembly with a removable core and “soil” so stems remain secure.
- Leaves are crocheted around inserted wire for perfect shaping.
Notes
- Stuffing: Use fiberfill for the tulip heads and pot shaping.
- Core Support: Cardboard and foam help the arrangement keep its shape; polystyrene may be substituted for foam if needed.
- Wire: 16-gauge wire is strong enough for stems and easy to shape for leaves.
- Pot Assembly: Silicone glue (cold) is recommended for joining structural elements.
- Finishing: Wrap yarn tails securely; always cut and hide excess ends for a polished look.
Skill Level
Advanced Beginner – Intermediate
Basic crochet in the round skills are required, along with comfort working around wire, stuffing amigurumi shapes, and some simple sewing/assembly.
Materials
- Yarn:
- Coffee/brown for the pot and soil
- Green for stems and leaves
- Your choice of colors for six tulip flowers (various shades recommended)
- Hook: 2.5 mm
- Tapestry needle
- Cold silicone glue
- Scissors
- Pliers
- Stuffing/fiberfill
- 16-gauge wire (for stems and leaves)
- Cardboard circle (base of pot, cut to appropriate size)
- Foam (or polystyrene) block (to fit inside the flowerpot)
Measurements / Sizing
- Pot Height: Approx. 20 cm (finished display)
- Pot Width: Fits the base of your foam form, typically 8–10 cm
- Tulip Heads: 6–7 cm tall once stuffed
- Leaves: Approx. 13–15 cm long
- Stems: 16 cm wires (six total)
Gauge
Gauge is not critical—stitches should be firm to support stuffing and shaping. Use your hook to ensure a tight, neat result.
Stitch Abbreviations
| Abbreviation | Meaning |
|---|---|
| MR | Magic ring |
| sc | Single crochet |
| hdc | Half double crochet |
| dc | Double crochet |
| inc | Increase (2 sc or hdc in one) |
| sl st | Slip stitch |
| ch | Chain |
| BLO | Back loop only |
Special Stitches
- Magic Ring (MR): Create a loop with yarn, crochet required sts into the loop, and pull tight.
- hdc Increase: 2 half double crochets in the same stitch.
- sc Increase: 2 single crochets in the same stitch.
- BLO (Back Loop Only): Crochet into the back loop only of the indicated stitch for shaping.
- Decreases: Work two sts together as one (hdc2tog or sc2tog as required).
The Complete Pattern
Tulip Flowers (Make 6, in various colors)
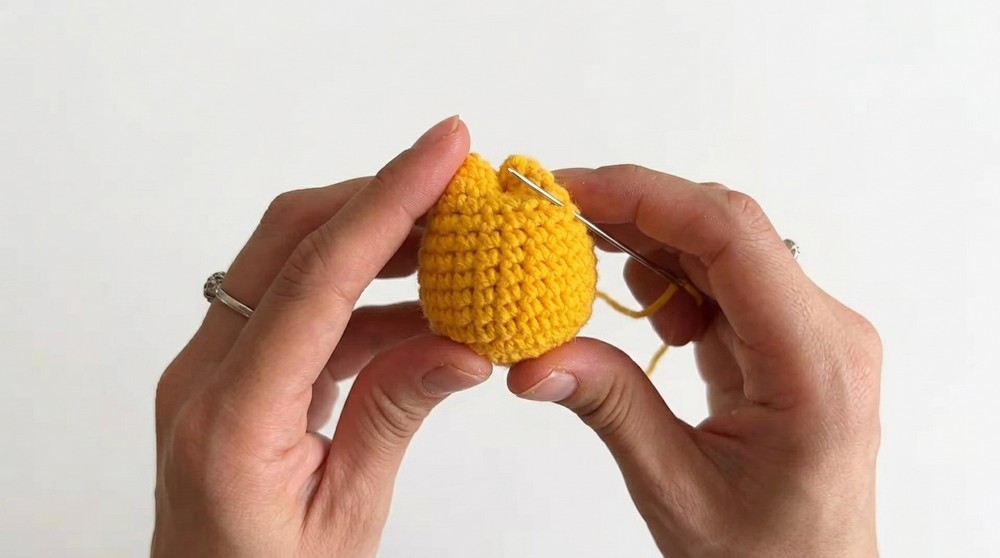
- Round 1: MR, 6 sc. Do not close center entirely (leave small hole for stem).
- Round 2: 6 inc (12 sc).
- Round 3: (sc, inc) x6 (18 sc).
- Round 4: (sc, inc, sc) x6 (24 sc).
- Rounds 5–14: 24 sc each round.
- Finish: Sl st to join, leave a long yarn tail. Remove marker, stuff firmly when assembling.
Leaves (Make 6, green yarn and wire)
- Start: Knot, ch 16.
- First Side: Working into the back of chains:
- 1 sc in 2nd chain from hook.
- 13 hdc in next 13 chains.
- In next chain: 3 sc (to turn).
- Second Side:
- 13 hdc along back side of chain.
- Tip: At last stitch, 1 inc (2 sc).
- Wire Insertion: Insert 16 cm wire into starting end, crochet around it as you continue.
- Continue: 1 sc in each stitch around, spreading wire inside work as you progress.
- At leaf end: 1 inc (2 sc), finish with sl st.
- Finish: Ch 1, cut yarn, shape leaf with fingers, wrap tail around wire at base of leaf for security. Repeat for all leaves.
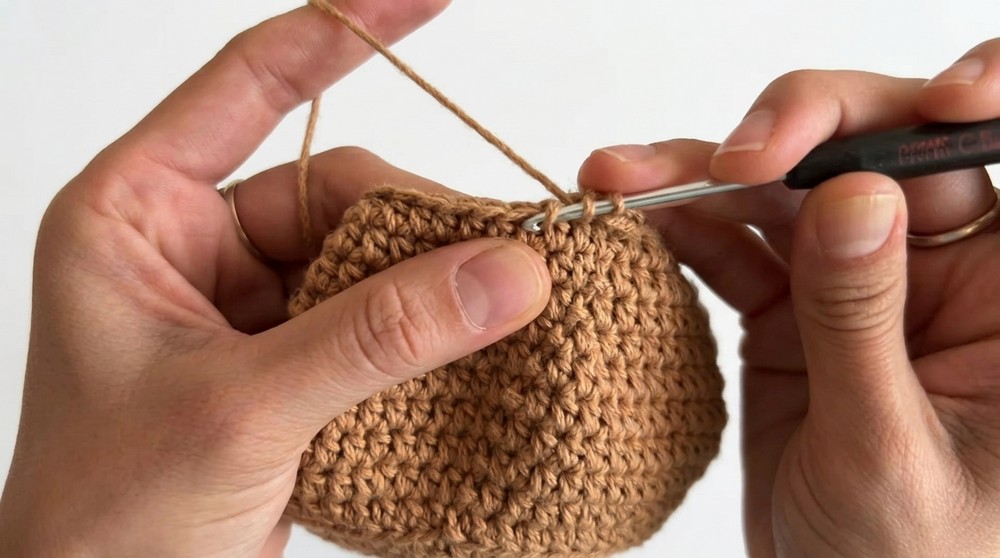
Pot Base (coffee brown)
- Round 1: MR, 8 hdc. Ch 1.
- Round 2: 8 inc (16 hdc).
- Round 3: (hdc, inc) x8 (24 hdc).
- Round 4: (hdc, inc, hdc) x8 (32 hdc).
- Round 5: (3 hdc, inc) x8 (40 hdc).
- Round 6: (2 hdc, inc, 2 hdc) x8 (48 hdc).
- Round 7: (5 hdc, inc) x8 (56 hdc).
- Finish: Sl st, ch 1. Shape flat as you go.
- Round 8: BLO, 56 hdc (gives edge to base).
- Round 9: (3 hdc, inc, 3 hdc) x8 (64 hdc).
- Round 10: (7 hdc, inc) x8 (72 hdc).
- Rounds 11–13: 72 hdc per round.
- Round 14: (7 hdc, dec) x8 (64 hdc).
- Round 15–17: 64 hdc per round.
- Round 18: (3 hdc, dec, 3 hdc) x8 (56 hdc).
- Rounds 19–20: 56 hdc per round.
- Round 21: BLO, 56 dc (make stitches loose for taller edge).
- Finish: Sl st to join, ch 1, cut long tail and fasten off.
Soil (brown, for “earth” insert)
- Round 1: MR, 8 hdc, ch 1.
- Round 2: 8 inc (16 hdc).
- Round 3: (hdc, inc) x8 (24 hdc).
- Round 4: (hdc, inc, hdc) x8 (32 hdc).
- Round 5: (3 hdc, inc) x8 (40 hdc).
- Round 6: (2 hdc, inc, 2 hdc) x8 (48 hdc).
- Round 7: (5 hdc, inc) x8 (56 hdc).
- Finish: Sl st and ch 1. Leave a long tail for sewing.
Assembly & Finished Size
- Prepare Pot’s Interior:
- Cut a sturdy cardboard circle to fit the flowerpot's base.
- Affix with silicone glue.
- Cut foam block (or polystyrene) to fit inside pot; glue to cardboard.
- Fill in gaps with stuffing to maintain round, full shape.
- Sew “Soil” to Pot:
- Place “soil” over top of stuffed, foamed pot.
- Using tapestry needle and soil yarn tail, sew soil to the inside of the pot rim by catching BLOs from round 21 of pot.
- Make Stems:
- Cut six 16 cm pieces of 16-gauge wire.
- Using brown/green yarn and silicone glue, wrap wire tightly from bottom to top for each stem, gluing at start and end. Allow to dry.
- Attach Tulips and Leaves:
- Insert a finished stem into the gap left in base of each tulip head.
- Turn over, pull flower yarn tail tight, stuff flower fully, and glue in place.
- Sew tulip opening shut and hide yarn tail inside.
- Repeat for all six tulips.
- Insert stems into soil/foam block at desired locations, rearranging as needed.
- Attach Leaves:
- With silicone, glue leaves beside desired tulips.
- Adjust and shape leaves for a natural effect.

Finished Size
- Entire arrangement stands approximately 20 cm tall with pot, stems, and tulip heads.
Conclusion
This pattern teaches you to construct a realistic, sturdy arrangement using a blend of crochet technique, careful assembly, and useful household materials. Take time to personalize the project with your favorite tulip colors and leaf arrangements, and enjoy the cheerful atmosphere it will bring to your space.




Leave a Reply