

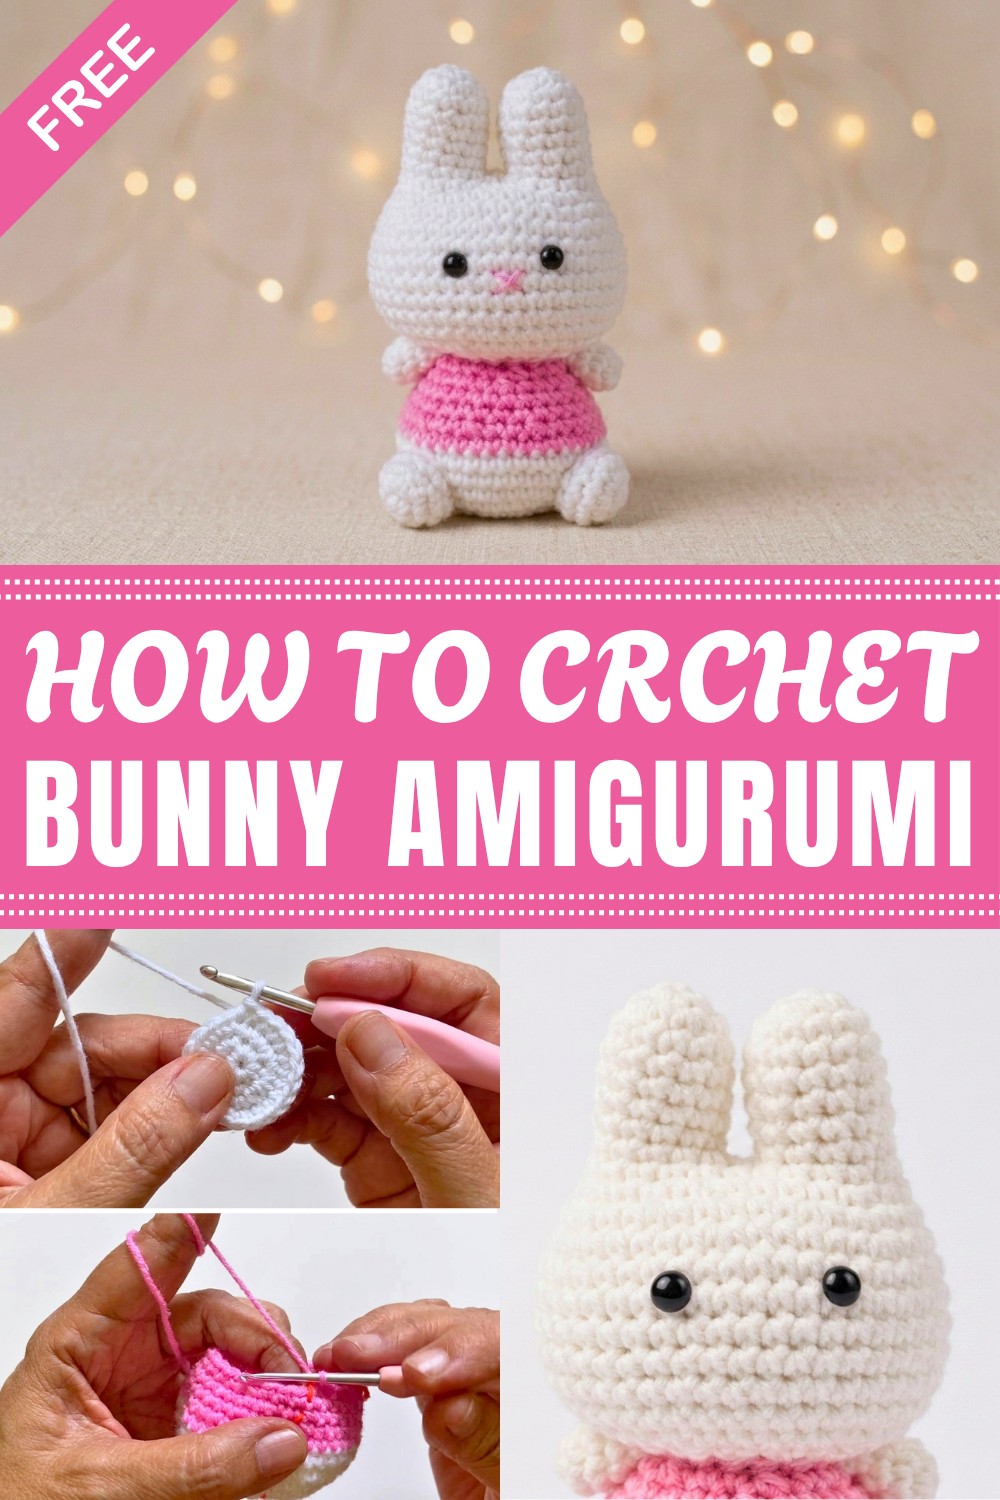
Bring warmth and charm with the Crochet Bunny Amigurumi that has soft details and a cute design perfect for gifts, home decor, or a loving keepsake.
Small handmade toys often carry a unique personality and charm in every stitch, and this Crochet Bunny Amigurumi is no exception. With its soft, rounded shape and sweet details, it stands out as a delightful companion, a thoughtful gift, or a lovely decoration for any room.
Free Crochet Bunny Amigurumi Pattern For Handmade Gift
The bunny measures about 8 inches tall, a comfortable size to hold or display. Its gently shaped ears and plump body give it a friendly, inviting appearance, while simple embroidered facial features add character without overwhelming the design. Using soft yarn enhances its cuddly feel, suitable for both children and adults.
This project suits those with basic crochet experience, generally at a beginner to intermediate skill level. Common stitches like single crochet, increases, and decreases help shape the body, and slip stitches finish the small details neatly. Working in the round and sewing pieces together are also part of assembling this charming toy, providing a manageable challenge that helps build confidence.
Beyond being an adorable collectible, this crochet bunny amigurumi works well as a meaningful handmade gift for baby showers, birthdays, or holidays. It also functions as a warm, personal touch for nurseries, living rooms, or desks. Whether you want to brighten someone’s day or enjoy a creative hobby, this sweet bunny fits many occasions.
This crochet bunny amigurumi combines texture, shape, and whimsy to form a timeless toy that will be cherished for years. Its simple yet engaging design invites crocheters to relax with each stitch and appreciate the quiet satisfaction of handmade comfort.
Miffy-Style Keychain Crochet Pattern
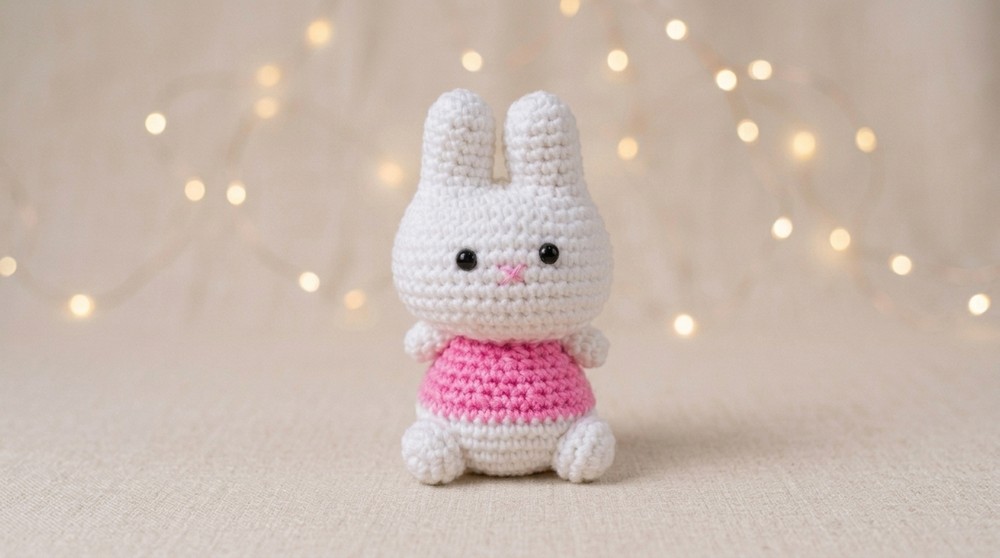
This Miffy-inspired keychain pattern is designed to help crocheters create a charming, small bunny amigurumi reminiscent of the beloved character. Using simple crochet techniques and seamless color changes, you’ll form the iconic shape, dense ears, delicate head/body, and cute limbs for a collectible accessory. The instructions are detailed with clear rounds, comprehensive stitch explanations, and finishing guidelines to ensure strong, neat results.
Pattern Basic Points
Key Points
- Amigurumi worked in continuous rounds.
- Magic ring is used to begin all pieces for a seamless base.
- Use stitch marker to mark the first stitch of each round.
- Stuff as you go to maintain shape.
- Safety eyes are recommended but glued eyes can be substituted.
- Color changes for clothing can be made by tying off white and joining pink yarn.
Special Notes
- The pattern is based on tight, dense stitches to prevent stuffing from showing.
- If your tension is loose, consider using a smaller hook.
- Be careful to count stitches accurately for symmetrical shaping.
- Embroider face to suit personal style; subtle black embroidery thread is best for the mouth.
- Assembling the keychain requires securely attaching all pieces to withstand everyday use.
Skill Level
- Beginner to Intermediate: Basic knowledge of working in rounds, single crochet increase/decrease, color change, and sewing amigurumi parts is required.
Materials
- Yarn: White (body), Pink (clothing); choose cotton or acrylic DK weight.
- Hook: 2.2 mm crochet hook (or similar for your yarn weight).
- Fiberfill stuffing
- Safety Eyes: 7–8 mm (or small black beads, felt, or glue-on eyes).
- Tapestry Needle
- Scissors
- Stitch Marker
Measurements
- Finished Size: Approximately 6–8 cm (2.5–3 inches) tall excluding keychain ring.
- Keychain Hardware: Standard lobster clasp or split ring can be attached.
Gauge
- Amigurumi crochet is mostly about tight stitches so the fiberfill doesn’t show. Check that your stitches are close enough; 10 sc x 10 rows should measure about 4 cm x 4 cm.
Stitch Pattern
- Continuous rounds, single crochet (sc) throughout.
- Color change method (when dressing Miffy).
Stitch Abbreviations
| Abbreviation | Meaning |
|---|---|
| mr | magic ring |
| sc | single crochet |
| inc | increase (2 sc in one st) |
| dec | decrease (sc2tog) |
| st(s) | stitch(es) |
| rnd | round |
| ch | chain |
Special Stitches
- Magic Ring (mr): Form a ring, work stitches into ring, pull tight.
- Increase (inc): 2 sc in one stitch.
- Decrease (dec): Single crochet two stitches together (sc2tog).
Pattern Instructions
Ears (Make 2)
Using white yarn:
Round 1:
- 6 sc in magic ring (6 sts)
Round 2:
- inc in each stitch around (12 sts)
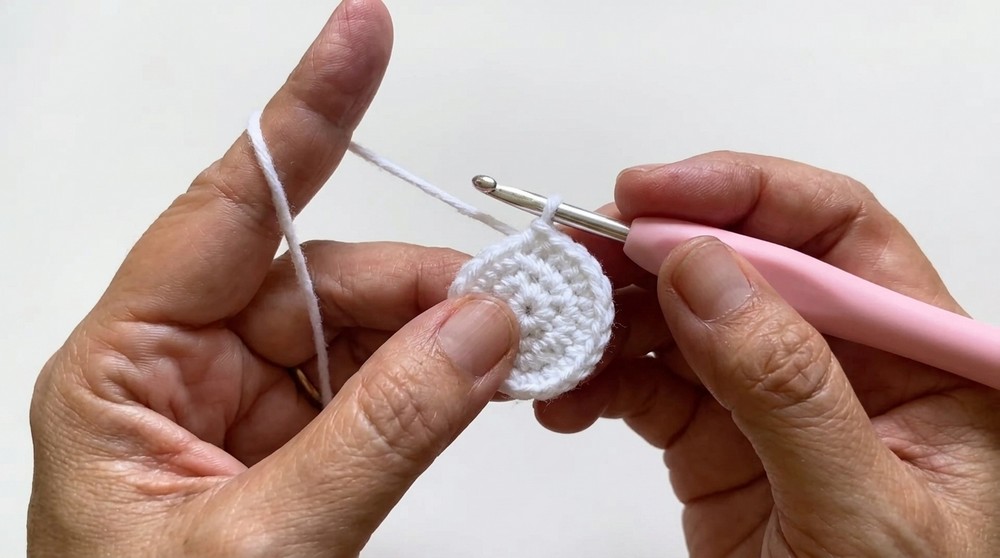
Rounds 3–8:
- sc in each stitch around (12 sts per round, 6 rounds total)
Fasten off the first ear. Do NOT fasten off the second ear; you’ll join to the head in the next step.
Head
Round 9:
- Join both ears together. Work sc around each ear (12 sc per ear), for a total of 24 sc.
Round 10:
- [sc in next 3 sts, inc] repeat 6 times (36 sts)
Round 11:
- sc in next 2 sts, inc, then sc in next 4 sts, inc repeat 5 times, finish with sc in next 2 sts (Follow stitch counts carefully; should total 42 sts)
Round 12:
- sc in next 5 sts, inc repeat 6 times (54 sts)
Rounds 13–18:
- sc in each stitch around (42 sts per round, 6 rounds)
Round 19:
- sc in next 5 sts, dec repeat around (28 sts)
Round 20:
- dec around (12 sts)
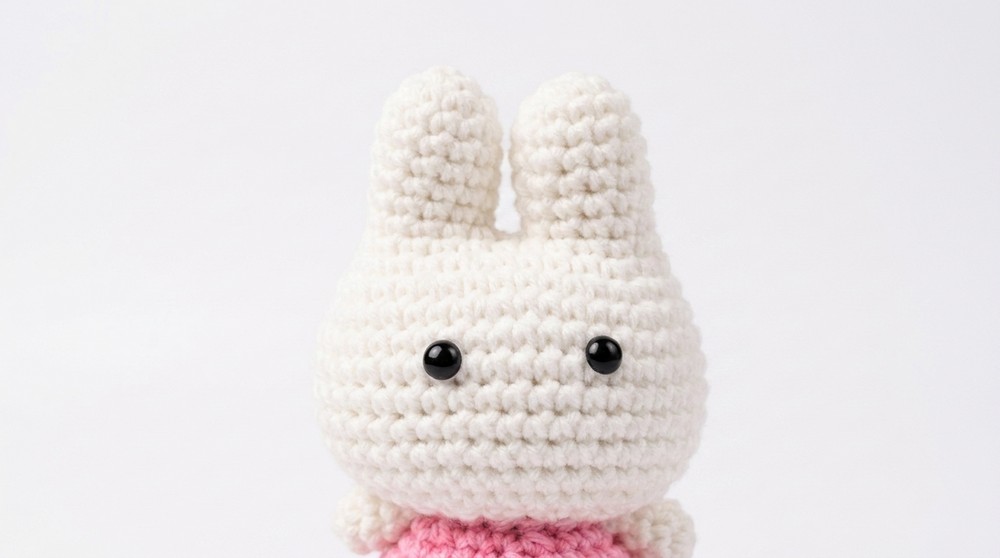
Stuff the head tightly with fiberfill. Attach the safety eyes between Rounds 13–15, spaced approximately 6–7 stitches apart. Embroider the mouth and nose below the eyes.
Body
With white yarn:
Round 1:
- 8 sc in magic ring (8 sts)
Round 2:
- inc in each st (16 sts)
Round 3:
- sc in next st, inc repeat (24 sts)
Round 4:
- sc in next 2 sts, inc repeat (32 sts)
Round 5:
- sc in next 3 sts, inc repeat (40 sts)
Rounds 6–8:
- sc in each stitch around (40 sts per round, 3 rounds)
Round 9 (Color Change to Pink):
- sc in each stitch around (40 sts)
Round 10:
- sc in next 2 sts, dec repeat 10 times (30 sts)
Rounds 11–12:
- sc in each stitch around (30 sts per round, 2 rounds)
Round 13:
- sc in next 3 sts, dec repeat 6 times (24 sts)
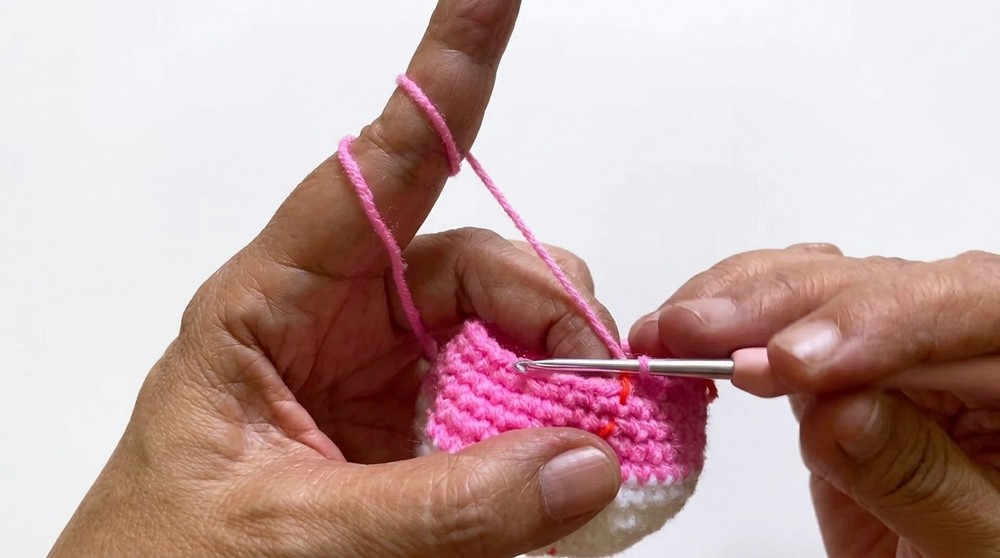
Round 14:
- sc in next 2 sts, dec repeat 6 times (18 sts)
Stuff the body firmly. Fasten off and leave a long tail for sewing.
Limbs
Arms (Make 2):
Round 1:
- 7 sc in magic ring (7 sts)
Rounds 2–4:
- sc in each stitch around (7 sts per round, 3 rounds)
Fasten off, leave a long tail for sewing. Stuff lightly.
Legs (Make 2):
Round 1:
- 6 sc in magic ring (6 sts)
Round 2:
- inc in each stitch around (12 sts)
Rounds 3–4:
- sc in each stitch around (12 sts per round, 2 rounds)
Fasten off, leave long tail. Stuff each leg lightly.
Assembly
- Attach the head to the top of the body, sewing evenly around the neck area and adding more stuffing if needed for support.
- Sew arms to the upper sides of the body, just under the head.
- Sew legs to the bottom of the body, spaced evenly.
- Weave in all ends securely.
- Attach safety eyes if not already added; embroider face details.
- Add a keychain ring or clasp securely at the top of the head (through the base of ears for extra strength).
Finished Size & Conclusion
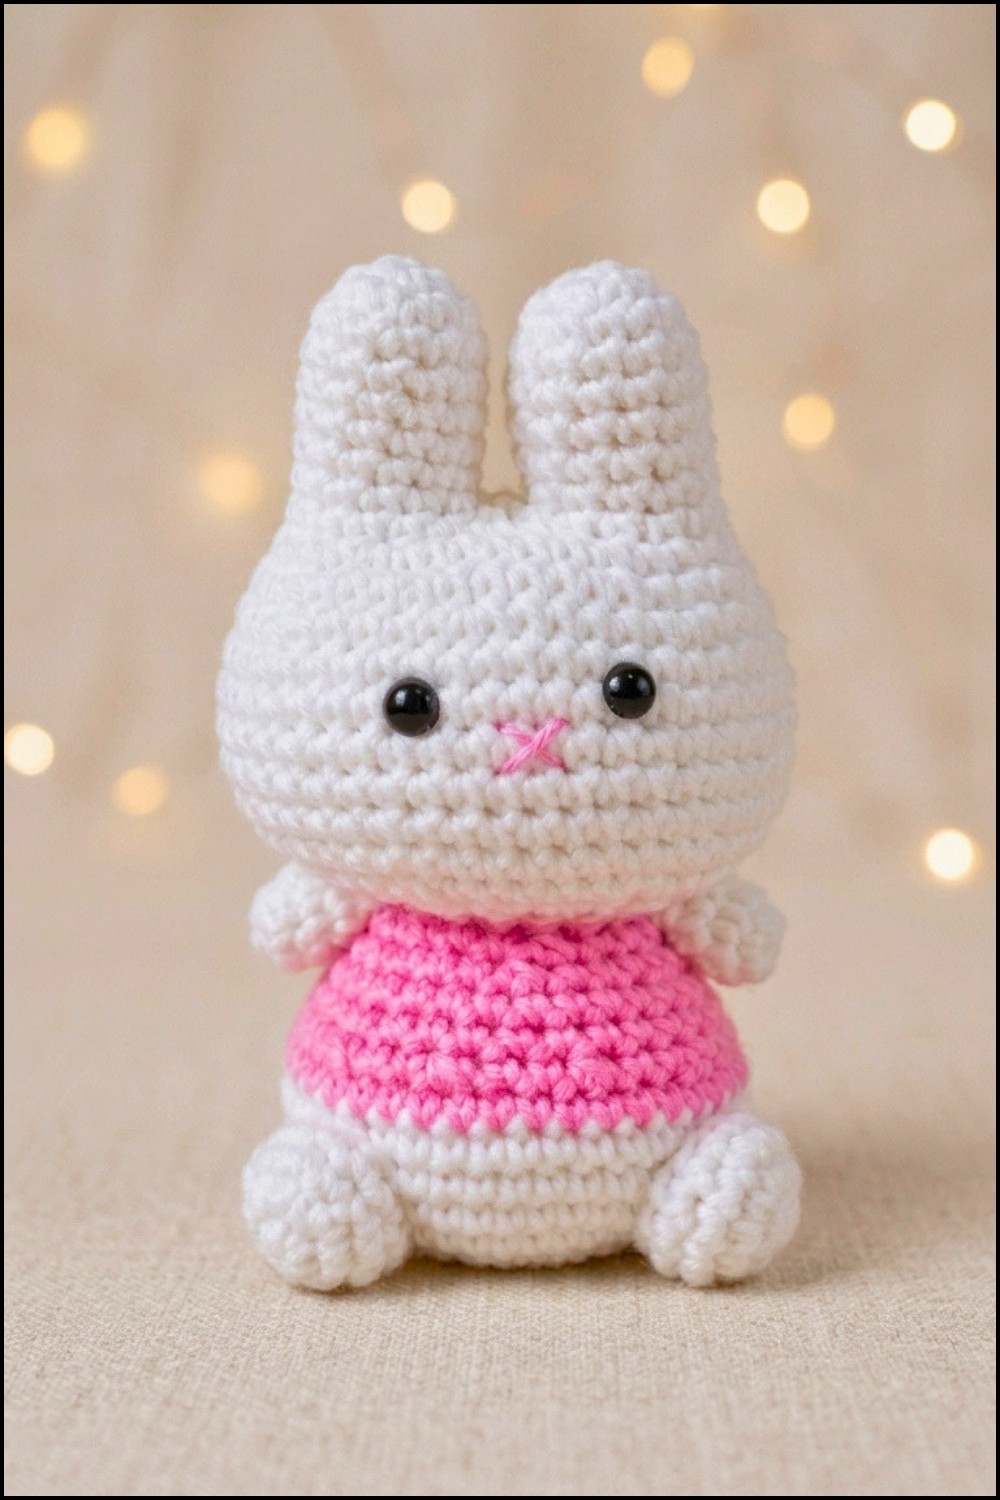
The completed Miffy-style keychain measures approximately 6–8 cm tall, making it ideal for attaching to bags, zippers, or as a lovable decorative piece. The design features vivid, classic color blocking and signature bunny ears, easily achieved by following continuous rounds and careful stuffing. The arms and legs bring balance and personality to the accessory.
This pattern combines simplicity with charm, reflecting the iconic Miffy aesthetic. Utilize the basic color changes and simple construction for further customizations—other clothing colors, facial expressions, or adding accessories. With reliable sewing and secure parts, the finished keychain will withstand daily use. Enjoy the durable structure and soft, minimal style that is perfect for gifts, collections, or personal keepsakes. Crocheters of all skill levels will appreciate the manageable assembly and the opportunity to develop amigurumi techniques. The classic stitches and structured rounds provide an enjoyable crocheting experience and create a delightful addition to any keychain collection.




Leave a Reply