

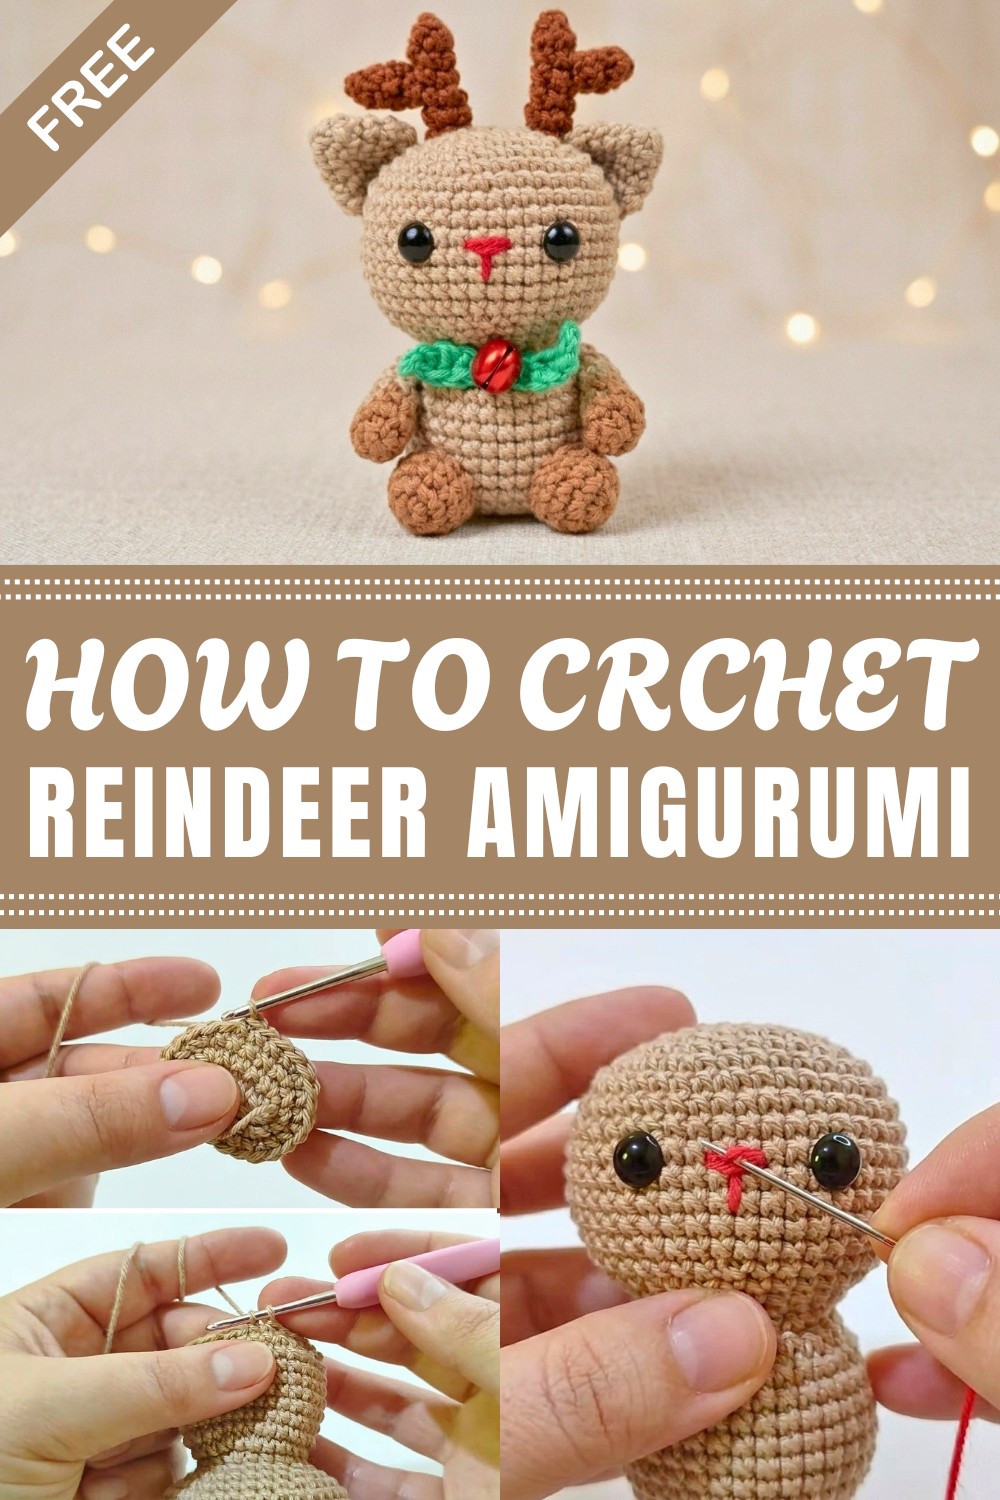
Create a charming Crochet Amigurumi Reindeer with soft yarn, perfect for festive decorations or gifts that bring warmth and holiday cheer to any space.
This little project is a cute and soft holiday figure with a round body, tiny antlers, and a friendly face that feels warm and inviting. The Crochet Amigurumi Reindeer is made using tight single crochet stitches, which makes it smooth and cuddly. Simple but full of character, it has small hooves and sweet eyes that give it a gentle look.
Free Crochet Amigurumi Reindeer Pattern For Decor
It works great as a holiday decoration or a gift and comes in different sizes—from small keychains to bigger toys you can hug. You can change colors or add fun extras like scarves or bells to make it your own. The reindeer is made by crocheting in rounds, starting with a magic ring to keep everything neat and even.
Keeping your stitches even is helpful so the shape stays firm and the details look clear. Using smooth yarn helps show off the stitches and makes the reindeer look neat.
The idea came from wanting a cozy and simple winter friend that anyone can crochet. The soft yarn fits well with the tight stitches to make the reindeer both sturdy and gentle to the touch. Whether you make it as a gift or for your home, this little reindeer lets you add your own style and spreads a bit of holiday joy.
Reindeer Amigurumi Pattern
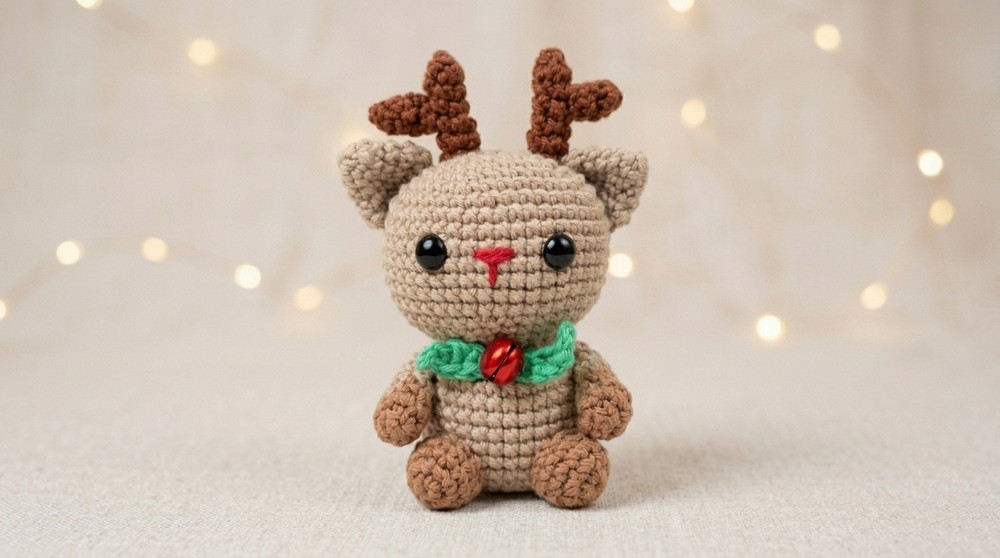
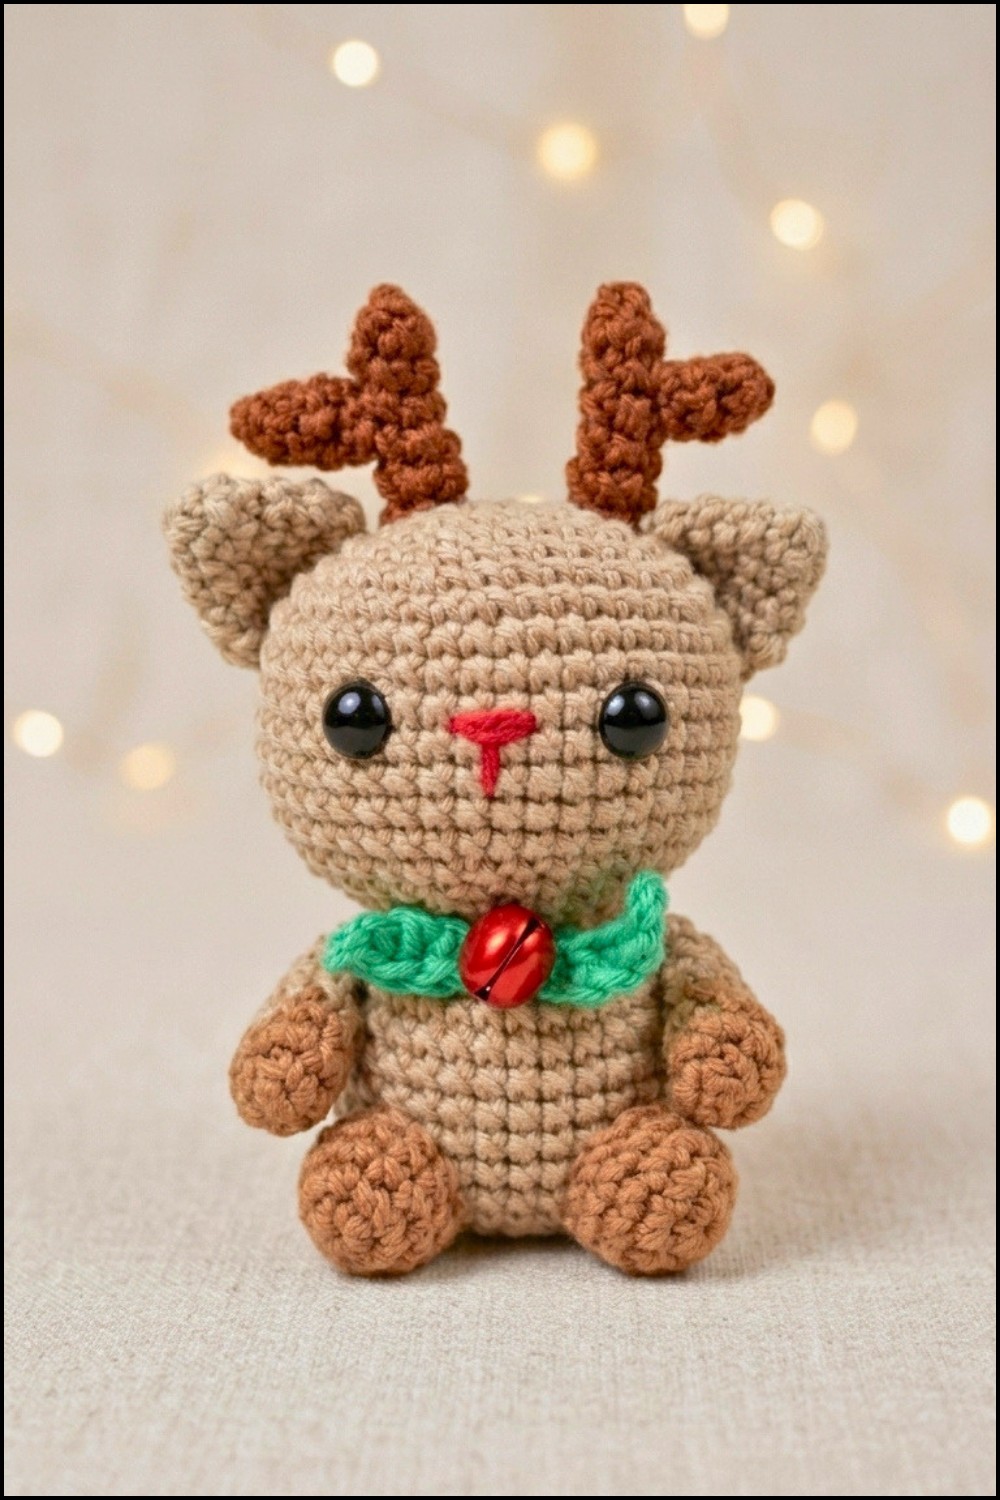
This Reindeer is a festive, whimsical addition to any amigurumi or holiday collection. With its unique shape, reindeer horns, and playful expression, it combines classic Christmas motifs with the unmistakable cuteness of a Reindee. The pattern features clearly defined rounds, smooth shaping, and simple construction, making it approachable for a variety of skill levels. Charming details, such as sewn-on antlers and a colorful nose, make this piece a joy for seasonal displays or as a distinctive handmade gift.
Pattern Basic Points
Key Features
- Seamless body and head worked in one piece for a sturdy, plush result
- Easy color changes and shaping through basic increases and decreases
- Separate limbs, ears, horns, and tail, each sewn on for custom positioning
- Holiday flourish with optional neck leaves and bell for decoration
- Instructions for precise placement of face and legs for that signature sitting pose
Flexibility
- Can be adapted for different colorways (other holidays or animal themes)
- Perfect for gift-giving or as part of a collectible set
- Face, accessories, and embellishments can be fully personalized
Special Notes
- Always use a stitch marker for tracking rounds; this smoothes shaping and aides in counting.
- Stuff the head and body as you go, adjusting the firmness for a rounded but not over-stiff finish.
- When assembling, double check alignment by viewing the face and limbs from all sides.
- If a bell is not available for the neck, a tiny crocheted ball or another ornament can be substituted.
- Modify facial expression or accessories for a customized character.
Skill Level
Confident Beginner and Up
While the base stitches are basic (single crochet, increases, decreases), the project involves sewing small parts and shaping that beginners with some amigurumi experience will manage comfortably.
Materials
- Worsted weight yarn in light beige (main body), dark coffee brown (arms, legs, tail, horns base), red (nose), green (leaves)
- 2.5–3.0 mm crochet hook
- Safety eyes (recommended 8 mm) and matching backings
- Craft stuffing/polyester fiberfill
- Yarn needle and scissors
- Stitch marker
- Small bell or home-crocheted ball for neck
- Pins for assembly
- Optional: Embroidery floss or thin black yarn for details
Measurements / Sizing
- Approximate finished height: 13–15 cm (depends on yarn & hook used)
- Fits comfortably in the palm of your hand; supplemental pieces (horns, tail, leaves) add decorative height and width
Gauge (and Stitch Pattern if applicable)
- Gauge is not strict; ensure stitches are tight to avoid stuffing showing through
- All pieces are primarily worked in the round (amigurumi method) using single crochet
Stitch Abbreviations
| Abbreviation | Meaning |
|---|---|
| MR | magic ring |
| sc | single crochet |
| inc | increase (2 sc in one st) |
| dec | decrease (sc2tog) |
| ch | chain |
| sl st | slip stitch |
| hdc | half double crochet |
| dc | double crochet |
Special Stitches
- Magic Ring (MR): Form a loop, secure with chain, crochet first round into ring, pull closed.
- Invisible Decrease (dec): Insert hook into front loops only of next 2 stitches, yarn over, pull through both, yarn over, pull through both loops.
- Triple Increase: 3 sc in one stitch (used for corner shaping in body base).
Crochet Step by Step Instructions
Body & Head (Worked in One Piece)
Start with light beige yarn.
- R1: Ch 6. In 2nd ch from hook, sc, sc in next 3 ch, in final ch, 3 sc (triple increase) into same ch to turn the corner. Now work along the underside of the chain: sc in next 3 ch, in last ch, inc (2 sc in one st). (12 sc)
- Mark end of round if needed.
- R2: Sc in first st, inc in next st, sc in next 3 sts, 3 inc (one in each of next 3), sc in next 3 sts, 2 inc (once in each of last 2 sts). (18 sc)
- R3: [Sc, inc] in first 2, sc in next 3, then [sc, inc] x3 (6 sts), sc 3, [sc, inc] x2 (4 sts), total 24 sc.
- R4: [2 sc, inc], sc 3, [2 sc, inc] x3 (9 sts), sc 3, [2 sc, inc] x2, 30 sc.
- R5: [3 sc, inc], sc 3, [3 sc, inc] x3, sc 3, [3 sc, inc] x2, 36 sc.
- R6: [5 sc, inc], repeat around for 42 sc.
- R7–R13: Sc in each st around (42 sc per round, 7 rounds total) – this forms the “head”.
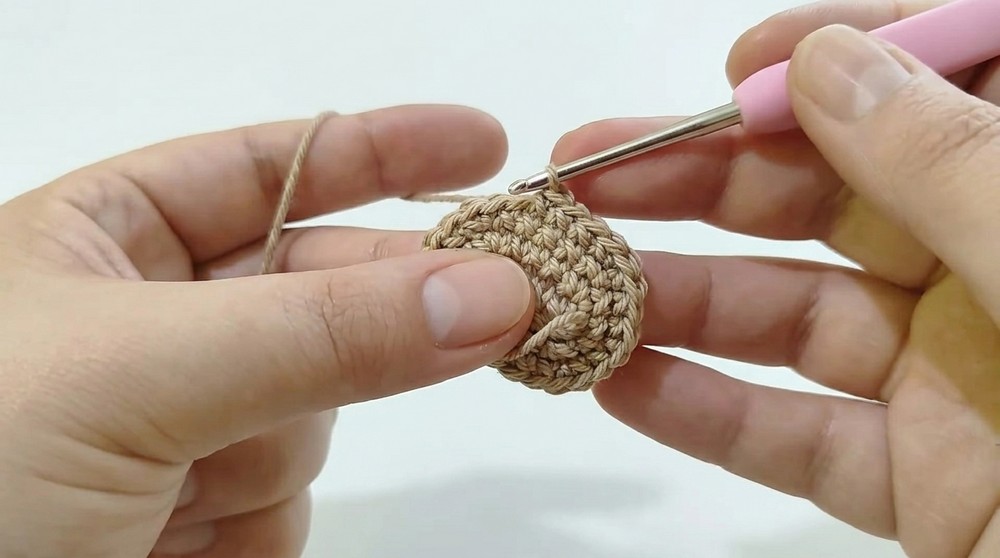
Insert safety eyes between rounds 9 and 10, with 8 stitches between them.
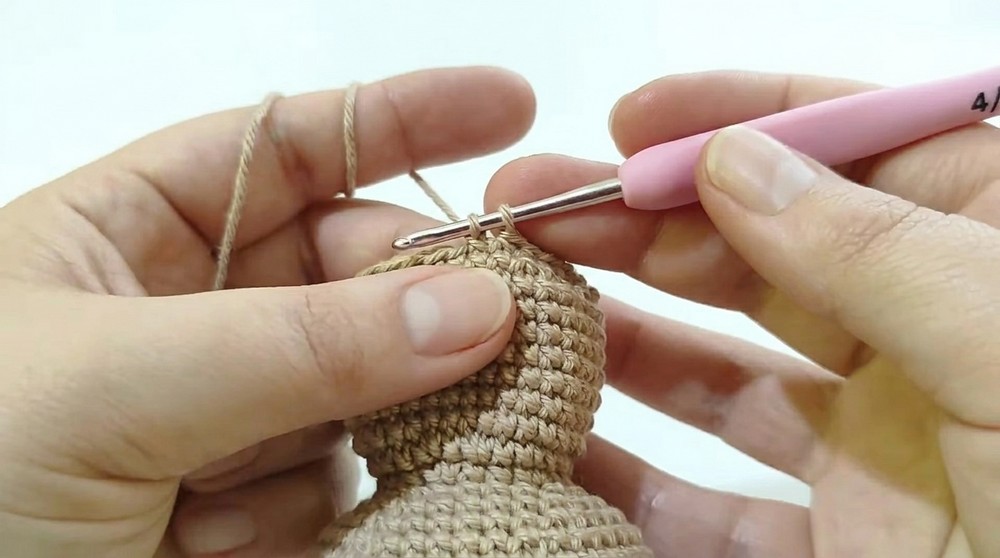
- R14: [5 sc, dec] around, 36 sc.
- R15: [3 sc, dec], sc 3, [3 sc, dec] x3, sc 3, [3 sc, dec] x2 (30 sc).
- R16: [2 sc, dec], sc 3, [2 sc, dec] x3, sc 3, [2 sc, dec] x2 (24 sc).
Stuff head firmly as you reach the neck.
- R17: [sc, dec], sc 3, [sc, dec] x3, sc 3, [sc, dec] x2 (18 sc).
Add more stuffing as you go for a smooth shape.
Transition to body:
- R18: [2 sc, inc] repeat around, 24 sc.
- R19: [sc, inc] repeat around, 36 sc.
- R20–R26: Sc in each st around (36 sc per round, 7 rounds total) – this forms the “body”.
Continue stuffing as you work body rounds.
- R27: [4 sc, dec] repeat around, 30 sc.
- R28: [3 sc, dec] repeat around, 24 sc.
Stuff body, rounding shape as you go.
- R29: [2 sc, dec] repeat around, 18 sc.
- R30: [sc, dec] repeat, 12 sc.
- R31 (or closing): 6 dec, fasten off with long tail. Close hole by weaving through front loops and pulling tight, sew in ends.
Ears (Make 2)
- R1: With beige, MR, 4 sc. (4)
- R2: [sc, inc] x2, 6 sc.
- R3: [sc, inc] x3, 9 sc.
- R4: [2 sc, inc] x3, 12 sc.
- R5: [sc, inc] around, 18 sc.
- Finishing: Flatten edge, fold slightly for curve. To close, sc next st together with st from opposite side (8 sc across). Ch 1, leave tail for sewing.
Tail
- R1: With brown, MR, 6 sc. (6)
- R2–R11: Sc in each st (6 per round, 10 rounds). Fold flat, sc last st and opposite st, repeat to close (2 sc). Ch 1, leave tail for sewing.
Arms (Make 2)
- R1: With brown, MR, 5 sc. (5)
- R2: Inc in each st, 10 sc.
- R3: Sc in each st, 10 sc.
- Change to beige.
- R4–R7: Sc in each st, 10 per round (4 rounds). Fold flat, sc together (4 sc across). Ch 1, leave long tail for sewing.
Legs (Make 2)
- R1: With brown, MR, 6 sc. (6)
- R2: Inc in each st, 12 sc.
- R3–R4: Sc in each st, 12 per round (2 rounds). Sl st in last st, ch 1, leave long tail for sewing.
Antlers (Make 2 large, 2 small)
- Small Piece: With brown, MR, 5 sc. (5). R2–R3: Sc in each st (5 per round). Fasten off, leave tail.
- Large Piece: With brown, MR, 5 sc. (5). R2–R6: Sc in each st (5 per round for five rounds). Fasten off, leave a long tail.
Sew one small to one large at base for each horn; make two total.
Collar Leaves (Make 2)
- With green, ch 6.
- In second ch from hook: sl st, next: sc, next: hdc, next: dc, last: sc.
- Ch 1, fasten off, leave tail.
Optional Bell
- Use a jingle bell or crochet a small ball (MR, 5 sc, close).
Assembly & Finished Size
- Sew ears to top of head, curving slightly and aligning just above the eyes.
- Sew horns beside each ear (longer antler branch outwards).
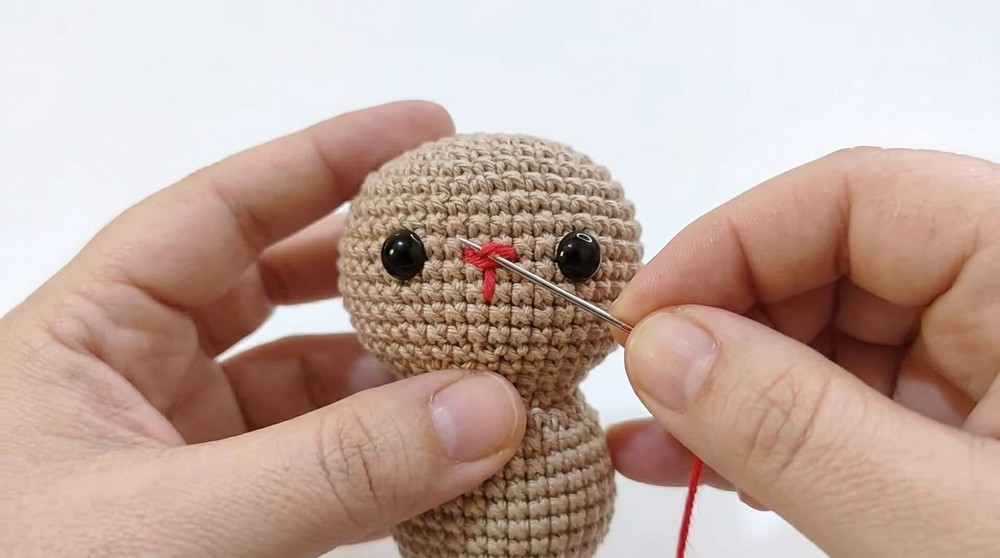
- Embroider nose with red between eyes, about two stitches wide and several passes for thickness. Add mouth as a short vertical line.
- Attach arms just below neck with a slight diagonal so they curve forward.
- Attach legs below arms in a straight line, allowing the piece to sit upright.
- Secure tail at back, adjusting so the figure sits without tipping.
- Attach collar leaves around neckline with a bell between.
- Adjust stuffing if needed for posture before final stitches are closed.
Conclusion
This festive Reindeer Cat amigurumi marries the whimsy of the holiday season with the universal affection for handmade plushies. Robust shaping, careful color detail, and delightful adornments bring personality and charm that are sure to brighten any collection or seasonal decor. With accessible rounds and clear assembly steps, this pattern invites crafters to develop confidence with shaping, sewing, and expressive finishing touches. Make it as a heartfelt gift or display, and enjoy the creative possibilities with each new holiday-inspired feline.



Leave a Reply