

Add warmth and charm to your home with this cute crochet pig free pattern that brightens any space and serves as a cozy decoration or a playful companion.
This written crochet pattern is a fun and adorable project that results in a small, soft handmade toy. The Crochet Pig Amigurumi is about 4 to 5 inches tall when finished, making it perfect to hold, display, or gift.
Free Crochet Pig Amigurumi Pattern For Sweet Room Décor
The pig features a round body, a tiny snout, cute ears, and little legs, all crocheted separately and then sewn together to create a charming and friendly look. The pattern uses basic crochet stitches such as single crochet, increases, and decreases, making it suitable for beginners or those with some crochet experience.
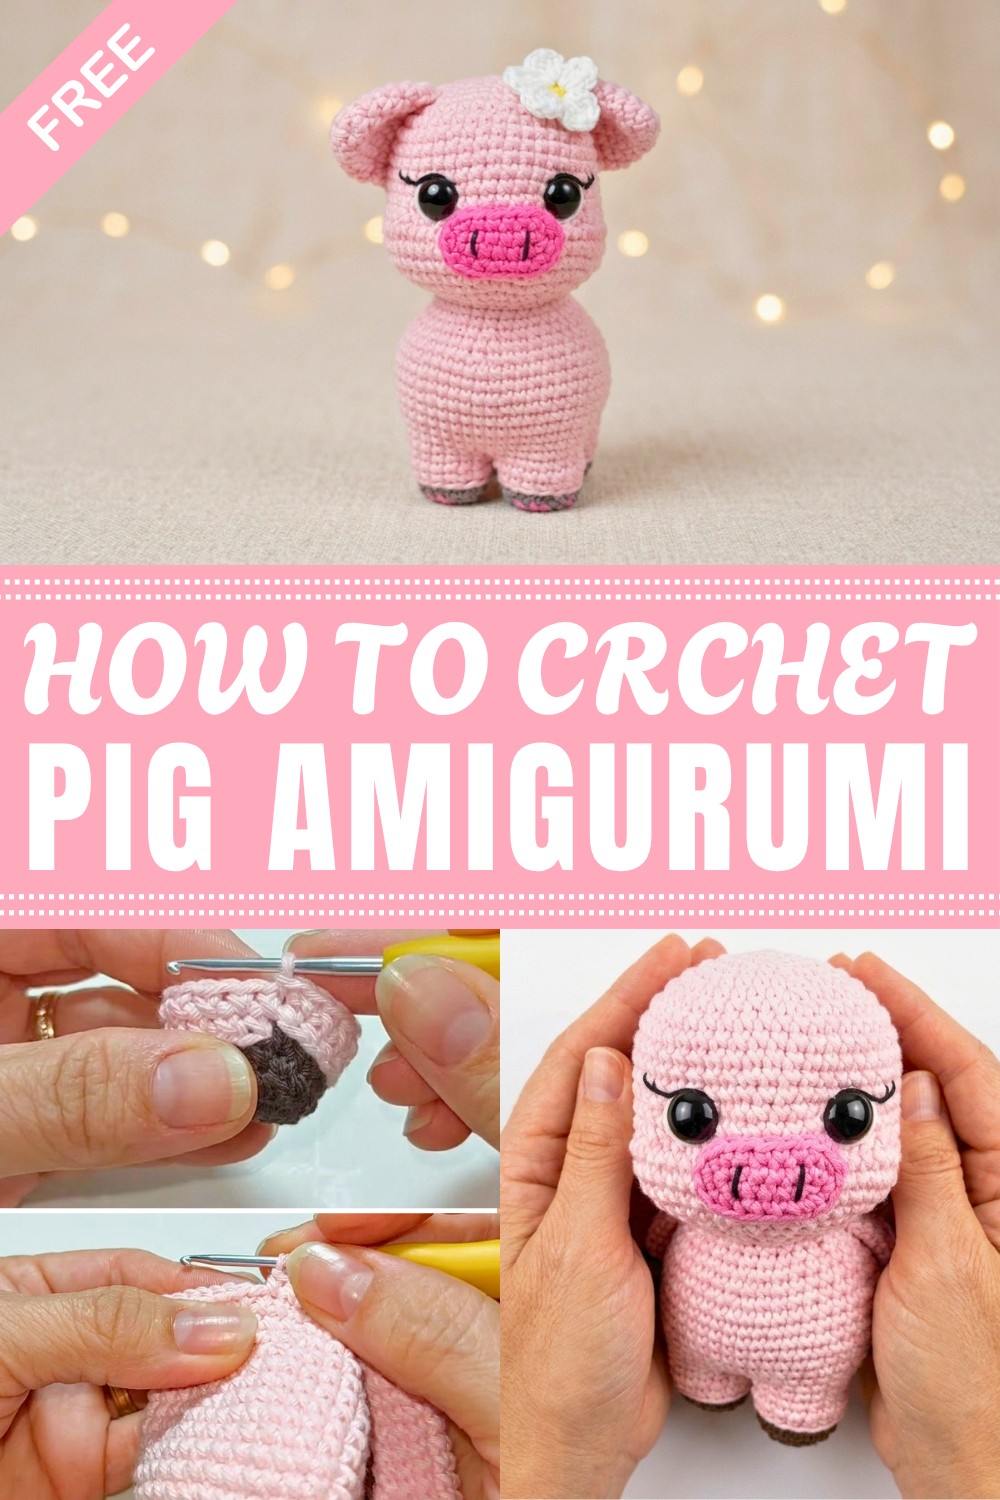
To complete this project, you’ll need pink yarn, a crochet hook (usually the size recommended for your yarn), stuffing to give the pig shape, and a yarn needle for sewing the parts together. The steps include crocheting each piece in the round, stuffing them gently, and sewing them carefully to form the complete pig.
This project is great because it helps develop essential crochet skills and introduces sewing techniques needed to assemble amigurumi toys. The clear, step-by-step instructions make it easy to follow, resulting in a cute handmade pig that can be used as a decoration, a gift, or a soft toy for children. Overall, it’s a simple and enjoyable project that adds charm to any crochet collection
Amigurumi Piglet Plush Pattern
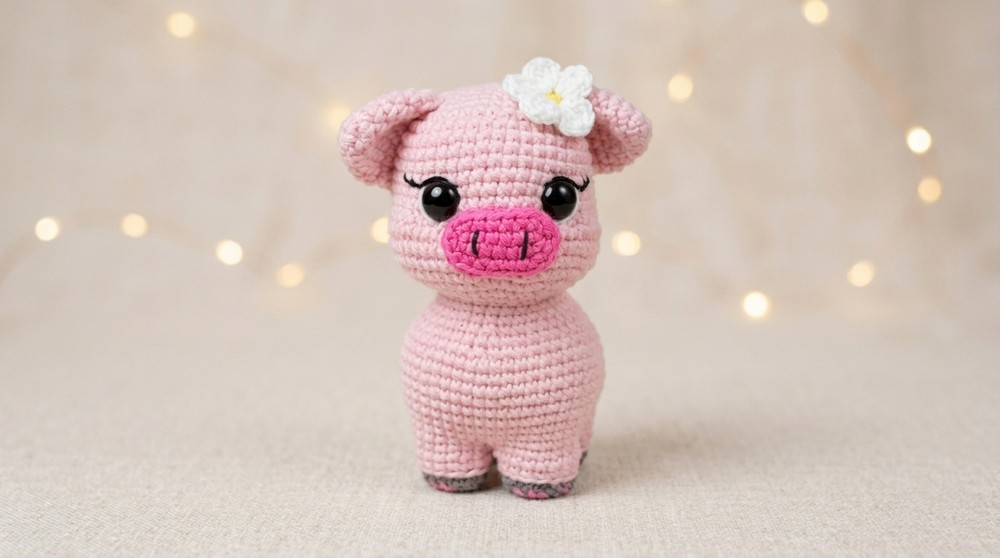
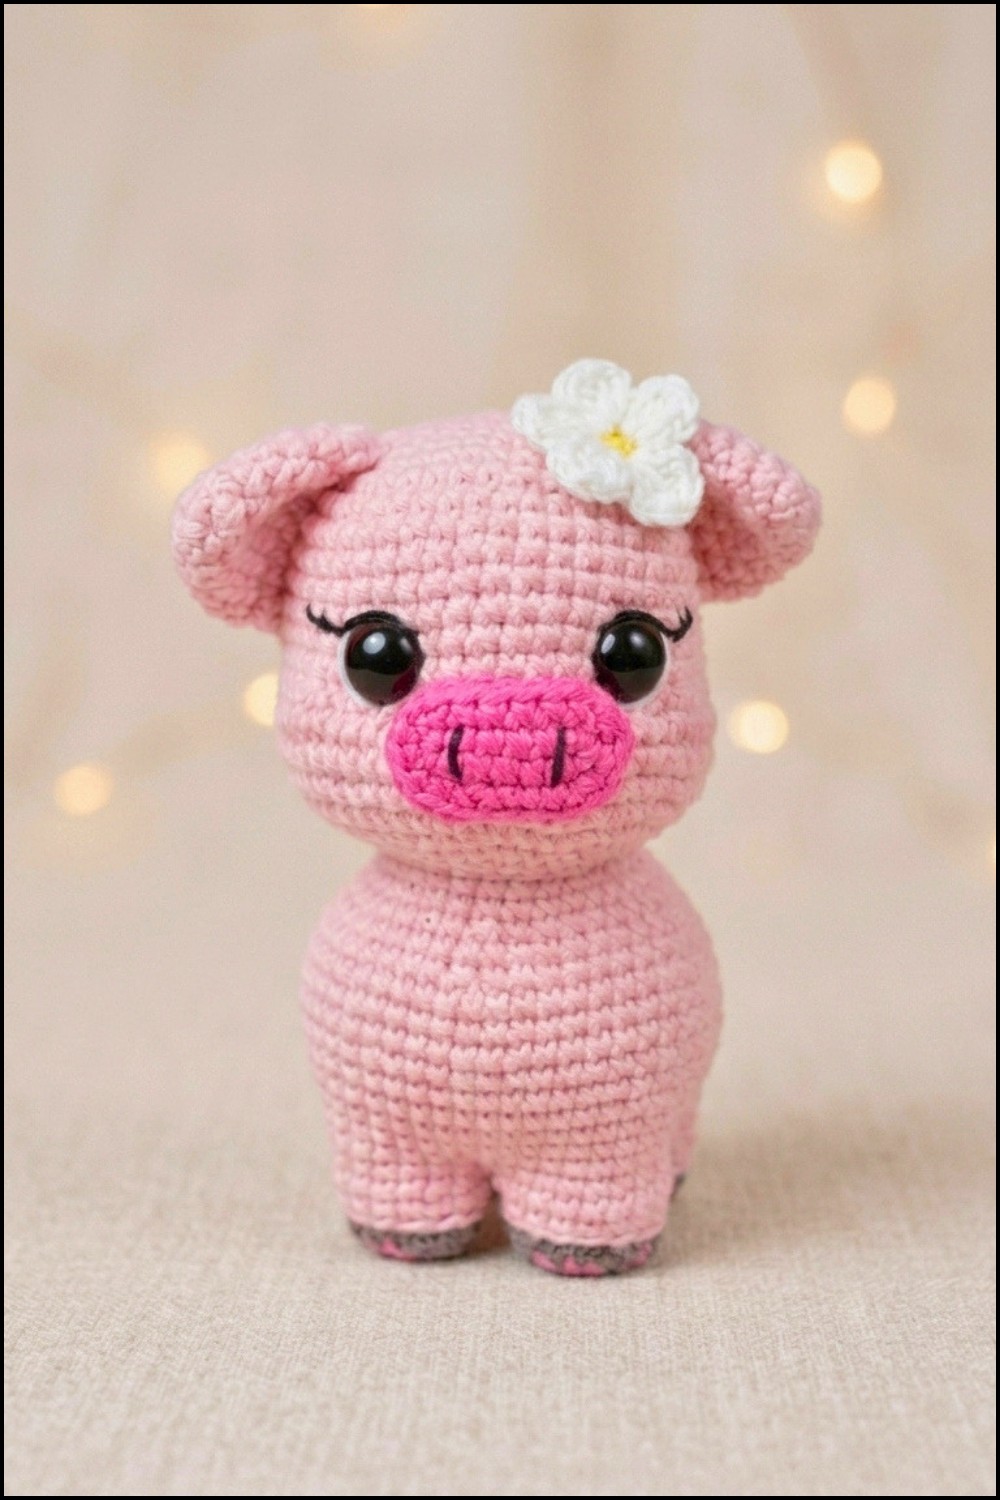
Charming, sturdy, and full of personality, this amigurumi pig is worked with seamless joining, clever shaping, and a decorative flourish. Designed at approximately 14 cm in height, its finished look includes prominent cheeks, a perky snout, expressive embroidered eyes, and a playful twisty tail. Simple round construction, clear rounds, thoughtful finishing, and built-in limbs make it an enjoyable project for advancing beginners. Use a soft pink for the body, brown for the feet, and your favorite accent colors for the finishing touches.
Pattern Basic Points
- All limbs are made separately first and then joined seamlessly to a central belly to create a strong, child-friendly toy.
- The body is crocheted in continuous rounds for a polished, professional appearance.
- Classic increases and decreases, paired with strategic color changing and special stitches, are used for shaping and detailing.
- Assembly is primarily focused on sewing the ears, tail, and facial features to the main body for a minimal finishing workload.
Special Notes
- Work with a tight tension so that stuffing doesn't show between stitches. If needed, go down a hook size.
- Color changes on the feet and snout are done as described for clean finishes.
- Fill the legs before completing the join to the main body for easier stuffing.
- Stuff the body firmly as you go for crisp shape, especially around the cheeks and neck.
Skill Level
Skill Level: Confident Beginner to Intermediate. You’ll need to know how to work in the round, increase, decrease (invisible decreases for best results), change colors, and handle simple sewing.
Materials
- Yarn: Sport or DK weight in:
- Light pink (main body and ears)
- Darker pink (snout)
- Brown (feet)
- Yellow and white (flower, optional)
- Embroidery Thread: Black for eyes and lashes, white for eye highlights
- Hook: 2.5 mm crochet hook (or size needed for a firm fabric)
- Stuffing: Polyester fiberfill
- Notions: Stitch marker, yarn needle, embroidery needle, scissors
- Optional: 12 mm safety eyes
Measurements
- Finished Size: Approx. 14 cm (5.5 inches) tall, not including the flower if attached.
Gauge
- Gauge: Not crucial for amigurumi projects but approximately:
- 6 sc x 7 rounds = 2 cm square (un-stuffed). Adjust hook/yarn to ensure a fabric that holds fiberfill without stretching.
Stitch Pattern
- Single crochet (sc) in spiraling rounds.
- “Back loop only” (BLO) sections for extra definition on color changes.
Stitch Abbreviations
| Abbreviation | Meaning |
|---|---|
| ch | chain |
| sc | single crochet |
| inc | increase (2 sc in same st) |
| dec | decrease (sc2tog) |
| BLO | back loop only |
| sl st | slip stitch |
Special Stitches
- Invisible Decrease: Insert hook into front loop of next two stitches, yarn over, pull through both, yarn over, complete stitch.
- Popcorn or Cluster: Used only for the optional flower petals.
- Half Double Crochet (hdc): Used for the twisty tail.
Step-by-Step Pattern
Pig Feet (Make 4)
Round 1:
- With brown yarn, make a magic ring, work 8 sc into the ring. (8)
Round 2:
- 8 inc (2 sc in each st around). (16)
Round 3 (BLO):
- 16 sc through the back loop only. (16)
Round 4:
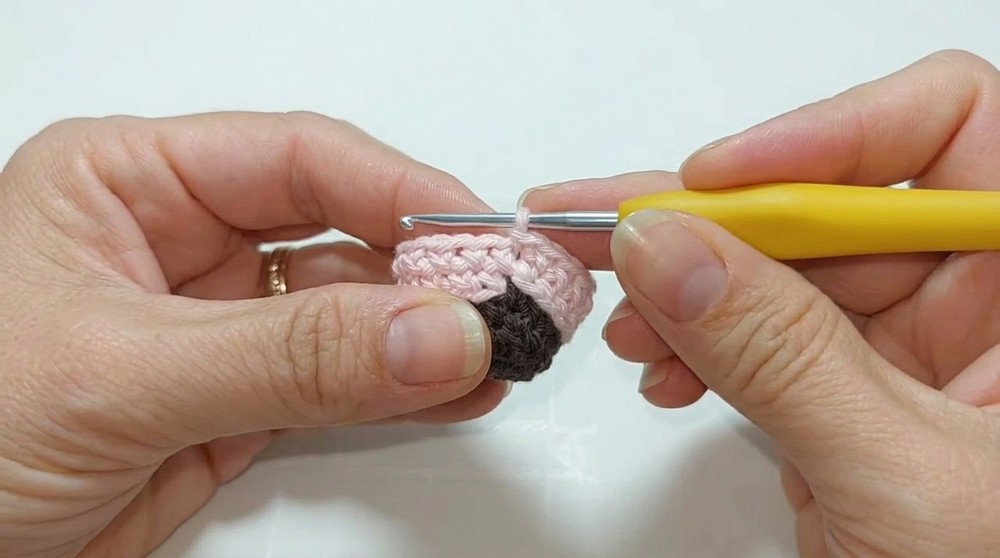
- Change to pink:
- Work a standing pink sc in next st to change color smoothly (see notes above).
- For the first st, use brown for initial yarn over and pink to finish the stitch, then cut brown.
- 16 sc (through both loops as usual).
Round 5:
- 16 sc
Fasten off, leaving a long tail for sewing. Make 4 in total.
Belly Center
Round 1:
- Using pink, make a magic ring, 8 sc into the ring. (8)
Round 2:
- 8 inc (16)
Fasten off, leaving a long tail.
Joining Feet to Belly
- Lay out belly circle with right side facing you.
- Join feet, matching one point on belly to one st on each foot.
- Attach each foot over four sts (so all 4 feet use 16 sts of the belly).
- Seam these together firmly one by one with sc or whip stitch for strength.
Body
Now continue in the round, working over remaining foot stitches and the outer loops of the belly to start the lower body.
Round 1:
- Work 12 sc around each foot as you go, closing small gaps at joins with stitch or needle if needed. (Total: 48)
Round 2:
- [7 sc, inc] x6 (Repeat 6 times: 7 sc, 1 inc) (54)
Rounds 3-10:
- 54 sc (8 rounds for the body’s main section)
Round 11:
- [7 sc, dec] x6 (48)
Round 12:
- 48 sc
Round 13:
- [6 sc, dec] x6 (42)
Round 14:
- 42 sc
Round 15:
- 2 sc, dec x3, 18 sc, 2 sc, dec x3, 6 sc (maintain symmetry for nice shaping), (42)
Round 16:
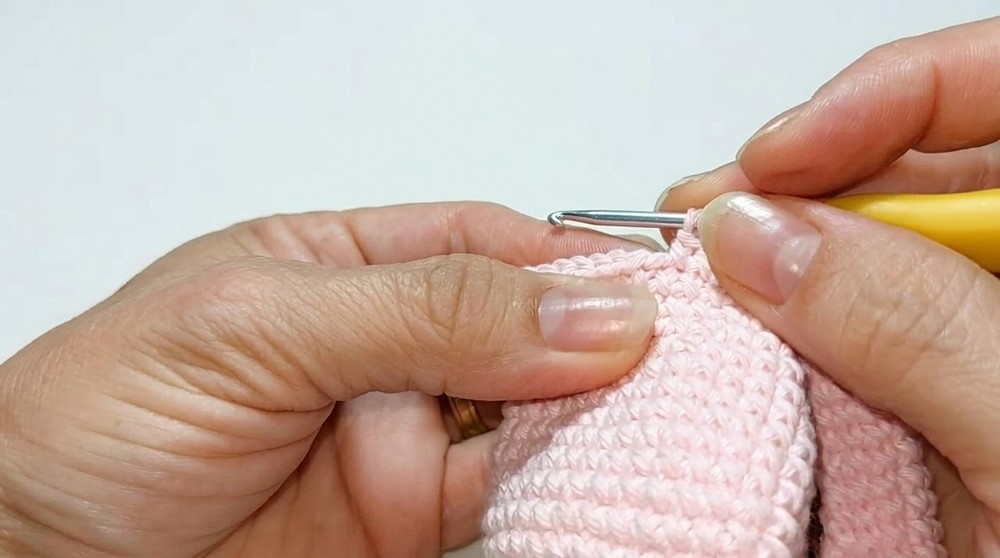
- 1 sc, dec x3, 18 sc, 1 sc, dec x3, 9 sc (36)
- (Triple check the sequence for symmetry and balanced decrease.)
Round 17:
- 3 dec, 3 sc, 12 inc, 3 sc, 3 dec (36)
- (Increases are at the “back” to help shape the rump.)
Round 18:
- [6 sc, inc] x6 (42)
Round 19:
- [6 sc, inc] x6 (48)
Round 20:
- [7 sc, inc] x6 (54)
Rounds 21-23:
- 54 sc (3 rounds, to form the head/neck area)
Cheek and Head Shaping
Round 24:
- 9 sc, 6 dec (creates cheeks at the front), 8 sc, 6 dec (opposite side), 13 sc (total 42)
Rounds 25-31:
- 42 sc (7 rounds for the main head section)
Pause to insert safety eyes or embroider eyes between rounds 31-32, about 9–12 stitches apart, centered above the cheeks.
Closing the Body
Round 32:
- [5 sc, dec] x6 (36)
Round 33: - [4 sc, dec] x6 (30)
Round 34: - [3 sc, dec] x6 (24)
Round 35: - [2 sc, dec] x6 (18)
Round 36: - [1 sc, dec] x6 (12)
Stuff firmly, especially around neck and cheeks.
Round 37:
- dec x6 (6)
Weave yarn tail through front loops of remaining 6 sts and pull tight to close.
Snout
Foundation:
- With darker pink, ch 7.
Row 1:
- Beginning in 2nd ch from hook: 5 sc, 3 sc in last ch, rotate work, 4 sc along back loops of foundation, 2 sc in last ch. (14)
Row 2:
- (inc, 4 sc), (inc x3), 4 sc, (inc x2) (20)
- (Keep increases at tips to build oval.)
Fasten off leaving a long tail for sewing. Embroider nostrils with black thread. Sew the snout slightly above the cheek line at the center of the face using whipstitch.
Ears (Make 2)
Round 1:
- Magic ring, 6 sc (6)
Round 2: - (sc, inc) x3 (9)
Round 3: - (2 sc, inc) x3 (12)
Round 4: - (3 sc, inc) x3 (15)
Round 5: - (4 sc, inc) x3 (18)
Round 6: - 18 sc
Row 7: - Work 9 sc, fold ear in half so the opening closes, sl st or sc through both layers across (9) for a folded, cupped look.
Leave tail for sewing, attach to the head on either side, across 4–5 rounds up from the eyes.
Twisty Tail
With pink:
- Ch 9.
- Sk first 2 ch, hdc 3 in each ch to end for a tight curl.
- Fasten off, sew to lower back between back legs.
Optional Flower
Flower Center:
- With yellow: magic ring, 5 sc.
- Change to white:
Sl st in the first sc, ch 2, (dc, ch 2, sl st in next sc), repeat in each stitch for 5 petals.
Sew to ear or side as decoration.
Assembly & Finished Size
- Use pins to position all parts before sewing.
- Embroider eyes, lashes, nostrils, and highlights as preferred. Stitch head details before closing the top.
- Sew ears and tail securely. Attach optional flower.
- Hide all threads and secure knots inside the body.
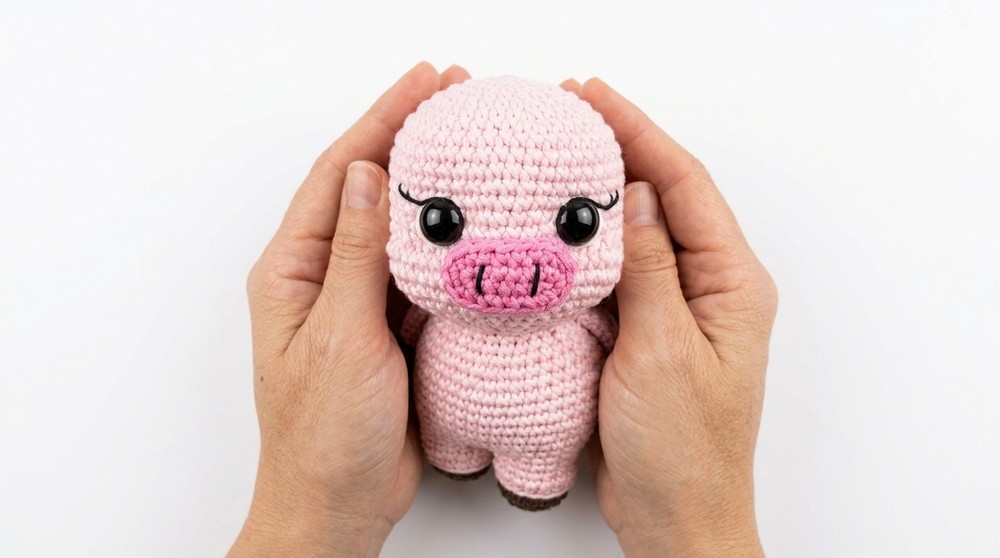
Finished pig measures around 14 cm including ears and tail.
Conclusion
This pattern provides a reliable way to create a sturdy and whimsical piglet plush with clever joins and minimal finishing. Experiment with pastel shades for a springtime look or bold brights for a playful toy. Embroider features for safety, and securely attach all parts for a robust finish. Each element of this project enhances confidence in 3D shaping techniques, color changes, and amigurumi finishing touches, leading to a results that are perfect as gifts, collectibles, or for imaginative play.




Leave a Reply