

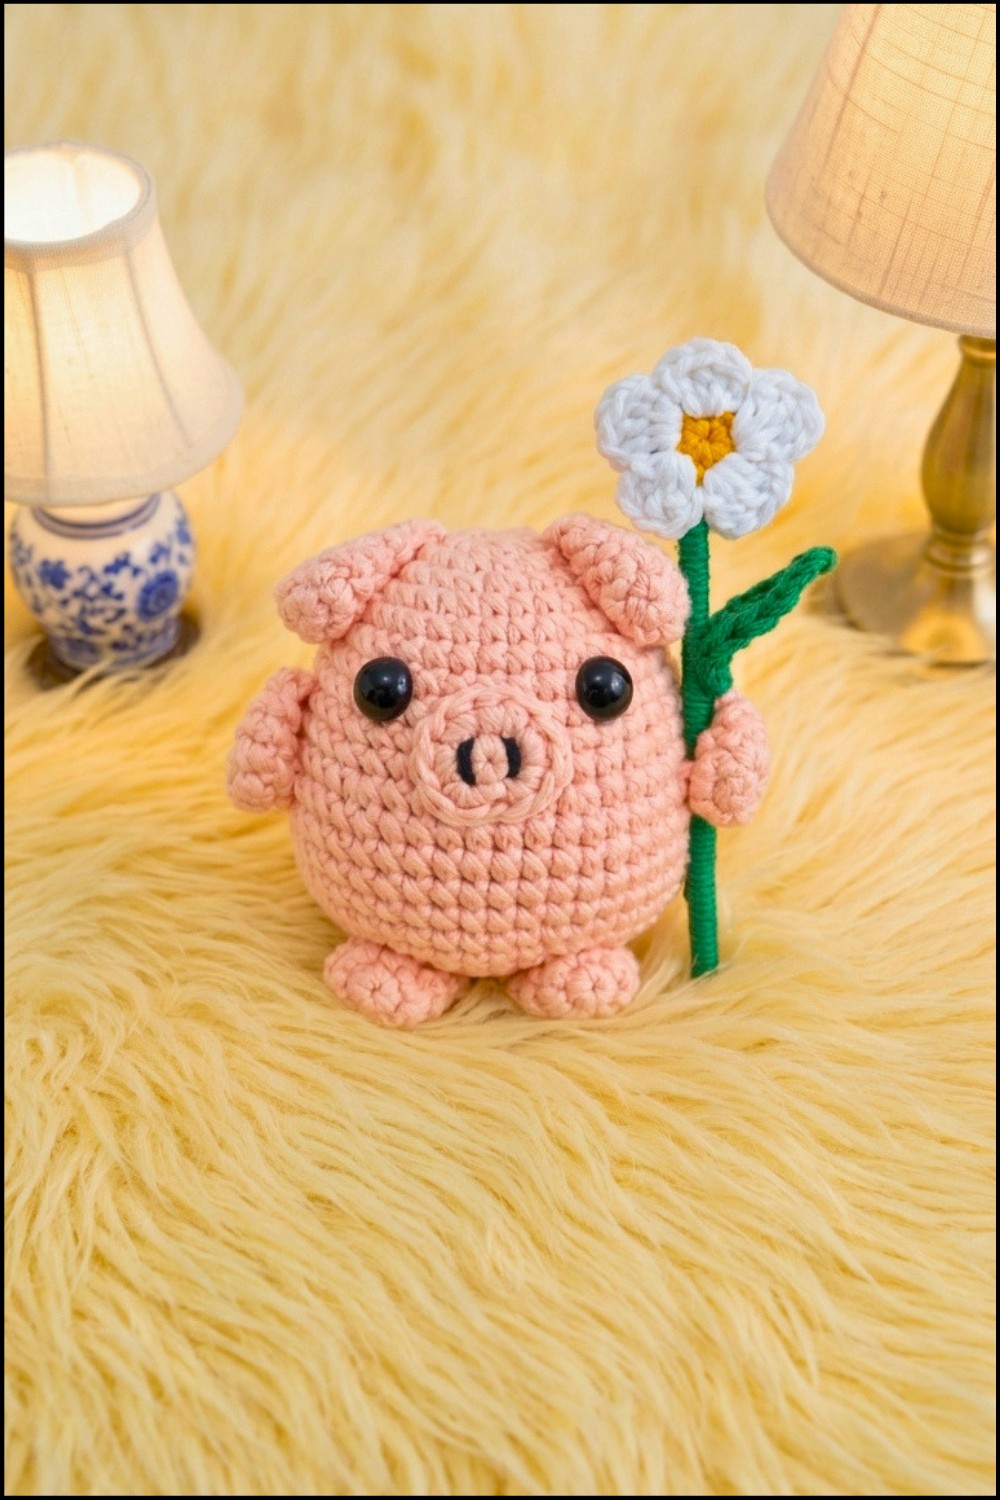
Who knew a little pig could be so adorable and fun? This Crochet Pig with Flower sports a round body, tiny ears, and a curly tail full of personality. The flower adds a playful touch that makes it hard not to smile. It’s just the right size to brighten up any room, desk, or shelf.
Free Crochet Pig with Flower Pattern to Add Charm to Any Room
This project is perfect for practicing basic crochet skills like single crochet, working in rounds, and shaping with increases and decreases. Attaching the ears and flower helps improve your finishing skills. Using soft yarn and the proper hook size ensures your pig looks neat and cuddly.
This sweet pig has many uses: it makes a delightful keychain or bag charm, a cute gift for friends or family, or a fun handmade toy for children. It can also serve as a whimsical decoration in a nursery, office, or craft room. Small and portable, it’s easy to carry around or include in gift baskets.
If you enjoy making charming little creatures or want an enjoyable new project, this pig is a perfect choice. Continue reading for tips, materials, and instructions to bring your funny, lovable pig to life!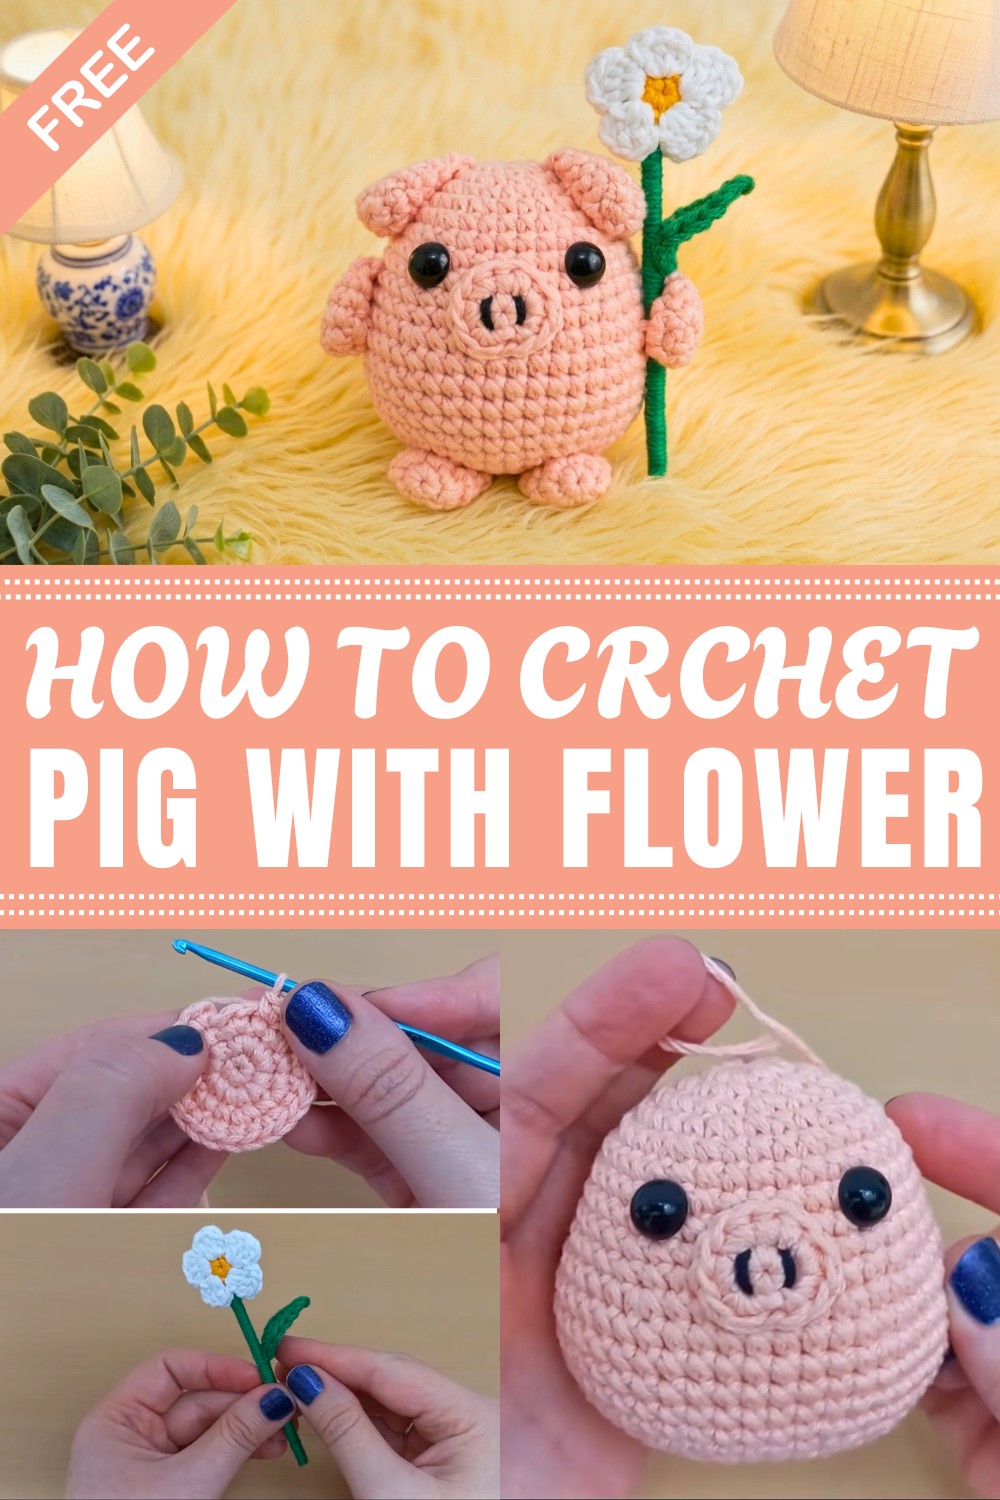
Mini Crochet Pig with Flower Amigurumi Pattern
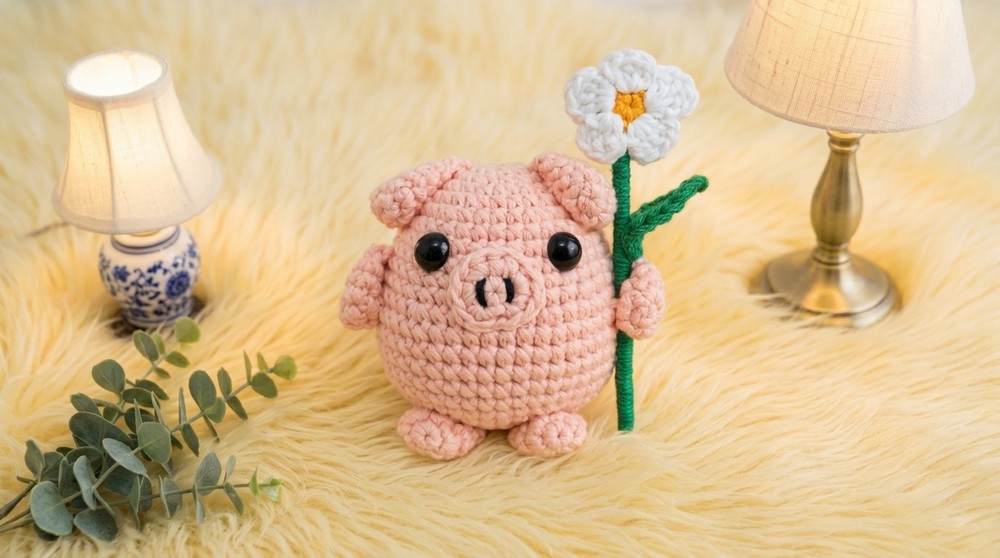
This adorable little pig holding a flower—a tiny amigurumi project that measures between 7 and 8 cm long, and about 12 cm tall including the flower. This pig is perfect for gifting or as a whimsical desk companion.
Quick Overview Of Pattern
- Body: Worked in the round from bottom up, with increases for shaping and decreases for closure.
- Ears, Arms, Legs, Tail, Snout: Each crocheted separately and sewn onto the body.
- Flower: Crocheted in three parts (center, petals, backing), then attached to a covered stick stem with a leaf.
- Assembly: All parts are sewn and glued together for a polished finish.
Notes
- This pattern uses seamless rounds except where noted; rounds can be closed with a slip stitch or worked in a spiral.
- Adjust the placement of facial features for your preferred expression.
- Use craft glue or silicone to attach non-yarn components such as the flower stem.
- The final size will vary depending on yarn, hook, and tension.
Skill Level
Advanced Beginner / Intermediate
(Familiarity with magic ring, working in rounds, increases, decreases, simple shaping, sewing parts, and working with amigurumi.)
Materials
- Yarn: Granny cotton yarn or similar in pale pink (main body), white, yellow, green.
- Crochet Hook: 3 mm (adapt size for your yarn)
- Stuffing: Polyester fiberfill
- Safety eyes: 10 mm (black)
- Black embroidery thread: For snout detail
- Wooden skewer stick: For flower stem
- Craft glue or silicone glue: For flower assembly
- Scissors
- Yarn needle (for sewing parts)
- Stitch markers
- Pins
- Optional: Lighter for melting safety eye backs
Measurements / Sizing
- Pig Body: 7–8 cm (3 in) long
- Height with flower: Approx. 12 cm (4.7 in)
Gauge
Gauge is not crucial, but aim for a tight fabric so stuffing does not show through.
Stitch Abbreviations
| Abbreviation | Term |
|---|---|
| ch | chain |
| sc | single crochet |
| inc | increase (2 sc in same st) |
| dec | decrease (sc2tog) |
| sl st | slip stitch |
| hdc | half double crochet |
| dc | double crochet |
| rnd | round |
Special Stitches
- Magic ring: Make a loop and crochet into it for a seamless start.
- Invisible closure: Used for finishing flat or decorative rounds, as described.
- Fold and slip stitch: For closing arms/legs/ears flat.
How to Crochet This Project
Pig Body
Rnd 1: Magic ring, 6 sc in ring.
Rnd 2: 6 inc (2 sc in each st)—12 sc.
Rnd 3: (1 sc, inc) around—18 sc.
Rnd 4: Start with inc, (2 sc, inc) around. (At end, finish by working the 2 sc left from start.)—24 sc.
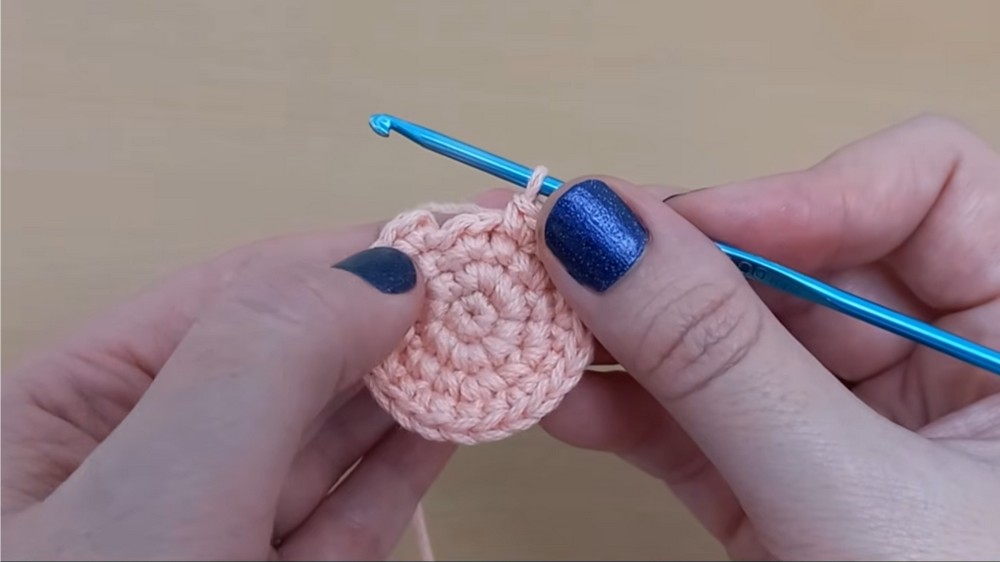
Rnd 5: (3 sc, inc) around—30 sc.
Rnd 6: Start with 2 sc, inc, (4 sc, inc) repeat, finish final 2 sc at end—36 sc.
Rnd 7–10: sc in each st around—36 sc per rnd.
Rnd 11: (5 sc, inc) around—42 sc.
Rnd 12: Divide 6 sc as 3, inc, then finish final 3 sc at end; (6 sc, inc) around—48 sc.
Rnd 13–17: sc in each st around—48 sc per rnd.
Eyes: Insert 10 mm safety eyes between rounds 8 and 9, 7 stitches apart.
Rnd 18: Divide 6 sc as 3, dec, then final 3 sc at end; (6 sc, dec) around—42 sc.
Rnd 19: (5 sc, dec) around—36 sc.
Rnd 20: Divide 4 sc as 2 sc, dec, then final 2 sc at end; (4 sc, dec) around—30 sc.
Rnd 21: (3 sc, dec) around—24 sc.
Rnd 22: Divide 2 sc as 1 sc, dec, then finish last sc at end; (2 sc, dec) around—18 sc.
Stuff firmly!
Rnd 23: (1 sc, dec) around—12 sc.
Rnd 24: 6 dec—6 sc.
Finish: Cut yarn, thread needle, weave through final 6 sts, pull to close. Tie a knot, hide and cut yarn.
Ears (make 2)
Rnd 1: Magic ring, 6 sc in ring.
Rnd 2: (1 sc, inc) around—9 sc.
Rnd 3: sc in each st—9 sc.
Rnd 4: (2 sc, inc) around—12 sc.
Rnd 5: sc in each st—12 sc.
Rnd 6: Fold in half; working through both sides, sl st across to close (6 sl st).
Secure: Ch 1, cut yarn leaving long tail for sewing.
Legs (make 2)
Rnd 1: Magic ring, 5 sc in ring.
Rnd 2: 5 inc—10 sc.
Rnd 3–4: sc in each st—10 sc per round.
Finish: Fold in half and sl st across to close (5 sl st).
Ch 1, cut yarn leaving tail for sewing.
Arms (make 2)
Rnd 1: Magic ring, 6 sc in ring.
Rnd 2: (1 sc, inc) around—9 sc.
Rnd 3–4: sc in each st—9 sc per round.
Finish: Fold in half, skip first st, sl st across (4 sl st—pick up from both front and back), ch 1, cut yarn.
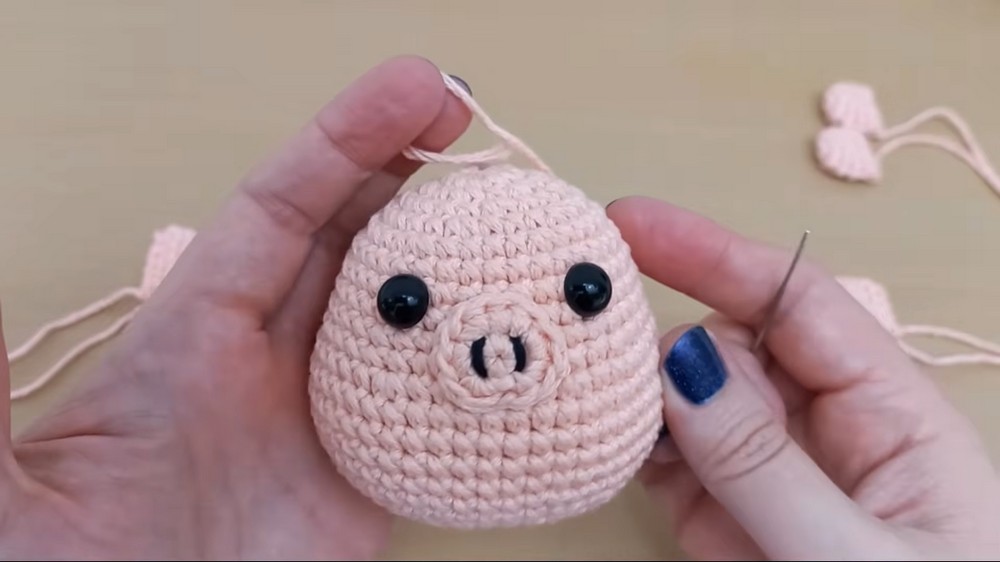
Snout
Rnd 1: Magic ring, 6 sc in ring.
Rnd 2: 6 inc—12 sc.
Finish: Cut yarn, leave tail.
Invisible bind-off: Thread tapestry needle, run through first stitch then through strands on back.
Decorate: With black thread, embroider two vertical lines for nostrils. Tie at back, cut excess.
Tail
- Insert hook in back center of body.
- Ch 4.
- In second ch from hook, 3 sc.
- Next ch: 3 sc.
- Last ch: 3 sc.
- Cut yarn, pull tail firmly and knot to secure. Hide yarn end.
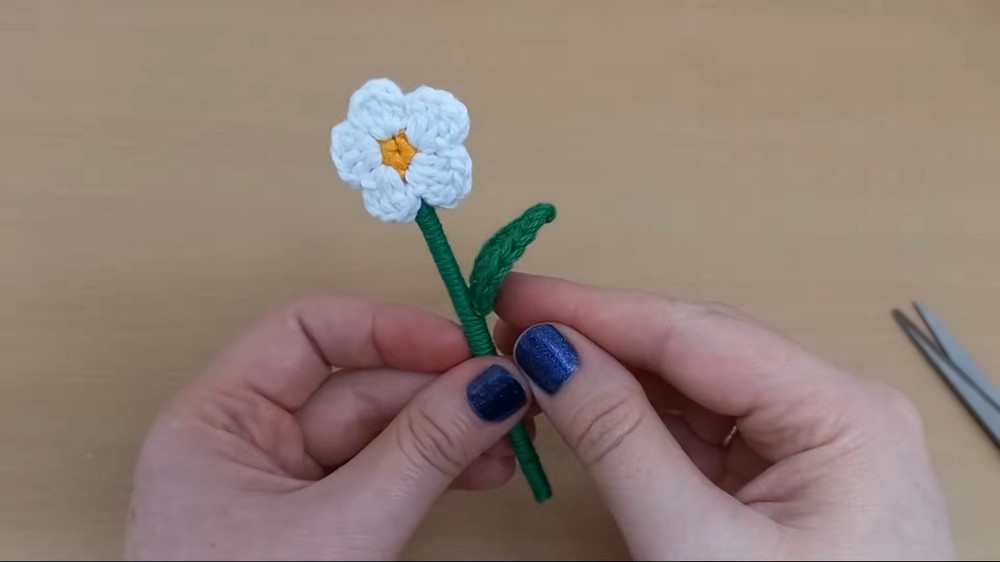
Flower
Center (yellow)
Magic ring, 5 sc, cut yarn and do invisible bind-off as above.
Petals (white)
- Join white to flower center, ch 2, 3 dc in same point, ch 1, sl st in next st.
- (Ch 2, 3 dc in same st, ch 1, sl st in next st) repeat for total 5 petals.
- End with invisible closure, tie off and trim yarn.
Backing (green)
Magic ring, 6 sc in ring.
Rnd 2: 6 inc—12 sc.
Invisible bind-off, tie knot at back.
Leaf (green)
Ch 6, sc in second ch, hdc in next 3 ch, in last ch: 2 sc.
Ch 2, in first ch: sc, then sc at base, hdc in next 3 ch back, sc at end.
Sl st in starting ch, ch 1 to secure, pull yarn and cut tail.
Flower Stem
- Use wooden skewer.
- Cut to desired height (flower plus pig ~12 cm).
- Glue and wrap with green yarn until reaching leaf placement.
- Glue leaf securely, continue wrapping stem to end.
- When finishing wrapping, glue yarn tip and trim as needed.
Assembly & Finished Size
- Sew snout to face, centered below eyes.
- Attach ears to top of head, pin in position first, sew securely and flat against head.
- Sew legs near front-bottom, angled forward to support pig upright.
- Sew arms diagonally, with one arm holding the flower.
- Sew tail at center rear.
- Assemble flower: Glue stem and leaf, glue backing, glue flower center and white petals to top. Attach flower to arm.
- Finished pig: 7–8 cm long; with flower, about 12 cm tall.
Conclusion and Ending Words
Your mini pig with a flower is finished—a delightful project that combines careful shaping, easy color changes, and satisfying amigurumi assembly. Whether gifted or kept for yourself, this sweet pig with its cheerful flower is sure to bring smiles.

Leave a Reply