

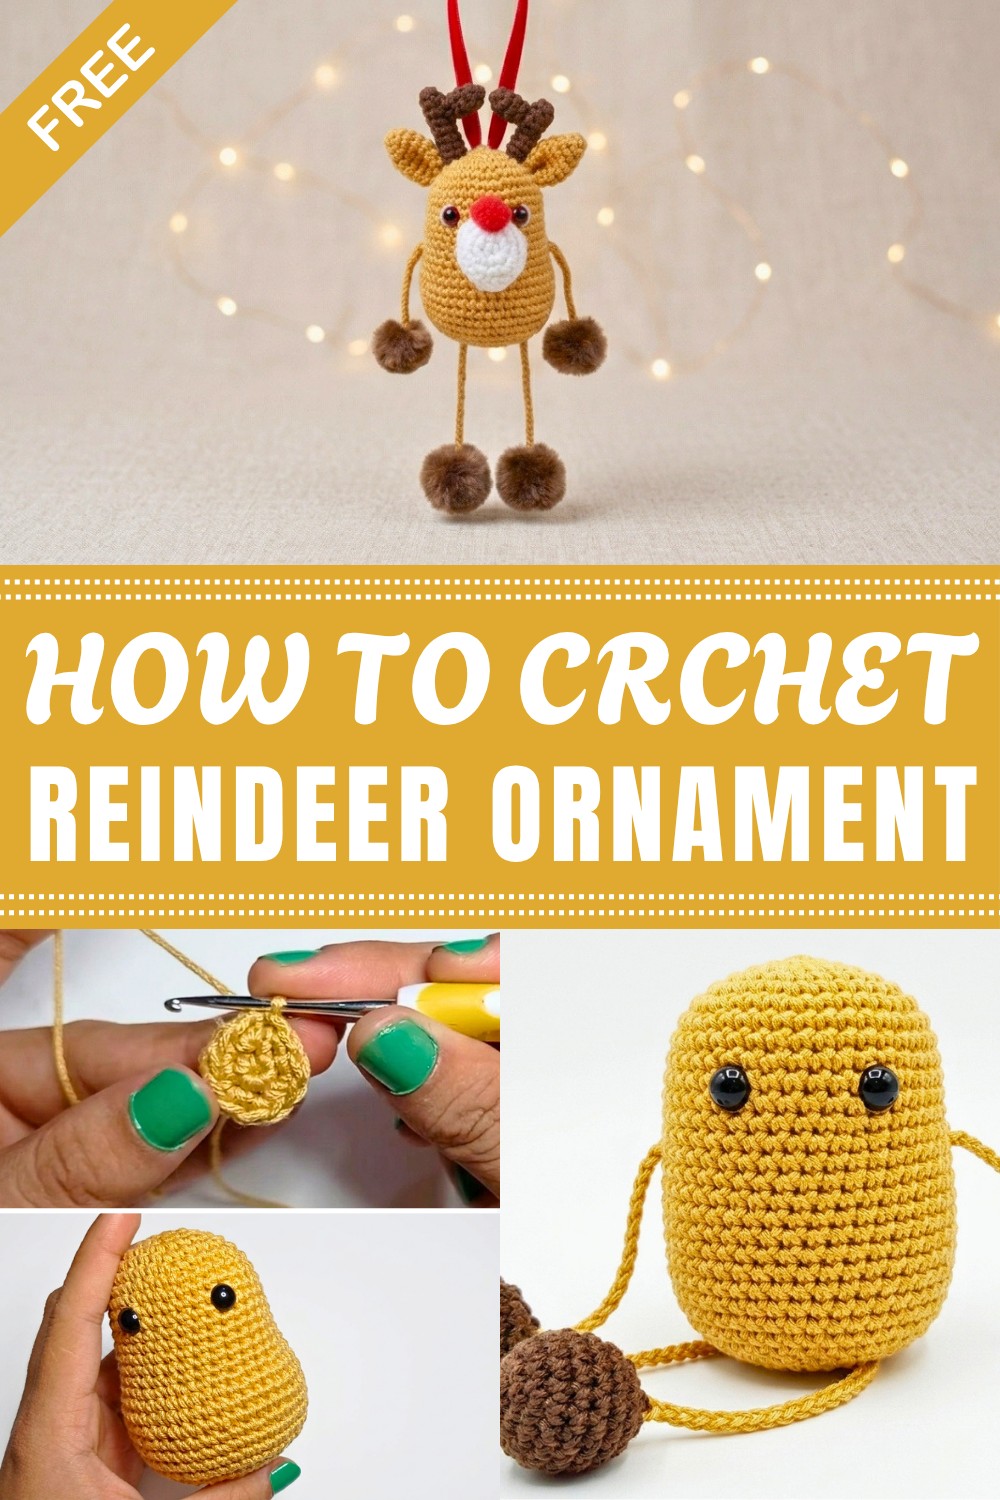
Try this unique Free Crochet Reindeer Ornament pattern with soft yarn and detailed antlers that adds festive cheer to your holiday décor and delightful loved ones.
Looking for a cute decoration to add to your holiday season? The Crochet Reindeer Ornament is a small and charming piece that looks great on Christmas trees, as gifts, or in festive displays.
Making this little ornament involves creating a round body, friendly eyes, and soft, detailed antlers with yarn. Its small size makes it easy to hang on branches, wreaths, or garlands. Simple shapes and small details like a nose and ears give it a warm, cheerful look.
Sweet Crochet Reindeer Ornament Free Pattern with Festive Details
This project is good for beginners to intermediate crocheters. It uses basic stitches like single crochet, increasing and decreasing to shape the parts, and slip stitch to join them. The amigurumi style keeps stitches tight and neat, making the ornament strong enough to use year after year.
Making the Crochet Reindeer Ornament helps improve your crochet skills while adding a lovely touch to your holiday decorations. You can try different yarns and colors to make each one special. The simple techniques and cute details make this ornament a great addition to any handmade holiday collection.
Mini Reindeer Pendant Crochet Pattern
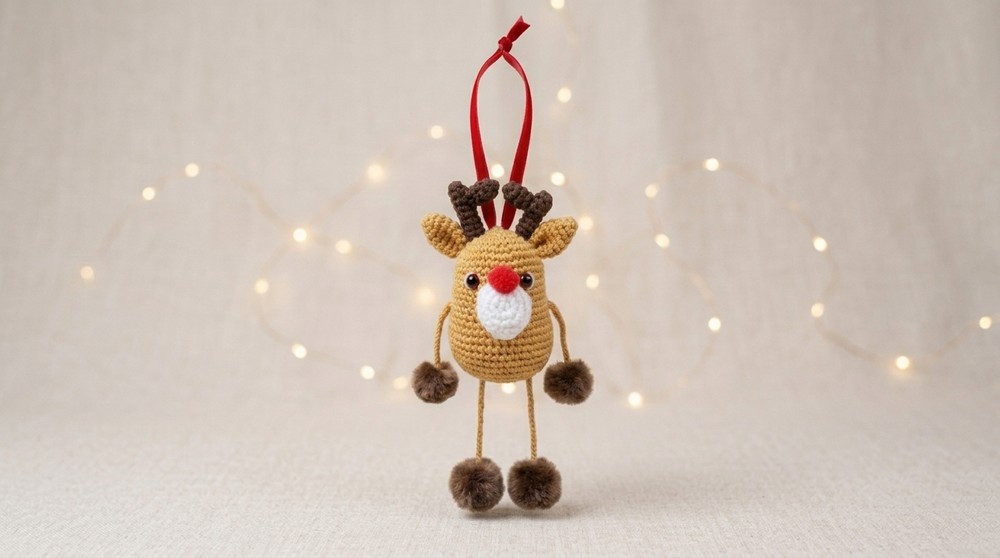
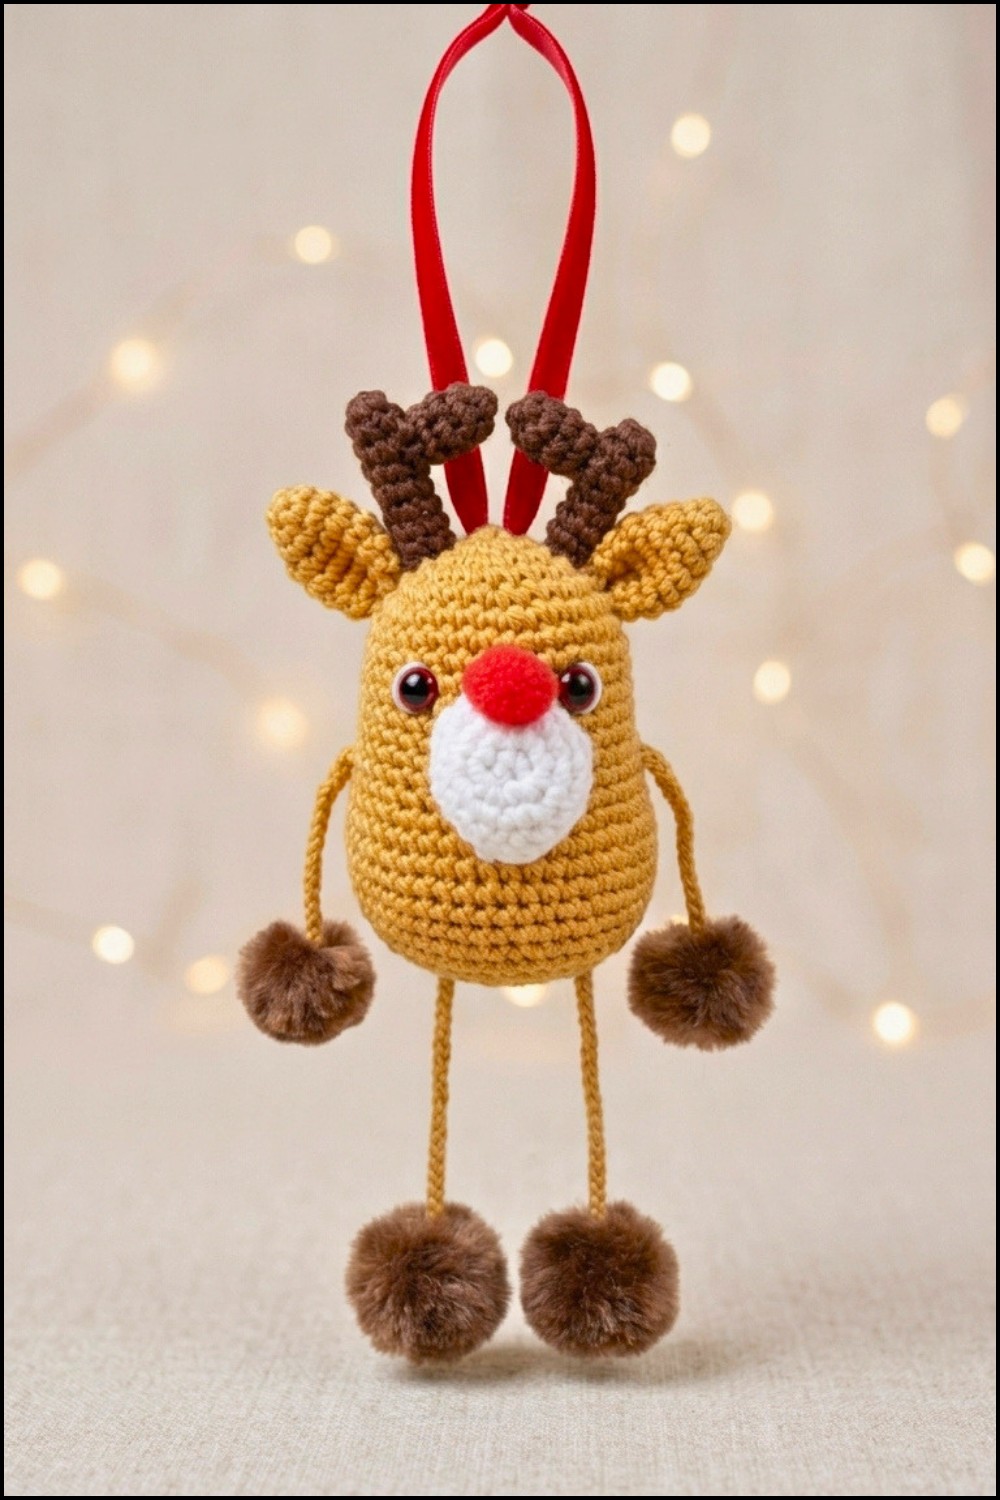
This mini reindeer pendant offers a festive and charming addition to any holiday ornament collection. With a detailed amigurumi approach, the design features a classic round body, expressive snout, playful horns, ears, and appendages that are carefully assembled. The project is crafted in joined rounds for defined shaping and stability, resulting in a small, well-constructed pendant ornament that can be personalized with traditional or vibrant colors.
Pattern Basic Points
- The reindeer is constructed in separate motifs: body, snout, ears, horns, legs, with additional chains for attaching extremities.
- All crochet parts are worked in joined rounds to create symmetrical, smooth body shapes.
- Careful increases and decreases ensure uniform sphere shaping for the body, with distinctive anatomical details.
- The project incorporates safety eyes and pom-poms as embellishments for enhanced character.
- Final assembly includes careful sewing and stuffing of parts to maintain a well-finished appearance.
Special Notes
- Use joined rounds by slip stitching to the first stitch at the end of each round, which gives a neater finish and easier counting.
- Incorporate a stitch marker at the beginning of each round for precise tracking, especially as the stitch count changes.
- Stuff parts lightly to avoid stretching the fabric; this keeps the pendant lightweight and maintains miniature proportions.
- Choose yarn and pom-pom colors for maximum contrast and festivity, and ensure safety eyes and pom-poms are securely fastened.
- Take extra care when sewing small parts to their respective places, making stitches tight and nearly invisible for a polished look.
Skill Level
Intermediate
The pattern is appropriate for crafters who have mastered magic ring, joined rounds, increases, decreases, chain, and basic tapestry needle sewing. Managing small motifs and attaching details requires some experience but is accessible to confident beginners ready for a challenge and to intermediate crocheters.
Materials
- Yarn: 2mm weight (Sinfonía brand or similar)
- Gold/Tan (main body)
- Dark Brown (horns/legs)
- White (snout)
- Hook: 2.5mm crochet hook
- Extras:
- 9mm safety eyes (1 pair)
- Small red pom-pom (for nose)
- 2 dark brown pom-poms (for hands or feet)
- Fiberfill stuffing
- Tapestry needle
- Scissors
Measurements, Gauge & Stitch Pattern
- Finished Size: Mini pendant, approximately 8–9 cm in height.
- Body Sphere: About 4–4.5 cm diameter.
- Snout: 2 cm across.
- Gauge: Amigurumi is worked with tight single crochet for structure; gauge is not critical but stitches should be close enough to hold stuffing.
- 10 sc x 10 rows = 2 cm x 2 cm (with recommended yarn and hook)
- Stitch Pattern: Single crochet in joined rounds.
Stitch Abbreviations
- MR: Magic Ring
- sc: Single Crochet
- inc: Increase (2 sc in same stitch)
- dec: Decrease (sc two stitches together)
- ch: Chain
- sl st: Slip Stitch
Special Stitches
- Magic Ring (MR):
Form a loop, crochet the indicated number of stitches into the ring, then pull tight for a closed center. - Invisible Decrease (dec):
Insert hook into the front loop of two adjacent stitches, yarn over and pull through, then yarn over and pull through remaining loops. - Increase (inc):
Two single crochet stitches worked into one stitch.
Pattern Instructions
Body
Round 1:
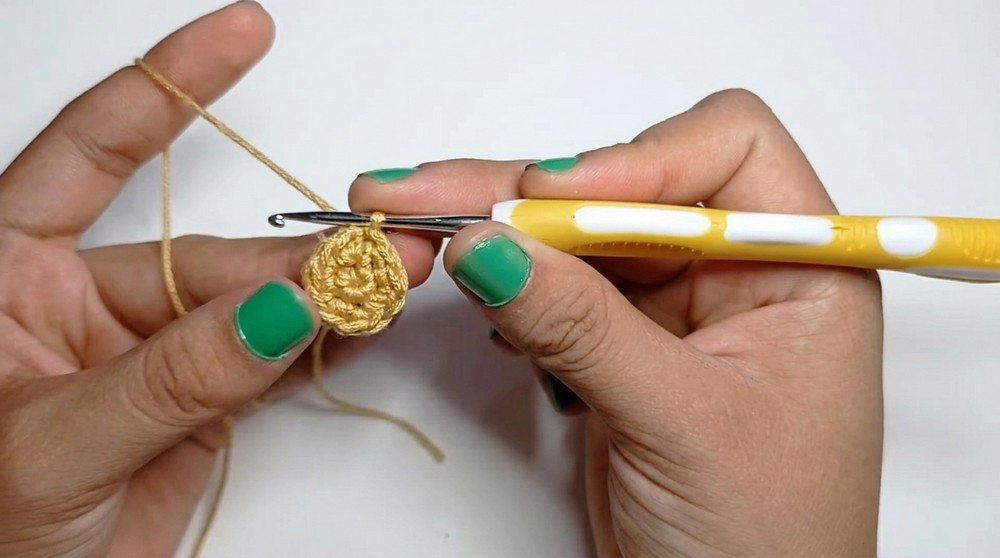
- Begin with a magic ring (MR) and work 6 sc. Join with sl st.
Round 2:
- Work inc in each stitch (12 sc). Join with sl st.
Round 3:
- (1 sc, inc) around (18 sc). Join with sl st.
Round 4:
- (2 sc, inc) around (24 sc). Join with sl st.
Round 5:
- (3 sc, inc) around (30 sc). Join.
Round 6:
- (4 sc, inc) around (36 sc). Join.
Rounds 7–15:
- Work 1 sc in each stitch, 36 sc per round. After each round, join with sl st.
Round 16:
- (5 sc, inc) around (48 sc). Join.
Rounds 17–23:
- Work 1 sc in each stitch, 48 sc per round. Join after each round.
Round 24:
- (1 sc, dec) around (40 sc). Join.
Round 25:
- (1 sc, dec) around (32 sc). Join.
Round 26:
- (1 sc, dec) around (24 sc). Join.
Round 27:
- (1 sc, dec) around (16 sc). Join.
Round 28:
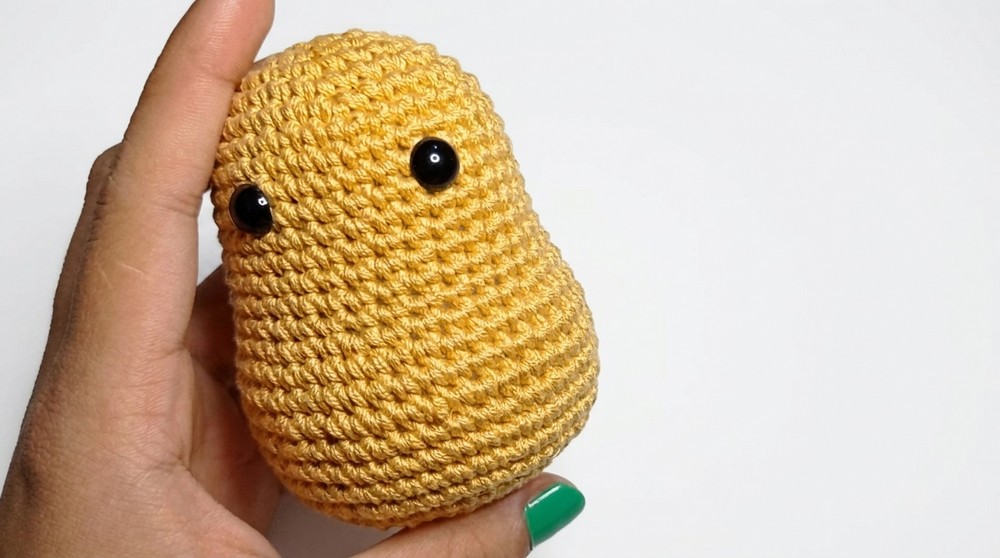
- Work 8 sc, then use dec to close as needed. Fasten off and weave the end.
- Stuff firmly before closing.
Snout
Round 1:
- MR, 6 sc. Join.
Round 2:
- Inc in each stitch (12 sc). Join.
Round 3:
- (1 sc, inc) around (18 sc). Join.
Round 4:
- (2 sc, inc) around (24 sc). Join.
Rounds 5–6:
- Work 1 sc in each stitch (24 sc per round). Join after each round.
- Fasten off, leaving a tail for sewing.
Ears (make 2)
Round 1:
- MR, 6 sc. Join.
Round 2:
- Inc in each stitch (12 sc). Join.
Rounds 3–7:
- Work 1 sc in each stitch (12 sc per round). Join after each round.
- Fasten off, leaving a tail.
Horns (make 2)
- For small horn:
- MR, 6 sc. Join.
- Work 1 sc in each stitch for 4 rounds. Join each round.
- Lightly stuff.
- For long horn:
- Same as above, but work 1 sc in each stitch for 8 rounds.
- Stuff lightly and fasten off.
Legs (make 2)
Round 1:
- MR, 8 sc. Join.
Round 2:
- Inc in each stitch (16 sc). Join.
Rounds 3–6:
- Work 1 sc in each stitch (16 sc per round). Join after each round.
Round 7:
- (1 sc, dec) around to reduce and close.
- Fasten off, leave tail for sewing. Lightly stuff.
Assembly Instructions
Chain Extremities:
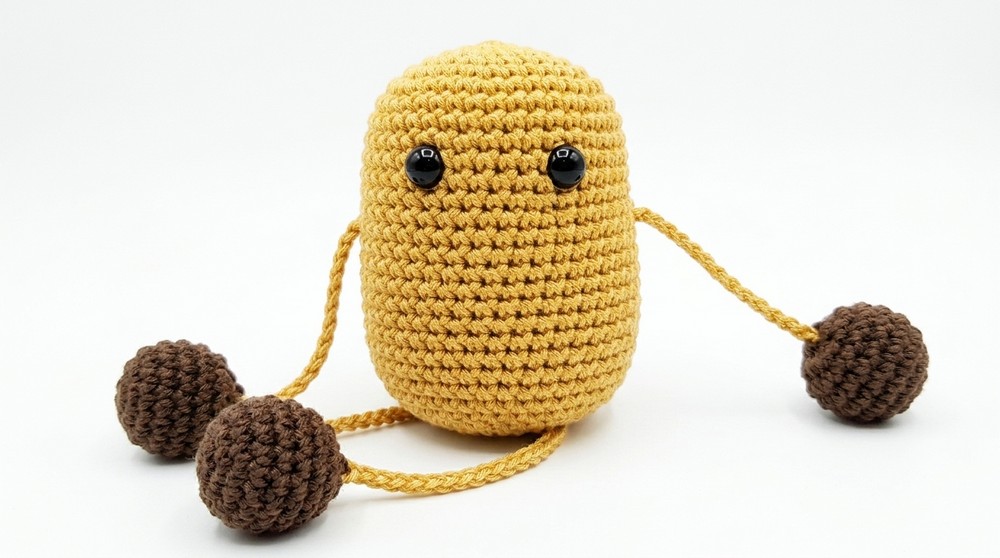
- For each arm: Use dark brown yarn. Ch 15, fasten off, leaving ends to attach.
- For each leg: Ch 20 using dark brown yarn.
Sewing & Creation:
- With tapestry needle, sew snout centrally onto the front of the body sphere.
- Attach the 9mm safety eyes symmetrically above the snout.
- Sew ears to each side of the head, slightly above eye level.
- Attach horns at the top of the head, positioning small and long horns as desired.
- Securely sew the chain arms to each side of the body, and chain legs to the base.
- Optionally, attach dark brown pom-poms to chain ends for hands/feet.
- Affix the small red pom-pom at the tip of the snout for the characteristic reindeer nose.
- Weave in all yarn ends and trim excess for neatness.
Finished Size
- Height: Approximately 8–9 cm from antlers to feet.
- Width: At widest point (body sphere), 4–4.5 cm.
Conclusion
This mini reindeer pendant pattern blends holiday cheer with precise amigurumi technique, resulting in a well-finished ornament ideal for gifting or decorating. Working in joined rounds creates tidy and uniform shapes, while strategic increases and decreases craft a recognizable, expressive reindeer. The use of chains for extremities, along with pom-pom finishing touches and safety eyes, balances form and function. The project allows for customization with alternative color choices or variations in facial features, making each reindeer unique. The pendant holds its shape well, is lightweight, and perfectly suited for seasonal décor, tree ornaments, or keepsakes. Tailoring the assembly steps ensures each piece is securely attached, producing a lasting ornament that retains its charm season after season.
Leave a Reply