

Create an adorable Crochet Yellow Baby Monster with this fun and easy pattern that brings a playful handmade friend to life for little ones to enjoy.
The original YouTube tutorial by Xiaohui Crochet offers a delightful guide to making the Crochet Yellow Baby Monster, a cute and playful amigurumi project that’s perfect for crochet lovers of all skill levels. Creating a pattern that’s both fun and easy to follow, making it a wonderful introduction to the world of amigurumi.
Mini Crochet Yellow Baby Monster Free Pattern For Small Gifts
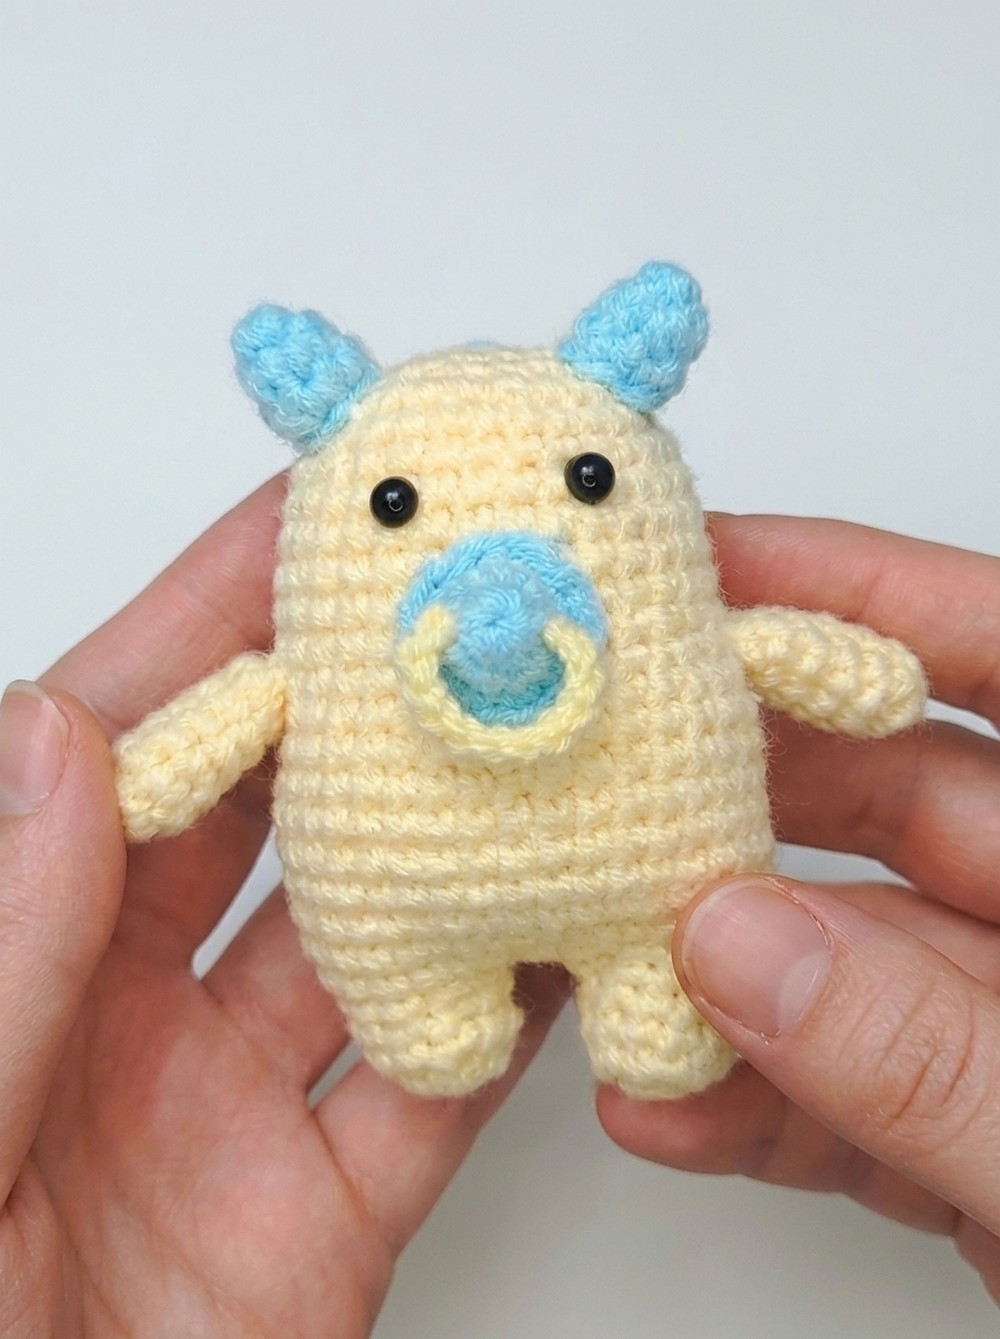
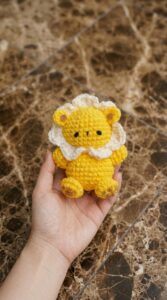
The Crochet Yellow Baby Monster is a charming little creature featuring vibrant yellow yarn that instantly catches the eye. Its most notable features include big, friendly eyes, tiny horns, and a round, cuddly body that’s perfect for holding or displaying. This adorable monster makes a great gift for kids or a whimsical decoration for any room.
One wonderful aspect of this project is its customizability. You can easily change colors, add fun accessories like a little scraf or hat, or even experiment with different sizes by adjusting your yarn or hook. This flexibility makes each Yellow Baby Monster truly unique.
The crochet process involves basic stitches like single crochet, increases, and decreases. You start by crocheting the body in a round shape, followed by the horns and eyes, which are attached at the end. The clear instructions make the assembly smooth and enjoyable.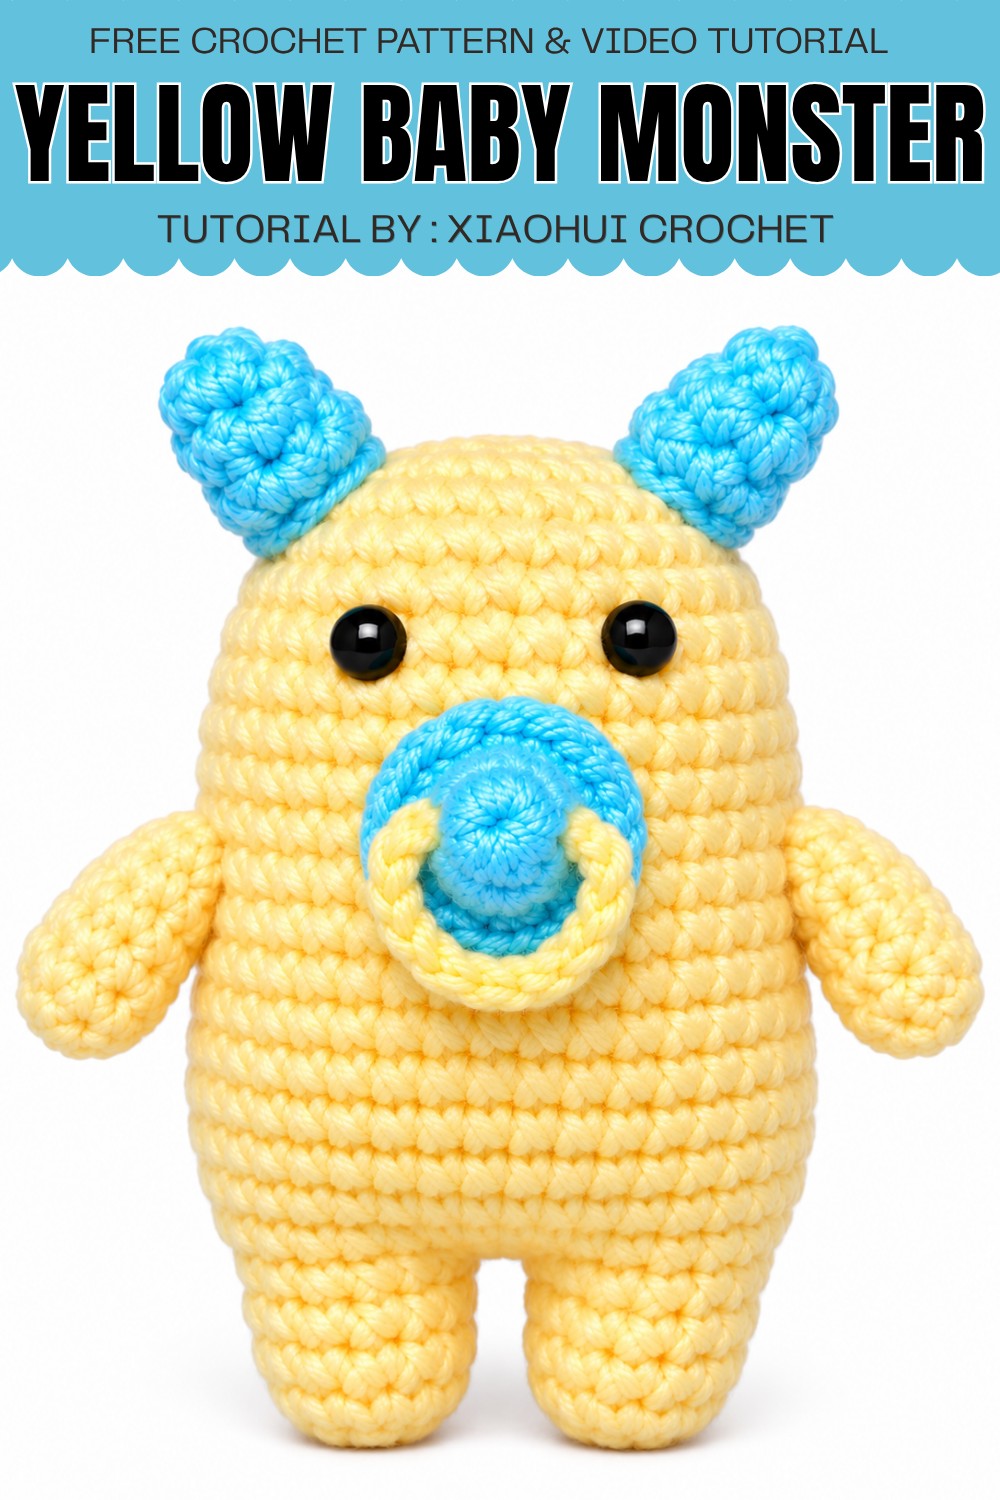
Overall, this Crochet Yellow Baby Monster is a sweet and creative project that brings a smile to anyone who sees it. Give this cute amigurumi a try and watch a little handmade friend come to life with every stitch!
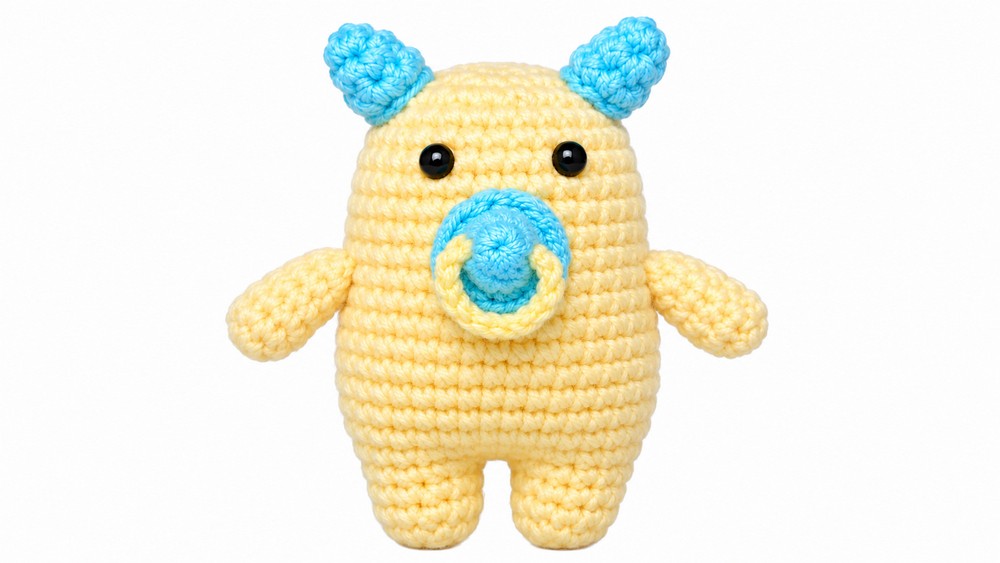
Amigurumi “Yellow Baby” Emotion Monster
The Yellow Baby emotion monster is a playful, beginner-friendly amigurumi project featuring a whimsical blend of creative elements: arms, legs, body, horns, and a pacifier. This pattern is designed in clearly demarcated steps, enabling you to build each component separately and assemble them for a charming finished toy.
About the Pattern
This pattern utilizes traditional amigurumi construction techniques in continuous rounds, focusing on single crochet for dense, soft fabric. Each element—the arms, legs, body, horns, and pacifier—is crafted individually before final assembly. The monster’s unique pacifier completes its distinctive expression, making it perfect as a gift or a playful decoration.
Pattern at a Glance
- Sequence: Construct arms, legs, body, horns, and pacifier; assemble all components.
- Techniques: Worked in spiral rounds, basic shaping for arms and legs, special techniques for horns and accessory.
- Assembly: Parts are sewn together for a sturdy toy.
Important Notes
- Work in continuous rounds unless instructed otherwise. Use a stitch marker to keep track of the first stitch in each round.
- Maintain consistent tension: amigurumi should be dense to hold shape.
- Stuff each piece firmly but avoid overstuffing.
- All color changes and attachments are made as described.
Difficulty Level
Beginner
Basic single crochet, increases, decreases, and simple sewing techniques are sufficient for this pattern.
Supplies Needed
- Worsted-weight yellow yarn (main color)
- Small amounts of white, pink, and accent colors for horns and pacifier
- 2.5–3.0 mm crochet hook
- Polyfill stuffing
- Stitch markers
- Yarn needle
- Scissors
- Optional: safety eyes
Size & Measurements
- Finished monster approx. 12–15 cm tall (varies by yarn and stuffing)
- Each arm and leg approx. 2–3 cm
- Horns approx. 2 cm
- Pacifier approx. 1.5–2 cm
Gauge & Stitch Details
- Gauge is not critical; fabric should be tight so stuffing does not show.
- Most rounds use single crochet (sc).
- Increase and decrease using single crochet increase (inc) and single crochet decrease (dec).
Crochet Abbreviations
- ch: chain
- sc: single crochet
- inc: increase (2 sc in one stitch)
- dec: decrease (sc two stitches together)
- sl st: slip stitch
- st(s): stitch(es)
Special Stitch Guide
- Magic Ring: Form a closed circle for the starting round.
- Single Crochet Increase (inc): Work 2 sc in the same stitch.
- Single Crochet Decrease (dec): Work 2 sc together to decrease.
Complete Crochet Pattern
Arms
Work two arms.
Round 1:
- Make a magic ring, 6 sc into ring
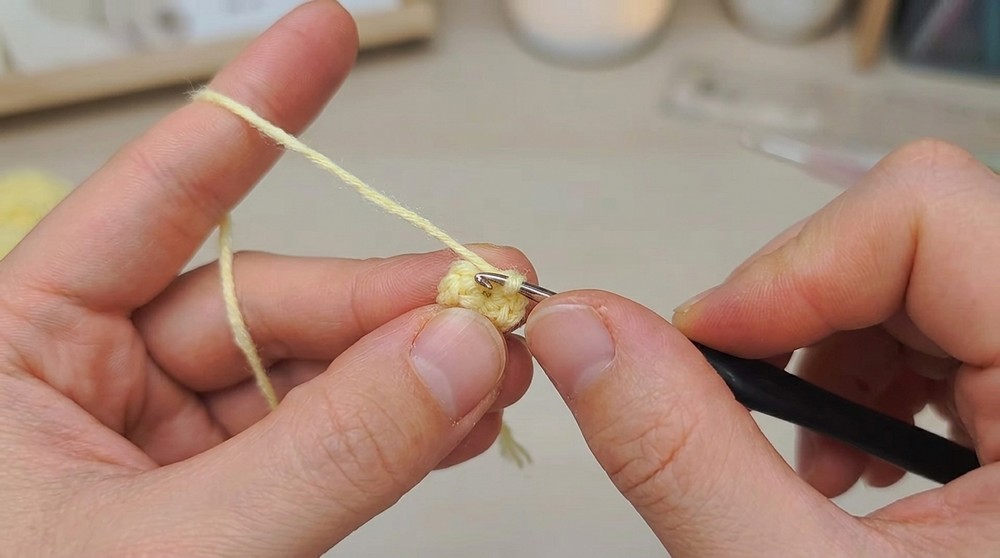
Round 2:
- inc in each stitch (12 sc)
Round 3–5:
- sc in each stitch (12 sc per round); repeat for 3 rounds
Round 6:
- dec around (6 sc), lightly stuff
Round 7–8:
- sc in each stitch (6 sc per round); finish and leave a tail for sewing
Repeat for second arm.
Legs and Body
Make two legs, join, and then continue for body.
Leg (make 2):
Round 1:
- magic ring, 6 sc into ring
Round 2:
- inc in each stitch (12 sc)
Round 3–7:
- sc in each stitch (12 sc per round); lightly stuff
Do not cut yarn on second leg; prepare to join legs.
Body:
Round 8:
- ch 2; attach to first leg, sc around first leg (12), sc in both chains (2), sc around second leg (12), sc in both chains (2) (total 28 sc)
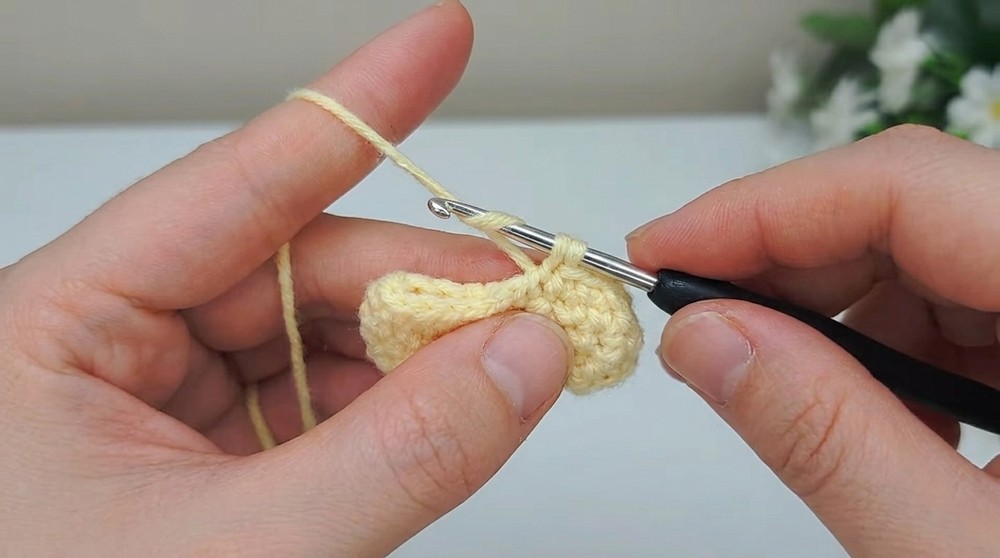
Round 9–12:
- sc in each stitch (28 sc per round); stuff legs and begin stuffing body as you go
Round 13:
- dec around evenly (see decrease instructions to shape body; details may vary, eg., every 4th stitch, depending on the instructor’s video)
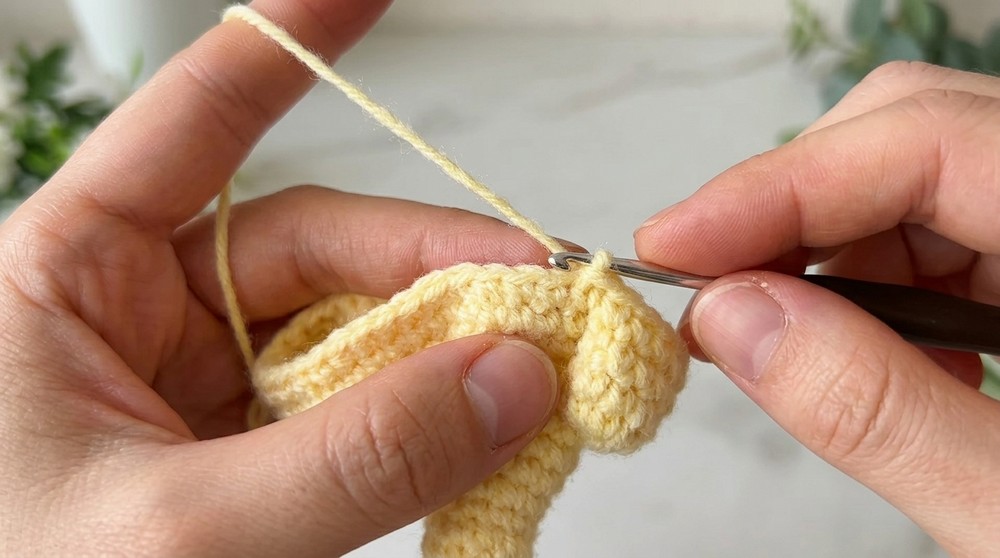
Rounds 14–18:
- Continue with sc, decreasing occasionally to form the neck and head of the monster; stuff firmly
Final round:
- dec until closed, finish and leave a tail for sewing
Horns
Work two horns separately.
Round 1:
- magic ring, 5 sc into ring
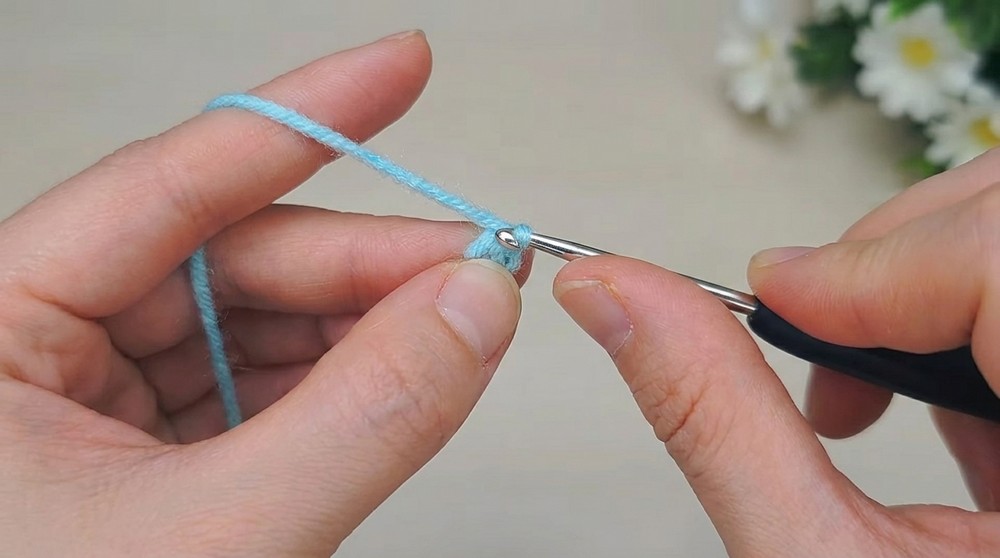
Round 2:
- inc in each stitch (10 sc)
Round 3–5:
- sc in each stitch (10 sc per round)
Round 6:
- dec in every other stitch (5 sc), lightly stuff; finish and leave a tail for sewing
Repeat for second horn.
Pacifier
Create a pacifier accessory
Pacifier Base:
- magic ring, 5 sc into ring
Round 2:
- inc in each stitch (10 sc)
Round 3:
- sc in each stitch (10 sc); finish, leave a tail
Handle:
- ch 10, join with sl st to form ring
Sew base and handle together, leave a tail for attaching to head.
Assembly
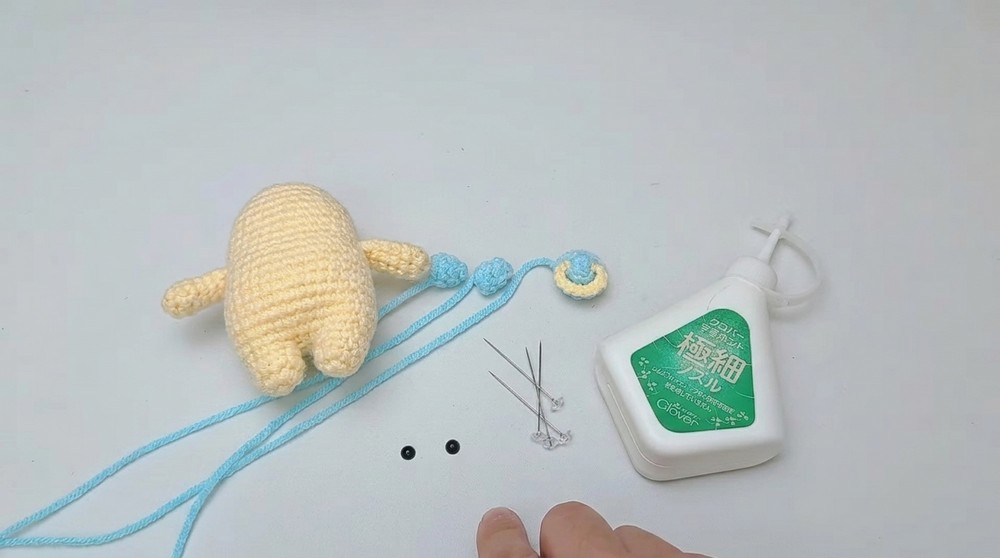
- Sew arms to sides of body (between rounds 9–11).
- Sew legs firmly at base.
- Attach horns to top of head, equally spaced.
- Use yarn needle to embroider features or attach safety eyes if desired.
- Sew pacifier to mouth area.
- Adjust stuffing for even shape.
- Double check all attachments for secure finish.
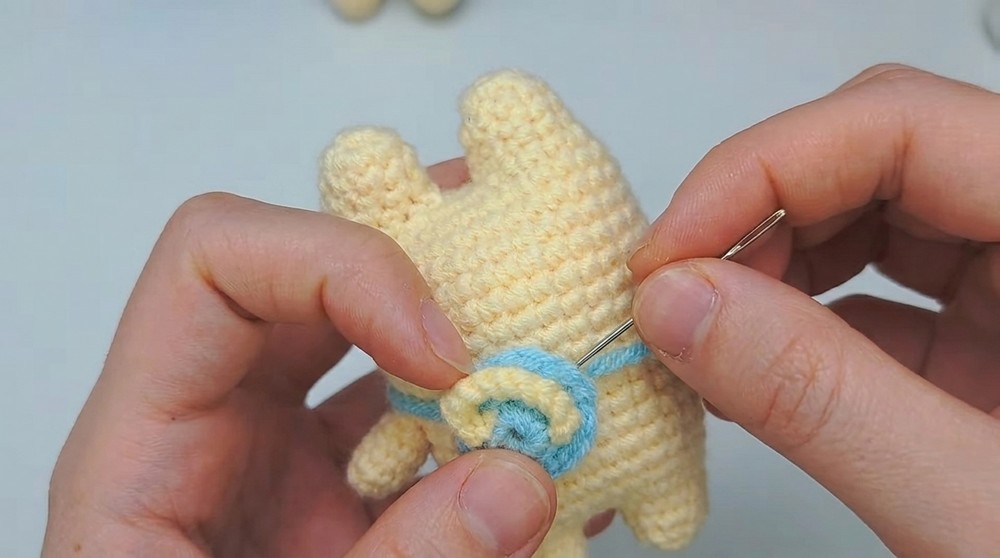
Assembly & Finished Size
Upon completion and careful sewing, your Yellow Baby monster should stand about 12–15 cm tall with securely attached limbs, horns, and pacifier. Any loose yarn ends should be woven in.
Conclusion
This Yellow Baby emotion monster amigurumi pattern uses basic stitches, easy increases/decreases, and simple sewing for assembly. The clear segmentation of arms, legs, body, horns, and pacifier ensures beginners can follow step-by-step and create a soft, expressive, and durable monster toy. Adjust colors as desired, and let each emotion monster reflect its own personality.
Leave a Reply