

Dress up your school bag with the Crochet Amigurumi Owl Keychain Free Pattern and clip the charm to the zipper so its big, round eyes peek out as you walk.
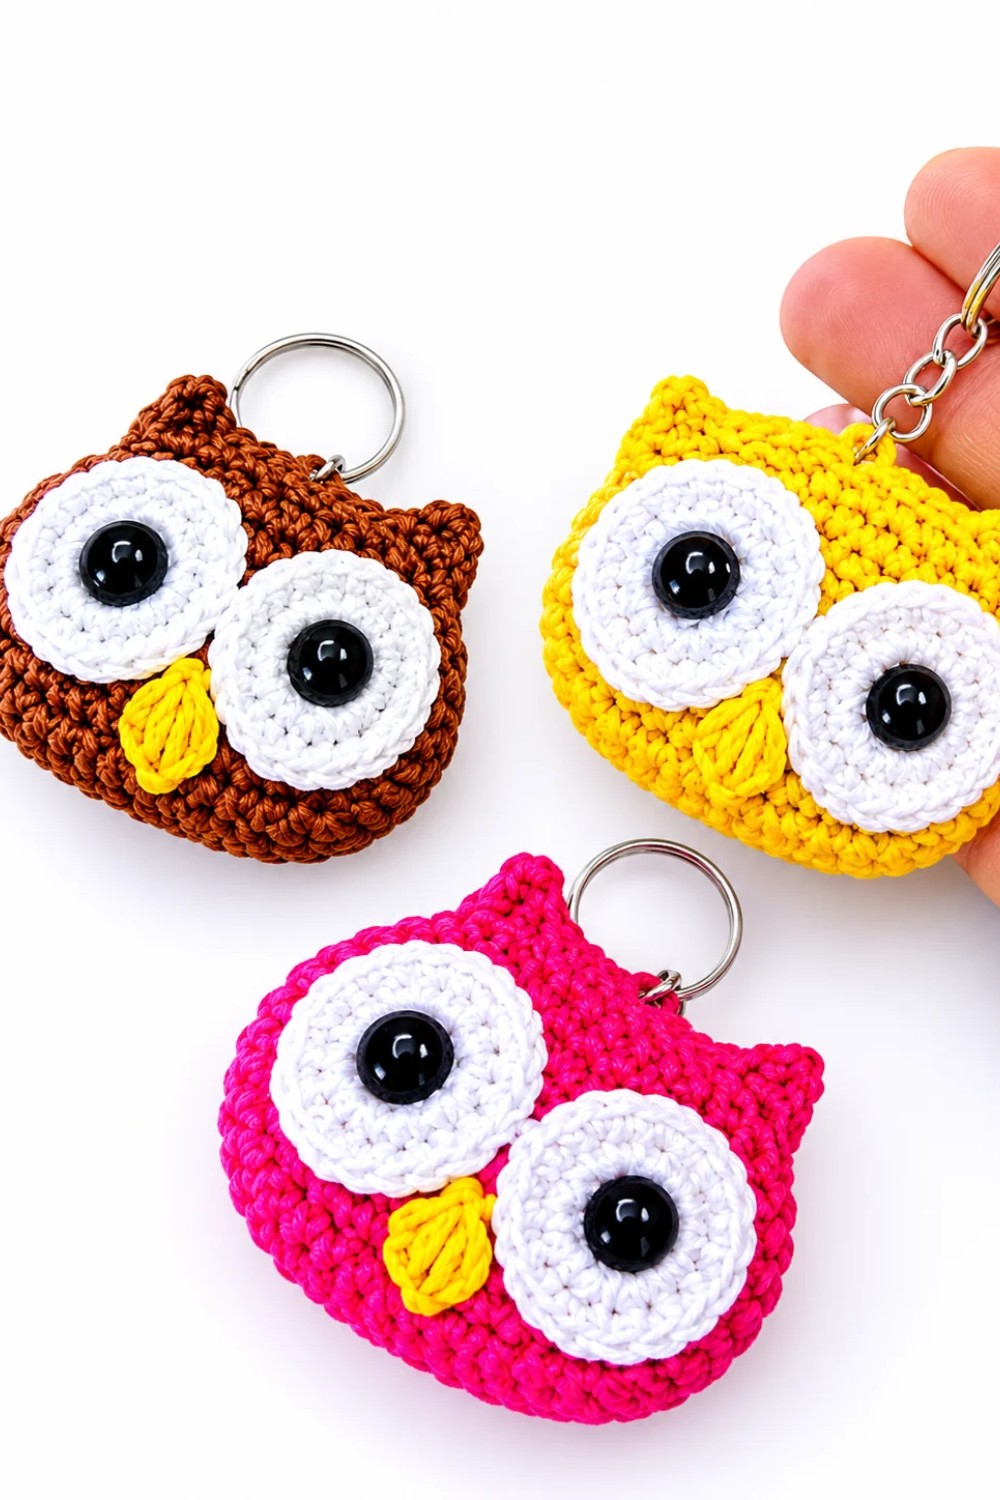
What would you put on a key ring to give it some character? The Crochet Amigurumi Owl Keychain has an oval body and a face that gives it a curious look.
Design by Hobihobiku.
Easy Crochet Amigurumi Owl Keychain Free Pattern For Bag Charm
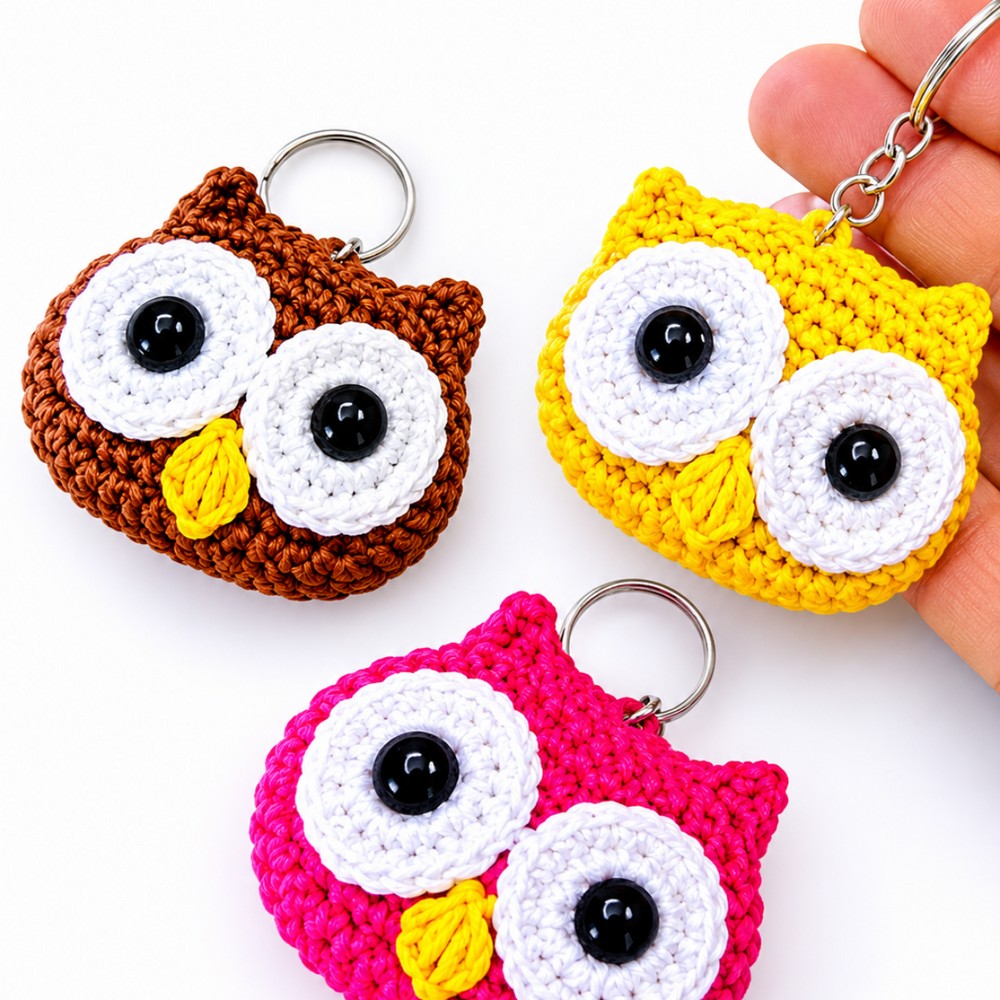
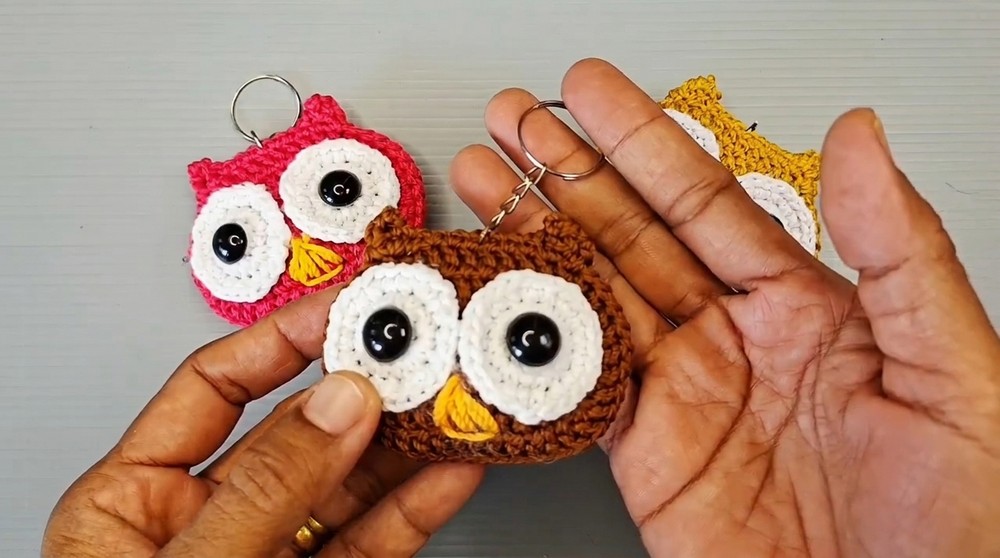
The eyes draw your attention first. Two round patches frame them, and a short beak sits between them. The body is wider near the bottom, which gives the bird a plump shape. On your own version, you can use brown and cream for a woodland look or pair two colors you already have at home. A pale shade around the eyes helps the face stand out against the rest of the owl.
To crochet a similar charm, work the body in rounds and put a little stuffing inside before you close it. Sew the eye patches onto the front and stitch the beak between them. A short loop at the top holds the key ring and keeps the owl upright as it hangs.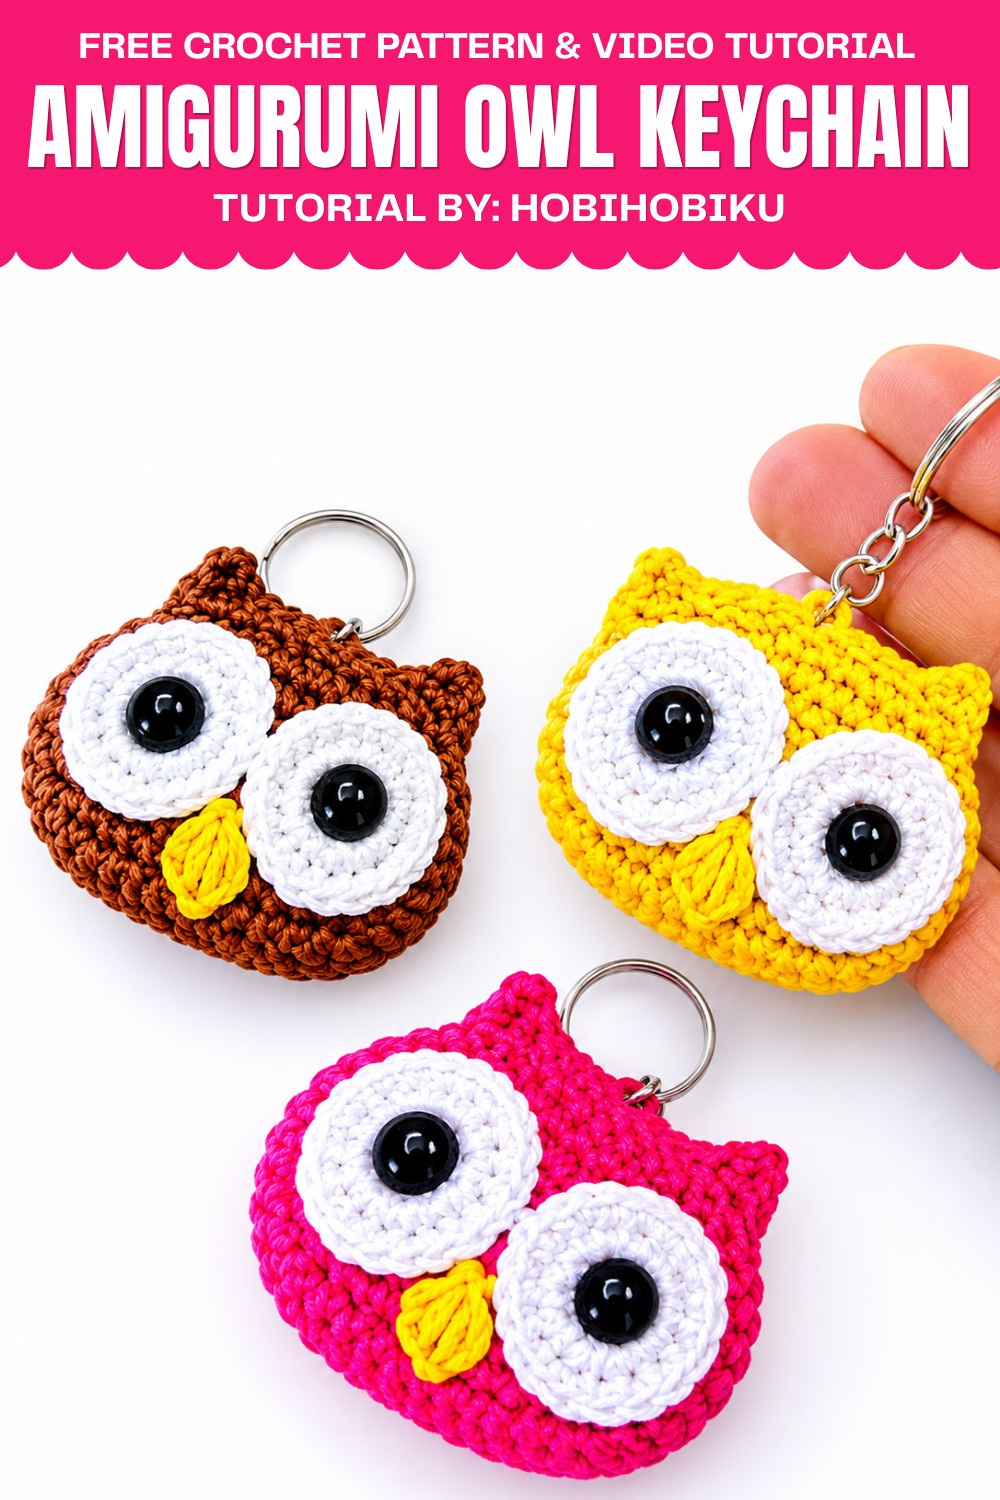
Use it on the zipper of a pencil case or clip it to the strap of a purse. You could also put it on your locker key so you can tell it apart from your house keys. At home, hang the owl from the knob of a desk drawer for a little decoration. It’s also a fun gift for a friend who loves birds. For a simple way to wrap it, slip it into a paper envelope with a note and draw a branch across the front for the owl to sit on.
Amigurumi Owl Head Keychain Crochet Pattern
Pattern Overview
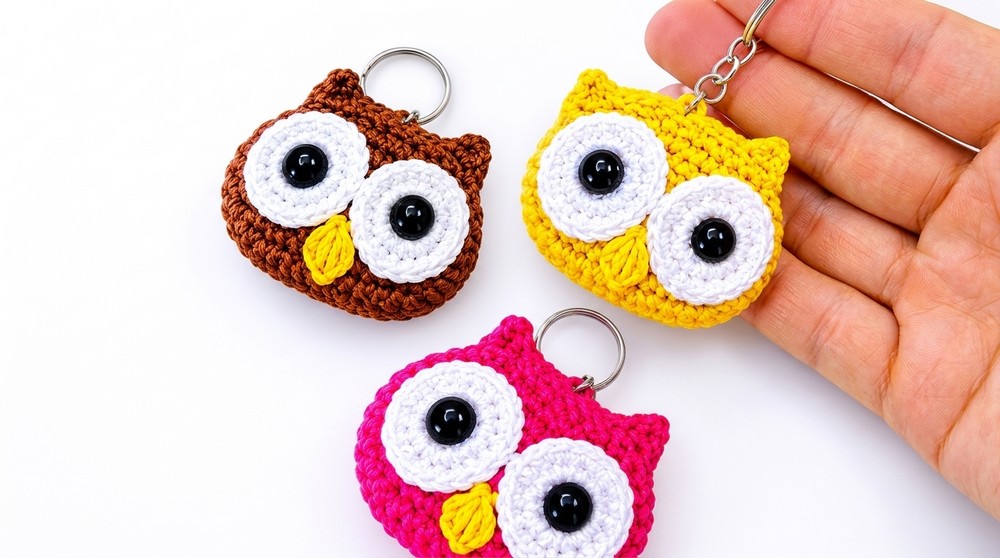
This pattern creates a charming amigurumi owl head designed to be a keychain. The design consists of two crocheted head pieces and two layered eyes, giving a plush, three-dimensional result. The construction technique uses basic crochet stitches and simple shaping to achieve the owl’s recognizable features: round eyes, sculpted ears, and a prominent beak. The finished owl head is soft, stuffed, and ready to be attached to your keys, bag, or used as a small decorative ornament.
Quick Details
- Project: Amigurumi Owl Head Keychain
- Main Parts: Owl head (2 pieces), eyes (2 pieces), embroidery, and keychain assembly
- Techniques: Worked flat and in rounds, basic increases, embroidery for details
Important Tips
- Keep your tension firm for a dense, sturdy fabric that holds stuffing well.
- Use stitch markers to track rounds and critical points like the start of ear shaping.
- Sew the head pieces with care, matching stitches and sculpted edges for symmetry.
- Attach the eyes and beak securely for durability, especially if the keychain will be handled often.
- Glue gun usage is optional but recommended for fast, firm attachment of eye pieces.
- Dacron or fiberfill should firmly stuff the head, shaping as you close.
- Choose a strong yarn for the keychain loop or hardware to avoid damage from frequent use.
Skill Level
Advanced Beginner
- Familiarity with basic stitches (chain, slip stitch, single crochet, double crochet)
- Experience working both in rows/rounds and assembling small amigurumi shapes
- Simple embroidery and hot glue application
Materials
- Worsted weight yarn or similar in owl head, white (eyes), yellow (beak)
- Black plastic safety eyes or small black beads for pupils
- Crochet hook to match yarn thickness (typically 2.5mm–3.5mm)
- Tapestry needle
- Dacron/fiberfill for stuffing
- Scissors
- Stitch marker (optional)
- Hot glue gun
- Keychain hardware
Measurements
- Finished owl head: approximately 5–7 cm wide (unstuffed—finished size depends on yarn/hook)
- Eyes: approximately 2–3 cm in diameter
- Keychain total drop: approx. 8–10 cm with hardware
Gauge
- Not critical but aim for a dense fabric where stuffing does not show through.
Abbreviations
| Abbreviation | Meaning |
|---|---|
| ch | chain |
| sc | single crochet |
| dc | double crochet |
| sl st | slip stitch |
| inc | increase (2 sc or dc in 1 stitch) |
| MR | magic ring |
| rep | repeat |
| st(s) | stitch(es) |
| FO | fasten off |
Special Stitches
- Magic Ring (MR): Wrap yarn into adjustable ring, crochet into the ring, pull tight to close.
- DC increase: Work 2 DC into the same stitch.
- SC increase: Work 2 SC into the same stitch.
- Ear shaping: Created by a small chain, slip stitch, then DC in same space for a pointy edge.
Step-by-Step Instructions
1. Owl Head (Make 2 Pieces)
Foundation:
- Ch 8, then 2 more ch (total 10 ch).
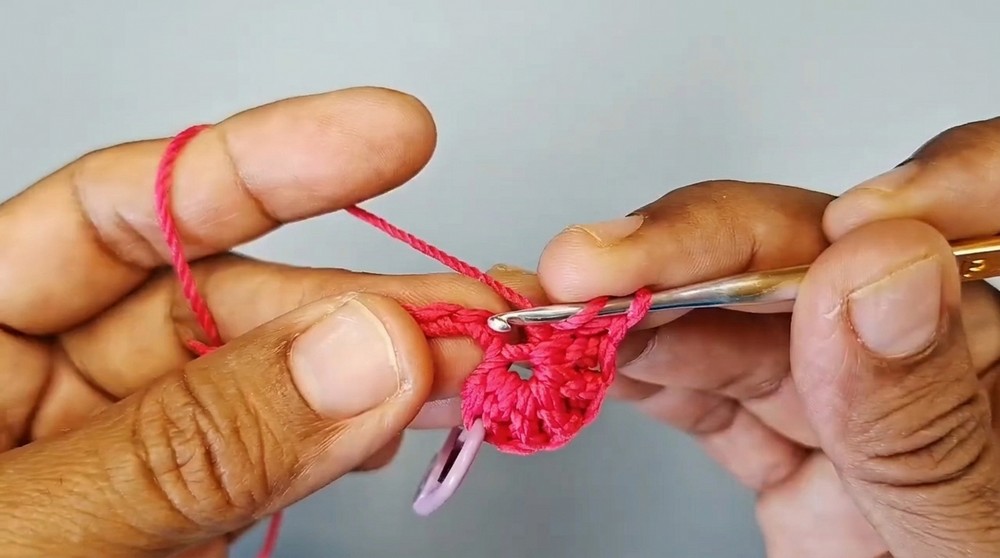
Round 1
- In the 8th chain from hook, work 5 DC (to turn the corner).
- 1 DC in each of next 5 chains.
- In the final chain, work 5 DC (for other end).
- Continue working along the opposite side of the foundation chain: 6 DC evenly back to start.
- Sl st to join. This forms an oval with rounded ends.
Round 2
- 5 DC increases (2 DC in each of next 5 sts at curve).
- 6 DC across the flat side.
- 5 DC increases (repeat as at first end).
- 6 DC across the second flat side.
- Sl st to join.
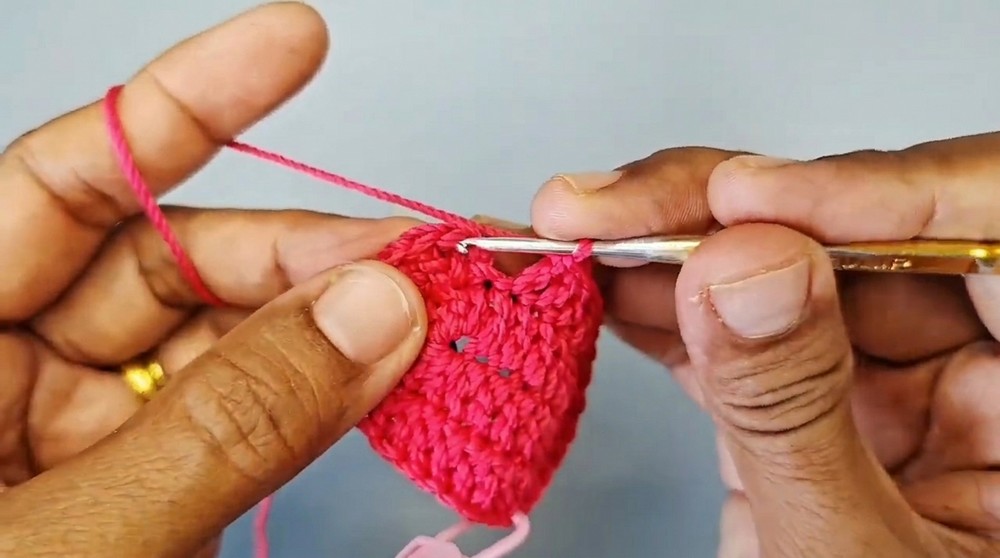
Round 3
- (1 DC, 1 DC inc) rep 5 times (along curve).
- 6 DC along side.
- (1 DC, 1 DC inc) rep 5 times (second curve).
- 6 DC along side.
- Sl st to join.
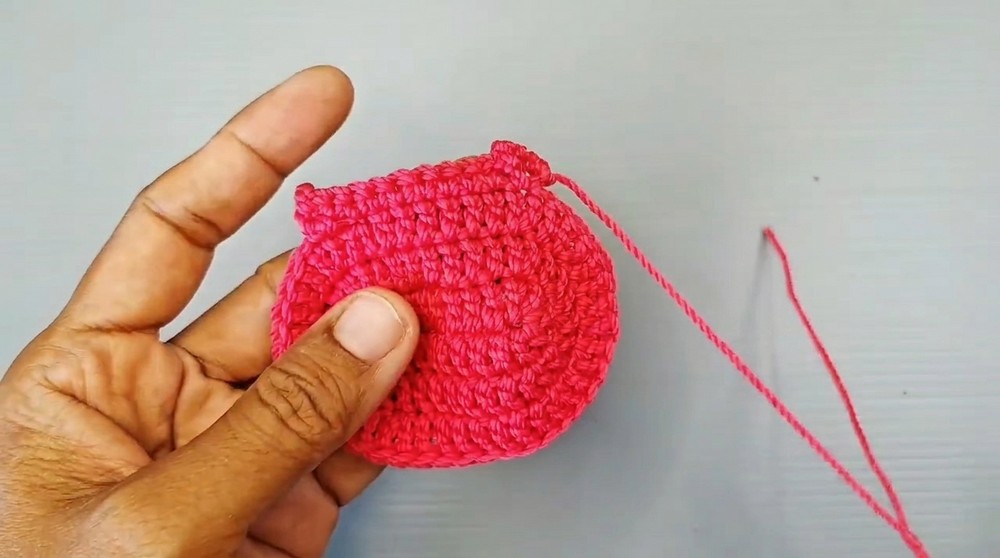
Round 4 (Ear Shaping)
- Ch 3, in 2nd chain from hook: sl st, then 1 DC in same space (forms first ear).
- 8 SC along top of piece.
- 1 DC in next st.
- Ch 1, sl st on top of DC.
- 2 ch, sl st in same space (forms second ear).
- Continue to the end of the round, fasten off. Leave a long tail for sewing.
2. Eyes (Make 2 Pieces, White Yarn)
Round 1
- MR, 8 SC in ring, sl st to join.
Round 2
- 8 SC increases (2 sc in each st; 16 sts), sl st to join.
Round 3
- (1 SC, 1 SC inc) rep 8 times (24 sts), sl st to join.
FO. Set aside for assembly.
3. Assembly
Stitching:
- Place two owl head pieces together, matching edges and ear shapes.
- Thread a long yarn tail onto a tapestry needle.
- Begin stitching around the edges, using a whipstitch or mattress stitch.
- Leave a gap at the top or side.
- Stuff the head with dacron fiberfill until firm and round.
- Continue stitching around, including the ear points, until fully closed. Secure end and hide tails.
Decorating:
- Using a hot glue gun, attach the two white eye circles centered on the assembled head. Press gently to secure.
- Insert black safety eyes (or sew/glue black beads) to the center of the white circles to form pupils. Let glue cool/set.
Finishing:
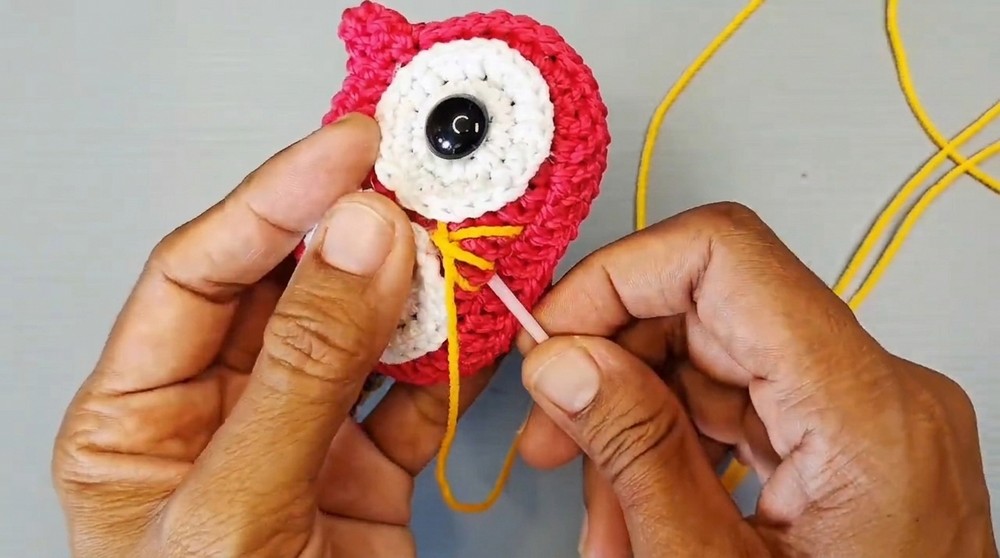
- Thread yellow yarn onto a tapestry needle.
- Embroider a small triangle directly between and slightly beneath the eyes to form the owl’s beak/nose.
- Weave in any yarn tails at the back or inside the head.
- Attach the keychain hardware with a sturdy loop through the top of the head (ideally between the ear tufts), securing well for long-lasting use.
Final Notes
- Make sure to firmly shape and fill the head for a plush, finished look.
- Double-check alignment of the ears and eyes before gluing.
- Secure the eyes and beak tightly for safety if given as a gift or used frequently.
- Vary yarn colors for a personalized owl.
- Use a sturdy split ring for attaching the keychain, looping through several stitches.
- Neatly fasten and weave in all yarn ends out of sight for a tidy, professional finish.
- The assembled keychain is great for gifting, use as a bag charm, or desk mascot.
- Adjust hook or yarn thickness for different sizes while following the same construction method.
- The chain and stitch increases on the head and eyes create an ideal round and realistic shape for the owl’s features.
- Enjoy your whimsical amigurumi owl keychain!
Leave a Reply