

Turn leftover shirt into a stylish, durable T-Shirt Yarn Bag with this free crochet pattern, featuring step-by-step instructions perfect for intermediate crafters.
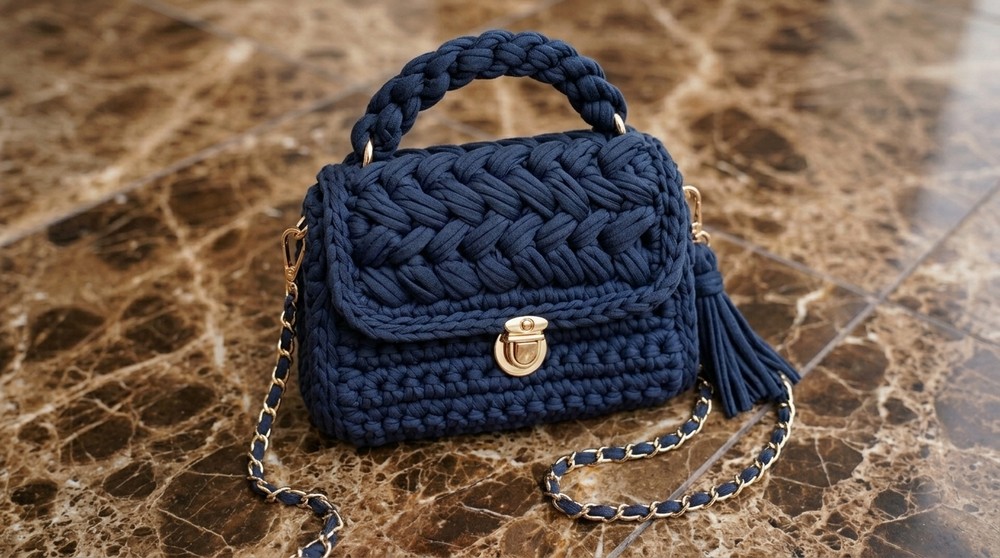
Looking for a stylish accessory that combines modern trends with handmade charm? The Free Crochet T-Shirt Yarn Bag Pattern is a great way to create a bold, useful bag that looks amazing and feels sturdy. Crocheted with thick cotton t-shirt yarn, the bag stands out for its chunky texture and vibrant appearance. The puff stitch design on the front flap gives it a unique and fashionable detail, while the boxy shape provides plenty of space for all your daily essentials.
Easy Crochet T-Shirt Yarn Bag Free Pattern
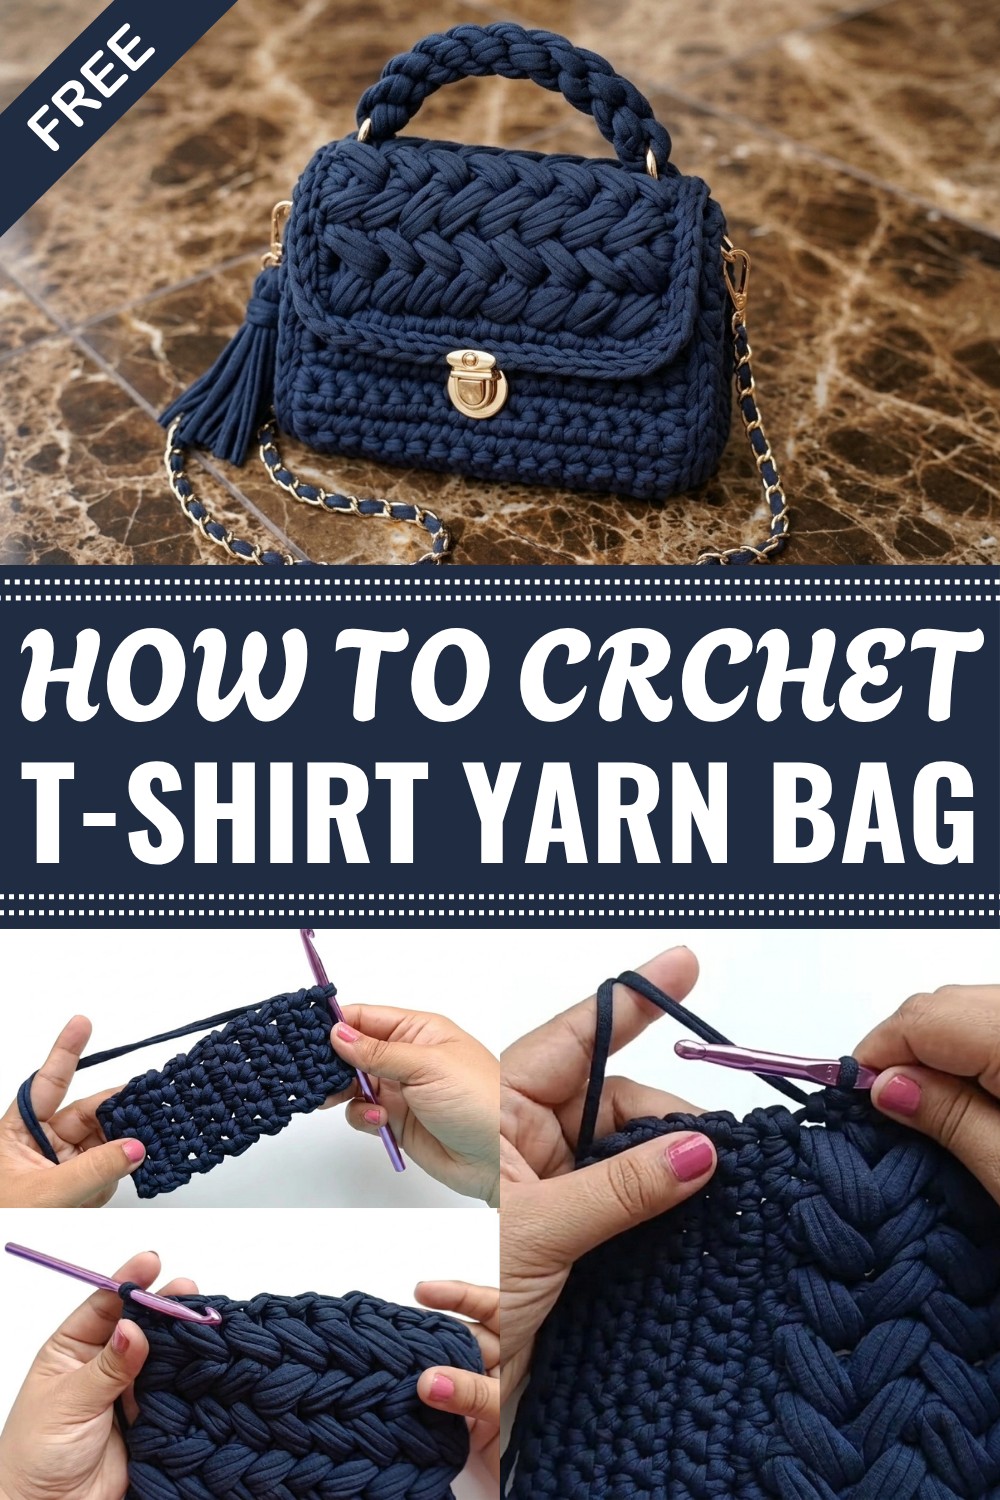
The beauty of this bag lies in its blend of textures—smooth, solid single crochet sides and a lively, raised puff stitch front. Its sturdy structure and roomy interior make it ideal as a daily purse, market tote, or even a casual handbag for outings. The pattern also lets you add creative touches, like a tassel, snap rings, and chain handles woven with yarn, so you can personalize your bag to match your individual style. Choose your favorite colors, mix and match straps, and play with closures to create a bag that's truly yours.
This pattern is suitable for those with intermediate crochet skills, as the puff stitch and constructing the bag require a bit of experience. However, confident beginners who want to challenge themselves will also find it fun and rewarding. With step-by-step instructions, you can make a practical bag that holds phones, keys, wallets, and more. Great for gifting, adding to your accessory collection, or selling at fairs, this bag is perfect for anyone who appreciates handmade fashion and wants to show off their creativity with a fresh, modern look.
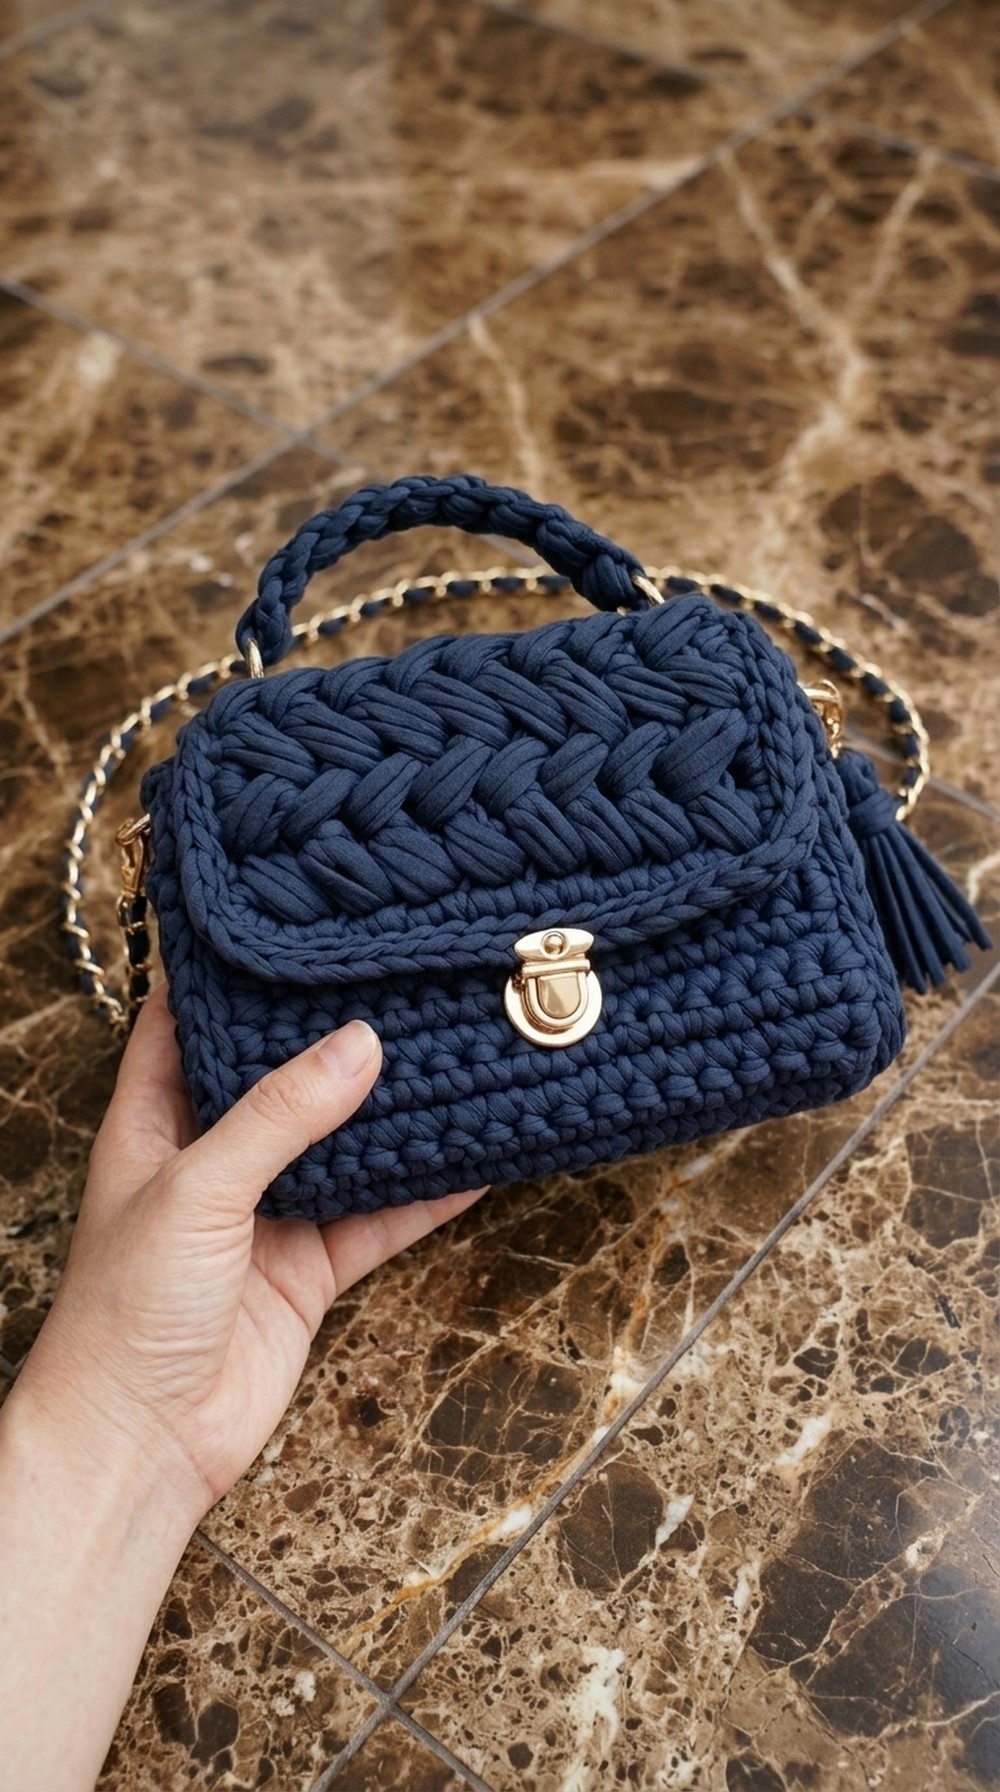
T-Shirt Yarn Puff Stitch Bag Pattern
Before You Start
- Read through all instructions and gather all materials.
- This bag is sturdy and fashionable, ideal for bold yarns.
- T-shirt yarn stretches; measure as you go.
- Have all hardware ready before assembly.
Pattern Notes
- Pattern uses US crochet terms.
- Bag is made in modular flat pieces; joined with slip stitches (no sewing).
- Puff stitch creates dimensional texture—pay attention to yarn orientation for a neat look.
- Thick t-shirt yarn will yield best results.
- The pattern features a structural body, sides, a puff stitch flap, handle, and optional accessories.
How I Made the Crochet Pattern
- Used a single 500g skein of thick t-shirt yarn.
- Created two solid, ridged rectangles as bag sidewalls.
- Crocheted the body of the bag with a puff stitch flap in one piece.
- Joined panels with back-loop slip stitches for strength.
- Added a puff stitch handle, a yarn-embellished chain, and a tassel.
Skill Level
- Intermediate (puff stitch experience helpful but not required)
Finished Size
- Main body: about 5 inches wide and 17 inches long (total, including flap)
- Body section (under flap): approx. 12 inches
- Handle: approx. 6.5 inches (will stretch)
- Side panels: approx. 2 x 5 inches each
Materials
- 500g T-shirt yarn (or equivalent)
- 6.5 mm crochet hook
- Smaller hook or yarn needle for weaving in ends
- 5 snap rings or metal rings (for strap, handle, and tassel)
- Bag chain or ready-made strap
- 1 magnetic or snap clasp
- Scissors
- Measuring tape
- Optional: Hot glue
Measurements / Sizing
- For a larger or smaller bag, adjust the number of foundation chains or the number of rows in the panels and body. Yarn weight will also impact size.
Gauge & Stitch Pattern
- 16 sc x 31 rows in t-shirt yarn = approx. 12 inches in length
- Puff stitch section (6 rows) = approx. 5 x 6.5 inches
Stitch Abbreviations
- ch = chain
- sc = single crochet
- sl st = slip stitch
- st = stitch
- BLO = back loop only
- puff = puff stitch (see below)
Special Stitches
- Puff Stitch: Yarn over, insert in st, yarn over, pull up a loop; repeat two more times (7 loops on hook). Yarn over, pull through first 6 loops; yarn over, pull through last 2 loops.
- Back Loop Only Slip Stitch Join: Insert hook in back loop of both pieces (or side edge for joining); yarn over, pull through all loops on hook.
Pattern Sections
- Side Panels (make 2 rectangles)
- Main Body/Flap (one long rectangle)
- Edging and Assembly
- Handle
- Accessories (optional)
Side Walls (Make 2)
Row 1:
Ch 6. Turn, sc in second ch from hook and in each ch across. (5 sc)
Row 2:
Ch 1, turn. Sc in each st across. (5 sc)
Rows 3–12:
Repeat Row 2.
Fasten off, weave in ends. Make 2 panels.
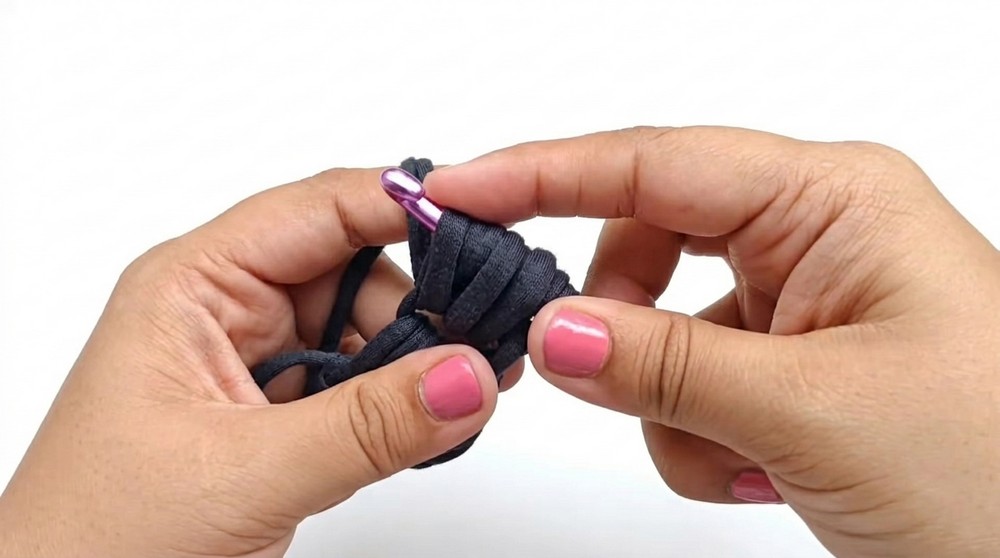
Explanation: You are making two sturdy rectangular pieces by crocheting 12 rows of single crochet on a starting chain of 6. These are your side walls.
Main Bag Panel (Flap + Body in One)
Row 1 (Foundation for Puff Section/Flap):
Ch 18.
Turn work to back bumps.
Sc in 2nd ch from hook.
Sc in next ch.
Ch 1, skip next ch, sc in next ch.
Repeat from * six more times (so you make 7 ch-1 sps across the row).
Sc in last ch.
Row 2:
Ch 2, turn.
Skip first 2 sc.
Sc in first ch-1 space.
Work puff (see Special Stitches below) into first ch-1 space from previous row.
Skip next sc. Sc in next ch-1 space.
Puff into previous ch-1 space.*
Repeat from * across until you complete 7 puff clusters in the row.
Sc in last sc, puff in prior ch-1 sp (7 puffs).
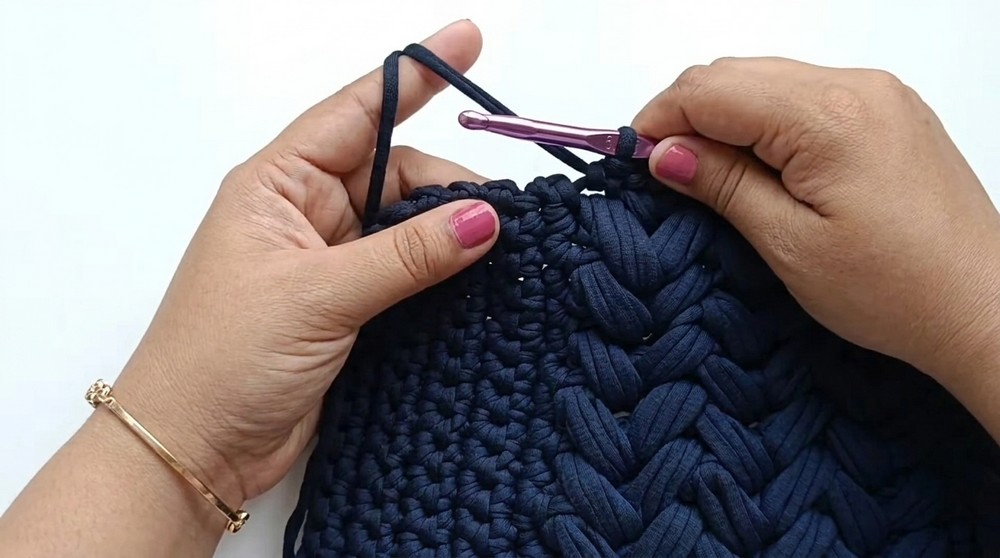
Row 3:
Ch 2, turn.
Skip first puff.
Sc in next sc.
Puff in visible loop below (under previous puff).
Skip next puff. Sc in next sc. Puff in single crochet below.
Repeat across.
Rows 4–6:
Repeat Row 3 three more times, for a total of 6 puff rows.
Explanation: This creates the decorative front flap. Puffs are always worked into the ch-1 spaces or single crochets from previous rows. Make sure the "good" side of the yarn faces up for the puffs.
Body of Bag (under flap)
Row 7:
Ch 1, turn.
Sc in each puff and each sc across (16 sc).
Row 8:
Ch 1, turn. Sc in each of 16 sts across.
Rows 9–37:
Repeat Row 8 (until you have a total of 31 rows in the body section).
Explanation: After the puff section, switch to plain rows of single crochet for the body. You should have a sturdy rectangle after 31 rows.
Border Around Main Panel
Round 1:
Ch 1, rotate your work to edge.
Sc evenly along the first long side (working 1 sc in the side of each row).
At the next corner, 3 sc in the corner.
Sc along the short puff edge as follows: (sc in loop between puffs, 3 sc in each V between puffs), repeat.
At the next corner, 3 sc in the corner.
Sc along the next long side.
At the final corner, 3 sc in corner.
Sc across the base short edge. Join with a sl st to first sc.
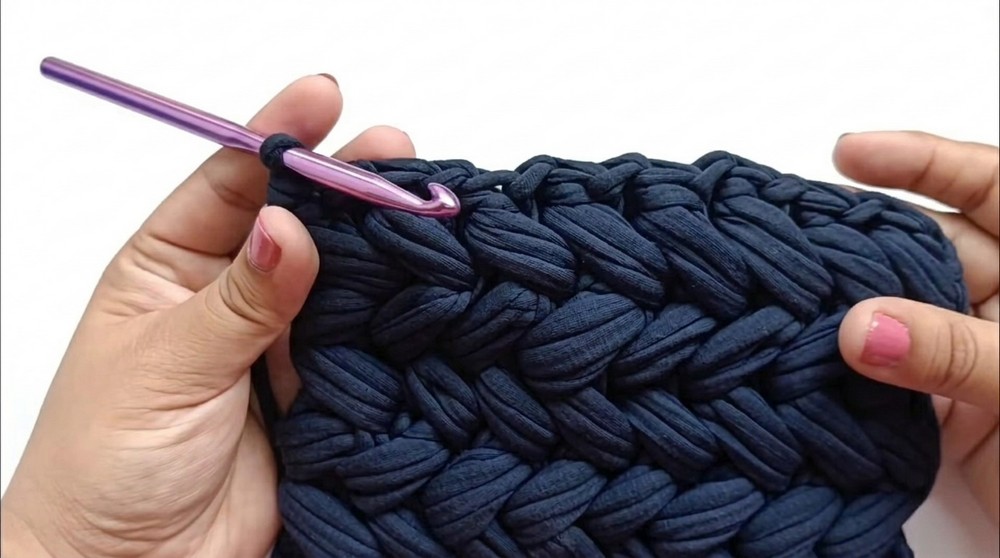
Explanation: This border neatens the edge for joining and adds structure.
Join Side Panels to Main Body
(Repeat for each side panel)
- With right sides together, hold one side panel to a short edge of the main body panel.
- Working through both layers, sl st (in BLO) through each matching st:
13 sl sts up (one for the starting chain and each of the 12 rows). - At the bag's body base, sl st in next 5 sts to join side bottom.
- Continue up the other long side of the side panel, sl st through both edges (13 sl sts up).
- Repeat for the other side.
Simple English: Hold the side wall up to a short edge, and slip stitch them together—first up, then across the bottom, then back up the other side. Repeat for both panels.
Handle (Puff Chain)
Row 1:
Ch 3.
In the first ch: work a puff stitch (see instructions below). Ch 1 to close.
Row 2:
Puff into the ch-1 space of the previous puff. Ch 1.
Repeat Row 2 until the handle reaches about 6.5 inches (about 8 puffs). Fasten off, weave in ends.
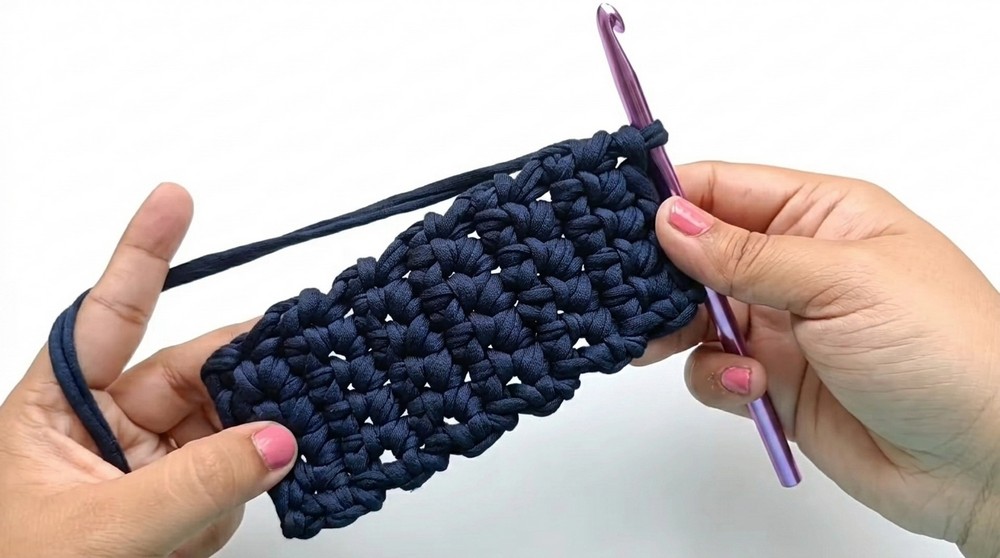
You’re chaining together consecutive puff stitches to form a strong, chunky handle.
Accessories (Optional)
Chain Strap Embellishment
- Thread T-shirt yarn through the links of your metal chain.
- Secure each yarn tail with a knot or glue at each end.
Tassel
- Wrap remaining yarn around your hand, phone, or a piece of cardboard for desired tassel length.
- Cut the loops made, tie one piece centrally to form a bunch.
- Fold yarn down and wrap a separate yarn piece repeatedly around the "neck" to secure the tassel head.
- Thread the end under the wraps to hide it.
Special Stitches
Puff Stitch:
- (Yarn over, insert into st, yarn over, pull up loop) three times in same st (7 loops on hook).
- Yarn over, pull through first 6 loops.
- Yarn over, pull through remaining 2 loops.
Assembly & Finishing
- Attach bag closure (center on flap). If tabs on closure are short, use yarn to extend and tie securely inside.
- Attach 2 snap rings to each side panel for your chain/strap.
- Attach snap rings at handle’s ends, thread them onto the flap sides inside the last “V” of the puff stitches.
- Add snap ring to the tassel and clip to the bag if desired.
- Weave in all ends, tidy up seams.
Use These Stitches To Make
- Clutches, wallets, basket organizers.
- Other bags or pillow covers using this textural puff panel and single crochet body.
- Handles and straps for different bag projects.
Solution for Short Closure Tabs
If your metal closure's tabs are too short to attach, extend them by looping and tying t-shirt yarn through the clasp and flap stitches, then knot the yarn ends inside the bag to secure firmly.
What You Can Make With These Stitches
- Clutch or purse in any size
- Decorative pillow covers
- Pouches, baskets, or home organizers in bold textures
- Handles for other bags, using the puff chain technique
- Tablet or laptop sleeves.

Leave a Reply