

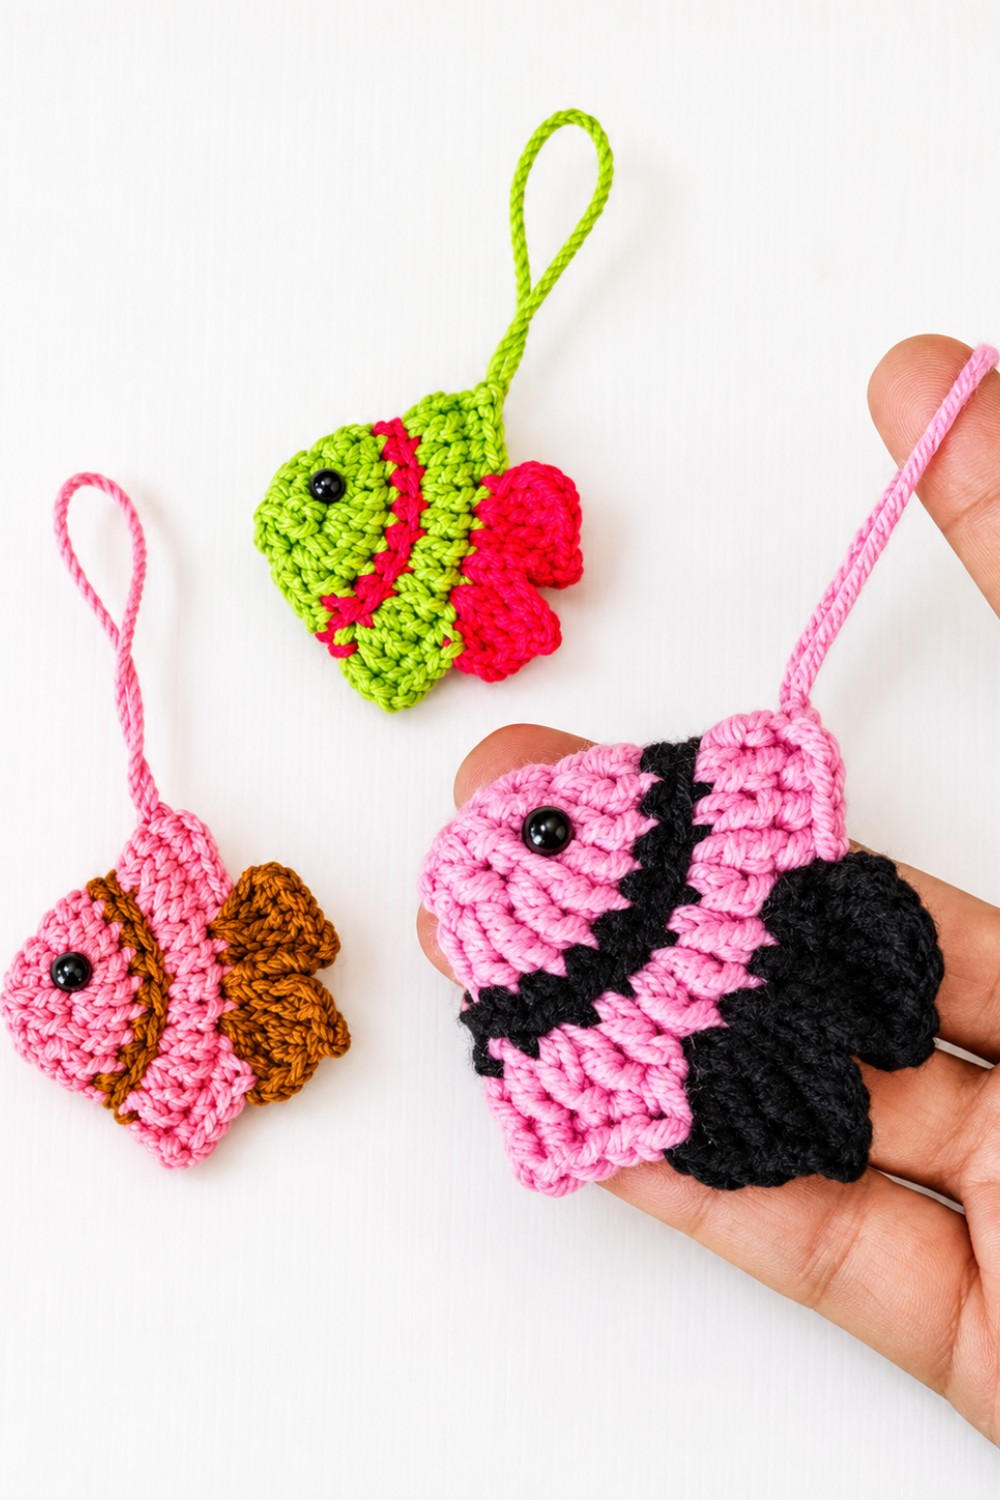
Hang a cute and small toy on your keys or bags with this free Crochet Amigurumi Fish Keychain pattern that is simple to follow and fun to make.
Design by Hobihobiku.
Could your bag use a little color? The Crochet Amigurumi Fish Keychain is a small stuffed fish you can hang from a bag or carry with your keys. Its soft body and little tail give it a shape you can recognize at a glance. The crochet stitches give the surface a bit of texture, which you can feel when you reach into your bag. The ring at the top slips onto a zipper pull or a loop on a backpack.
Handmade Crochet Amigurumi Fish Keychain Free Pattern For Birthday Gifts
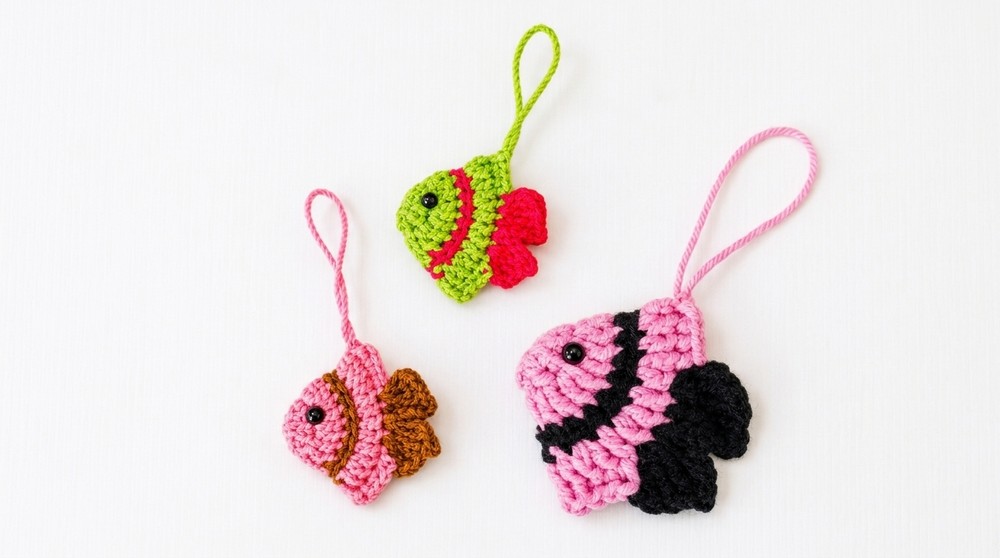
You can use leftover yarn from a larger project to crochet the fish. One color keeps the shape simple, while a different shade for the tail helps it stand out. Orange and white can give it the look of a goldfish. Blue and yellow are a fun pair for a bag that could use some color. A little stuffing gives the body its shape before you attach the ring.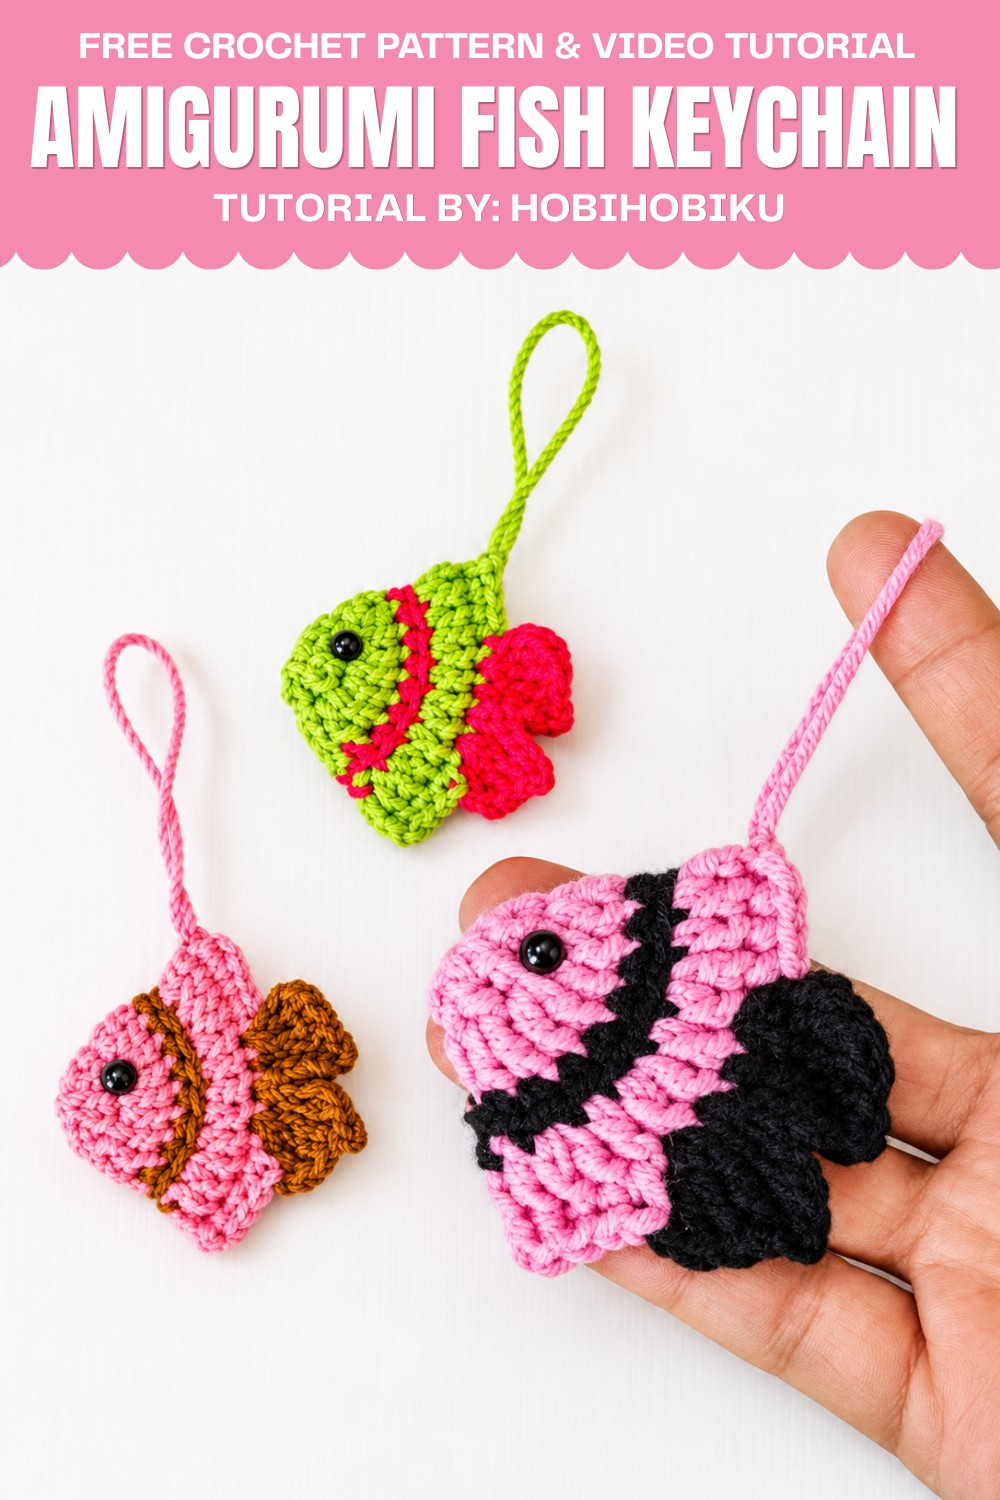
Hang it from a pencil case so it’s easy to tell apart from similar ones at school. On a plain beach tote, the fish fits right in beside a striped towel and a pair of sunglasses. It’s also a fun gift for someone who keeps an aquarium. You could pick yarn in the colors of their favorite fish and tuck the charm into a small card with a note about the one that inspired it.
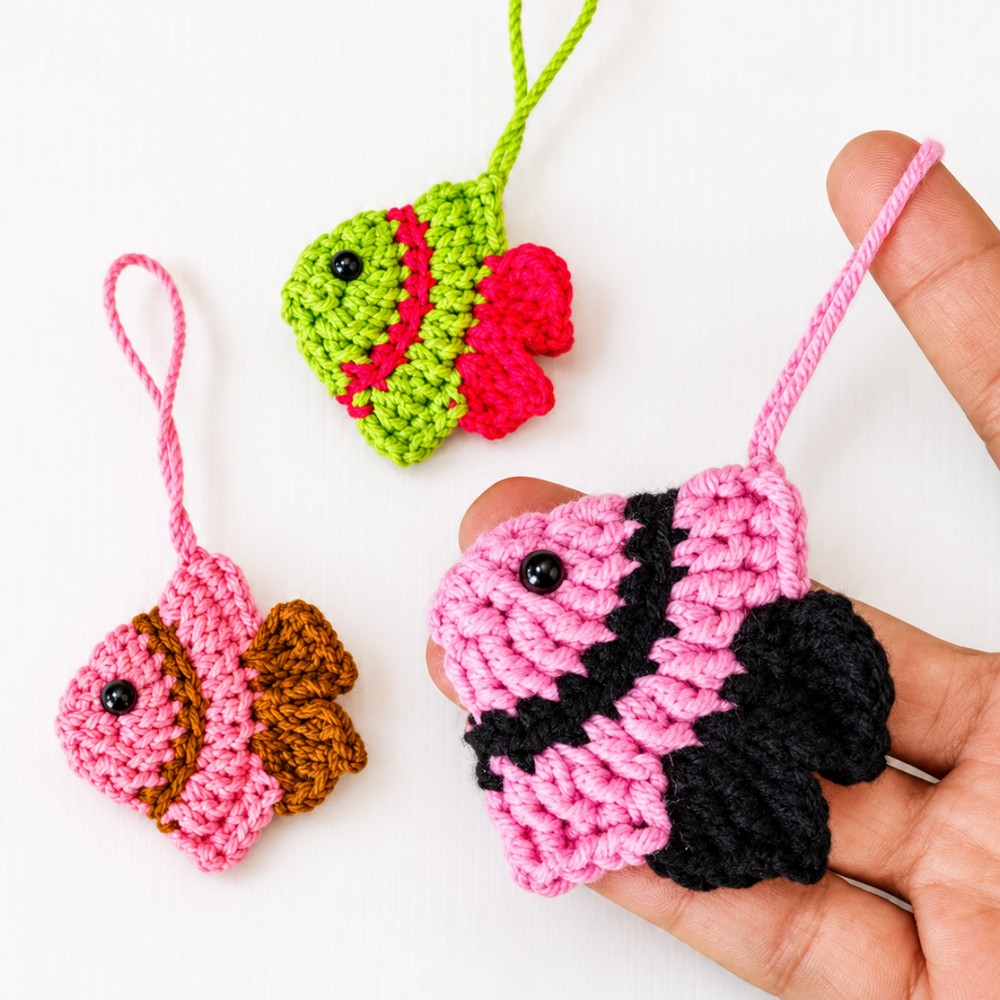
Amigurumi Fish Crochet Pattern
Pattern Overview
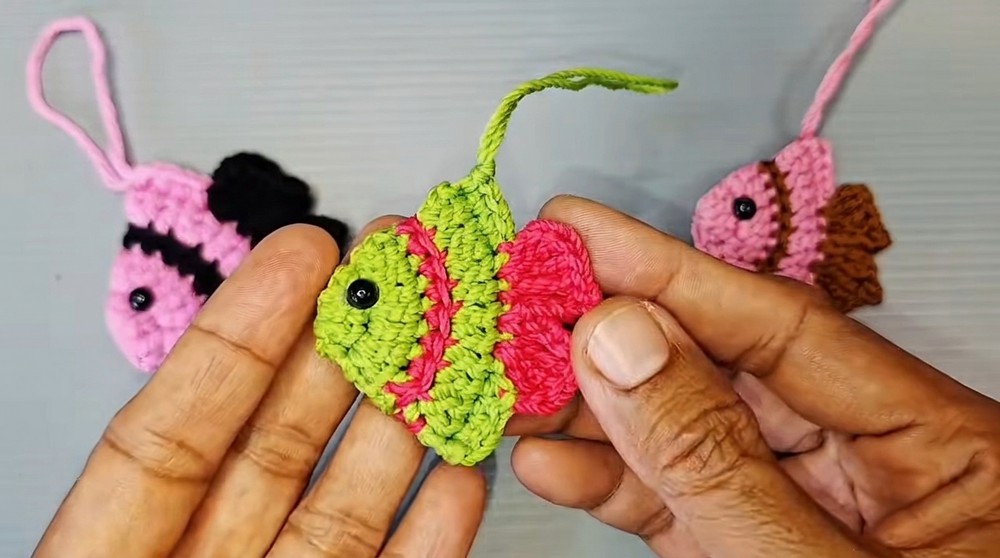
This crochet pattern creates a cute, tiny amigurumi fish using simple rounds and stitches, ideal for keychains, bag charms, or decorative purposes. The oval-shaped body is constructed in the round, folded, and joined, with colorful tails and fins crocheted directly onto the seam. Finished with a yarn loop and eye details, this project offers a quick introduction to shaping, basic color changes, and attaching finishing details.
Quick Details
- Project type: Amigurumi fish
- Construction: Worked in the round, folded, then joined and finished with tail and details
- Joining: Seam formed by folding and crocheting edges together
- Finishing: Yarn loop and glued eyes
Important Tips
- Keep your tension even so the fish keeps its shape.
- Use a stitch marker to mark rounds if needed, especially if you’re new to working in the round.
- Color changes for the stripes or tail should be done cleanly; always complete the last yarn over of the last stitch before the color change with the new color.
- For small amigurumi projects, work with tight stitches to minimize gaps.
Skill Level
- Beginner to Confident Beginner
- You should know how to work: magic ring, chain, single/double/triple crochet, slip stitch, working in back loops, and basic color changes.
Materials
- Yarn: Poly or milk cotton yarn, two or more colors (one base/main, one for accents/tail)
- Size 3 crochet hook (2.5–3.5 mm, depending on preferred tightness)
- Yarn needle for weaving ends
- Scissors
- Small doll/safety eyes or glue-on eyes
- Glue gun (for eyes)
Measurements
- Finished Size: Approximately 5–8 cm long (depending on yarn and gauge; fish is small and suitable for charms)
Gauge
- Gauge is not critical for this project, but tight, even stitches are best for stuffed amigurumi.
Abbreviations
- ch: chain
- sc: single crochet
- dc: double crochet
- tc: triple crochet
- sl st: slip stitch
- st(s): stitch(es)
- BL: back loop
Special Stitches
- Magic ring: Form a loop, work stitches into the center, then pull tight.
- Back Loop Only: Insert hook only into the back loop of the stitch.
- Increase (inc): 2 sts worked into the same stitch.
Step-by-Step Instructions
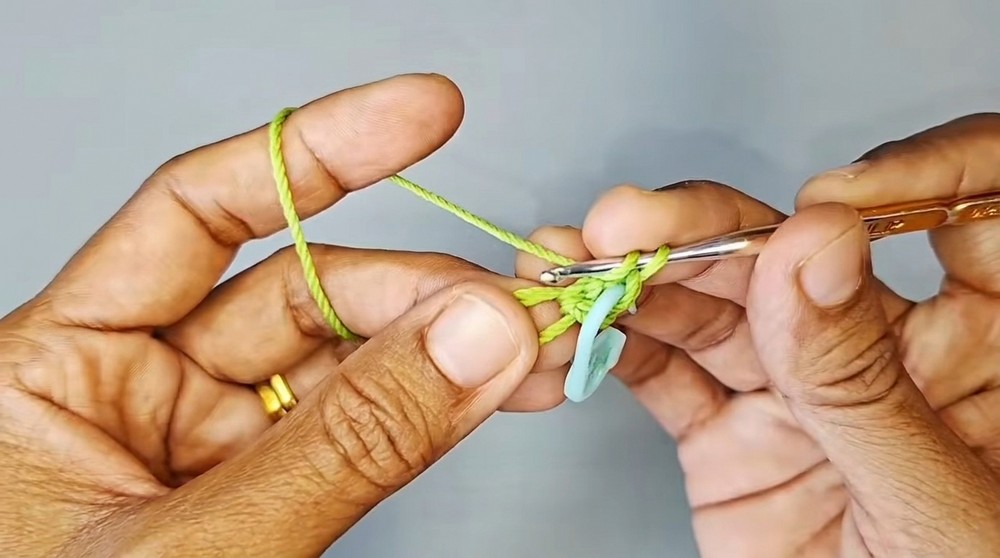
1. Magic Ring Start
- Make a magic ring.
- Ch 2 (counts as turning/start).
- Work 8 double crochet (dc) stitches into the ring.
- Join with slip stitch (sl st) to the top of the first dc.
2. Round 2 (Increase)
- Ch 2 (counts as start).
- Work 2 double crochet (dc) into each stitch around (you will have 16 dc at end).
- Join with sl st into the top of the first dc.
- Change yarn color for body stripe/accent.
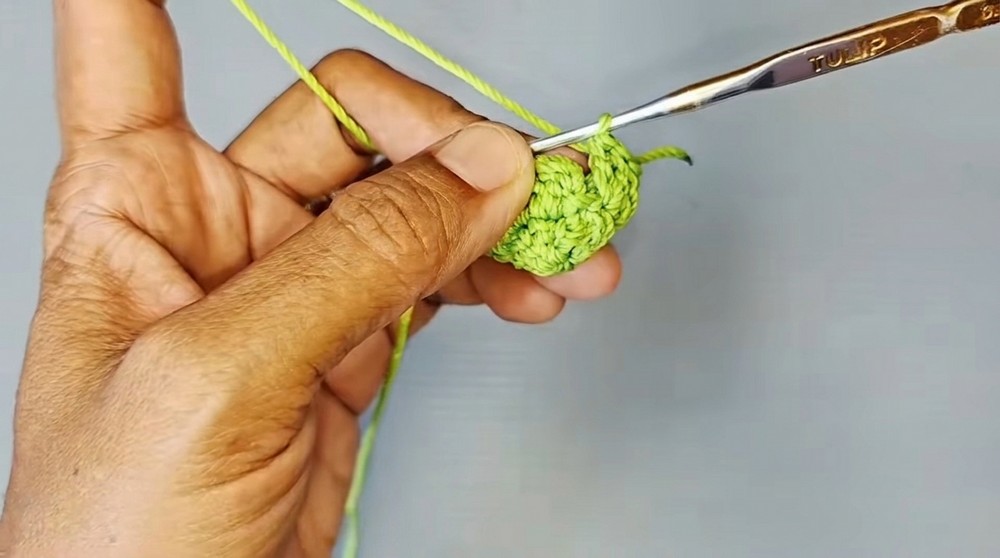
3. Round 3 (Single Crochet Stripe)
- Ch 1.
- Work 1 single crochet (sc) in each stitch around (16 sc).
- Finish with back-loop only slip stitch (BL sl st) to maintain seamlessness and join.
- Change color back to main/base color.
4. Round 4 (Expansion, in Back Loops)
- Ch 2.
- Working in back loops only:
- 1 dc in next st, 2 dc (inc) in following st.
- Repeat (1 dc, 2 dc in next) 8 times total around.
- This will increase the size and create a slightly "oval" shape.
- Join with sl st.
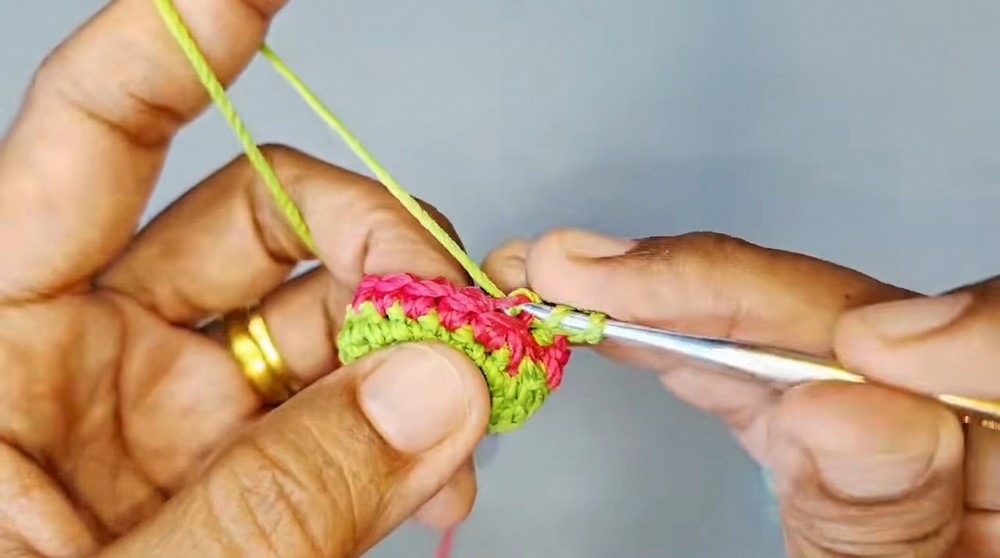
5. Joining the Body
- Fold the crocheted oval in half so the color change or stripe is centered.
- Join the two edges together by inserting your hook through both layers.
- Work 4 single crochet (sc) stitches across the seam, joining both layers together at the rounded end.
6. Creating Fins/Tail
- Switch yarn color to an accent or contrasting shade for the fins/tail.
Tail 1:
- Work 3 triple crochet (tc) in the same stitch,
- ch 1, sl st into the top of the last tc.
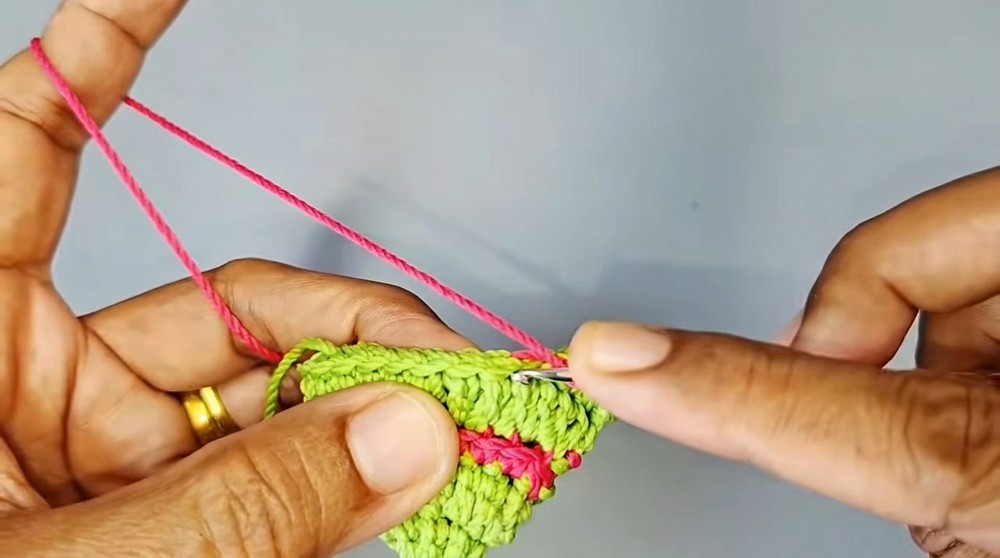
Tail 2:
- 1 tc into next stitch, ch 3, sl st in same stitch.
Tail 3:
- Ch 3, 1 tc in next stitch, ch 1, sl st in top of the tc.
Tail 4:
- 3 tc in next stitch, ch 3, sl st in same stitch.
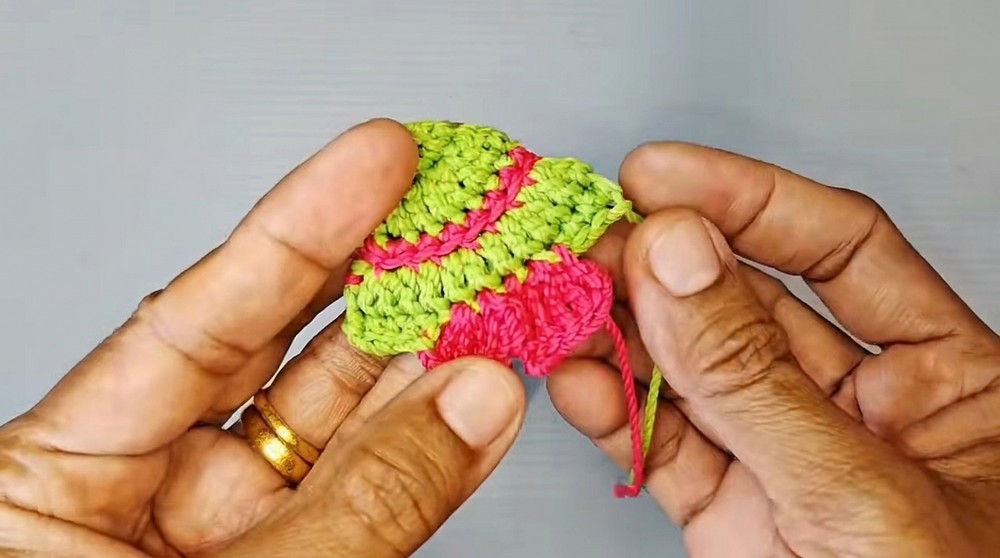
Tips for fins/tail:
- Each tail section is worked consecutively into the side seam stitches after joining the rounded body.
- Ensure all tails are secure by pulling yarn snug.
7. Closing the Body
- Switch back to base color yarn.
- Work 4 single crochet (sc) across the final open edge to fully seal the body of the fish.
Assembly
Loop
- Leave a long yarn tail at the end after closing.
- Use this yarn tail to create a hanging loop:
- Thread through the top center of the fish back and form a small loop for hanging.
- Secure with a knot and weave in the end or sew it firmly into the fish body.
Finishing
- Weave in any remaining yarn ends with a yarn needle to hide all loose threads securely inside the body.
Details
- Using a glue gun, attach two small doll eyes to the sides of the fish's head (place just above or front of the colored stripe for maximum cuteness).
- Gently press eyes in place until glue sets.
Final Notes
- Adjust color changes and tail placement for a unique look.
- For different sizes, use thicker or thinner yarn and adjust hook size as needed.
- The fish can be further decorated with tiny embroidery or beaded details as preferred.
- Always supervise if gifting this item to small children due to glued-on eyes.
- This amigurumi pattern is a quick, enjoyable introduction to fundamental stitch techniques, simple increases, and shaping. The tight construction helps the fish hold its shape, and the easy assembly makes it perfect for learning or gifting.
- Try making multiple fish in different colors for a fun set or mobile.
- Clean color changes and carefully finished details will help your fish look neat and professional every time.
Leave a Reply