

Create a charming crochet tulip bouquet keychain, featuring vibrant handmade flowers at the center, perfect for accessorizing bags or gifting loved ones.
Flowers have a special way of brightening our day, and making a tiny bouquet you can carry around is an extra delightful treat. The Free Crochet Tulip Bouquet Keychain Pattern offers a simple and charming way to create a bunch of miniature tulips that you can attach to your keys or bags. By tweaking colors or flower shapes slightly, you can also turn this basic design into other floral arrangements or decorative accents.
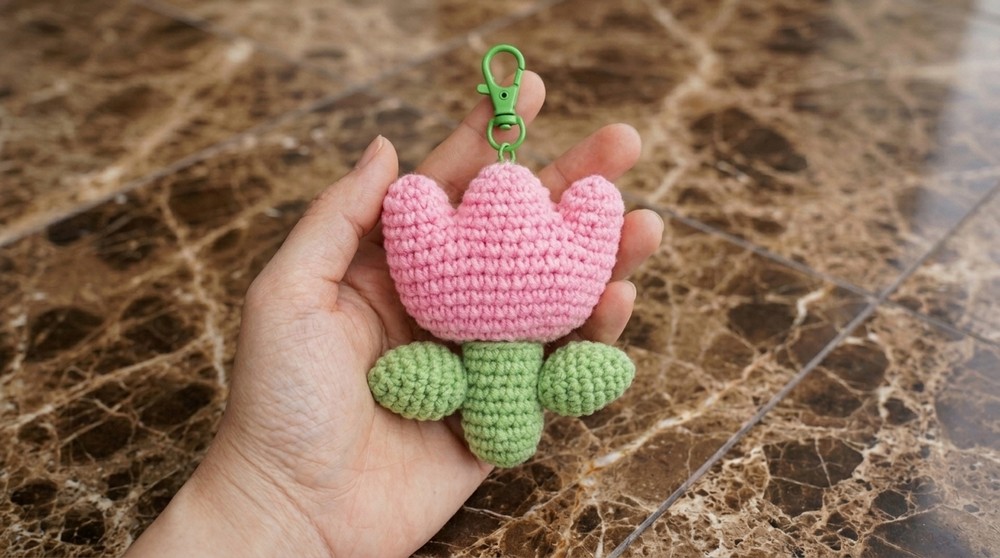
This tulip bouquet keychain stands out with its soft curves and lifelike petals that give the flowers a fresh, delicate look. The texture is smooth but firm enough to hold its small, rounded shapes, while the slender stems gather the blooms neatly into a compact bunch. Its stylish and lightweight design makes it an attractive accessory to personalize everyday items with a splash of color and handmade charm.
Crochet Tulip Bouquet Keychain - Free Pattern
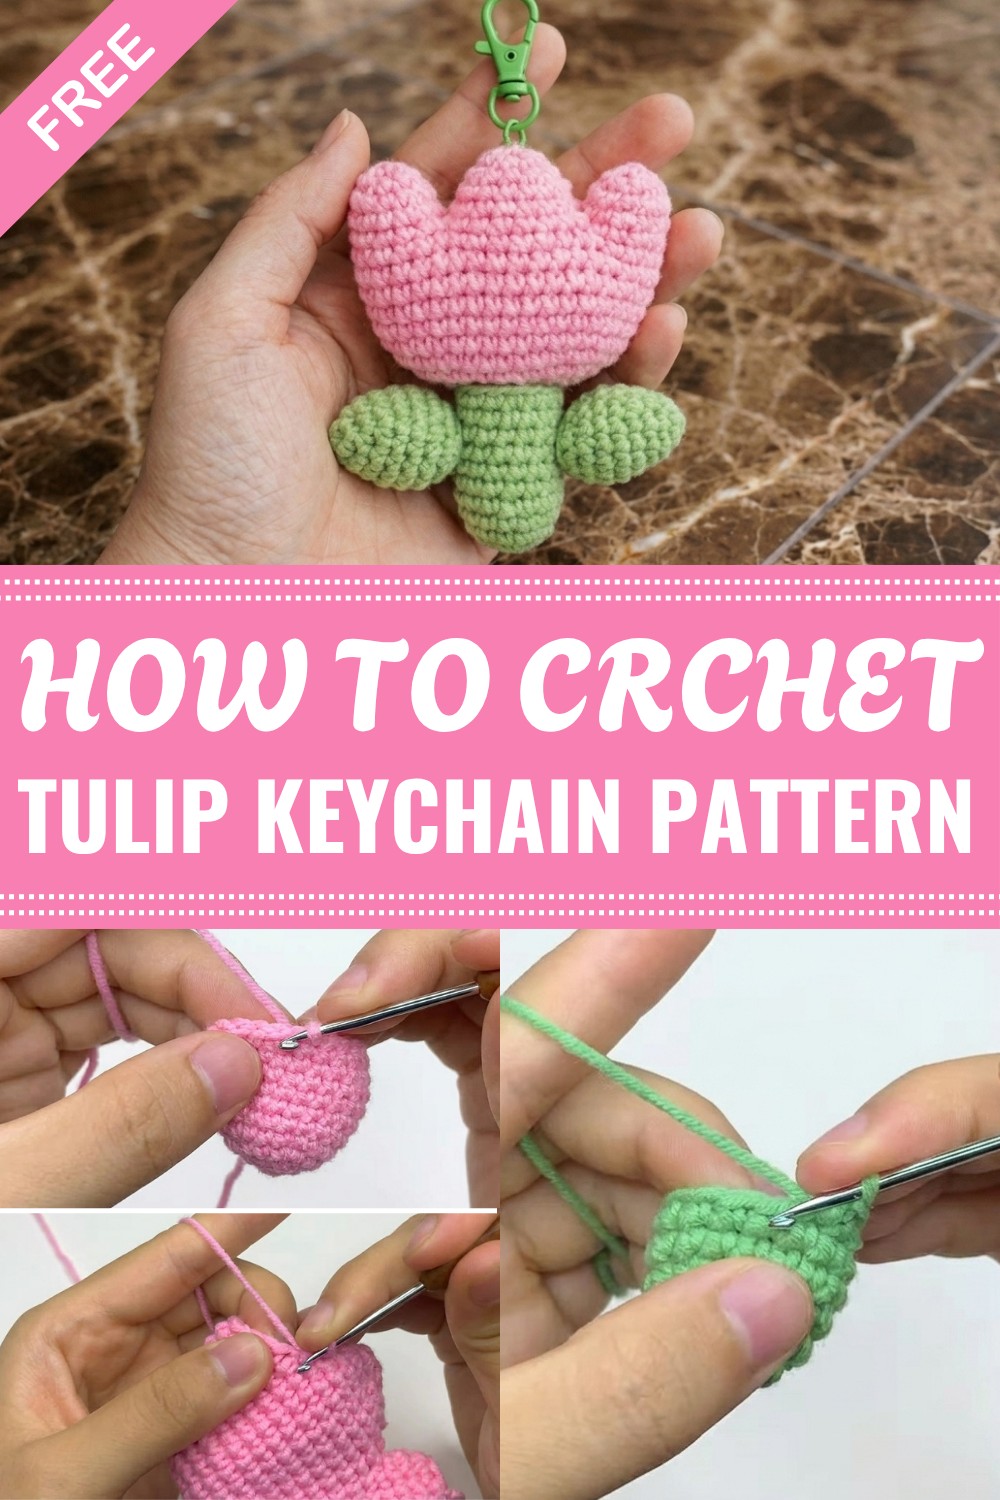
To make this project, you crochet individual tulips and stems using mainly single crochet stitches, then join them together on a small ring or strap. The stitches create a tight fabric that helps the flowers keep their form and the bouquet hold together nicely. This makes the pattern very approachable for beginners, offering a manageable project that still allows for creative expression in colors and arrangement.
This Free Crochet Tulip Bouquet Keychain Pattern is a wonderful choice for creating thoughtful gifts, adding sweet decorations to bags, or simply enjoying a small, handmade keepsake. It’s perfect for anyone who wants an easy, quick project that brings a touch of nature’s beauty into everyday life. If you’re looking for a cheerful and creative crochet idea, this tiny tulip bouquet fits beautifully with many skill levels and interests.
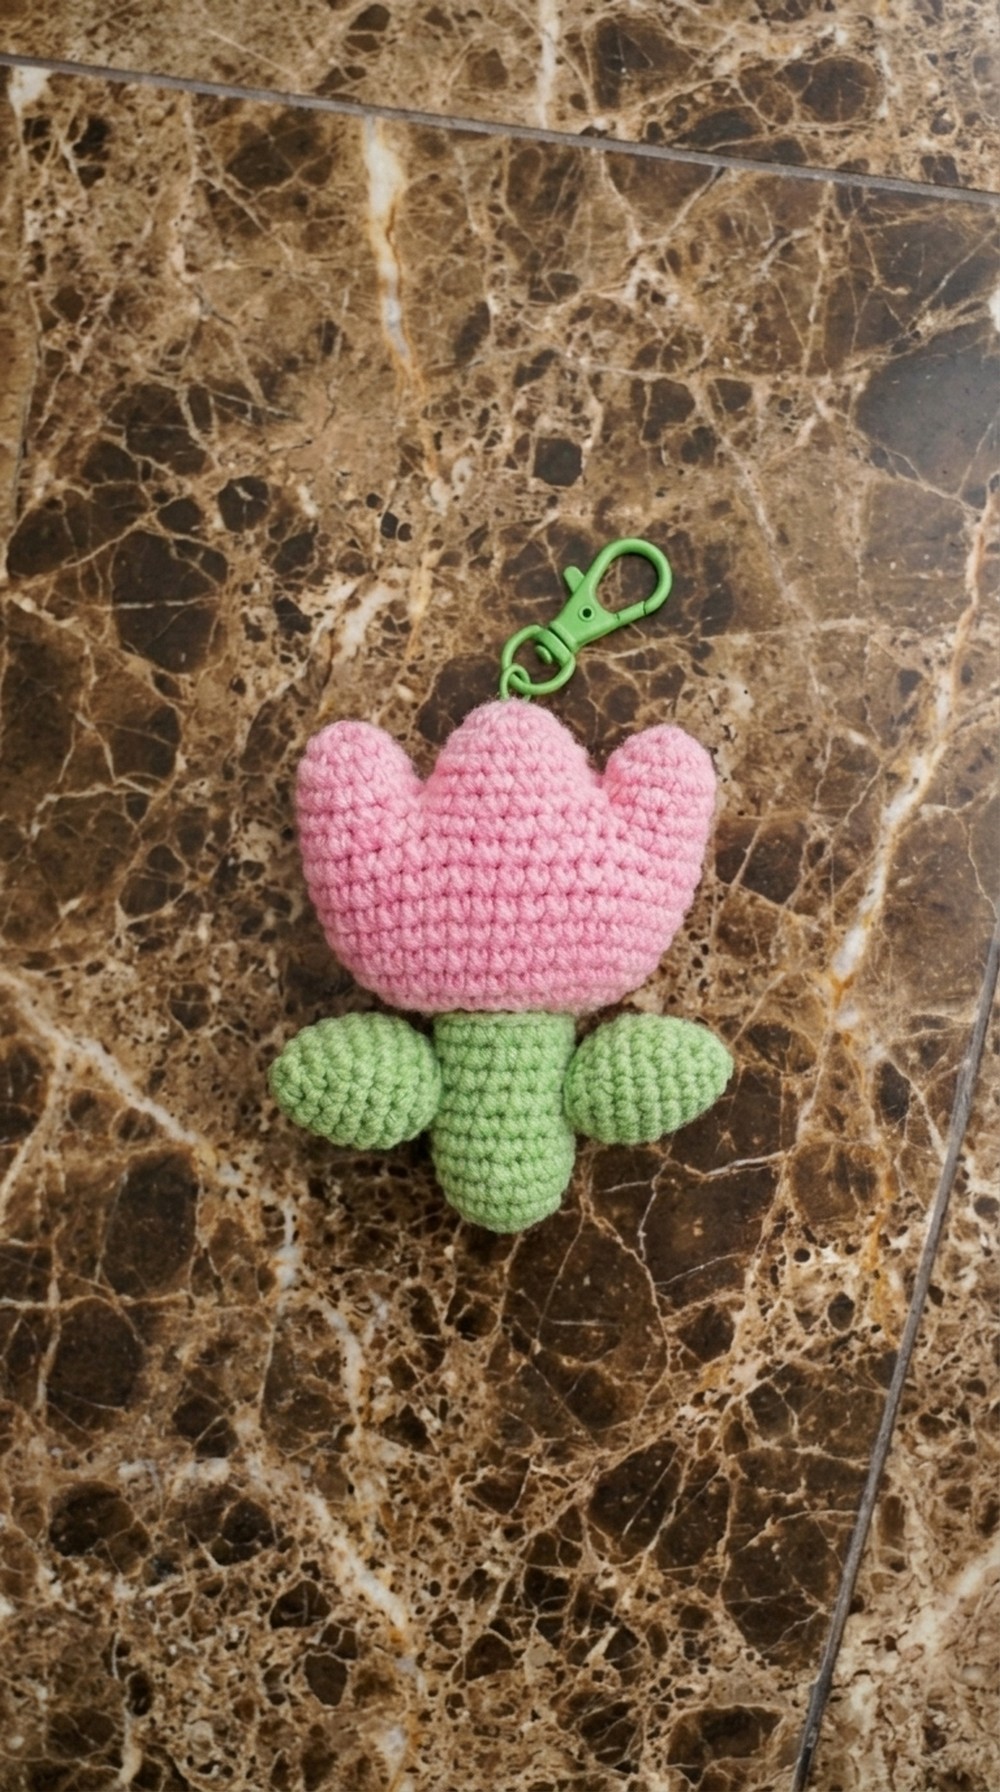
Crochet Tulip Keychain Pattern
Before You Start
- This amigurumi tulip makes a charming keychain or bag charm.
- Components: flower head/petals, stem, and two leaves.
- Great for confident beginners who want to practice shaping, increases, decreases, and assembly.
- The project uses a 2.5mm hook and approximately 2mm yarn for a firm finish.
- Use a stitch marker and stuff firmly for a neat, smooth result.
Pattern Notes
- The tulip is worked in closed rounds (amigurumi style); use a stitch marker.
- The flower head/petal structure is built from a base oval, split for 3 petals worked with increases and decreases.
- Always stuff the flower and leaves right before final closing to maintain shape.
- Use invisible decreases for the smoothest look.
- All joining can be completed by sewing with yarn tails or using a hot glue gun if preferred.
How I Made the Crochet Pattern
- Step-by-step, this pattern is transcribed and clarified from a Vietnamese video tutorial.
- All shaping, increases, and splits for the petal structure follow the video’s demonstration.
- Leaf and stem instructions are reconstructed from the visual process and include exact round counts.
- Extra details are included for clear finishing and customization.
Skill Level
Confident Beginner to Intermediate
Finished Size
- Approximately 7–8cm (about 3") tall, not including keyring.
Materials
- Fingering/sport acrylic or cotton yarn (2 mm) in:
- Flower color (petal)
- Light/medium green (leaves/stem)
- 2.5mm crochet hook
- Yarn/tapestry needle
- Stitch marker
- Polyester/cotton fiberfill
- Scissors
- Hot glue gun (optional for final assembly)
- Keyring/findings
Gauge
- Tight enough that the stuffing doesn’t show (approx. 6 sc & 7 rows = 1")
- Gauge is not crucial for this project.
Stitch Abbreviations
- ch = chain
- sc = single crochet
- inc = increase (2 sc in next st)
- dec = decrease (sc 2 together, invisible dec preferred)
- sl st = slip stitch
- st(s) = stitch(es)
- MR = magic ring
Special Stitches
- Invisible decrease: Insert hook into front loops of next two stitches, yo, draw through, yo, pull through both loops.
- Stitch Marking: Use a marker in the first stitch of each round for accuracy.
The Pattern
Flower Base (Oval Foundation)
- Foundation: Ch 9.
- Skip 9th ch, sc in 8th ch from hook, (mark this first st!).
- Sc in each of next 6 ch (7 sc total including the marked one).
- In the last ch: 3 sc (makes a round "turn").
- Working on the opposite side of the chain, sc 6, then 2 sc in the turning chain.
- Sl st to first st. (Should have 18 sts.)
Explanation
You are creating an oval base in single crochet with increases at the ends to form a rounded shape—the foundation for the flower.
Tulip Petal Body
Work in rounds from the base.
Round 2:
- Ch 1, inc in first st, mark it.
- Sc 6, inc in next 3 sts, sc 6, inc twice in last 2 sts (24 sts). Sl st to first st.
Round 3:
- Ch 1, sc in next st, inc, sc 6, (inc in next st, sc 1) x3, sc 6, (inc, sc 1) x2. Sl st to first st. (30 sts)
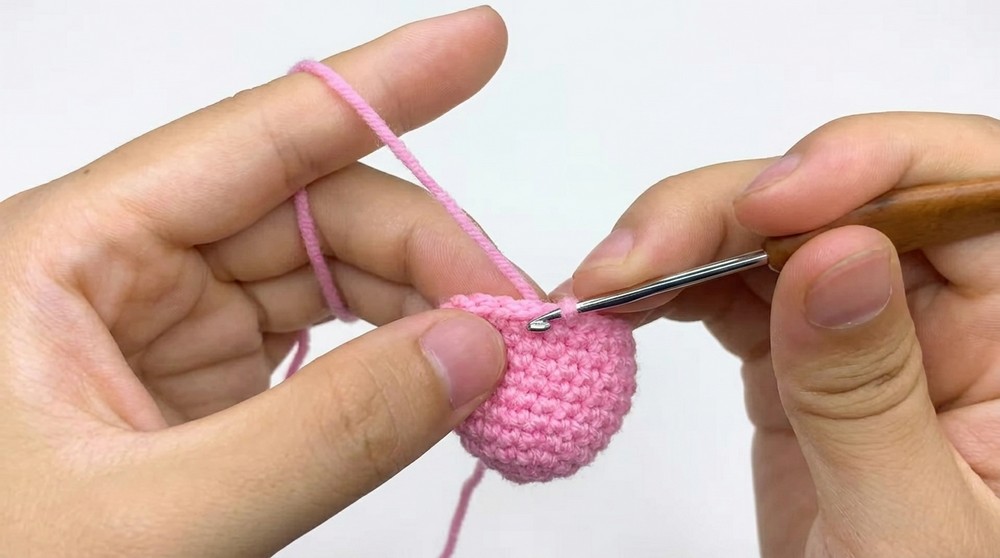
Round 4:
- Ch 1, sc in first st, inc in next, sc 6, (sc, inc) x3, sc 6, (sc, inc) x2. Sl st to first st. (36 sts)
Round 5:
- Ch 1, sc in each st around (36 sts). Sl st to first st.
Rounds 6–7:
- Repeat Round 5 for two more rounds. At the end of round 7, your base for 3 petals is complete.
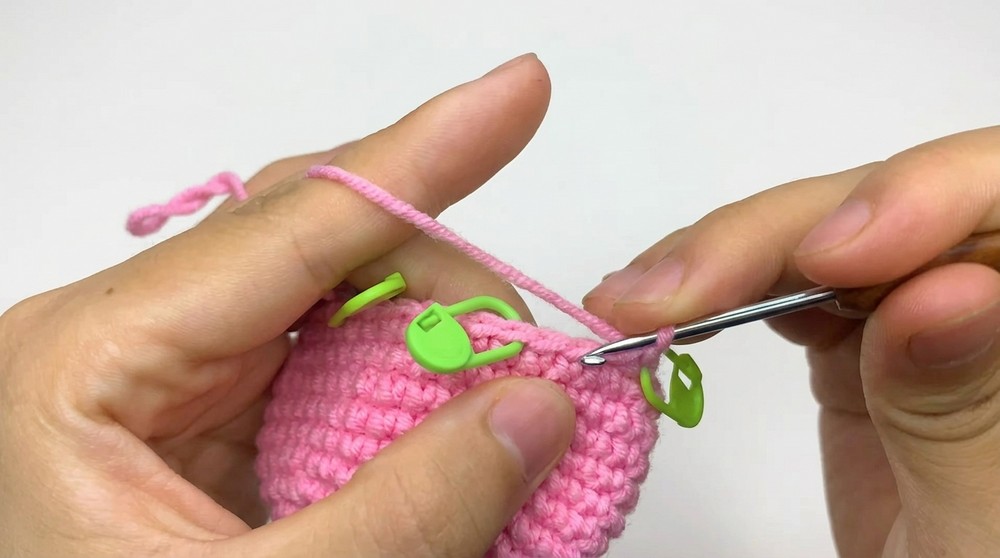
Rounds 8–11:
- Continue as established: ch 1, sc around (36 sts). Sl st to join.
- At the end of round 11, count the stitches and place removable markers at st #5, #12, and #23 (to separate the placement of the three petals/segments).
At row (round) 11, you should have a firm, stuffed tulip base. Next, you'll build and shape each petal directly on this base.
Petals (Work as 3 separate segments)
Side Petal (Make 2)
- Attach yarn at marked point (5th st or as per section separation).
- Row 1: Ch 1, sc in next 12 sts, turn. Mark first st if needed.
- Row 2: Ch 1, (sc in next 2, inc) rep to end (16 sts). Turn.
- Row 3: Ch 1, (sc in next 2, dec) rep to end. Turn.
- Row 4: Ch 1, (sc, dec) rep to end. Turn.
- Sl st to finish, leaving a tail for sewing.
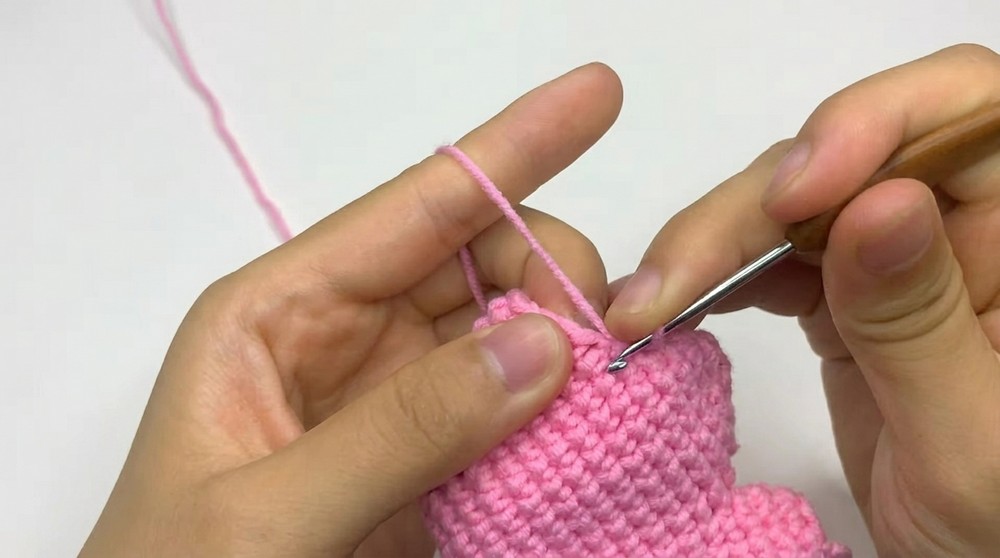
Center Petal
- Pick up 16 sts between center markers and work the same way, adding:
- Rows 1–2: Sc across (16 sts).
- Row 3: (Sc in next 2, dec) around.
- Row 4: (Sc, dec) around.
- Sl st to finish, leave tail.
Note: After Row 2 of each petal segment, begin stuffing the tulip with fiberfill. Continue stuffing evenly as you close each petal to ensure a round, full shape.
Stem/Calix (Green)
- MR, work 8 sc into ring, pull tight, do not join.
- Round 2: (Sc, inc) around (12 sts).
- Round 3: (2 sc, inc) around (16 sts).
- Continue with sc rounds as needed to make stem long enough for your flower (approx. 2–3 cm). Sl st to finish, leave tail for sewing.
Leaf (Make 2, Green)
- MR, 6 sc into ring (6).
- (Sc, inc) x3 around (9).
- (2 sc, inc) x3 (12).
- (3 sc, inc) x3 (15).
- Rounds 5–6: Sc in each st around (15, do 2 rounds).
- (3 sc, dec) x3 (12).
- (2 sc, dec) x3 (9).
- (sc, dec) x3 (6).
- Sl st to finish, leave yarn for sewing.
Make two leaves.
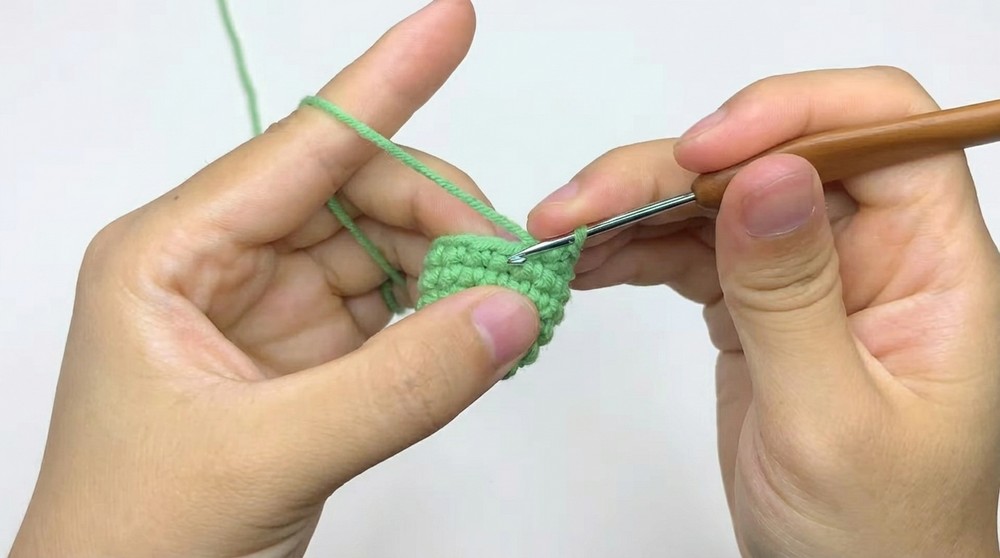
For both stem/calyx and leaves, stuff slightly before closing if you want puffy leaves, or leave flat for a more realistic look.
Assembly & Finishing
- Finish stuffing the tulip head and close final openings with a yarn/tapestry needle.
- Sew (or glue) stem/calyx to the bottom of the flower body.
- Sew or glue leaves to the bottom of the stem, spaced to your liking.
- Attach your keyring or chain at the top, or through the calyx or one petal.
- Weave in all threads neatly inside.
- Gently shape each petal and leaf with your fingers.
- Done!
Solution of Problem
- Petals not closing or shaping evenly: Adjust your stuffing, distribute filling with small scissors or chopstick before final sewing.
- Holes at joins: Pick up all “V” loops along joining rounds; use hot glue if necessary or sew tightly.
- Misshapen tulip: Adjust petal shaping as you go, and don’t overstuff.
What you can make by using these stitches
- Keychain tulip as described.
- Mini bouquets for gifts, brooches, or hairpins—just add more colors.
- Decorative fridge magnets (attach magnet to calyx).
- Attach to headbands, baskets, or as an applique on bags.


Leave a Reply