

Create holiday magic with this Crochet Christmas Gnome Pattern that is ideal for seasonal decorations, unique gifts, and handmade Christmas cheer.
Add a fun and cozy touch to your holiday decorations with a cute handmade amigurumi. The Crochet Christmas Gnome is perfect for decorating your home, sitting on shelves, brightening up your desk, or giving as a special gift to friends and family.
Easy Crochet Christmas Gnome Free Pattern with Amigurumi Design
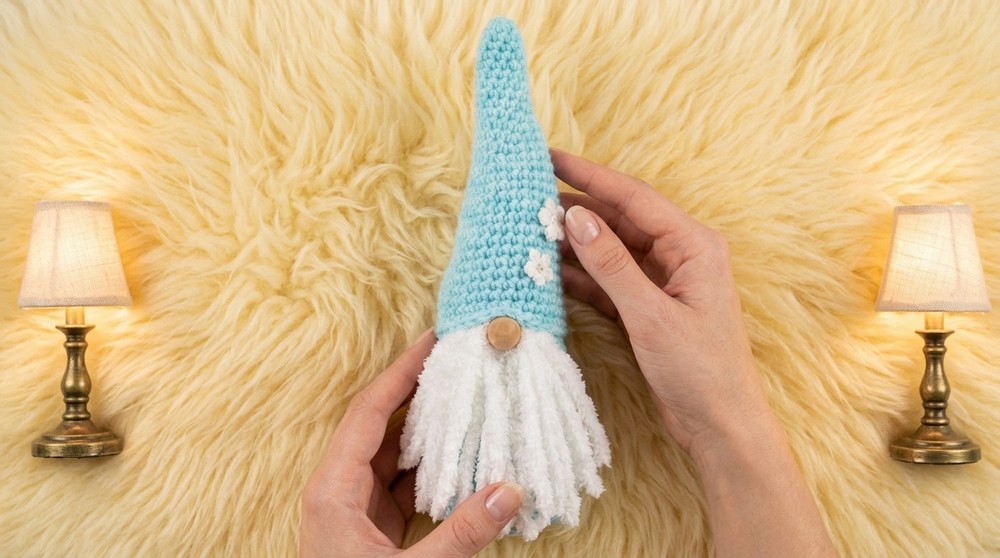
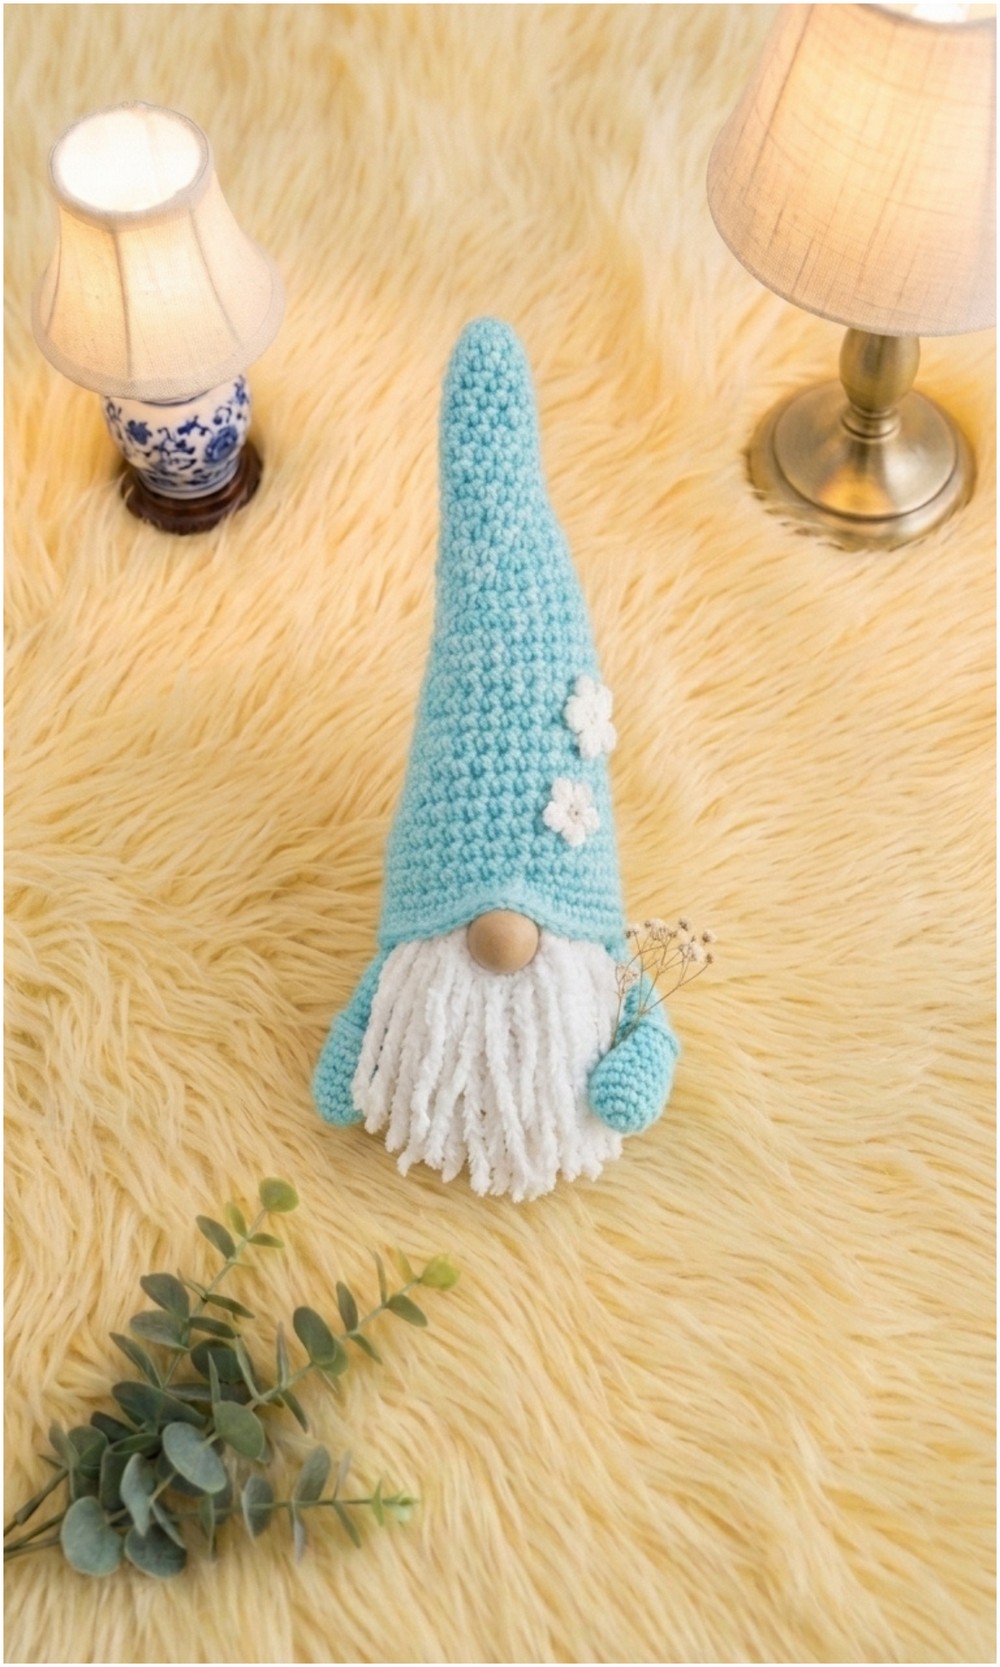
This little gnome stands about 6 to 8 inches tall. It has a tall, pointy hat, a round nose peeking out from under a fluffy beard, and a simple, soft body that looks warm and friendly. The soft yarn makes it feel cuddly, great as a collectible or decoration during the holidays.
This project is good for beginners and those with some crochet experience. You will use basic stitches like single crochet, simple increases and decreases, and some sewing to put the parts together. You can pick your favorite colors or try different stitches to make your gnome unique.
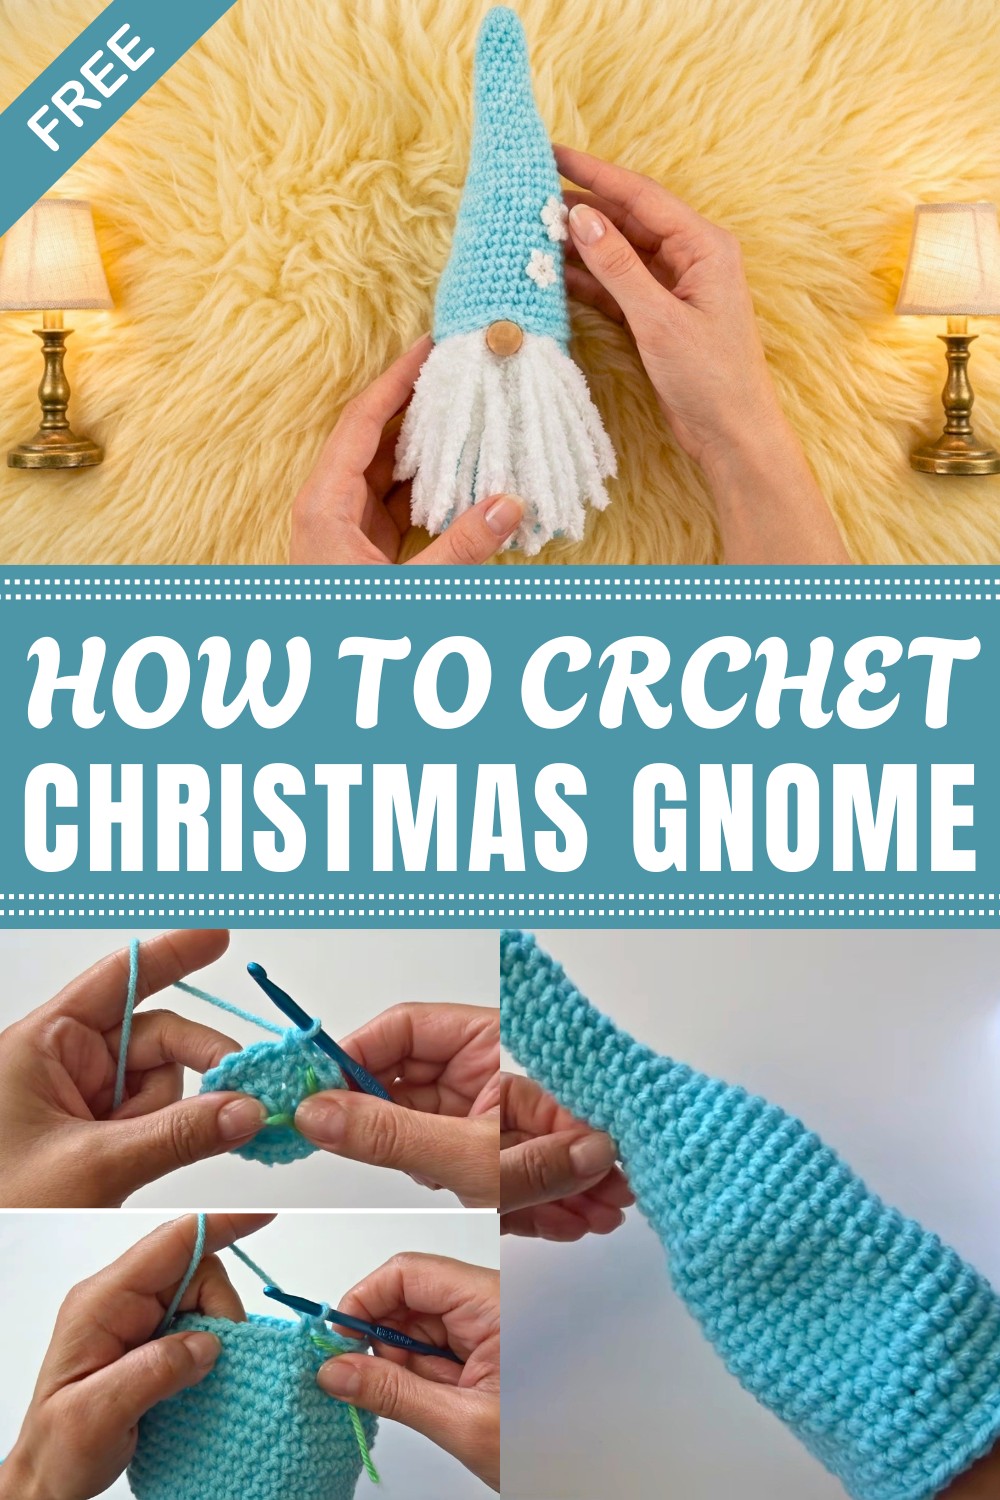
The Crochet Christmas Gnome Pattern is a fun way to practice amigurumi skills while adding a cheerful character to your holiday. Use it as a festive table centerpiece, a cute ornament, a stocking stuffer, or a cozy home accent that adds personality wherever it sits.
Crochet Gnome Amigurumi Pattern
This pattern is simple, detailed, and perfect for amigurumi beginners and seasoned ceocheter alike. You can customize the gnome’s size by adjusting your yarn weight; the large version measures about 16 inches, and the small one is about 11 inches.
Pattern Highlights
• Structured and Weighted Gnome Body
- Crocheted from the base up, with easy increases and decreases for shaping.
- Weighted with rice and cardboard for stability; finished with soft stuffing.
• Classic Crocheted Gnome Hat
- Tall, pointy, and structured with a pipe cleaner for poseable movement.
• Textured Yarn Beard
- Simple yarn strands tied and glued for a soft, full beard.
• Wooden Bead Nose
- Securely glued between the beard and hat for signature character.
• Decorative Details
- Optional: Add bells and snowflake buttons for a holiday touch.
Notes
- Beard: Use long white yarn strands for fullness; tie at the center for easy assembly.
- Weighted Base: Cardboard disc and bagged rice or poly pellets add stability.
- Glue: Use hot glue for securing the beard and nose, and sewing for bells and buttons.
- Customization: Change yarn colors, beard shape, or add more embellishments.
- Safety: For young children, avoid small parts or secure them firmly.
Skill Level
Advanced Beginner / Intermediate
(Familiarity with single crochet in the round, increases, decreases, and basic sewing/assembly.)
Materials
- Yarn:
- Main color (body and hat): Medium (WT 4) or Light (WT 3) yarn
- White yarn for beard (WT 4 recommended)
- Crochet Hook: 5 mm
- Stuffing: Polyfiber fill
- Cardboard: Small piece for base (about 4¼" diameter disc)
- Pipe Cleaner: For shaping hat
- Small Wooden Bead: For nose
- Scissors
- Tapestry Needle
- Small Bag of Rice (or Poly Pellets): For weight
- Ziplock Bag: To contain the rice if using
- Hot Glue Gun and Glue Sticks
- Optional: Three small bells, snowflake or decorative buttons
Measurements / Sizing
- Large Gnome: approx. 16" (using medium [#4] yarn and 5mm hook)
- Small Gnome: approx. 11" (using light [#3] yarn and 5mm hook)
- Beard: Each strand ~14" before trimming to suit
- Base Disc: ~4¼" diameter
Gauge
Not critical, but aim for close, firm stitches so stuffing does not show through.
Stitch Abbreviations
| Abbreviation | Term |
|---|---|
| ch | chain |
| st(s) | stitch(es) |
| sl st | slip stitch |
| sc | single crochet |
| inc | increase (2 sc in same st) |
| dec / sc2tog | decrease (sc two together) |
| BLO | back loop only |
Special Stitches
- Magic Ring: Start with a closed center ring by working sc into an adjustable loop.
- Invisible Decrease (sc2tog in FLO): Insert hook in front loop of the next two stitches, yarn over, pull through both loops, yarn over, pull through two remaining loops on hook.
- BLO (Back Loop Only): Insert hook only in the back loop for the round.
Compelete Crochet Pattern
Gnome Body
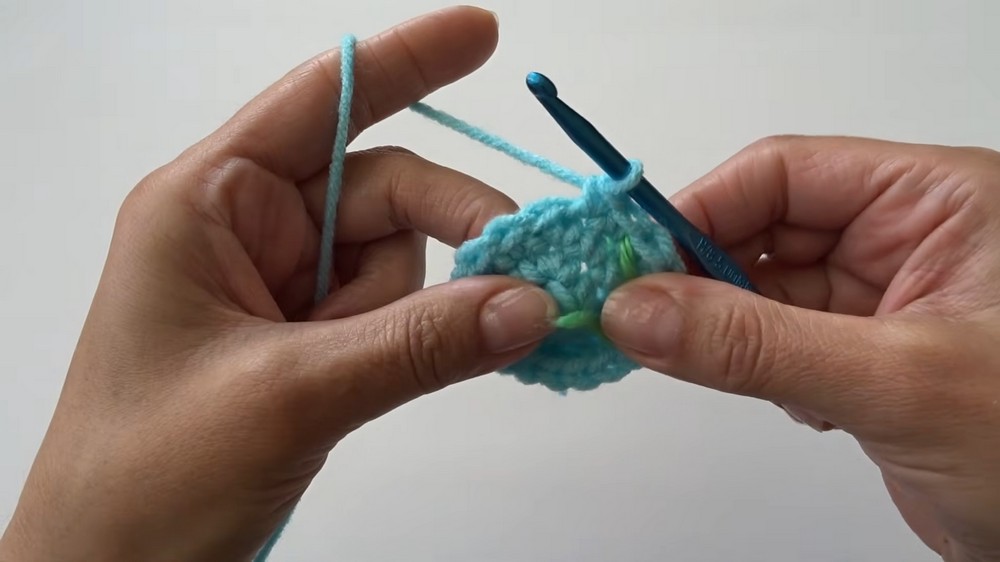
- Round 1: Magic ring, ch 1. Work 6 sc into ring. (OR ch 2, 6 sc into first ch).
- Round 2: 2 sc in each st around (12 sc).
- Round 3: [1 sc, inc] around (18 sc).
- Round 4: [2 sc, inc] around (24 sc).
- Round 5: [3 sc, inc] around (30 sc).
- Round 6: [4 sc, inc] around (36 sc).
- Round 7: [5 sc, inc] around (42 sc).
- Round 8: [6 sc, inc] around (48 sc).
- Round 9: sc in BLO in every st (48 sc).
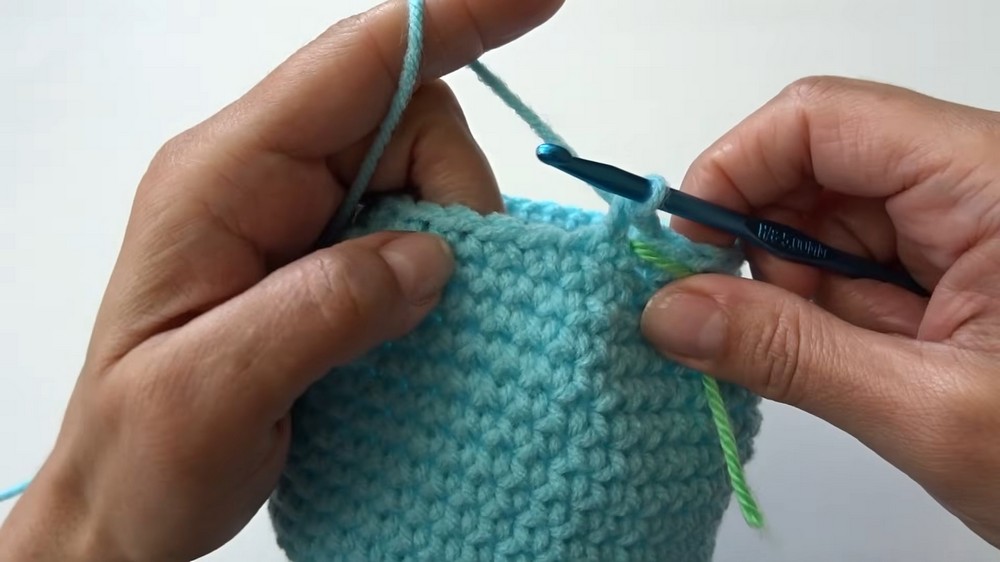
- Rounds 10–19: sc in each st around (10 rounds, 48 sc each).
- Round 20: Invisible decrease: [sc in next 6, sc2tog (FLO)] around (42 sc).
- Round 21: [sc2tog, sc in next 5] around (36 sc).
- Round 22: [sc2tog, sc in next 4] around (30 sc).
- Rounds 23–38: sc in each st around (16 rounds, 30 sc each).
Stuffing and Weighting:
- Cut cardboard disk to size, fold and insert into the base.
- Fill a ziplock with rice + bay leaf (optional for fragrance/anti-pest), place in base.
- Fill the rest with polyfill stuffing, evenly around the bag.
- Round 39: [sc2tog, sc in next 3] around (24 sc).
- Round 40: [sc2tog, sc in next 2] around (18 sc).
- Round 41: [sc2tog, sc in next st] around (12 sc).
- Add more stuffing as needed.
- Round 42: [sc2tog] x6 (6 sc).
- Fasten off, sl st, cut yarn, and close opening with a tapestry needle by weaving through, pulling tight, and securing the yarn inside.
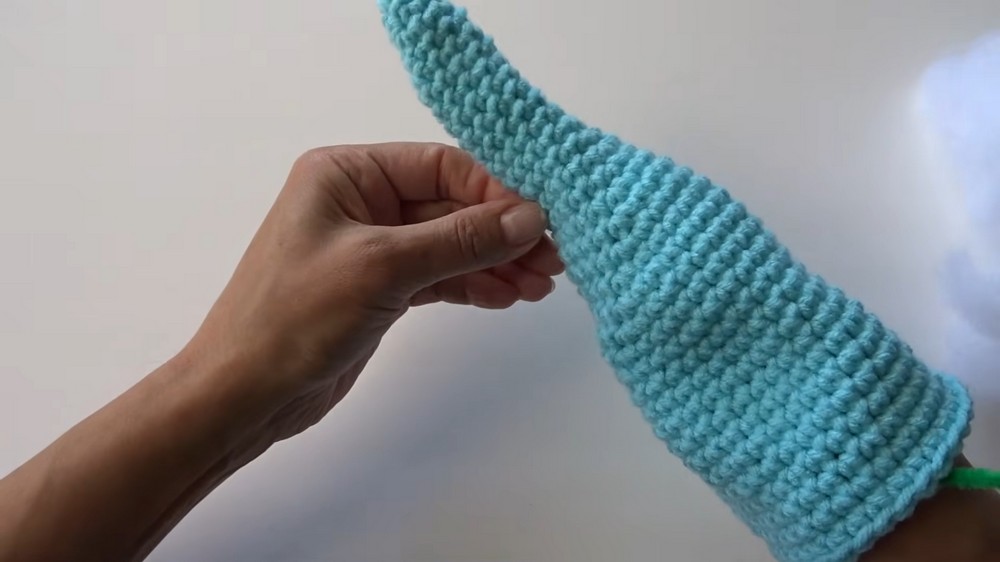
Gnome Hat
- Round 1: Magic ring, ch 1. Work 5 sc into ring.
- Round 2: [2 sc in first st, 1 sc in next 4] (6 sc).
- Rounds 3–6: [2 sc in first st, sc in remaining sts] (+1 st each rnd, to 10 sts total).
- Rounds 7–11: sc in each st around (5 rounds).
- Rounds 12–34: [2 sc in first st, sc in remaining sts] each round until you have 35 sc at Round 34.
- Fasten off, sl st, cut yarn and weave ends inside.
- Insert pipe cleaner: Bend one end, run through hat, tuck sharp ends under or into the body for safety.
- Stuff hat lightly around the pipe cleaner, keeping the pipe cleaner centered.
Beard
- Cut 25 strands of white yarn, each ~14" long.
- Gather in half and tie tightly at the midpoint with another yarn piece.
- Place and glue the beard about 2" down from the top edge of the gnome’s body.
- Secure the center-tied part first, add glue to sides, and press into shape.
- Trim beard into a V-shape or as desired.
Nose
- Use a small wooden bead.
- Glue it at the center top of the beard, right under the hat edge, covering any glue join.
Hat Attachment and Embellishments
- Position hat, test fit with beard and nose.
- Glue hat edge to body, covering top of bead, press firmly.
- Optionally, glue bells to hat tip using yarn and tapestry needle; sew into the first round of hat tip, knot inside and trim excess.
- Add snowflake buttons on the hat for decoration.
Assembly & Finished Size
- Finished large gnome: approx. 16 inches tall.
- Finished small gnome: approx. 11 inches tall.
- All assembly is done with glue, except for sewn-on bells or buttons.
- Ensure the base is firm and the beard/nose placement is even.
- Shape the hat with the inner pipe cleaner for the whimsical “gnome” effect.
Conclusion
This amigurumi project yields a whimsical, weighted decoration just right for your home or as a thoughtful, handmade gift. Feel free to experiment with colors and embellishments, and don’t forget to give your gnome a personality with a unique beard and playful hat twist.




Leave a Reply