

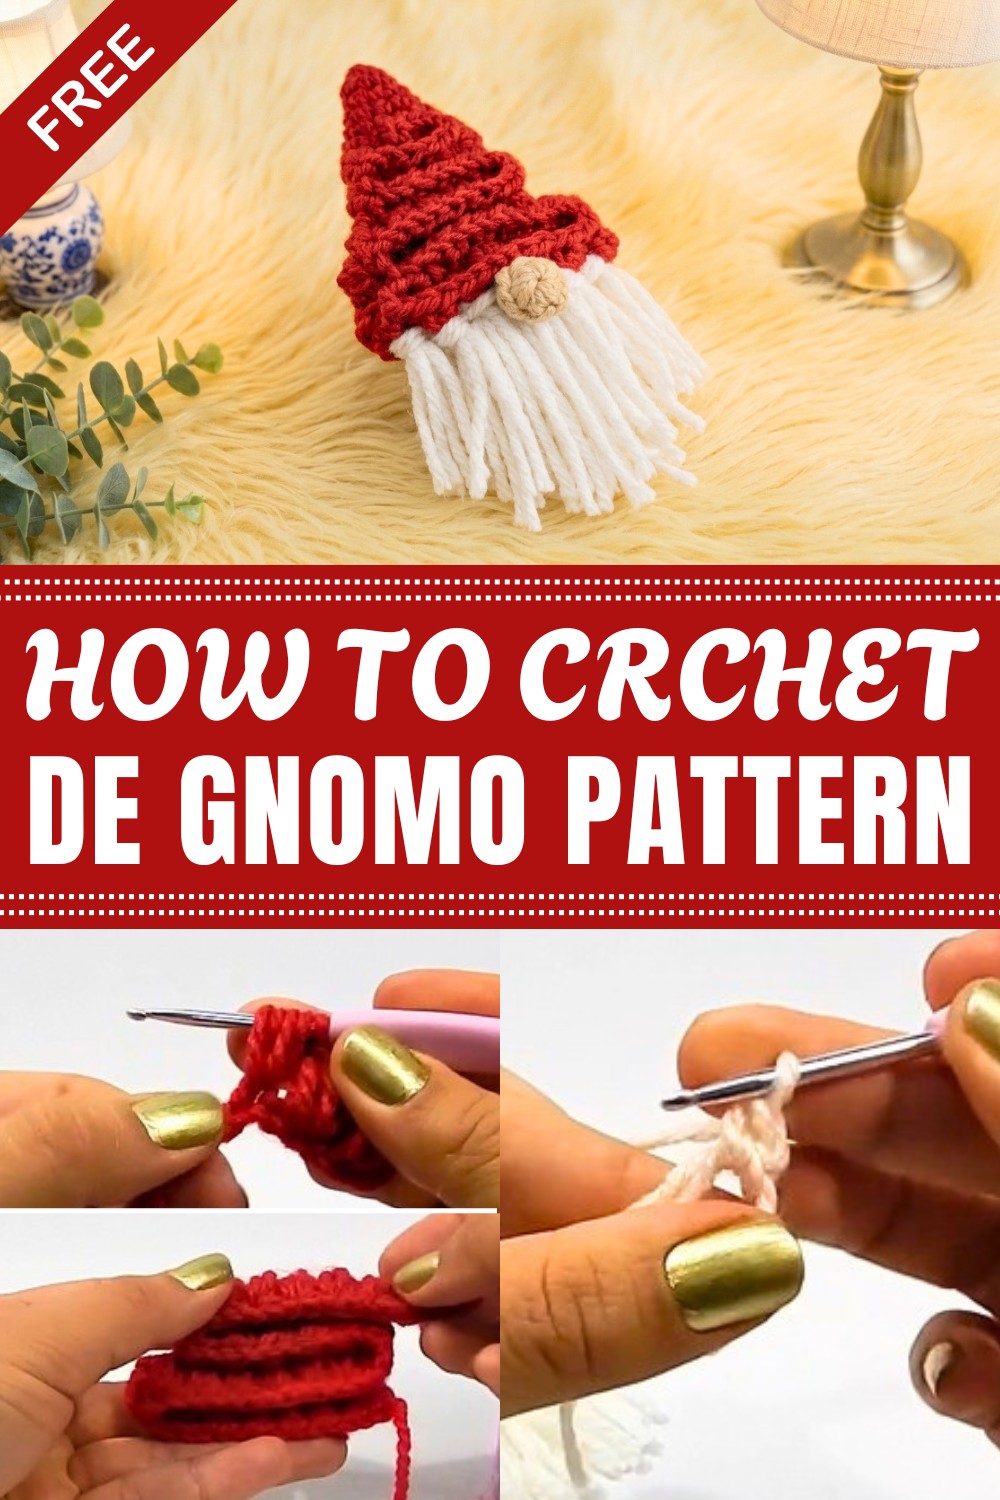
Try this unique crochet gnome with this free pattern that guides you step-by-step to make a festive and adorable handmade decoration.
Looking for a fun and cozy project? A Crochet Gnome is a great choice. This little figure looks friendly and cute, with a big hat, round nose, and a bushy beard. It often reminds people of holiday magic or cozy winter days. The simple shape makes it easy to hold, and it adds charm to any room or holiday display.
Crochet A Charming Gnome With This Simple Pattern
The colors used in a crochet gnome are usually bright and cheerful. Reds, whites, grays, and greens work well. These colors help the gnome stand out and bring warmth to your space. Also, you can pick yarn with a soft feel to make your gnome even more inviting.
Besides being an enjoyable project, making a crochet gnome offers other benefits. For one, it helps you practice different stitches and turns, improving your crochet skills step by step. Also, this project doesn’t need a lot of yarn or time, making it perfect for quick gifts or decorations. Lastly, having a handmade gnome at home adds a touch of personality and friendliness that store-bought items might not give.
Overall, a crochet gnome combines simple shapes with bright colors, and it brings a happy vibe wherever it goes. It’s a small, fun way to add warmth and charm, whether for the holidays or anytime you want a cute little friend nearby. This project is a nice way to relax and bring a smile to yourself or others.
Crochet Christmas Gnome Ornament Pattern
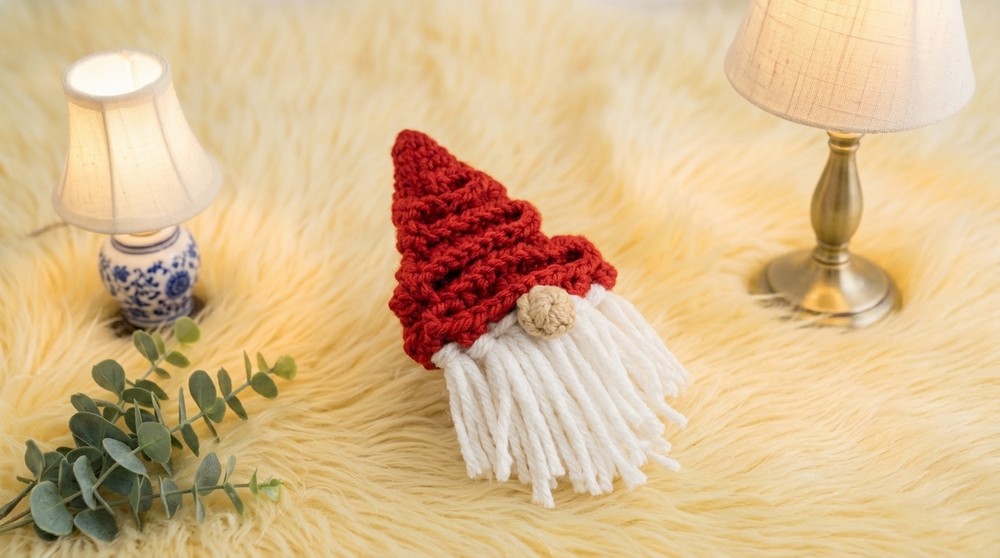
Creating a crochet Christmas gnome ornament brings festive charm to any holiday décor. This pattern skillfully combines textural elements and basic amigurumi techniques for a result that is both whimsical and classic. The gnome’s signature hat is worked as a textural strip and formed into a cone, while a fluffy beard and button-backed hanging mechanism finish the look. Suitable for gifting or personal use, this ornament measures approximately 10–12 cm and fits nicely on most Christmas trees.
Pattern Basic Points
- Construction:
The hat forms the gnome’s body, shaped from a coiled and sewn strip.
The beard is made from bundled yarn attached with the lark’s head knot.
A button and hanging loop secure the ornament.
The nose is a small amigurumi sphere.
- Texture and Shape:
Hat uses puff stitches for slouch and interest.
Beard is trimmed to a ‘V’ for classic gnome styling.
- No advance shaping:
Easy assembly with few parts.
Special Notes
- Maintain even tension, particularly while creating puff stitches.
- The beard can be trimmed to preference for a fuller or shorter appearance.
- Use a button with a raised profile for hanging security.
- Stitch count is not crucial for the beard and nose.
Skill Level
Beginner-Friendly
This project primarily uses simple stitches, puff stitches, and magic ring construction. Some hand sewing is required, but it remains approachable for those with basic crochet knowledge and a willingness to learn new techniques like the lark’s head knot.
Materials
- 3.5 mm crochet hook
- Red yarn: Medium weight (for hat)
- White yarn: Medium weight (for beard & hanging loop)
- Beige/tan yarn: Small amount (for nose)
- White button: approximately 2 cm diameter (round, two-hole, or shank)
- Yarn needle
- Scissors
Measurements & Gauge
- Finished size: Approximately 10–12 cm tall (not including hanging loop)
- Gauge is not essential.
- Hat strip: About 32 cm long after chaining 60 with 3.5 mm hook (adjust as necessary for similar width).
Stitch Pattern (Hat):
- The puff stitch strip creates texture and flexibility for shaping the hat/cone.
Stitch Abbreviations
- ch – chain
- st(s) – stitch(es)
- sc – single crochet
- sl st – slip stitch
- puff – puff stitch
- MR – Magic Ring
Special Stitches
Puff Stitch (3-loop):
- Yarn over, insert hook in stitch, yarn over and pull up a loop (3 loops on hook).
- Yarn over, insert hook in the same stitch, yarn over and pull up a loop (5 loops).
- Yarn over, insert hook in the same stitch, yarn over and pull up a loop (7 loops).
- Yarn over and pull through all 7 loops, chain 1 to close.
Lark’s Head Knot (for attaching beard strands):
- Fold yarn strand in half.
- Insert hook under the stitch, pull the folded edge through to make a loop.
- Pull the two ends through the loop and tighten.
Pattern Instructions
1. The Hat (Body)
Round 1: Foundation Chain
- With red yarn, ch 60 (ensure it’s about 32 cm or a multiple of 2 for pattern alignment).
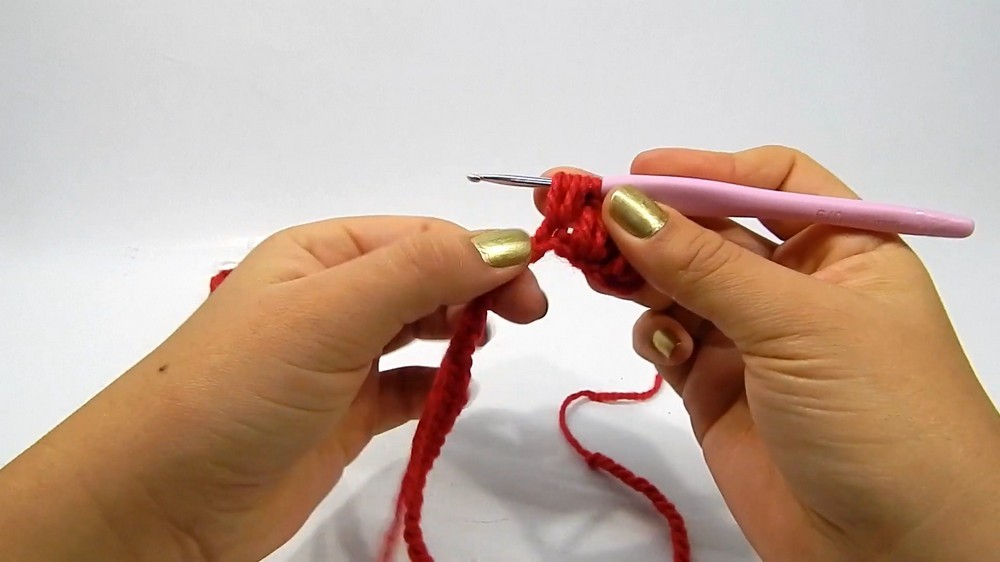
Round 2: Puff Stitch Row
- Ch 2 (serves as turning chain).
- Skip the next 3 chains.
- Work a puff stitch (see Special Stitches) into the 4th ch.
- Ch 1, skip 1 ch, work puff stitch into the next.
- Repeat from * to * across the row until last chain.
- End with a puff, do not fasten off yet.
Round 3: Assembly (Shaping the Hat)
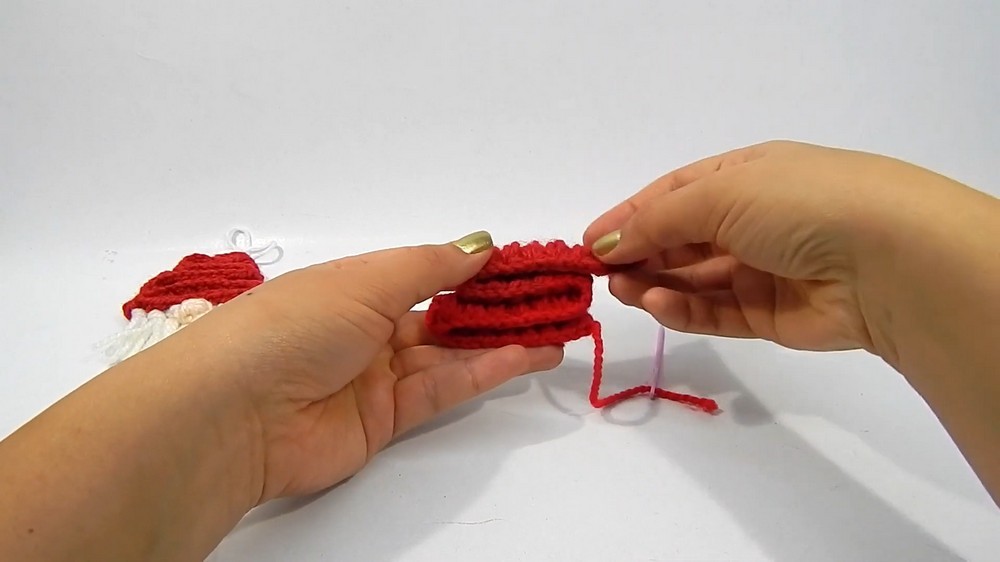
- Fold the puff-stitch strip into a coil, starting at one short end.
- Overlap the edges to begin shaping the cone form.
- Thread the working yarn onto a yarn needle.
- Whipstitch or sew the two long ends together, gently spiraling the “strip” until it forms a closed, tapered cone. (You can overlap edges to enhance the hat’s pointed shape.)
- Secure the top with several tight stitches to close any opening. Fasten off, leaving the bottom open for beard attachment.
2. Hanging Mechanism
Round 4: Button & Loop Attachment
- Cut a long piece of white yarn (about 30 cm).
- With the hat inverted, insert the needle upwards through the cone’s tip and out the center of the hat’s crown.
- Thread both yarn ends through the two holes in the button underside.
- Pull most of the way through until the button sits tightly against the inner tip of the hat.
- Tie both ends together at the top of the hat, making a loop for hanging (adjust to about 4–5 cm).
- Double knot for security.
3. The Beard
Round 5: Prepare Beard Strands
- Wrap white yarn around four fingers (or 6–8 cm width) at least 10–12 times.
- Carefully slide yarn off fingers and cut one side to create equal strands.
Round 6: Attach Beard
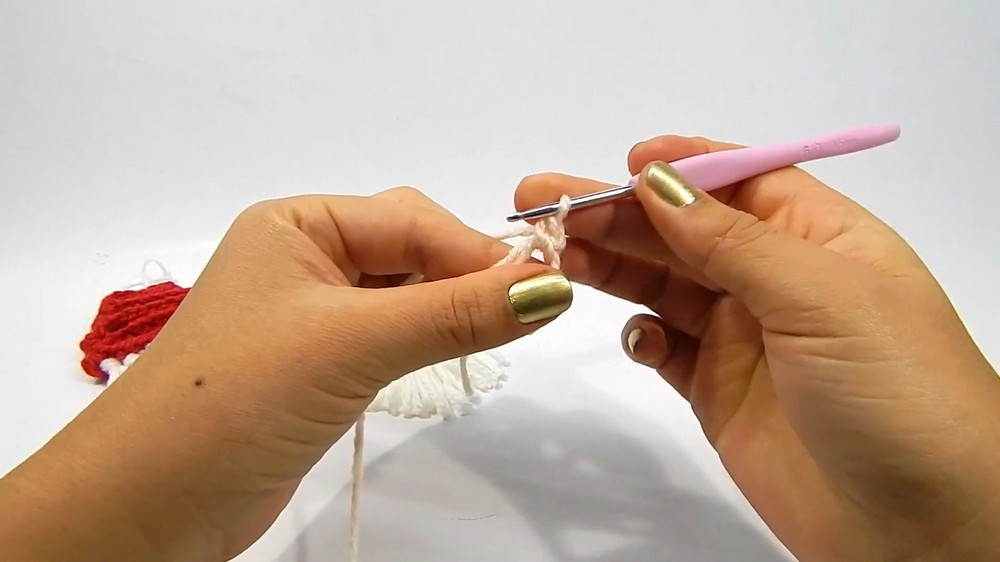
- With the hat's open edge facing you, use a crochet hook to attach the beard:
- Take 2 strands, fold in half.
- Insert hook under an edge stitch at the open base.
- Pull the fold of the strands through, forming a loop.
- Tuck ends through the loop and pull snug (lark’s head knot).
- Repeat this process along the lower edge, spacing knots evenly.
- Fill the bottom rim with as many bundles as desired for fullness.
Round 7: Trim
- Once all strands are attached, use sharp scissors to trim the beard into a ‘V’ shape centered beneath the hat.
4. The Nose
Round 8: Nose (Beige/Tan Yarn)
- MR, work 6 sc into the ring.
- Pull ring closed.
- Join with a sl st to the first sc.
- Cut yarn, leaving a long tail for sewing.
- Gather stitches together to form a round ball;
- Use the yarn needle to weave the tail through the base, pull tight, and secure.
- Stitch several times through the center to form a firm nose.
- Sew the nose securely to the center base of the beard, just under the hat edge.
Assembly & Finished Size
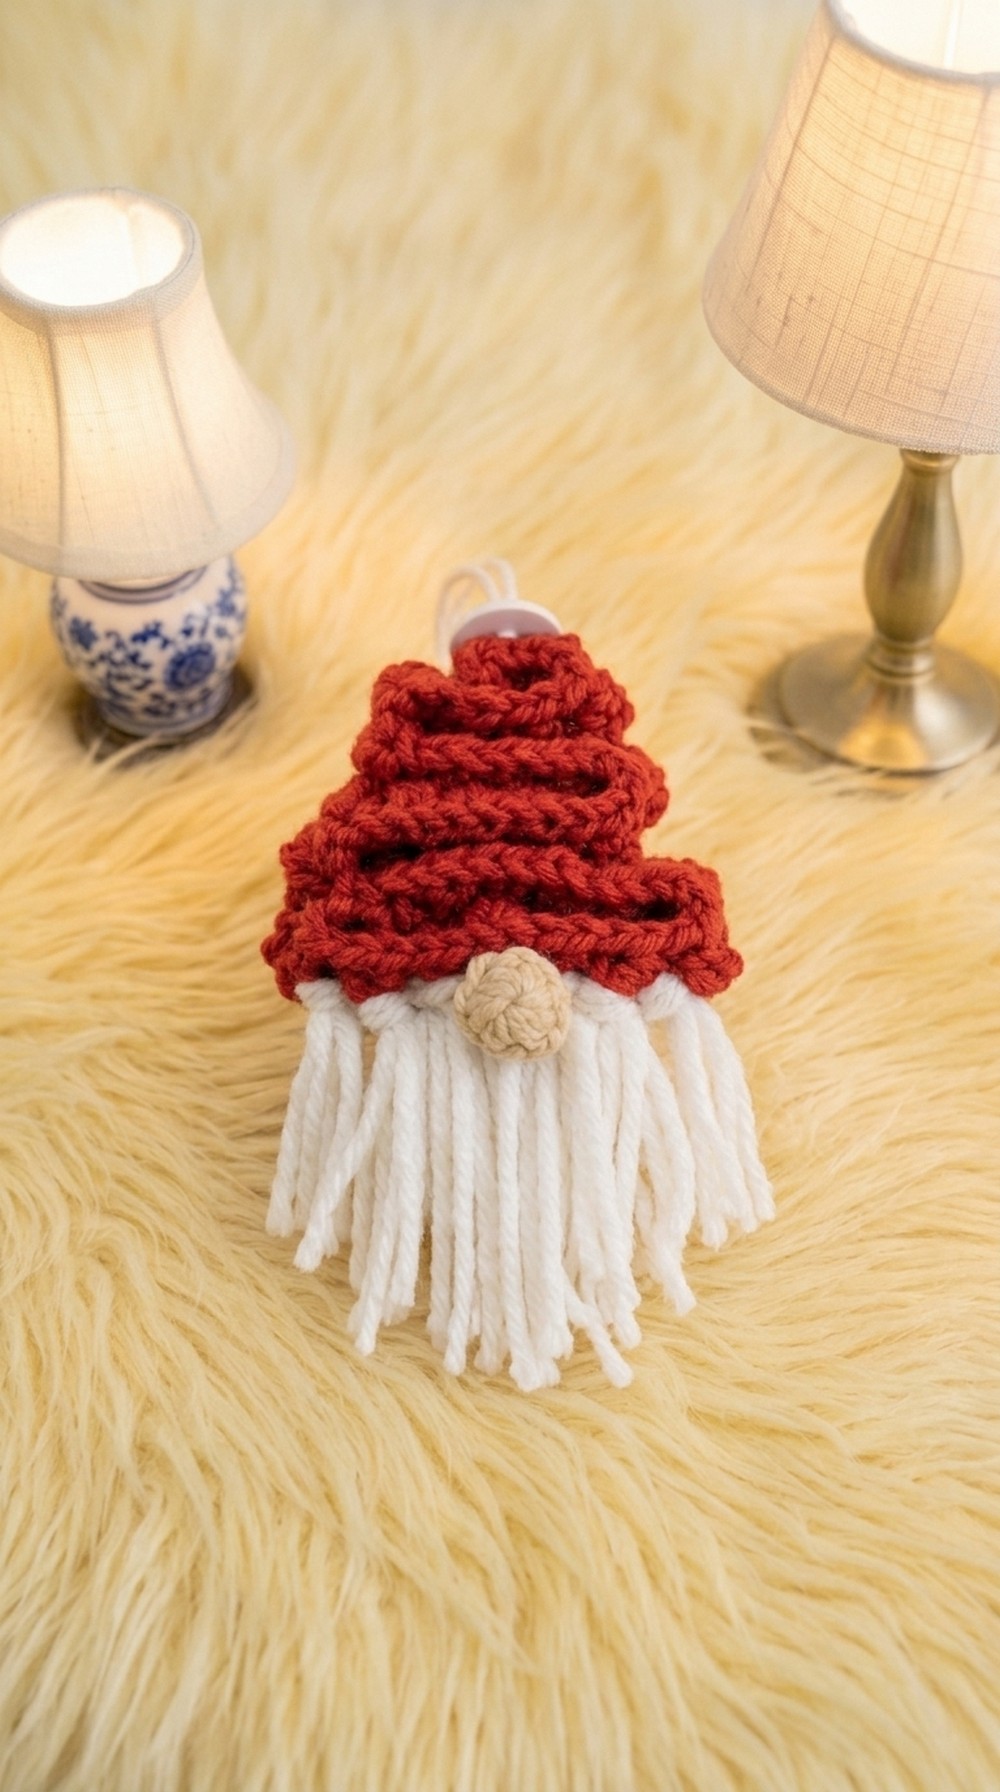
- The hat forms a soft, flexible cone approximately 10–12 cm tall.
- Button attachment ensures the ornament hangs straight and securely.
- The lark’s head knot gives the beard a dense, realistic, and stylable texture.
- The trimmed beard in a ‘V’ and centered nose define the unmistakable gnome silhouette.
Conclusion
The combination of puff stitches, cozy yarn beard, and a classic color palette results in a charming Christmas decoration. This gnome ornament makes excellent use of basic skills to create festive personality and is easily customizable with alternative colors and embellishments. Adapt beard length, hat size, or embellish further as desired for a personalized touch to your holiday tree.
Leave a Reply