

Learn to make a crochet pumpkin pattern with this simple guide, perfect for autumn decor, handmade gifts, and creative fall projects.
Soft and colorful try this easy crochet project. A Crochet Pumpkin is an ideal decoration for the fall season. It is made from yarn, giving it a gentle and lightweight feel that differs from real pumpkins. This pumpkin can suit Halloween, Thanksgiving, or any cozy space that needs a touch of autumn.
Cozy Crochet Pumpkin Free Pattern for Halloween Decor
Sizes vary, from small enough to hold easily in your hand to larger pieces that can stand out on shelves or tables. While orange is the most common color, other shades such as white, green, and purple add variety and creativity. Many feature charming details like tiny green leaves or curly stems made from yarn.
The main stitch used is the single crochet, which helps keep the shape firm and rounded. Starting with a magic ring allows for a neat and tight center that grows outward as the work progresses. Inside, soft stuffing gives the pumpkin a plump, three-dimensional form.
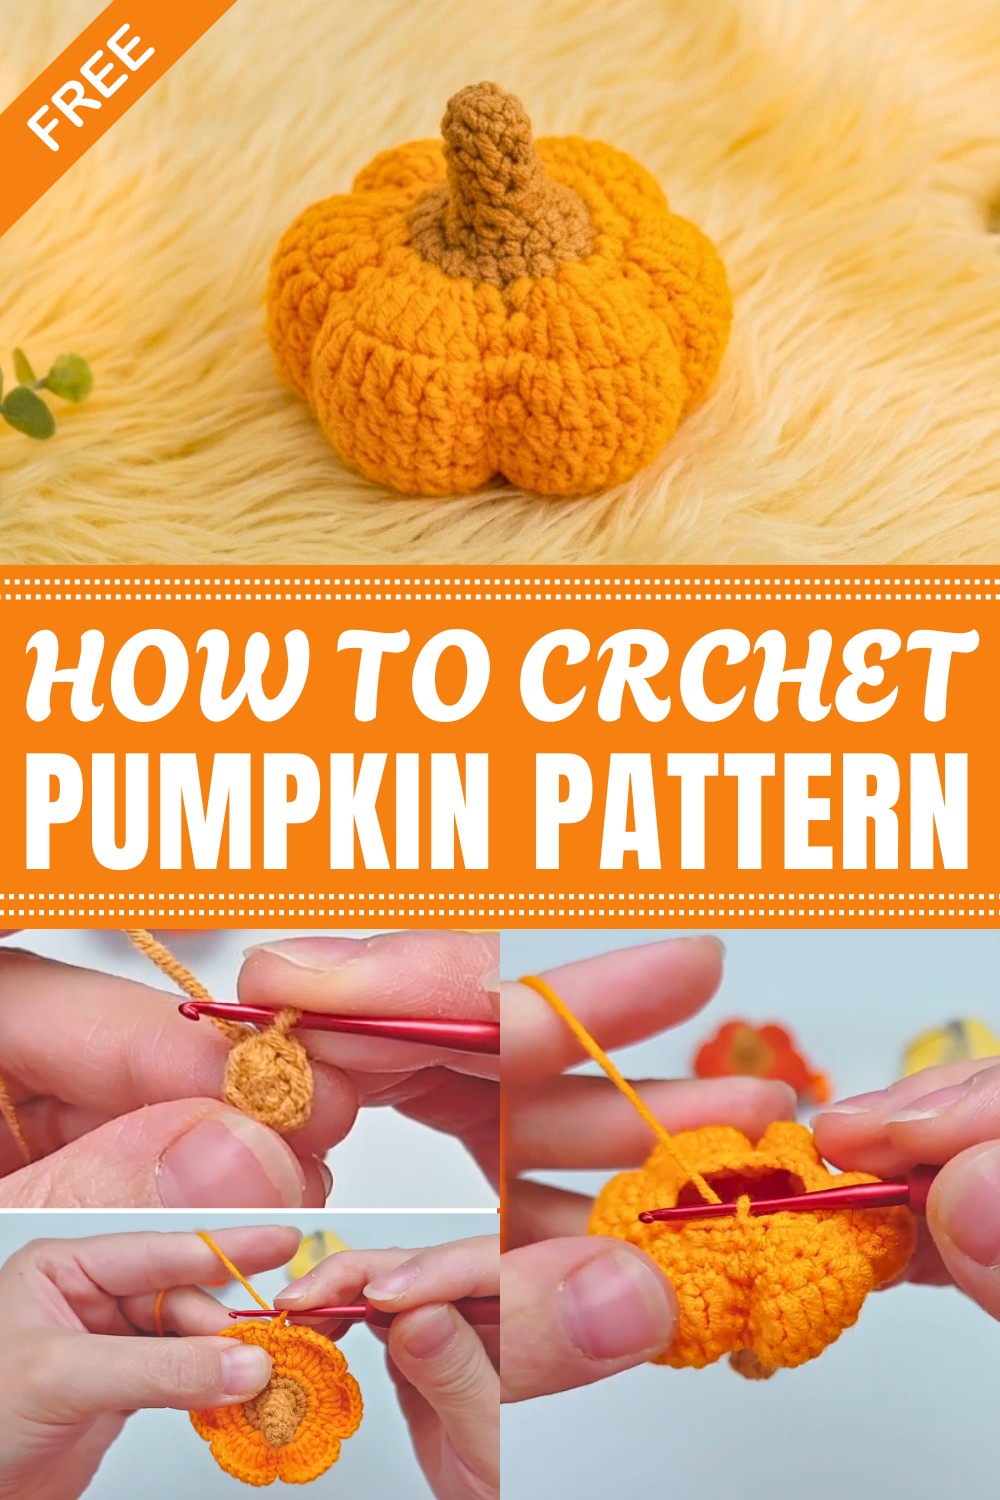
Because they are made from yarn, these pumpkins don’t rot or get damaged easily. They make excellent table centerpieces, door hangers, or even soft toys suitable for children. Their bright colors and soft textures add a lively, welcoming feeling wherever they are placed.
To sum up, a Crochet Pumpkin is a simple, charming decoration that can be adjusted in size and color. It uses basic crochet techniques and fits well in any autumn setting.
Crochet Pumpkin Ornament Pattern
Today’s project is a charming pumpkin ornament, perfect for fall, Halloween, or as a fun décor piece. Whether you’re looking for a cute hanging decoration or a display item, this versatile pumpkin suits your needs. Designed for all skill levels, the pattern is simple yet effective, enabling both beginners and seasoned crocheters to create a delightful, three-dimensional pumpkin with minimal materials. Let’s dive in and transform your yarn into a festive pumpkin ornament that will brighten up any space!
Quick Overview Of Pattern
- Project Structure: The pumpkin is crocheted in the round, beginning with the stem, followed by the body, with increases and decreases to create its shape.
- Construction Style: Amigurumi with single crochet and double crochet stitches; stuffing is added before closing.
- Fit & Silhouette: Rounded, plump pumpkin with a small, sturdy stem at the top and a neat finish at the bottom.
- Uses: Hanging ornament, table centerpiece, gift embellishment, or playful home décor.

Notes
- Work the pumpkin in continuous rounds, using a stitch marker if desired to keep track of rounds.
- Color changes are made between stem and body.
- Stuffing is added before the final decrease rounds.
- Always tighten slip stitches and knot securely for a neat appearance.
- The finished pumpkin can be hung or displayed—it’s lightweight and easy to adapt in size.
Skill Level
Suitable for all levels—the pattern uses basic crochet techniques and is ideal for both beginners and experienced crocheters.
Materials
- Yarn: Two colors—brown/green (for the stem) and orange (for the pumpkin body).
- Crochet Hook: Appropriate size for your yarn (typically 2.5 mm – 3.5 mm for amigurumi).
- Stuffing: Polyester fiberfill or similar.
- Scissors
- Tapestry/Embroidery Needle: For weaving in ends.
- (Optional) Hanging Cord or Ribbon: For making a hanging ornament.
Measurements / Sizing
- Finished Size: About 5–7 cm wide, 6 cm tall (depends on yarn, hook, and stuffing).
- Stem: Approximately 1.5 cm tall.
Gauge
- Amigurumi gauge: tight stitches, so stuffing does not show.
- Gauge is not critical; the shape will remain proportional.
Stitch Abbreviations
- ch: Chain
- sl st: Slip stitch
- sc: Single crochet
- dc: Double crochet
- inc: Increase (2 stitches in same stitch)
- dec: Decrease (single crochet two stitches together)
Special Stitches
- Single Crochet Decrease: Insert hook into first stitch, yarn over and pull through. Insert into the second stitch, yarn over and pull through. Yarn over again, pull through all three loops.
- Three Stitch Decrease: Insert hook into next three stitches, pull up a loop in each, yarn over, pull through all loops on hook.
Crocheting Instructions
Stem (Rounds 1–7)
Round 1: With stem color, make a magic ring or start with ch 1.
- Work 6 sc into the ring.
- Tighten the ring and sl st to join with the first sc.

Round 2–5:
- Work 6 sc in each round, no increases or decreases (work in the round).
- After round 5, you should have a short, tube-like stem.
Round 6:
- Begin with a sl st.
- Work 1 sc in first stitch.
- Work 1 sc in each remaining stitch around.
- At the end of this round, you’ll have 12 sc (increase made at beginning).
Round 7:
- In first sl st, work 1 sc.
- In second stitch, work 2 sc (increase).
- Continue the pattern: For each of the next 6 sets, work 1 sc in one stitch, then 2 sc in the next.
- At end of round 7, you’ll have 18 sc.
Change to orange/yarn for pumpkin body.
Pumpkin Body (Rounds 8–14)
Round 8:
- After the color change, sl st to join.
- Make a chain stitch.
- In first stitch, work 1 sc.
- In second stitch, work 3 sc.
- Continue: 1 sc, 3 sc in next stitch for 6 sets.
- At end of round 8, you’ll have 30 sc.
Round 9:
- Sl st to join, ch 1.
- In first stitch, 1 sc.
- Second stitch: Wrap yarn, insert hook, pull yarn out, 3 loops on hook, pull through two, pull through last two loops (this is the dc technique).
- In this stitch, 2 dc (increase in same stitch).
- In next stitches: Work 1 single crochet, next three stitches are increase (2 dc in each), alternate single crochets and double crochet increases for a total of 6 sets.
- Round 9: 42 stitches total.
Round 10:
- Sl st, ch 1.
- In first stitch: 1 sc.
- In second stitch: 2 dc (increase).
- Next, 3 dc (no increase) in next stitches.
- Another 2 dc as increase, then 1 sc.
- Repeat the sequence for 6 sets.
- At the end, you’ll have a total of 54 stitches.
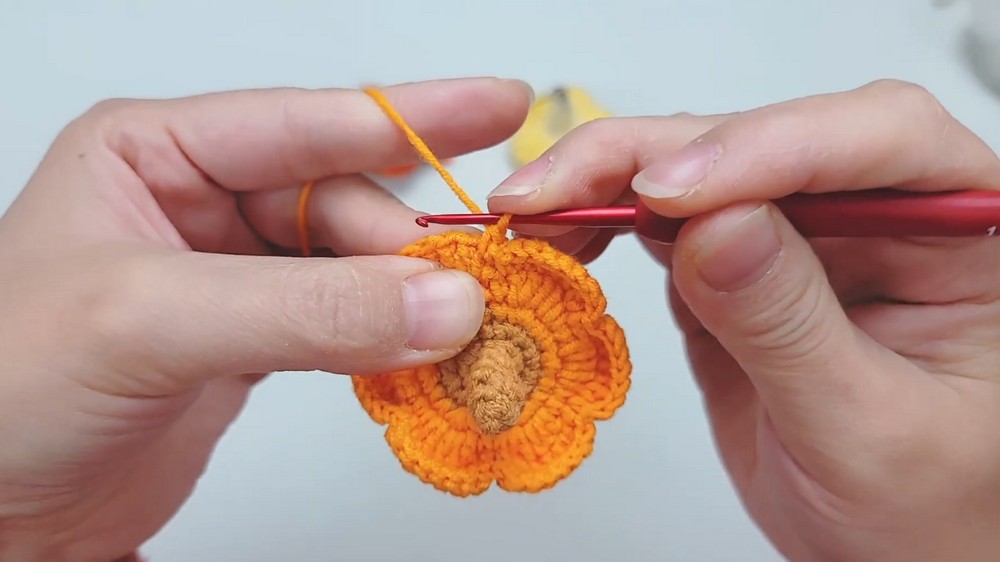
Round 11:
- Sl st, ch 1.
- In first stitch, 1 sc.
- In next 7 stitches: dc (no increase).
- In next stitch, 1 sc.
- Repeat pattern of 1 sc, 7 dc, 1 sc for 6 sets.
- Round 11: 54 stitches.
Shaping & Closing (Rounds 12–16)
Round 12:
- Sl st, ch 1.
- In first stitch, 1 sc.
- In next stitch, sc dec (insert hook into next two stitches, pull yarn through each, yarn over and pull through all loops).
- Next, 3 sc (as normal).
- Another sc dec and 1 sc.
- Repeat pattern of 1 sc, sc dec, 3 sc, sc dec, 1 sc for 6 sets.
- Round 12: 36 stitches.
Round 13:
- First stitch: sc dec.
- Second stitch: sc dec.
- Continue decreasing every second stitch by picking up the outer half of stitches, yarn over, pulling through all loops.
- Repeat sc dec for 6 sets.
- Round 13: 30 stitches.
Round 14:
- In first stitch: 1 sc.
- Next three stitches: decrease together (pull up loop in each, yarn over, pull through all loops).
- Next, sc dec in two stitches.
- Finish with a single sc, tighten the loop.
- Repeat sequence for 6 sets.
- Round 14: 18 sc.
Round 15:
- In first stitch: 1 sc.
- In second stitch: 1 sc.
- Pick up first sc, then outer half of second, then inner half, pull through all half stitches, close the loop.
- Continue sequence of decreasing every other stitch.
- Repeat for 6 sets.
- Round 15: 12 sc.
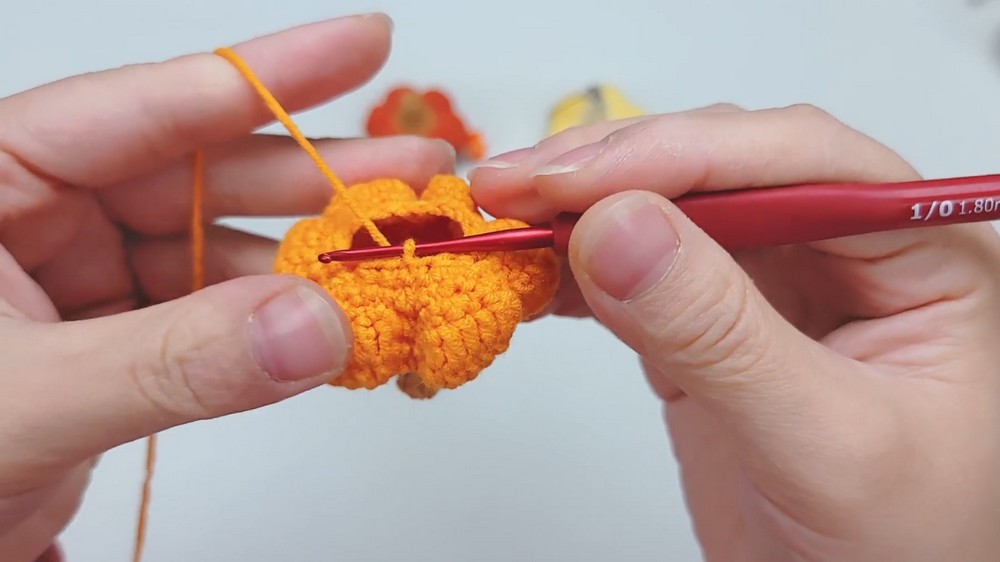
After Round 15: Pull up a large loop, insert stuffing firmly inside through the hole using tweezers or your fingers. Fill to desired fullness.
Round 16:
- Start with a chain stitch.
- With remaining stitches, work two sc into one (decrease), then 1 sc.
- Repeat for 6 sets.
- At end of round 16, you should have 6 sc.
Assembly & Finished Size
- Cut yarn and thread onto tapestry needle.
- Hide the yarn end neatly inside the pumpkin.
- Adjust stuffing for roundness and shape.
- Pinch and shape pumpkin to make it fuller and three-dimensional.
- For hanging, add a ribbon or yarn loop at the stem.
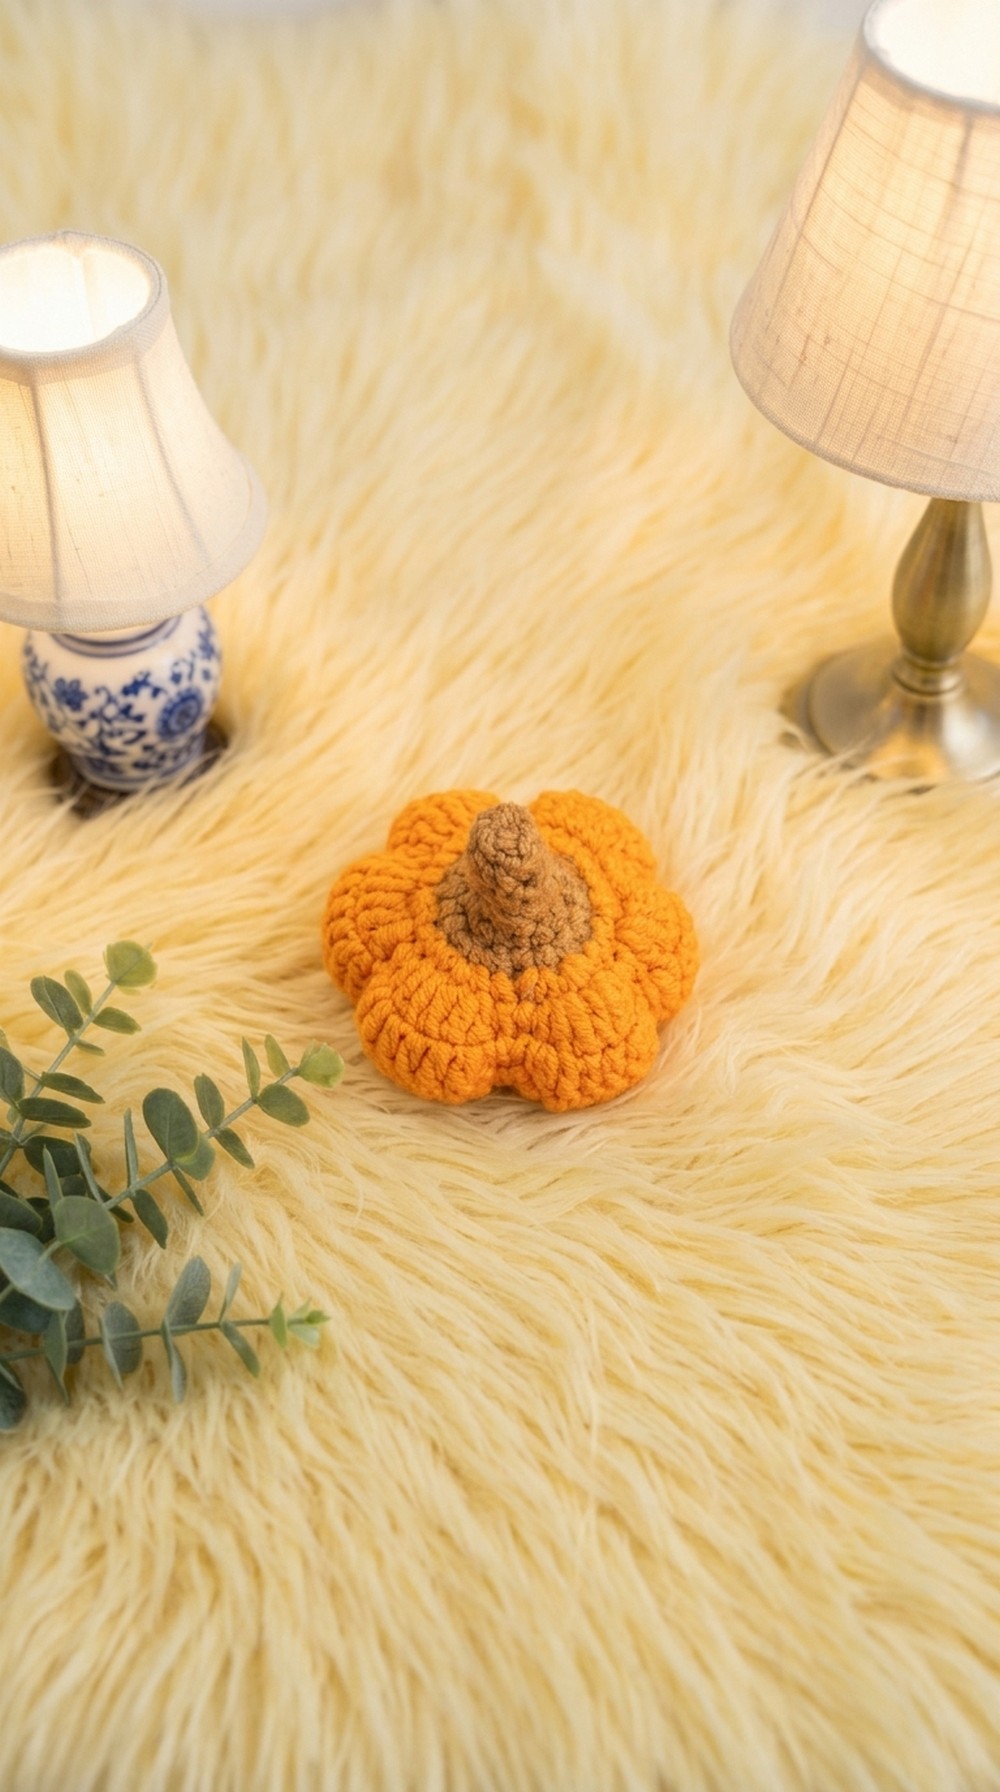
- The completed pumpkin is a plump, firm, decorative piece about 5–7 cm wide and 6 cm tall.
Conclusion and Ending Words
Congratulations! You’ve completed your adorable crochet pumpkin ornament. This quick pattern yields a delightful, three-dimensional pumpkin perfect for autumn, Halloween, or year-round décor. The shape is ideal for hanging, displaying, or gifting, and can be made in various sizes or colors to suit your style. Thank you for following along—happy crocheting and enjoy showcasing your handmade pumpkin!
Leave a Reply