

Add Japanese New Year charm to your collection with this Crochet Kagami Mochi Pattern, featuring a cute layered shape and traditional details.
If you've ever wanted to try a charming seasonal project, this crochet mochi pattern is a delightful choice. Thanks to the detailed tutorial by kumiami on YouTube , you can create this traditional Japanese New Year decoration with a modern, handmade twist. This project involves crocheting a stacked mochi set—those soft, round rice cakes seen at celebrations—but in yarn form.
Simple Crochet Kagami Mochi Free Pattern That Adds Festive Charm
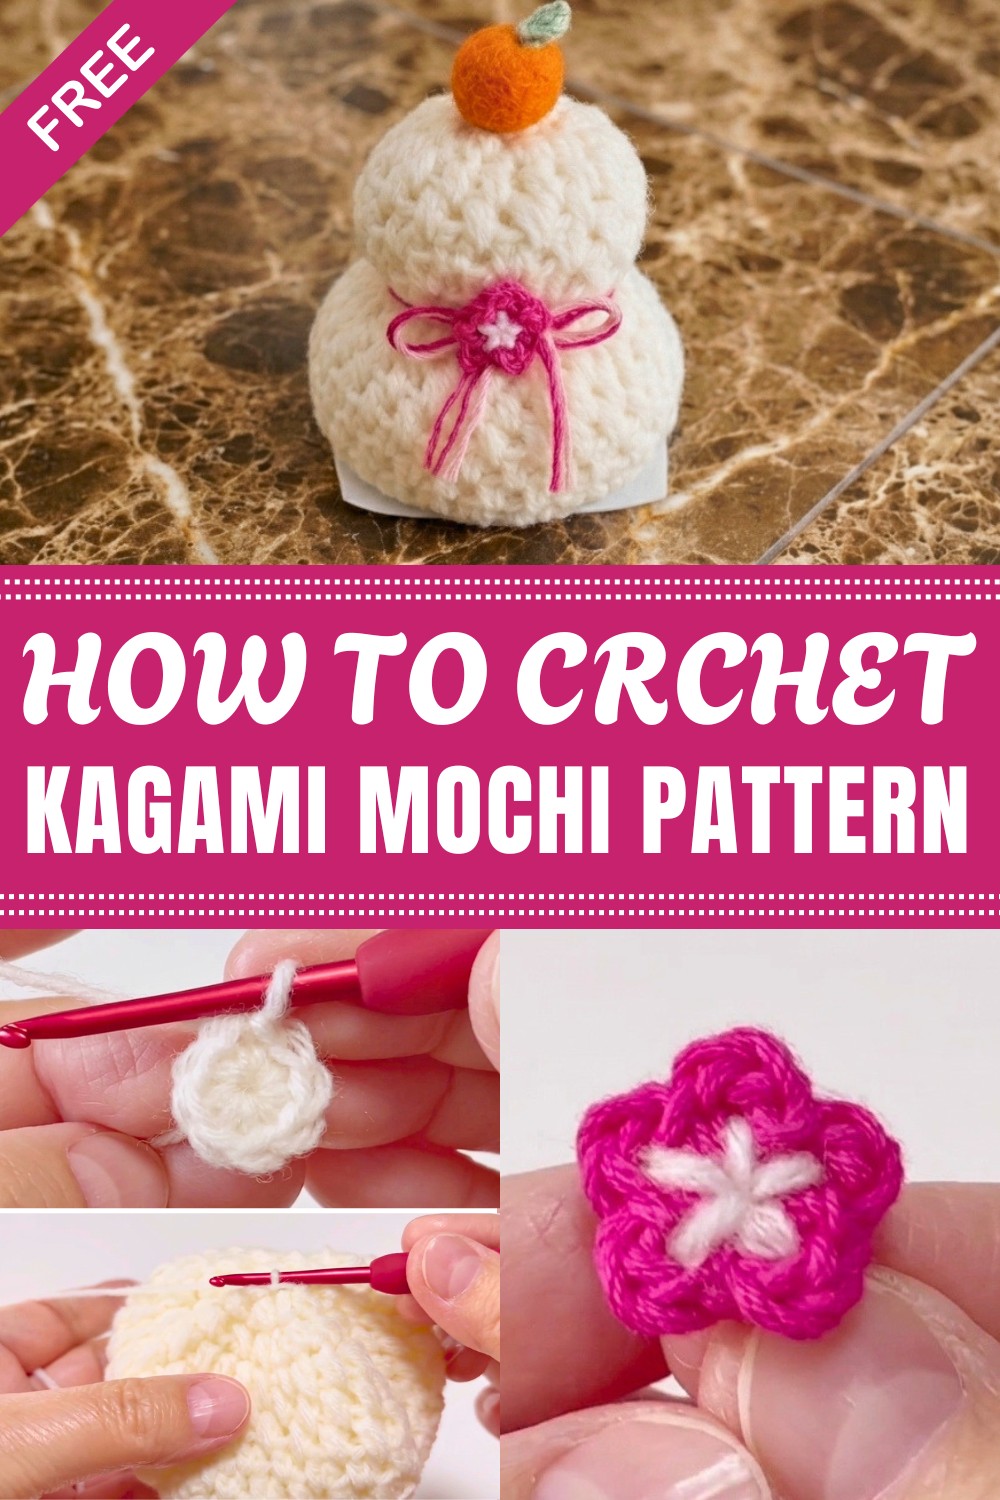
This pattern offers a sweet and cozy style with a soft, plush texture that comes from using picnic stitch and simple stitch patterns. The shape mimics the classic two-tier mochi, with a larger and smaller round piece stacked together, topped with a crocheted 'mika' citrus and delicate plum blossoms. One standout feature is the cute bobble stitch texture on the sides, giving the mochi a playful and tactile dimension.
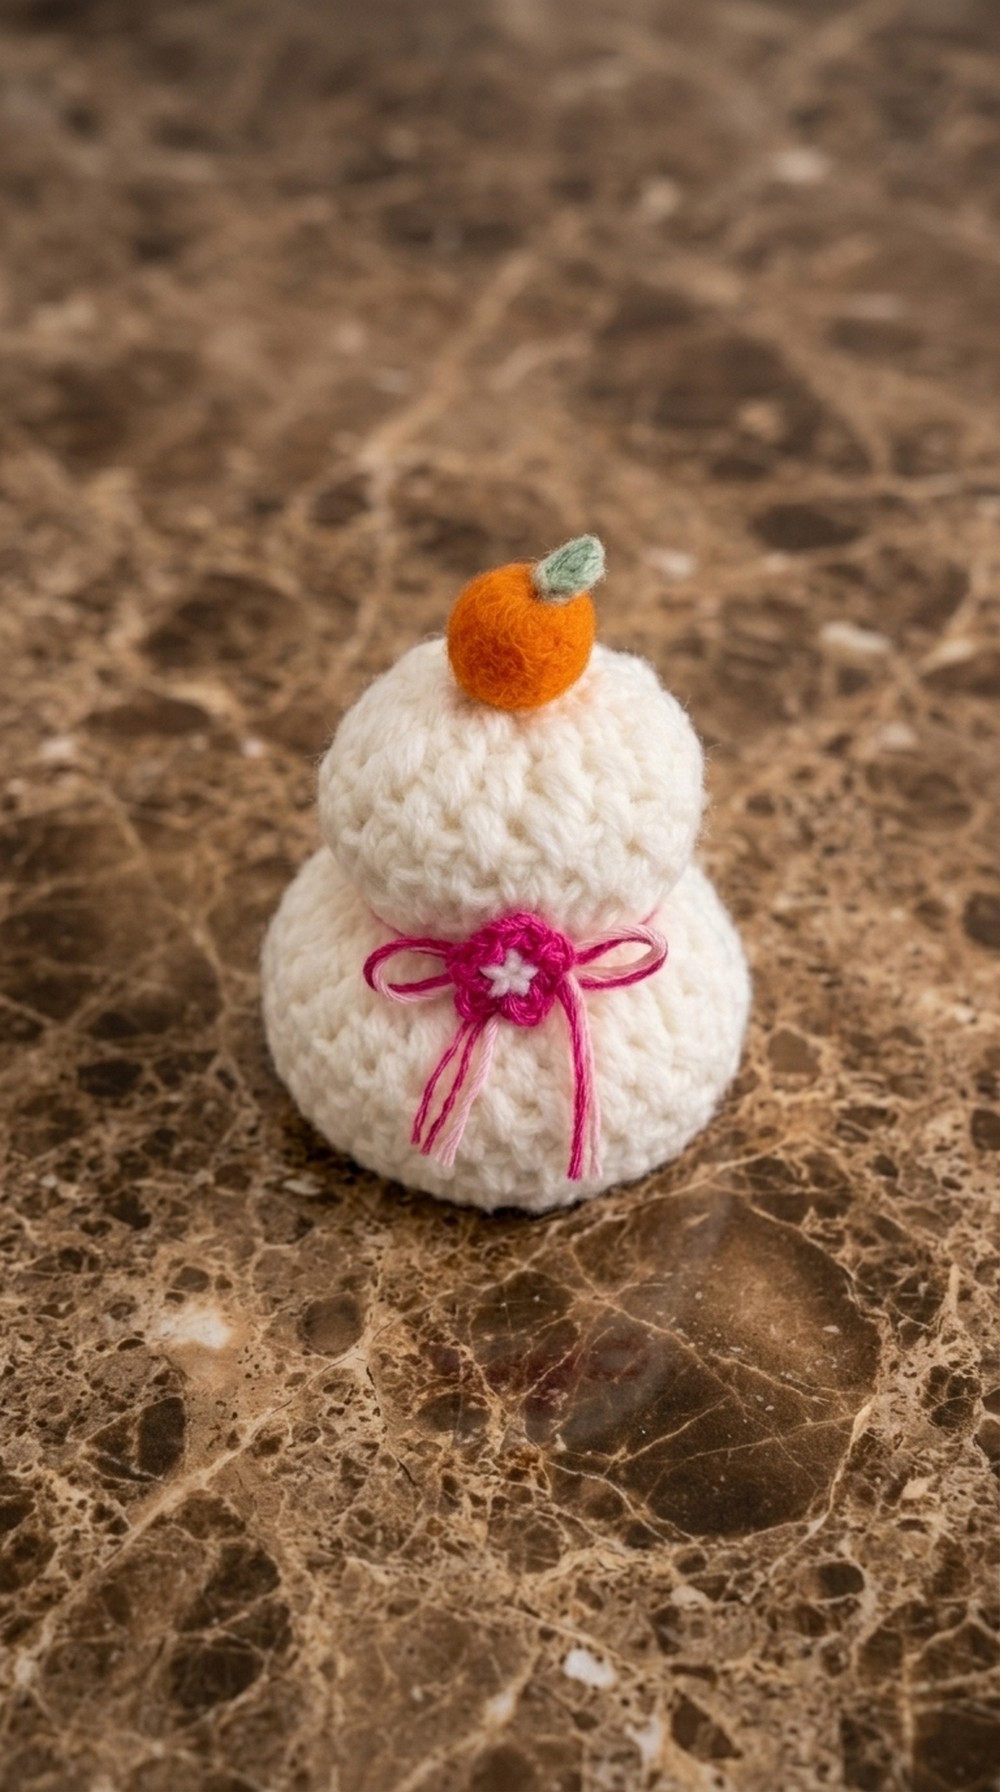
The Crochet Kagami Mochi is available in two sizes: approximately 8 cm and 5 cm in diameter, making it versatile for display or gifting. You can customize colors and embellishments such as leaf shades or blossom accents to match your personal style or holiday décor. The pieces are crocheted in rounds, starting with magic rings and gradually increasing and decreasing stitches to form spheres, with bobble stitches adding a textured flair. Using lightweight size 4 and 5 yarns enhances stitch definition and adds softness, making cotton yarns ideal to capture the smooth yet slightly bumpy surface of real mochi.
Inspired by traditional Japanese culture, this design brings new life to festive decorations and can be a wonderful gift for friends and family during the New Year or as a year-round keepsake. The process encourages you to experiment with yarn colors and accessory choices, so feel free to let your creativity shine while making a cozy piece full of charm and meaning.
Sweet Crochet Kagami Mochi Free Pattern
This comprehensive guide demonstrates how to crochet a Kagami Mochi, a traditional Japanese New Year decoration. Clear explanations are provided for each step, with special attention to construction techniques that produce firmly shaped mochi layers, a stable base, and secure decorative accents. The use of high-quality materials and attention to detail provides an authentic, elegant finish. By following the outlined rounds, using supportive interior construction, and assembling carefully, you will produce a festive ornament suitable for thoughtful gifting or prominent display.
Quick Overview Of Pattern
- Form two mochi disks by crocheting flat circles, then building up sides and textural layers.
- Add structure and stability using cardboard, weights, and stuffing.
- Craft decorations: a crochet leaf, a yarn bow, plum blossom, and secure a pom-pom mandarin orange.
- Complete the project with felt trim and display it on a coaster or lacy paper.
Notes
- Maintain even tension for clean edges and a professional appearance.
- Insert cardboard and weights inside the mochi for a robust construction.
- Stitches are worked tightly to prevent stuffing from showing.
- Attach all embellishments and trims firmly with glue or matching yarn ends.
Skill Level
- Beginner to Intermediate:
- Familiarity with magic ring, single crochet, half double crochet, increases, and bobble/cluster stitches required. Straightforward assembly with minimal sewing.
Materials
- Yarn: Seria Nanairo Saishoku Medium Fingering, white/off-white (Col. No. 2531)
- Accent Yarn: Green cotton (New Angel Col. No. 11/211); Pink cotton (Tropical Cotton Col. No. 12)
- Crochet Hooks: Size 5/0 (3.0 mm) for mochi, 4/0 (2.5 mm) for leaves and flowers
- Notions: 2 cm orange pom-pom, 8 cm and 5 cm cardboard circles, craft stuffing (cotton/polyester), small plastic bag of glass beads/marbles (weight), stitch marker, tapestry needle, scissors, craft glue, red and white felt trim, decorative coaster
Measurements / Sizing
- Large (bottom) mochi diameter: 8 cm
- Small (top) mochi diameter: 5 cm
- Assembled Height: ~9–10 cm
Gauge (and Stitch Pattern if Applicable)
- Not critical; fabric should be firm (12 sc ≈ 3 cm with 3.0 mm hook in fingering yarn).
Stitch Abbreviations
- ch: chain
- sc: single crochet
- inc: increase (2 sc in same stitch)
- hdc: half double crochet
- BLO: back loop only
- sl st: slip stitch
- hdc2tog: half double crochet two together (decrease)
- bobble: 2-hdc cluster
- st(s): stitch(es)
Special Stitches
- Magic ring: Loop yarn and work stitches into the ring, pull tight to close.
- Bobble/Cluster: Work two hdc in one space, leaving the last loop of each on the hook, yarn over and draw through all loops to finish.
The Crochet Pattern
Mochi Base (Flat Circles)
Large (Bottom) Mochi
- Round 1:
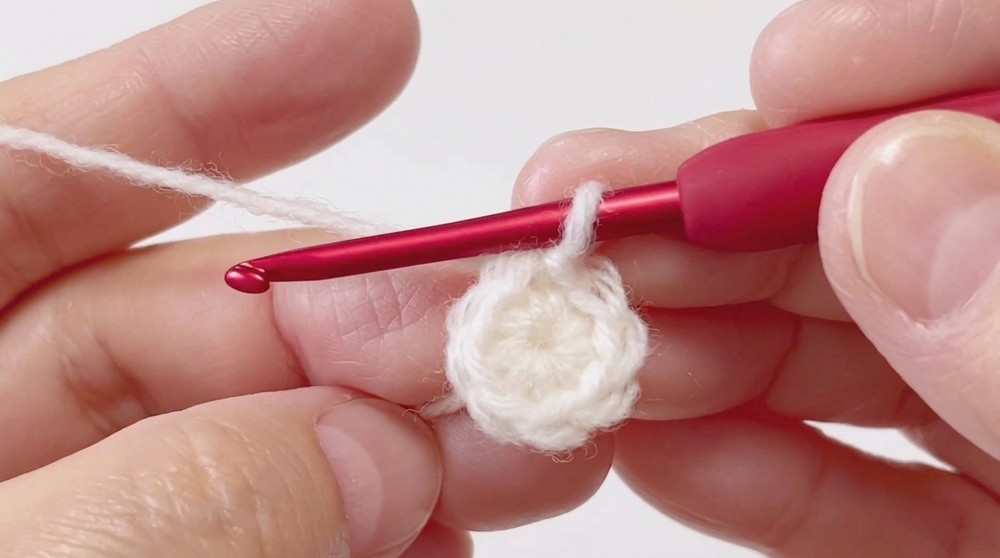
Make a magic ring.
Ch 1, work 8 sc into the ring.
Mark first sc with a stitch marker.
Pull tail tightly.
Sl st into 1st sc (8 sts).
- Round 2:
Ch 1, 2 sc in each stitch around.
Sl st to first sc (16 sts). - Round 3:
Ch 1, [1 sc, inc in next st] ×8.
Sl st to first sc (24 sts). - Round 4:
Ch 1, [1 sc, inc in next st, 1 sc] ×8.
Sl st to first sc (32 sts). - Round 5:
Ch 1, [inc in next st, 3 sc] ×8.
Sl st to first sc (40 sts). - Round 6:
Ch 1, [2 sc, inc in next st, 2 sc] ×8.
Sl st to first sc (48 sts). - Round 7:
Ch 1, [5 sc, inc in next st] ×8.
Sl st to first sc (56 sts).
Fasten off.
Small (Top) Mochi
- Repeat Rounds 1–4 as above (up to 32 sts).
Fasten off.
Mochi Sides & Body
Both Mochi Discs
- Side Round 1:
Ch 2 (counts as one hdc), BLO 1 hdc in the first stitch.
Skip 1 st, BLO 2 hdc in next st, repeat around.
Sl st to top of starting ch-2. - Side Round 2:
Sl st into the space between hdc clusters.
(1 sc, ch 1) in space (counts as hdc), 1 hdc in same space.
2 hdc in each space between clusters around.
Sl st to first stitch. - Side Round 3:
Repeat Side Round 2.
Bobble (Granny) Rows
- Side Round 4 (Bobble):
Pull up a loop, make a 2-hdc bobble in the space.
2-hdc bobble in each space around.
Sl st to the top of first bobble. - Side Round 5:
Repeat Side Round 4.
(Small mochi stops here; 2 bobble rounds total.) - Side Round 6 (Large Mochi only):
Repeat Side Round 4 (3 bobble rounds total).
Assembly Prep & Decreases
Inserting Hardware
- Cut cardboard circles to 8 cm and 5 cm.
- Insert matching circle into each mochi base.
- Fill with craft stuffing for fullness and shape.
- Insert a weighted bag of glass beads/marbles for stability.
Closing Decreases
- Large Mochi Decrease Round 1:
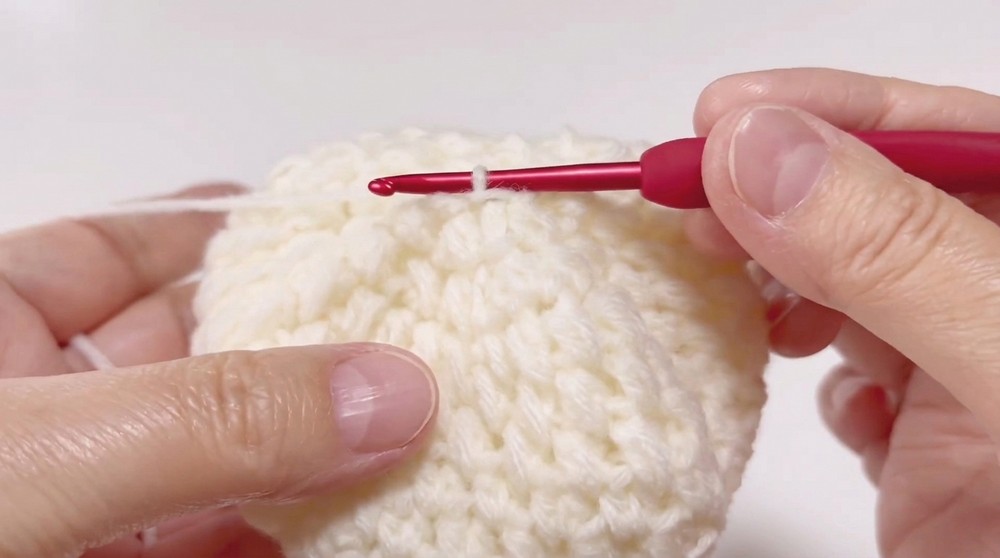
Ch 2, hdc2tog across adjacent bobble tops around.
Sl st to close.
- Large Mochi Decrease Round 2:
Continue hdc2tog around.
Leave a 30–40 cm yarn tail for joining.
Top up stuffing as required.
Weave tail through front loops of last stitches and pull tightly to close. - Small Mochi Decrease Round 1:
Repeat hdc2tog decrease around.
Fasten off and leave a long tail.
Decorations & Finishing
Joining Mochi Pieces
- Use the long tail from the large mochi to stitch the small mochi securely on top.
Mandarin Orange Leaf (Size 4/0 Hook)
- With green yarn, create a magic ring.
- Inside ring, work a 2-hdc bobble.
- Fasten off, thread tail through base.
- Use craft glue to attach under orange pom-pom.
Pink flower
- Cut 40 cm pink yarn.
- Wrap around mochi join, tie into a neat bow at the front.
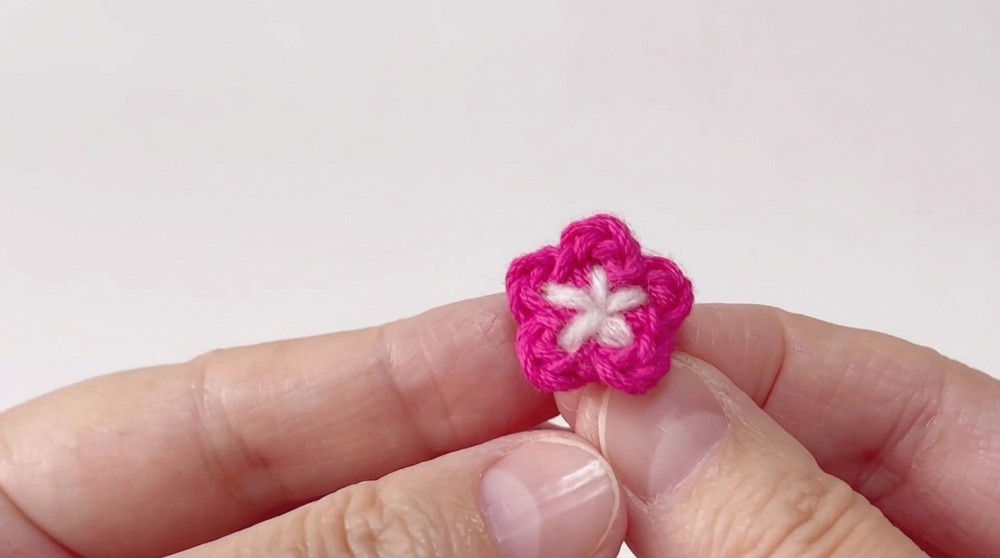
Plum Blossom Flower (Size 4/0 Hook)
- In a magic ring, repeat [ch 1, 1 hdc, ch 1, sl st into ring] 5 times.
- Pull ring tight, weave in ends.
- Attach to the flower center with glue or sewing.
Final Presentation
- Glue red/white felt trim around mochi base.
- Place completed mochi on lace paper or decorative coaster.
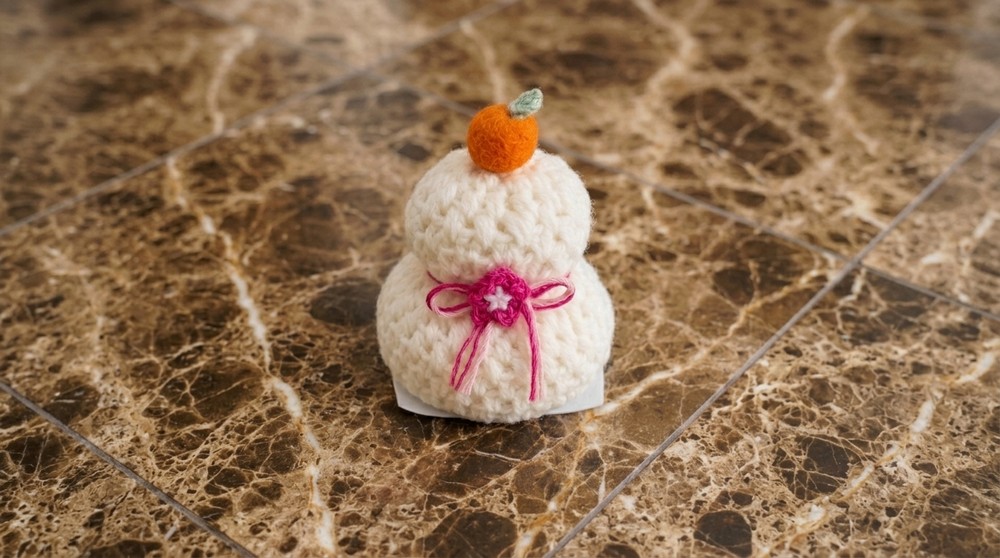
Assembly & Finished Size
- The finished project measures approximately 9–10 cm tall.
- Thanks to the weight and firm stuffing, the base remains stable.
- Trims and flower enhance the festive look for any traditional or contemporary setting.
Conclusion and Ending Words
Following each round of outlined stitches step by step leads to a balanced, elegant Kagami Mochi. Proper stuffing, close attention to each sc, hdc, bobble, and decorative accent ensures your handwork results in a striking seasonal piece. The weight and sturdy construction mean it will hold its shape on display. From forming the rounds with precise sc and hdc to shaping the leaf and flower with bobble and sl st, all parts contribute to a cohesive and culturally resonant ornament. Display your finished work for the New Year or present it to someone who will value the thoughtful construction and tradition it represents.


Leave a Reply