

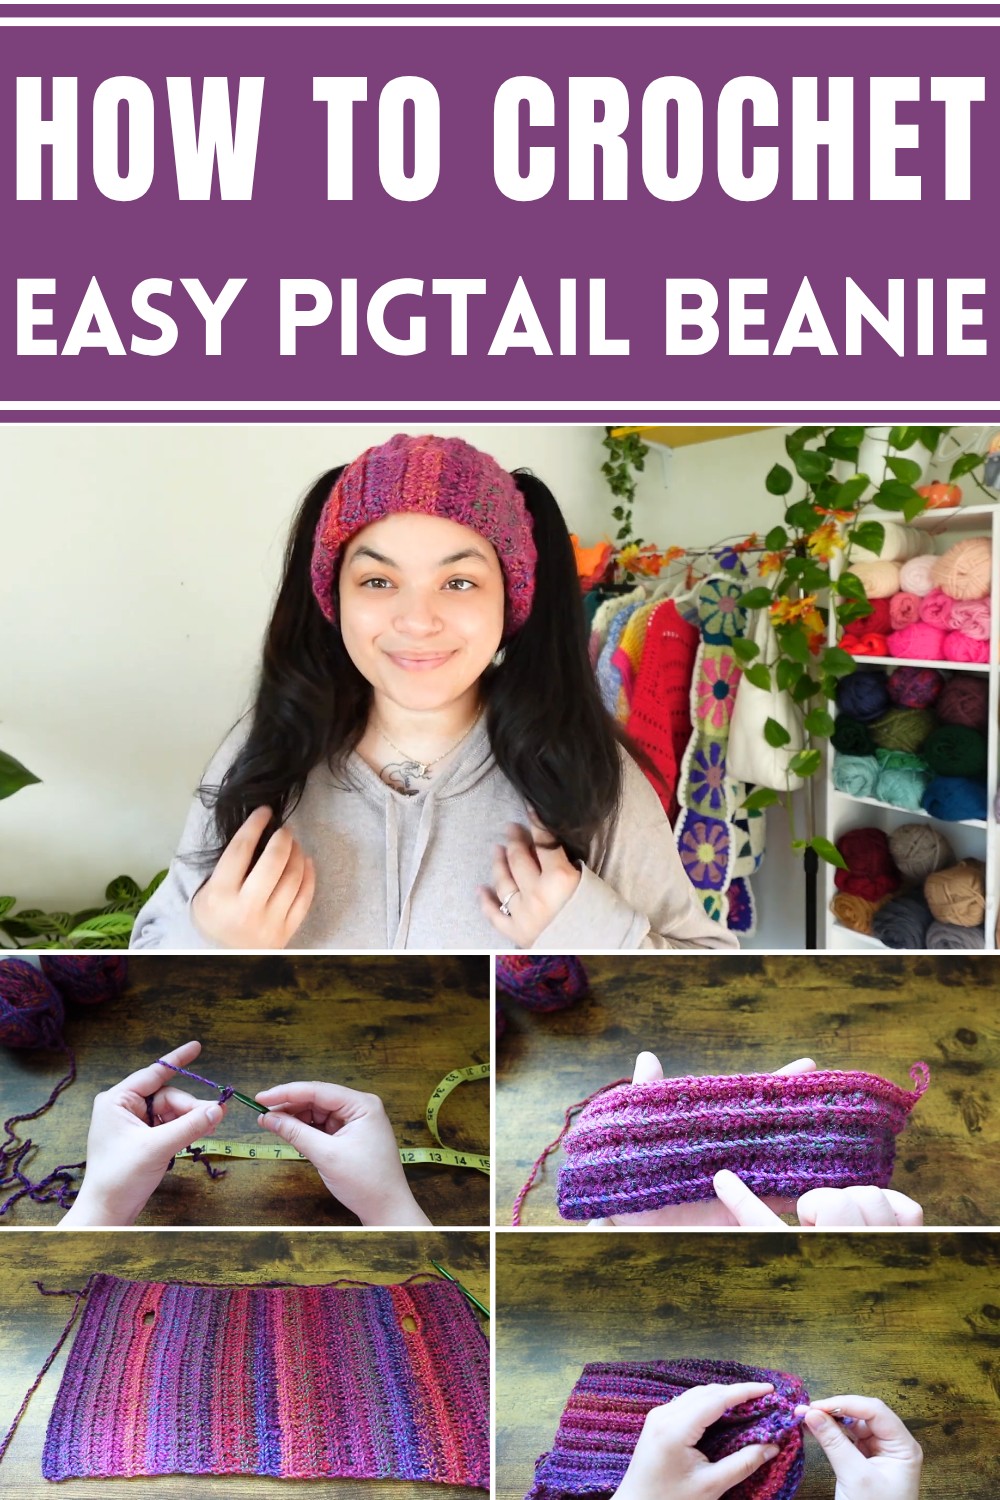
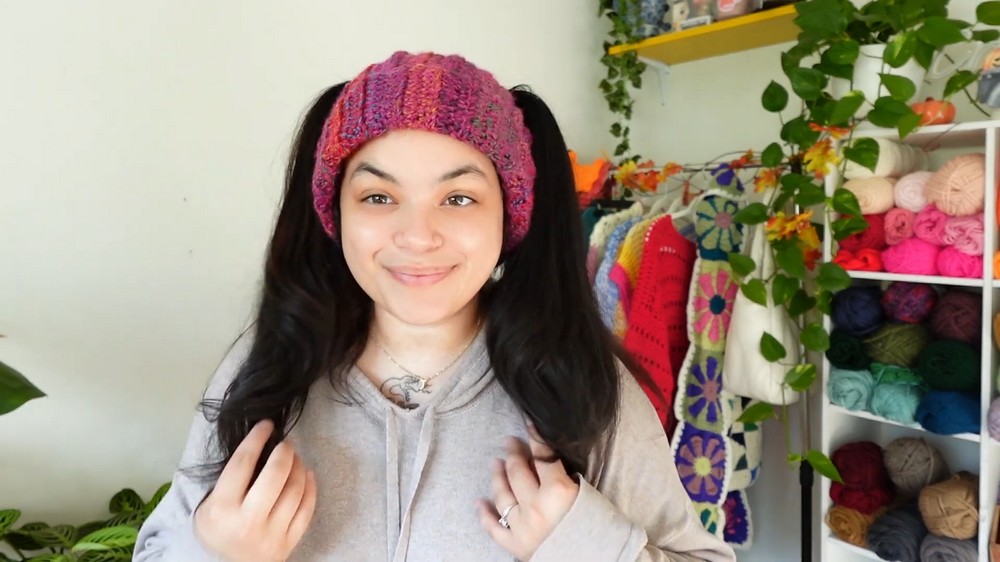
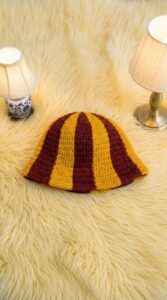
Bring smiles with this playful crochet pigtail beanie pattern—serve up cozy vibes and cheeky charm that kids and teens will giggle over.
Gone are the days of dull, uninspired winter accessories that fail to excite young minds. The crochet pigtail beanie redefines cold-weather essentials with its playful yet functional design made exclusively for teens and kids. Combining warmth with unmatched charm, this beanie features adorable pigtails that bring a lively and distinctive flair to any outfit.
Crochet Pigtail Beanie Pattern for Winter Gifts
Its carefully selected yarns provide comfort while ensuring durability, making it ideal for active lifestyles. The unique design adds a touch of fun without compromising practicality, transforming everyday winter wear into something truly memorable. Perfect for school mornings, outdoor adventures, or cozy family outings, this beanie effortlessly elevates the wearer’s style with a sense of individuality.
As both a practical accessory and a whimsical statement piece, the pigtail beanie not only keeps little ones warm but also fosters confidence and personality. Thoughtfully designed for young trendsetters, it’s a perfect gift that combines utility and joyful expression. No child or teen will have to settle for boring hats again this charming beanie adds a vibrant splash of character to every chilly day.
Materials Needed
Before starting, gather the following materials:
- Yarn: Big Twist Acrylic yarn (carousel color) or any medium-weight 4 acrylic yarn. Scrap yarn can also be used.
- Crochet Hook: 6mm hook (sizing up from 4.5mm for faster results).
- Measuring Tape: Essential to ensure the correct size.
- Scissors: For cutting the yarn.
- Tapestry Needle: Used to sew and weave in ends.
Step 1: Taking Measurements
- Measure the vertical length of your beanie from the crown of your head, down to the eyebrow.
- Example measurement: 12 inches (with 3 inches folded for the brim).
- Adjust this based on your preference or head size.
Step 2: Starting the Beanie
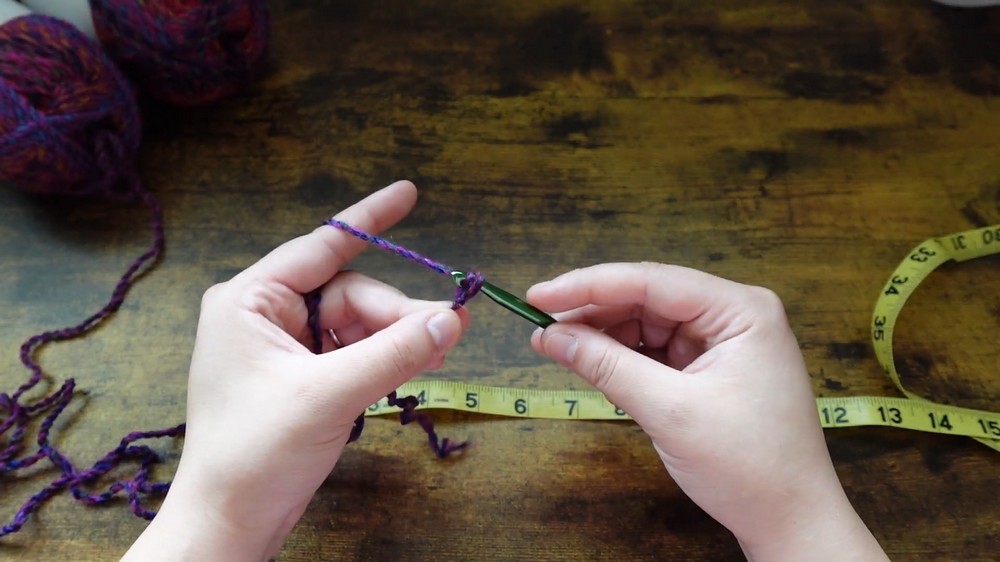
- Create a slip knot:
- Hold yarn over two fingers and cross over your thumb.
- Insert your hook into the loop and pull your yarn through to form a knot.
- Make a base chain:
- Continue chaining until your chain measures the desired vertical length (e.g., 12 inches).
- Add one extra chain for a turning chain.
Step 3: Row by Row Half Double Crochet
- Row 1:
- Start with a half double crochet (HDC) across your chain:
- Yarn over, insert your hook into the second chain, pull up a loop (three loops on hook), yarn over, and pull through all three loops.
- Start with a half double crochet (HDC) across your chain:
- Rows 2-7:
- Work all remaining rows in back loops only for a ribbed texture:
- Flip your work and crochet into the back loop of each stitch until the end of each row, chaining 1 and turning your work.
- Count your rows by grouping ridges: each ridge equals two rows.
- Work all remaining rows in back loops only for a ribbed texture:

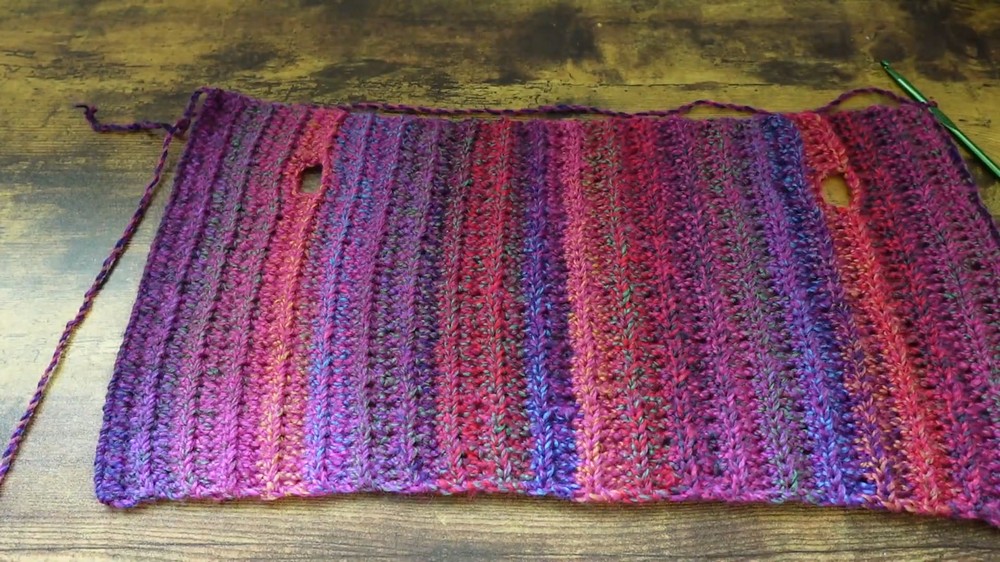
Step 4: Creating the First Pocket Hole for Pigtails or Buns
- Row 8:
- Make 8 HDCs into back loops, then chain 5.
- Skip 5 stitches and make a half double crochet in the sixth back loop.
- Continue working HDCs across the row.
- Row 9:
- Repeat the same technique with back loop HDCs, including over the chain.
- Ensure to make a total of 5 HDCs directly into the chain stitches.
Step 5: Middle Panel
- Crochet 34 additional rows (adjust based on your head circumference).
- Follow the same pattern using back loop HDCs for a consistent ribbing texture.
Step 6: Creating the Second Pocket Hole
- Next Row:
- Repeat the pocket hole creation process:
- Make 8 HDCs into back loops, then chain 5.
- Skip 5 stitches and make a half double crochet in the sixth stitch.
- Repeat the pocket hole creation process:
- Finish with 7 more rows to complete the panel.
Step 7: Joining the Two Edges
- Fold the beanie so the starting chain and final row are aligned.
- Use a slip stitch to join the edges:
- Go through stitches from both edges and pull your yarn through each.
- Ensure all edges are securely stitched.
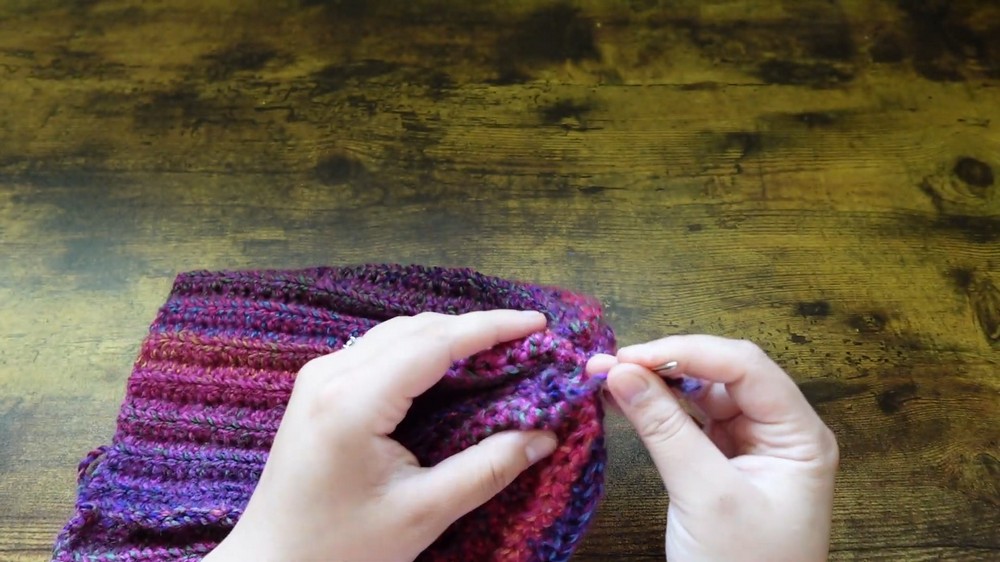
Step 8: Cinching the Top of the Beanie
- Leave a long tail after slip stitching the edges and fasten off your yarn.
- Use a tapestry needle to cinch the top:
- Weave the yarn back and forth around the top edge to gather it.
- Pull the yarn to close the opening completely.
- Sew the cinched opening shut:
- Make a small knot to secure it, and weave in loose ends.
Step 9: Finishing Touches
- Create the brim:
- Fold up 3 inches of the bottom edge to form the beanie brim.
- Final Assembly:
- Pull your pigtails or buns through the pocket holes, adjust as needed, and enjoy your new creation!
Conclusion
Congratulations on completing your space bun/pigtail beanie! This beginner-friendly project uses straightforward techniques like chain stitching, half double crochet, and back loop stitching, resulting in a stylish accessory. Experiment with different yarn colors and sizes to customize your design. Wear your new beanie with pride and show off your handiwork!


Leave a Reply