

Make a cute crochet space alien using vibrant colors and simple stitches to add a fun and unique touch to your handmade toy collection today.
Here is a fun project featuring a friendly little figure with big round eyes and a small smile that give it a human-like appearance. The Crochet Space Alien has a simple, rounded body made from soft yarn that feels nice to hold and looks inviting.
Easy Crochet Space Alien Free Pattern For Sci-Fi Fans
Bright colors like green, blue, or purple are often chosen to make the alien lively and eye-catching. Using good-quality yarn adds to its softness and durability, which suits beginners and those who like working with yarn.
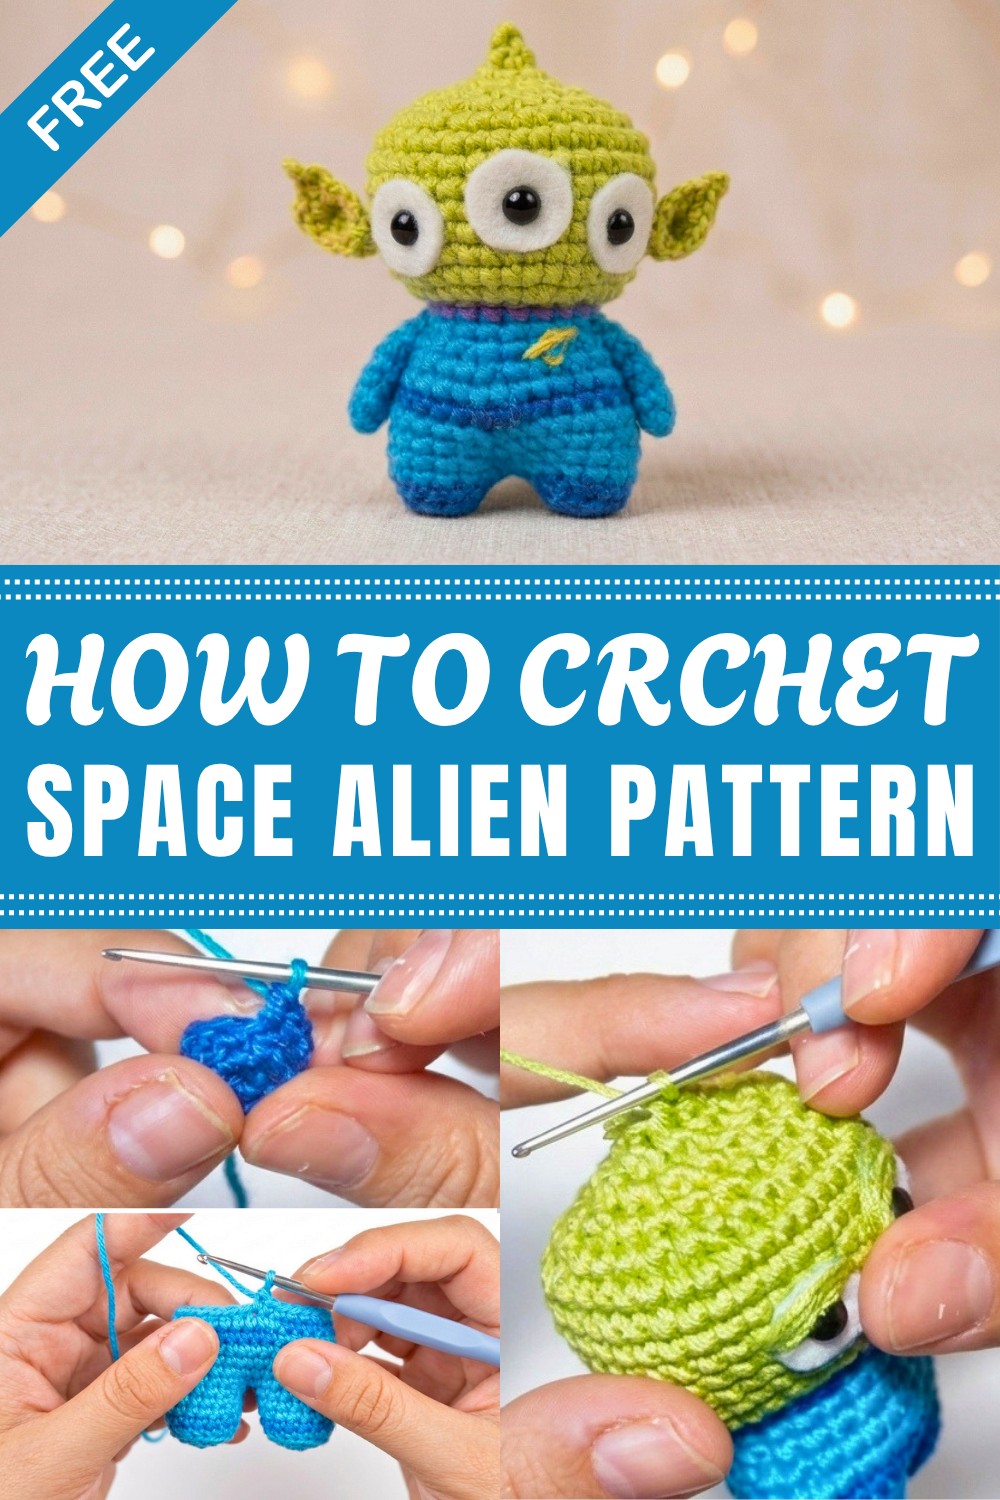
Small stitches shape the alien’s body along with details like antennas and tiny arms, keeping the project easy to follow. Its small size makes it a charming gift or an interesting decoration for a child’s room. The alien can be used as a keychain or a bag charm, a playful desk companion, a small toy for children, or part of a themed display or collection. It also makes a unique gift for fans of space or handmade items.
Additionally, working on this space alien helps improve crochet skills while providing a creative way to spend time. The finished piece appears playful and adds a lighthearted touch to any yarn collection. This project combines simple steps with a cute, imaginative subject many will find appealing.
This Crochet Space Alien brightens any space and offers a pleasant yarn experience, with chances to add your own style and colors to suit your taste.
Toy Story Alien Amigurumi Crochet Pattern
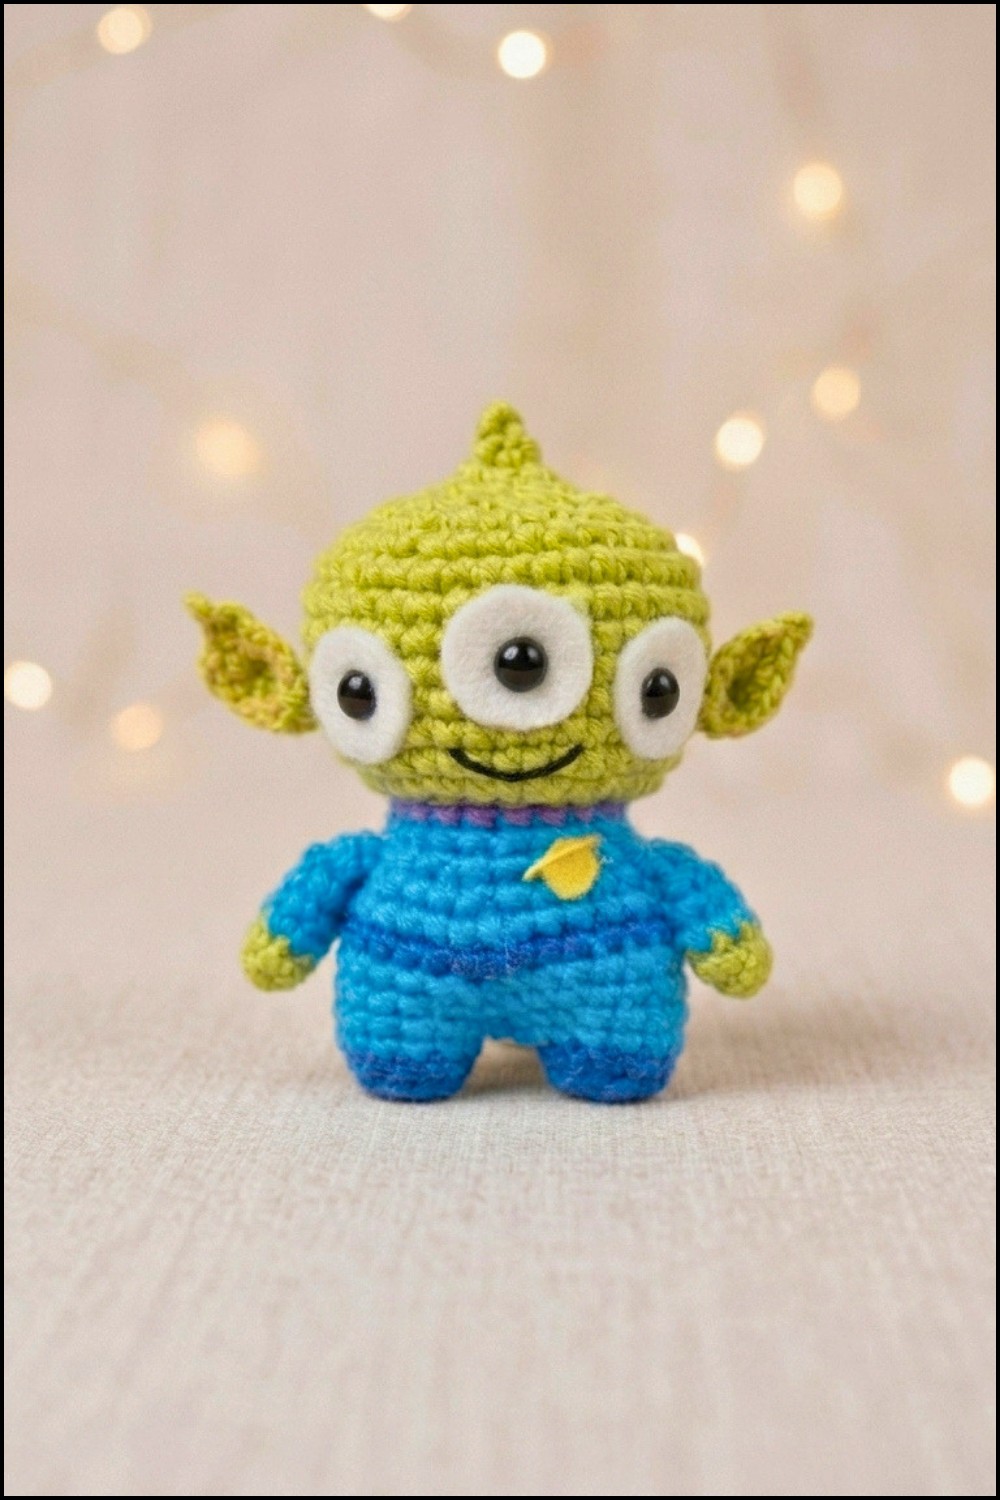
The charismatic three-eyed alien from the Toy Story universe is instantly recognizable and beloved. This pattern produces a compact amigurumi (approximately 9 cm tall), with defined features: a round green head, oval blue body, stripy space suit, tiny “antenna,” and big friendly eyes. Each section is shaped for effect, constructed seamlessly or with minimal sewing, and finished with small felt or yarn embellishments to bring your amigurumi to life. The Toy Story alien is a classic project for fans of animated characters and ideal for personalized gifts, collectibles, or playful décor.
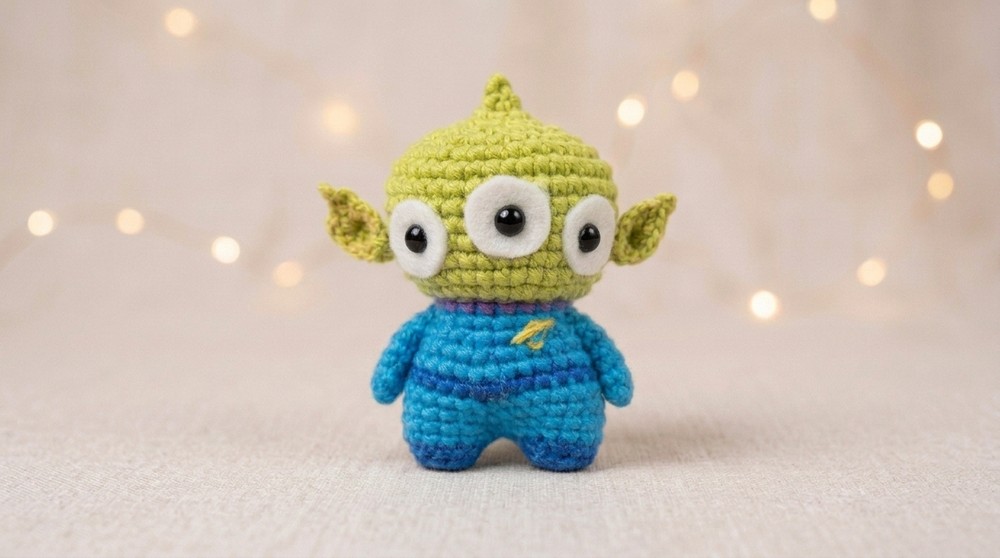
Pattern Basic Points
Structure Overview
- Arms, legs, and body are crocheted separately then joined, building the classic upright alien silhouette.
- Features simple amigurumi increases and decreases, minimal color changes for suit details, and are finished with sewn or glued accents.
Crochet Techniques
- Magic rings, working in spirals, invisible increases and decreases, front and back loop methods for defined edges.
- Seamless attachment for limbs and accessories to minimize visible joining.
Customization
- Guidance is provided for attaching glued felt or crocheted embellishments for the belt and chest emblem.
- Eyes are inserted with white felt backing for a signature look.
Special Notes
- All parts are crocheted in continuous spirals unless otherwise stated. Use a stitch marker for the first stitch of each round.
- Keep color changes as neat as possible by completing the final yarn-over of the old color with the new yarn.
- When working in FLO or BLO, the remaining loops provide a surface to sew or embroider additional features.
- Safety eyes and felt circles are attached during construction, prior to closing the head.
- Adjust amigurumi firmness and silhouette using fiberfill stuffing inserted as you go.
Skill Level
Advanced Beginner – Intermediate:
Crafters comfortable with basic amigurumi construction, color changes, and simple shaping will find this project approachable. Some experience with sewing small pieces and assembling amigurumi is recommended.
Materials
- Yarn:
- Green (main/head/ears), Sky Blue (arms/body), Dark Blue (lower body/belt), Purple (collar/suit trim), Yellow (planet emblem)
- Tools:
- 2.0–2.5 mm crochet hook (to match yarn for firm fabric)
- Pair of 5–6 mm safety eyes (or black beads)
- White felt (1.5 cm circles for eye backing)
- Hot glue or craft glue
- Polyester fiberfill
- Scissors, yarn or sewing needle, stitch markers
Measurements and Gauge
- Finished Height: Approximately 9 cm (3.5 in) tall with recommended yarn and hook size.
- Gauge: For amigurumi, gauge is less critical; ensure fabric is tight enough to hold stuffing without gaps.
- Stitch Pattern: Single crochet (sc) in the round.
Stitch Abbreviations
| Abbreviation | Meaning |
|---|---|
| MR | Magic Ring |
| sc | Single crochet |
| inc | Increase (2 sc in same stitch) |
| dec | Decrease (sc 2 together) |
| BLO | Back loops only |
| FLO | Front loops only |
| ch | Chain |
| sl st | Slip stitch |
| st(s) | Stitch(es) |
| [n] | Number of stitches at round’s end |
Special Stitches
- Invisible Decrease (sc2tog): Insert hook into front loop of each of next two stitches, yarn over and pull through both, yarn over again and pull through both loops.
- Color Change: Complete the last yarn-over of the previous stitch with the new color for a seamless transition.
- Working in BLO/FLO: Insert hook only into the back/front loop of the stitch as indicated.
Pattern Instructions
1. Arms (Make 2)
- Round 1: MR, 4 sc. [4]
- Round 2: 4 inc (2 sc in each st). [8]
- Round 3: (Change to sky blue), sc in each st around. [8]
- Rounds 4-5: Sc in each st around. [8 each]
- Round 6: Fold arm in half, crochet through both sides to close: 4 sc across opening.
- Finish Off: Fasten off and weave in end, leaving a tail for sewing.
2. Legs & Body
Legs (Make 2)
- Round 1: With dark blue, MR, 6 sc. [6]
- Round 2: 6 inc. [12]
- Round 3: BLO, sc in each st around. [12]
- Round 4: (Change to sky blue) sc in each st, inc 1 st evenly: (sc in each of next 6 sts, inc) twice. [14]
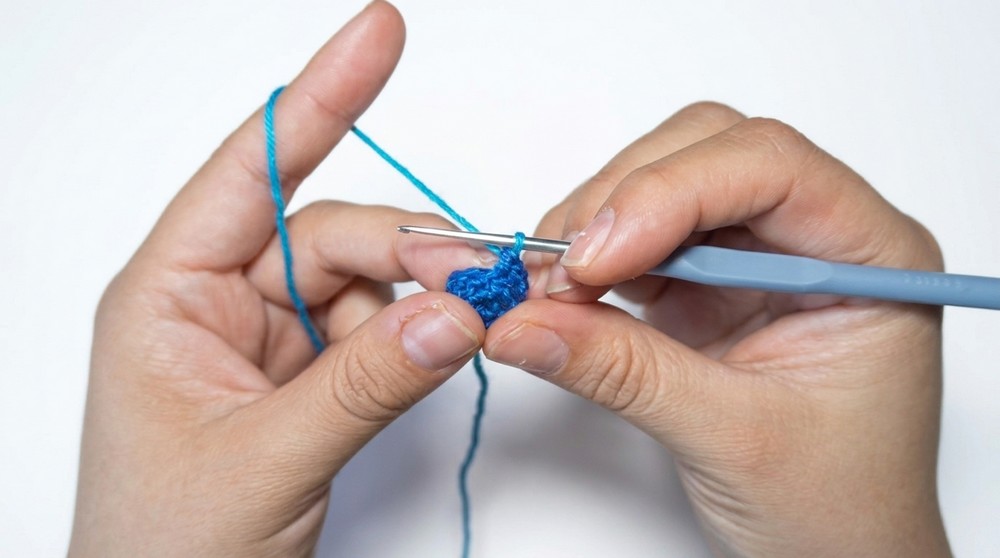
Do not cut yarn after second leg; you’ll proceed directly to the body:
Body
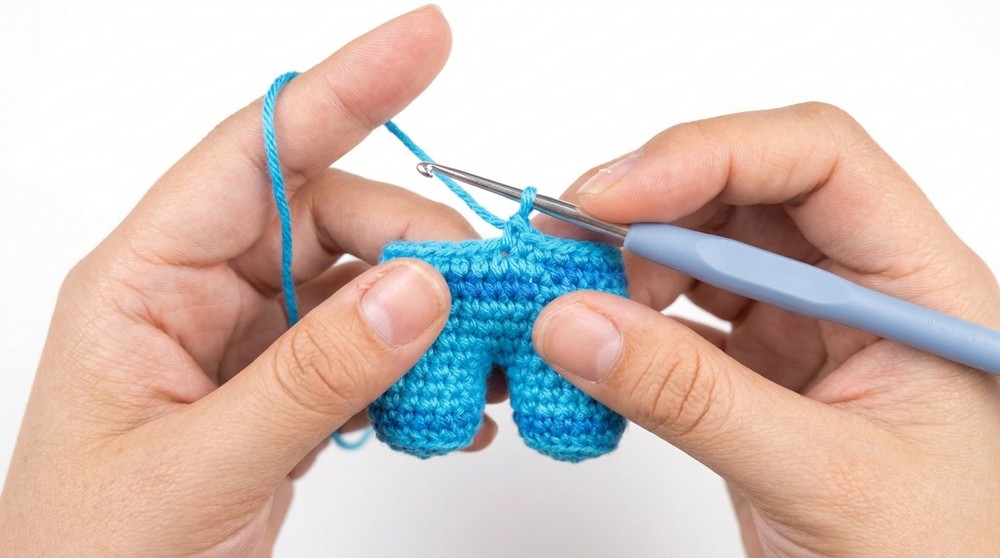
- Round 5: Ch 2, join with sl st to first leg. Sc around first leg (14 sc), sc in 2 ch, sc around second leg (14 sc), sc in ch on opposite side (2 sc). [32]
(If the stitch count is off by ±2, adjust when joining legs and body for symmetry.) - Round 6: Sc in each st around. [32]
- Round 7: (Dec evenly 2 sts—e.g., every 15th and 16th st): 30 sc. [30]
- Round 8: Switch to dark blue, sc in each st. [30]
- Round 9: Change to sky blue, sc in each st. [30]
- Round 10: (Sc in next 3 sts, dec) around. [24]
- Round 11: (Sc in next 2 sts, dec) around. [18]
- Round 12: (Change to purple) sc in each st. [18]
- Round 13: Sc in each st around. [18]
3. Head
- Round 14: Working in FLO, inc evenly around (sc in next 2 sts, inc) around. [24]
- Round 15: (Sc in next 3 sts, inc) around. [30]
- Round 16: (Sc in next 4 sts, inc) around. [36]
- Round 17: (Sc in next 5 sts, inc) around. [42]
- Rounds 18–19: Sc in each st around, creating spaces for safety eyes: when reaching three evenly spaced positions, skip a st and ch 1 in its place for each eye. [42]
- Insert Eyes: Cut 1.5 cm white felt circles; pierce the safety eyes through the center and insert these between Rounds 18–19 at ch-1 spaces.
- Round 20: (Sc in next 5 sts, dec) around. [36]
- Round 21: (Sc in next 4 sts, dec) around. [30]
- Round 22: (Sc in next 3 sts, dec) around. [24]
- Stuff firmly as you work.
- Round 23: (Sc in next 2 sts, dec) around. [18]
- Round 24: (Sc in next st, dec) around. [12]
- Round 25: Dec around. [6]
- Antenna:
- Round 26: Sc in each st. [6]
- Round 27: (Dec) around. [3]
- Round 28: (Inc) in each st. [6]
- Finish Off: Weave yarn down through stuffing to fasten antenna.
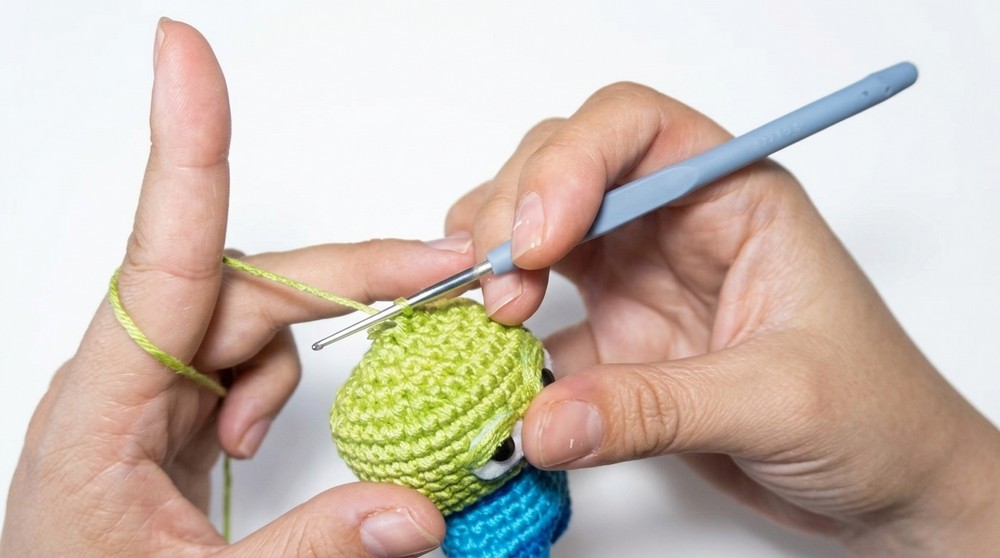
4. Ears (Make 2)
- Row 1: With green, ch 2, 1 sc in 2nd ch from hook. [1]
- Row 2: Ch 1, turn, 2 sc in st. [2]
- Row 3: Ch 1, turn, sc in first, inc in next. [3]
- Row 4: Ch 1, turn, inc in first, sc in next, inc in last. [5]
- Row 5: Ch 1, turn, sc in each st. [5]
- Finish Off: Leave a long tail for sewing.
5. Details
- Planet Emblem: Cut a small yellow circle from felt; add an embroidered or felt “ring” in blue for the classic planet logo. Attach to front center of chest.
- Belt Buckle: Cut a small horizontal strip from dark blue felt/yarn or embroider on suit’s midsection.
Assembly
- Attach Arms: Sew or glue arms to the sides of the body in line with Round 11, evenly spaced for symmetry.
- Attach Ears: Sew each ear on either side of the head, approximately 2 stitches away from the outer eyes.
- Add Details: Position and glue/embroider the planet emblem on the chest and the belt around the waist.
- Final Shaping: Ensure head, limbs, and antenna are secure. Adjust stuffing and manipulate parts for correct pose and silhouette.
Finished Size and Conclusion
This Toy Story alien amigurumi stands at about 9 cm, with lively detail and sturdiness suitable for display, gifting, or collecting. Each piece is carefully shaped, with signature eyes and astronaut-like attire, and is finished with felt/yarn symbols for authenticity. The technique focuses on seamless construction, mindful shaping, and embellishments that evoke the animated character. Consistent stitches and careful assembly will result in a durable, charming little alien that captures the essence of a much-loved classic, showing the synergy between colorwork, crafting accuracy, and childhood nostalgia. This project suits crafters seeking to add personality to their amigurumi repertoire or to delight fans of the Toy Story universe with a handmade collectible.




Leave a Reply