

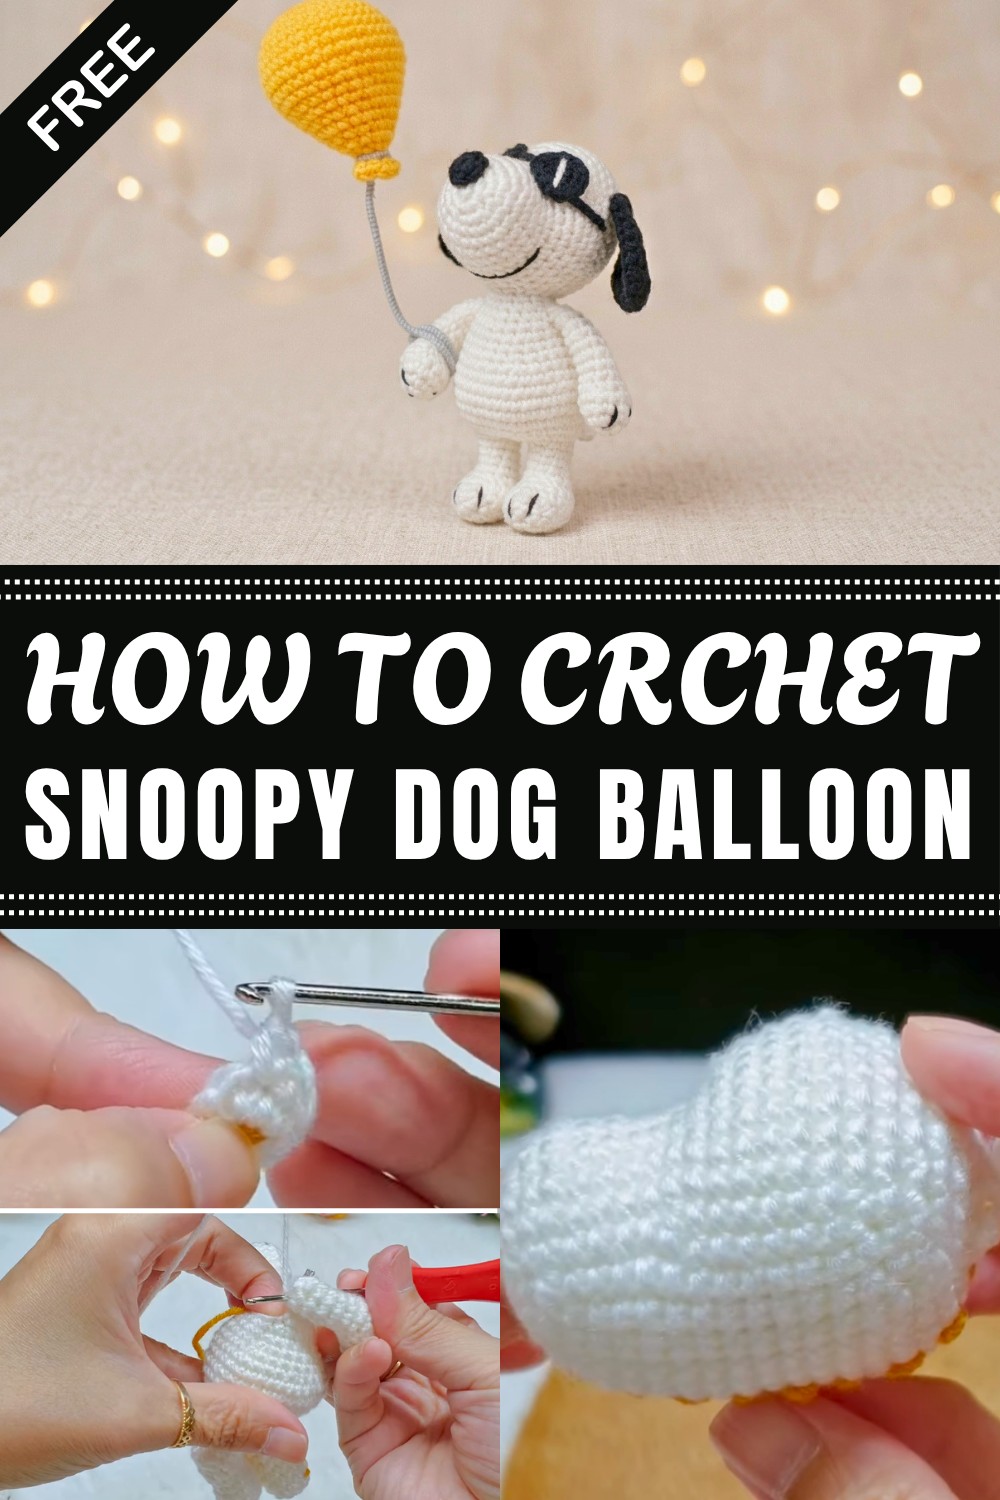
Bring joy to your home with this easy Crochet Snoopy Dog With Balloon Pattern that is simple to follow and great for beginners or experts alike.
A few weekends ago, I decided to try something new that would bring both joy and creativity into my home. It’s amazing how a small project can brighten your mood and offer a fun way to unwind. That’s when I find the Crochet Snoopy Dog With Balloon Free Pattern, which instantly caught my attention with its charming appeal and playful design.
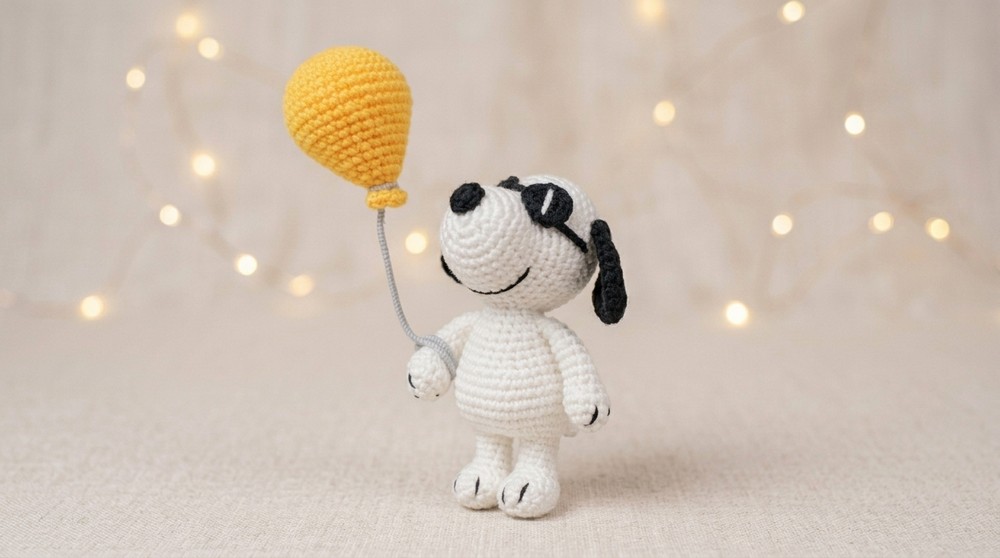
This delightful item is a soft, crocheted figure of the beloved Snoopy dog holding a cheerful balloon, perfect as a gift or a unique decoration for any room. The Crochet Snoopy Dog With Balloon Free Pattern is a wonderful way to create a heartfelt present for friends or family, especially those who appreciate cute and nostalgic characters. Its gentle textures and inviting shape make it a lovely addition to a child’s bedroom, a cozy living space, or even an office desk where a touch of whimsy is always welcome.
Unique Crochet Snoopy Dog With Balloon Free Pattern That Brings Cute Charm
The project’s appearance is simply enchanting — Snoopy sports his iconic black-and-white colors, rendered in soft yarn with smooth, rounded contours that capture his playful personality. The balloon adds a splash of vibrant color, contrasting beautifully against Snoopy’s classic look. The design is both simple and detailed, with expressive eyes, floppy ears, and a joyful stance that seems ready to float away with the balloon at any moment. The combination of soft texture and adorable form makes it irresistible to hold or display.
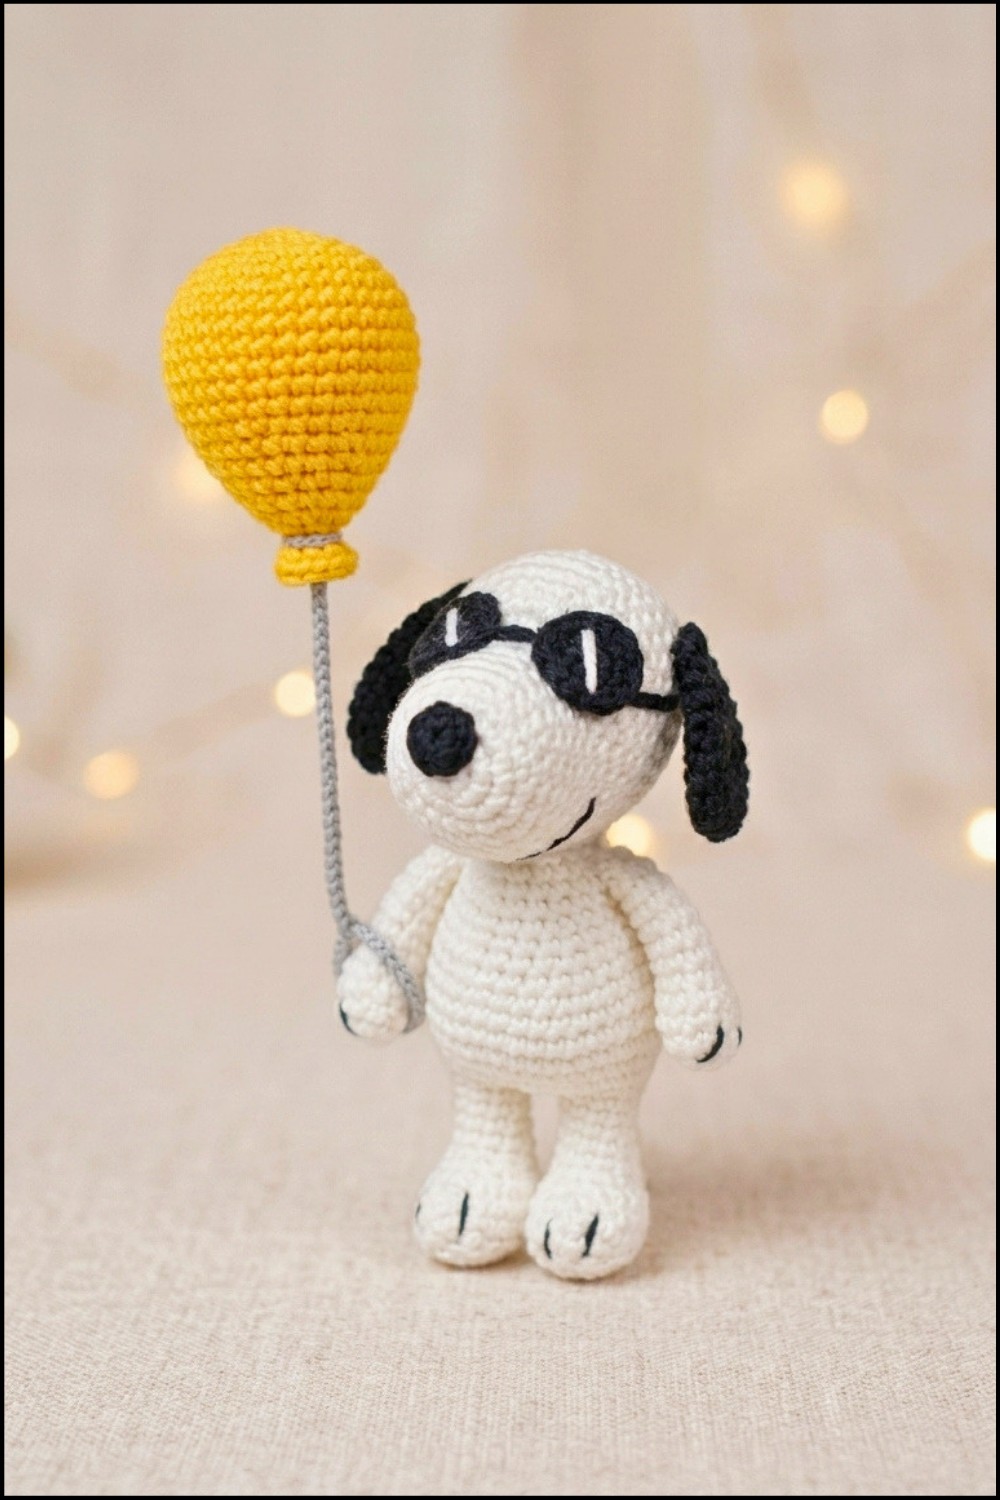
Beyond its visual charm, this Snoopy figure brings a sense of warmth and nostalgia into your space, making it perfect as a thoughtful gift or a charming accent piece. It fits well in nurseries, reading nooks, or as a cheerful companion on shelves or tabletops. Overall, the Crochet Snoopy Dog With Balloon is a joyful project that combines heartwarming design with practical uses, sure to delight anyone lucky enough to receive or enjoy it.
Crochet Snoopy Dog With Balloon Free Pattern
Snoopy stands out as an endearing character beloved by all ages, making him a wonderful subject for crochet projects. This step-by-step guide breaks down each element of the process in a clear, approachable way. Every round and detail has been structured to ensure clarity and accuracy, so every stage can be followed with confidence. Whether adding a new piece to a collection or bringing a favorite character to life, this guide walks you methodically through from the initial stitches to the final assembly. With a straightforward format, essential materials, and concise instructions for every part, both intermediate crocheters and those confident in the basics will find this project achievable and rewarding. The illustrations throughout each section help promote ease and precision, resulting in a recognizable and charming amigurumi figure upon completion.
Quick Overview Of Pattern
- All parts are crocheted separately and then sewn together.
- Each piece is worked in a continuous spiral unless specified otherwise.
- Uses single crochet, increases, decreases, and a few simple special stitches.
- Includes embroidery for facial features.
- Optional zinc wire can be used inside limbs and body for shaping.
Notes
- The pattern uses US crochet terms.
- Work pieces in a spiral; do NOT join unless told.
- Place a stitch marker in the first stitch of each round.
- Keep your tension tight so stuffing does not show through.
- Stuff body parts firmly unless noted for shaping.
- Carefully follow order of assembly for best results.
Skill Level
Adventurous Beginner / Intermediate
You should know: working in the round, increases, decreases, and basic hand sewing.
Materials
- Yarn: 2mm size (White, Black, Red)
- Hook: 1.9mm or 2.25mm crochet hook
- Stuffing: Fiberfill or cotton stuffing
- Additional tools:
- Stitch Marker
- Tapestry Needle
- Scissors
- Safety Eyes
- Black Embroidery Thread
- Optional: Zinc wire for shaping
Measurements / Sizing
- Finished Height: 14–15 cm (approx. 6 inches), depending on yarn and tension
Gauge
Gauge is not critical for amigurumi, but your sc should be tight so stuffing doesn’t show.
Approx. 24–26 sc x 26–28 rows = 10cm/4”
Stitch Abbreviations
- MR – Magic Ring
- ch – chain
- sc – single crochet
- inc – increase (2 sc in one stitch)
- dec – decrease (sc 2 together)
- hdc – half double crochet
- sl st – slip stitch
- (….) x N – repeat instructions in ( ) N times
Special Stitches
- sc 3tog: Insert hook through next 3 st, yarn over, pull up a loop each time (4 loops on hook), yo, pull through all 4 loops.
- Invisible decrease: Insert hook in front loop of next 2 sts, yo, pull through, yo, finish sc.
The Crochet Pattern
All pieces are worked in a continuous spiral unless noted.
Head (White Yarn)
- R1: MR, 6 sc (6)
- R2: 6 inc (12)
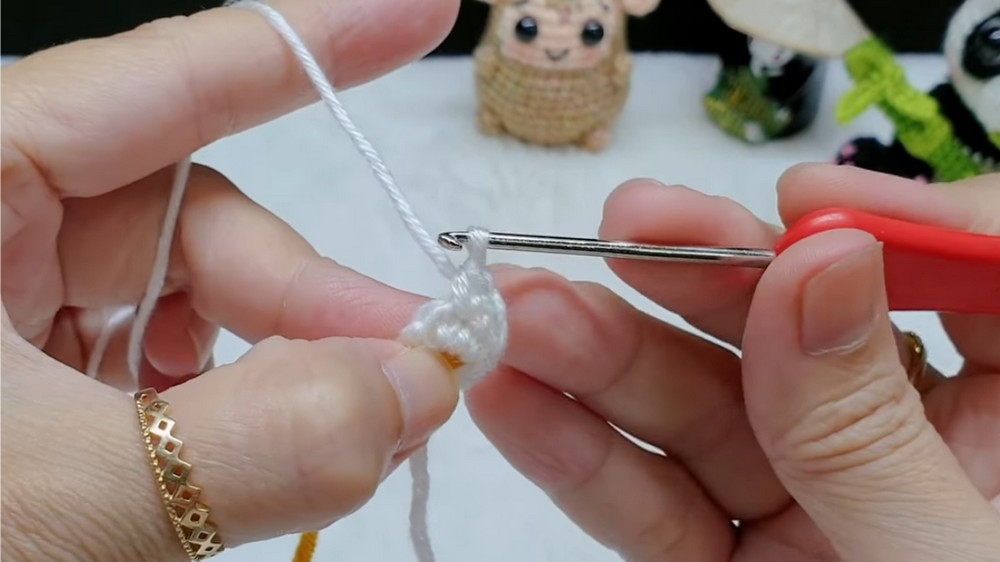
- R3: (1 sc, 1 inc) x 6 (18)
- R4: 18 sc (18)
- R5: (2 sc, 1 inc) x 6 (24)
- R6: 8 sc, (1 sc, 1 dec, 1 sc) x 2, 8 sc (22)
- R7–R9: 22 sc (22 per round)
- R10: 5 sc, (1 sc, 1 inc, 1 sc) x 4, 5 sc (26)
- R11: 9 sc, (1 sc, 1 inc) x 4, 9 sc (30)
- R12: 13 sc, 4 inc, 13 sc (34)
- R13–R16: 34 sc (34 per round)
- R17: (6 sc, 1 dec) x 2, 2 sc, (1 dec, 6 sc) x 2 (30)
- R18: 30 sc (30)
- R19: (4 sc, 1 dec) x 5 (25)
- R20: 25 sc (25)
- R21: (3 sc, 1 dec) x 5 (20)
- R22: (2 sc, 1 dec) x 5 (15)
- R23: (1 sc, 1 dec) x 5 (10)
Finish:
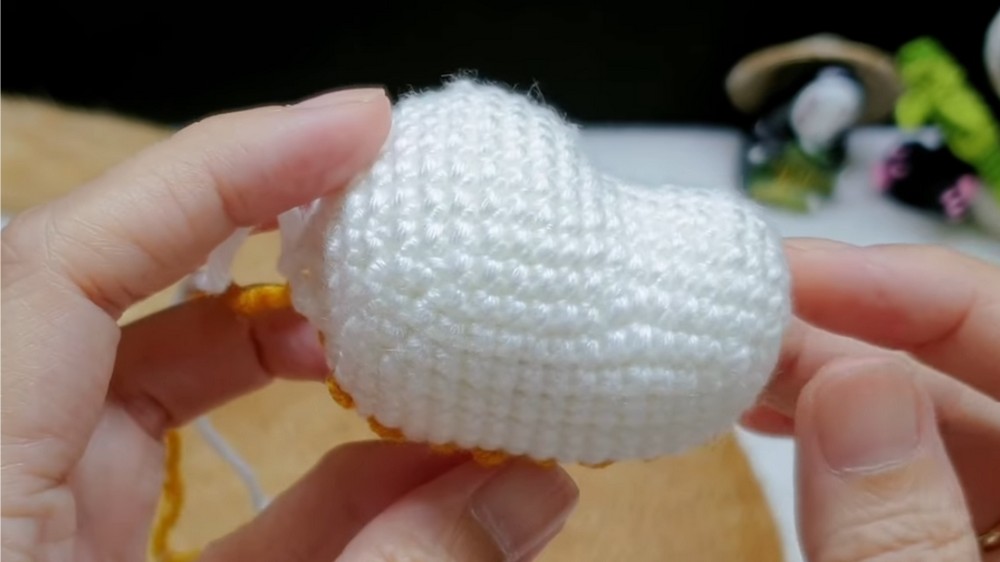
- Stuff head firmly.
- Insert safety eyes between R10 & R11, spaced about 2 stitches apart.
- Embroider mouth between R9–R10 using black embroidery thread.
- Fasten off.
Nose (Black Yarn)
- R1: MR, 4 sc (4)
- R2: (1 sc, 1 inc) x 2 (6)
- R3: 6 sc (6)
Finish:
- Fasten off.
- Sew nose to snout (between R2–R3 of head).
Ears (Make 2, Black Yarn)
- R1: 8 ch. In 2nd chain from hook, 6 sc, 3 sc in last ch.
Working along opposite side: 5 sc, 1 inc, sl st (16) - R2: 1 ch, 3 sc, 3 hdc, 1 inc, sl st (17)
Finish:
Sew to head (around R17–R18).
Arms (Make 2, White Yarn)
- R1: MR, 6 sc (6)
- R2–R6: 6 sc per round (6)
- R7: 7 sc, 1 dec (8)
(Pattern note: 6 sc per round also suitable.)
Finish:
Stuff only the hand/top end lightly.
Legs (Make 2, White Yarn)
- R1: 4 ch. In 2nd ch from hook: 2 sc, 3 sc in last ch.
Opposite side: 1 sc, 1 inc (8) - R2: 1 inc, 1 sc, 3 inc, 1 sc, 2 inc (14)
- R3: 14 sc (14)
- R4: 5 sc, (1 sc, 1 dec) x 3 (11)
- R5: 7 sc, 2 dec (9)
- R6: 9 scHeel shaping:
- R6A: 1 ch, turn, 5 sc (5)
- R6B: 1 ch, turn, 1 dec, 1 sc, 1 dec (3)
- R6C: 1 ch, turn, sc 3tog (1)
Back to the round:
- R7: 3 sc down heel, 4 sc across foot, 3 sc up heel (10)
- R8: 2 sc, 3 dec, 3 sc (7)
- R9–R10: 8 sc each (8)
Do not cut yarn on 2nd leg!
Body (White Yarn)
- R11: 6 sc on Leg 2, 3 ch, attach to Leg 1, 8 sc on Leg 1, 3 sc across ch, 2 sc on Leg 1 (22)
- R12: 6 sc, 3 inc, 8 sc, 3 inc, 2 sc (28)
- R13: 4 sc, (1 sc, 1 inc) x 5, 6 sc, (1 sc, 1 inc, 1 sc) x 2, 2 sc (38)
- R14: 7 sc, (1 sc, 1 inc, 1 sc) x 3, 19 sc (41)
- R15–R17: 38 sc per round (38)
- R18: 7 sc, (1 sc, 1 dec, 1 sc) x 3, 11 sc, (1 dec, 1 sc) x 2, 2 sc (33)
- R19: 7 sc, (1 sc, 1 dec, 1 sc) x 3, 14 sc (30)
- R20: (8 sc, 1 dec) x 3 (27)
- R21: (7 sc, 1 dec) x 3 (24)
- R22: (3 sc, 1 dec, 3 sc) x 3 (21)
- R23: (5 sc, 1 dec) x 3 (18)
- R24: Attach arms to sides while crocheting around (18)
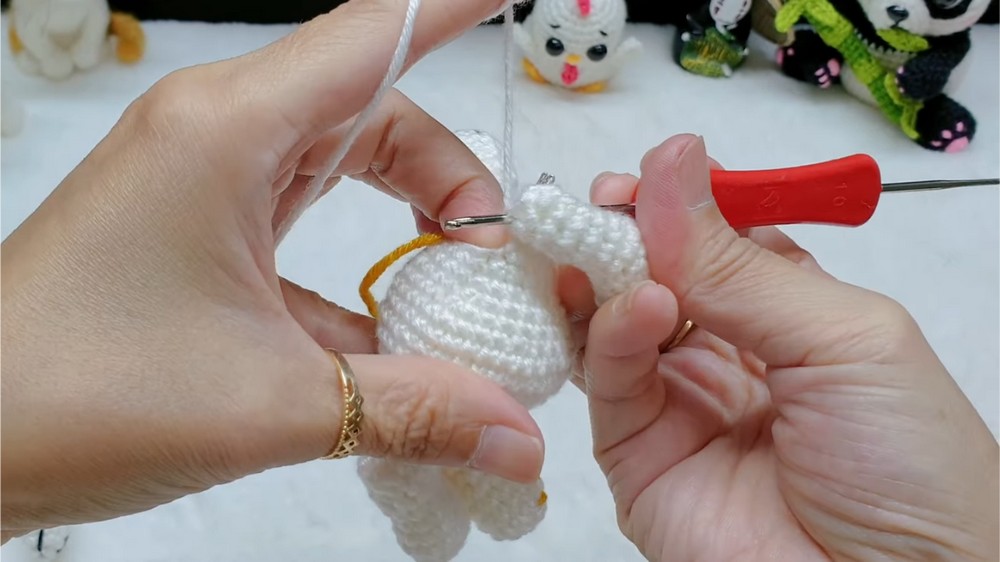
- R25: (1 sc, 1 dec) x 6 (12)
Finish:
Stuff body firmly. Sew head to body.
Tail (White Yarn)
- R1: MR, 4 sc (4)
- R2–R4: 4 sc per round (4)
Finish:
Sew to back of body.
Assembly & Finished Size
- Attach head to body securely with neat stitches.
- Sew arms (if not attached during R24) to body sides.
- Position and sew legs at the base of the body.
- Sew tail to back center.
- Attach ears (R17–R18) and nose (R2–R3 of snout).
- Embroider mouth, place eyes, and add any desired details.
Finished size: Approx. 14–15 cm / 6 inches tall.
Conclusion
Upon finishing this project, you’ll be left with a charming Snoopy figure, notable for its classic details and proportional construction. Careful, consistent work as outlined in each round ensures the integrity and uniformity of your plush companion. Each stitch, placement, and assembly step has been chosen for both aesthetic appeal and lasting structure. This amigurumi is well-suited for gifting, displaying, or simply celebrating a fondness for timeless characters. The satisfaction that comes with completing this project reflects both the care taken during the process and the delight it brings to those who see it. With proper finishing touches and thoughtful assembly, Snoopy’s familiar personality is effectively captured, offering both comfort and nostalgia in a handmade form.
https://youtu.be/0ZvghpoMV6A




Leave a Reply