

Find the joy of creating a charming Crochet Cake Keychain with this free pattern that adds a sweet and colorful touch to your keys or gifts.
A birthday gift feels more personal with a little something tied to the ribbon. The Crochet Cake Keychain is a tiny yarn dessert that the birthday guest can carry long after the party.
Original design by Hobihobiku.
Free Crochet Cake Keychain Pattern Perfect For Handmade Gifts
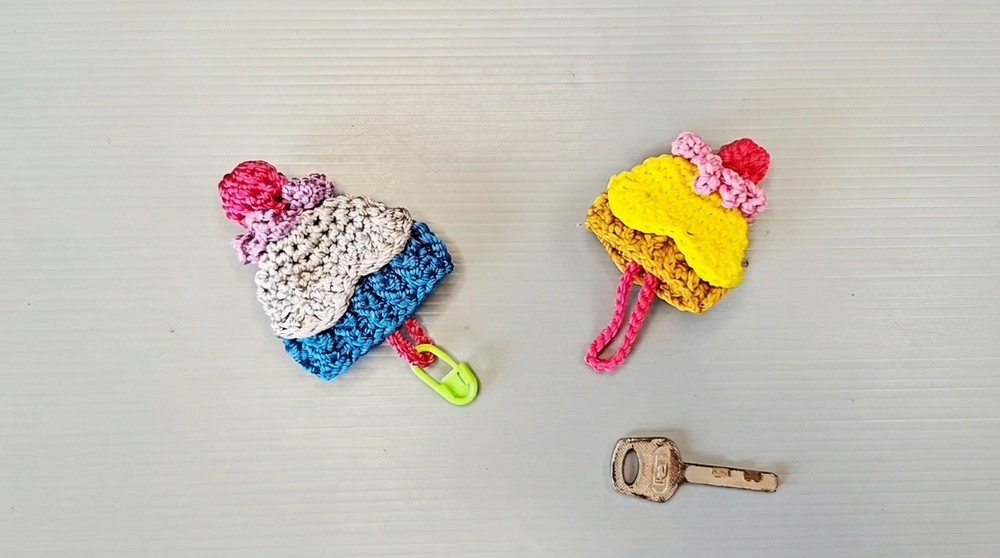
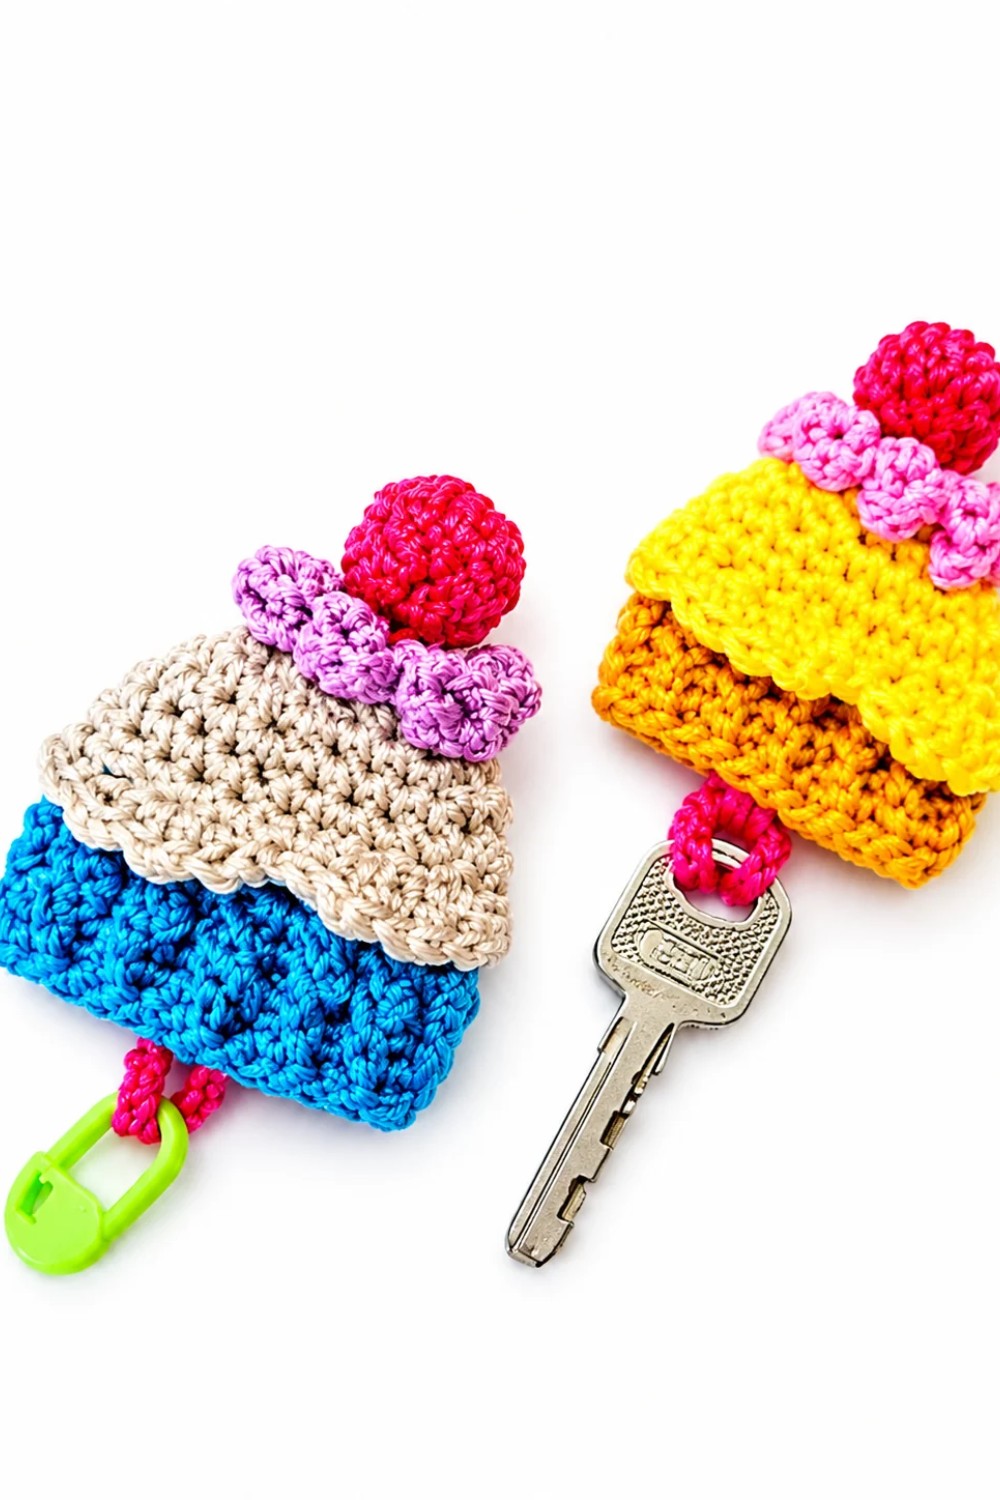
This little amigurumi takes a familiar dessert and shrinks it to fit on a key ring. You can see the small crochet stitches up close, which gives the cake the soft texture of a stuffed toy. The original uses Polycherry yarn. For your own version, you could pick colors based on someone’s favorite cake.
Use chocolate brown and cream for a classic look, or pair pale pink with white for a strawberry theme. A narrow band of a second color can suggest a layer of frosting, and a few short stitches on top can look like sprinkles.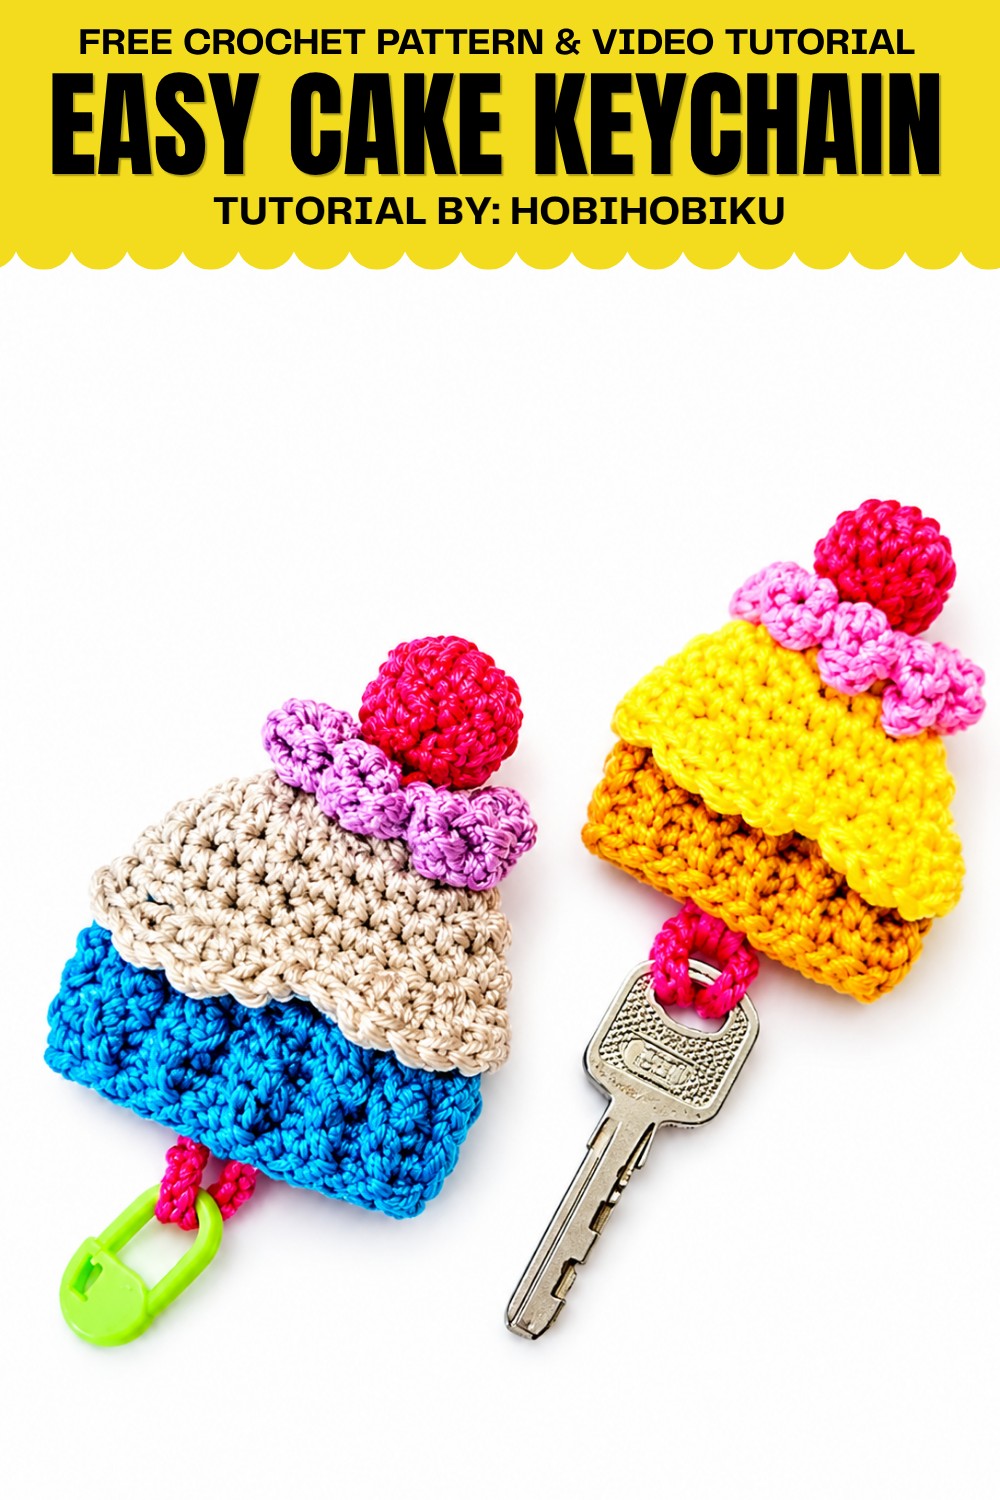
For a birthday, tie the finished charm to a box of cookies or slip it into a card. You could also crochet a small batch in the party colors and place one beside each guest’s plate. Once everyone heads home, the little cakes can go straight onto their keys or backpacks.
There are everyday uses too. Fasten one to the zipper of a lunch bag so it’s easier to spot among similar bags. Or put it on a spare set of keys to tell it apart from the one you carry every day. For a friend who loves to bake, pair it with a handwritten copy of a favorite cake recipe.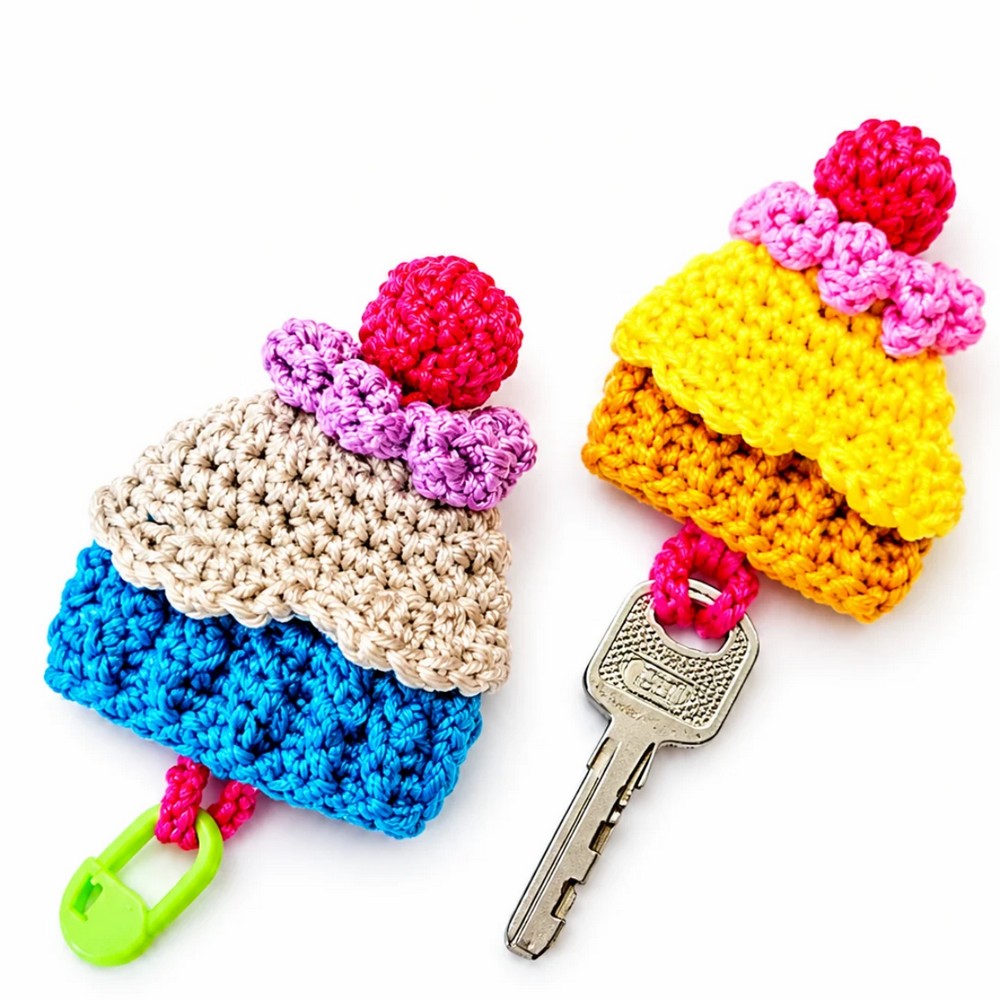
Pattern Overview
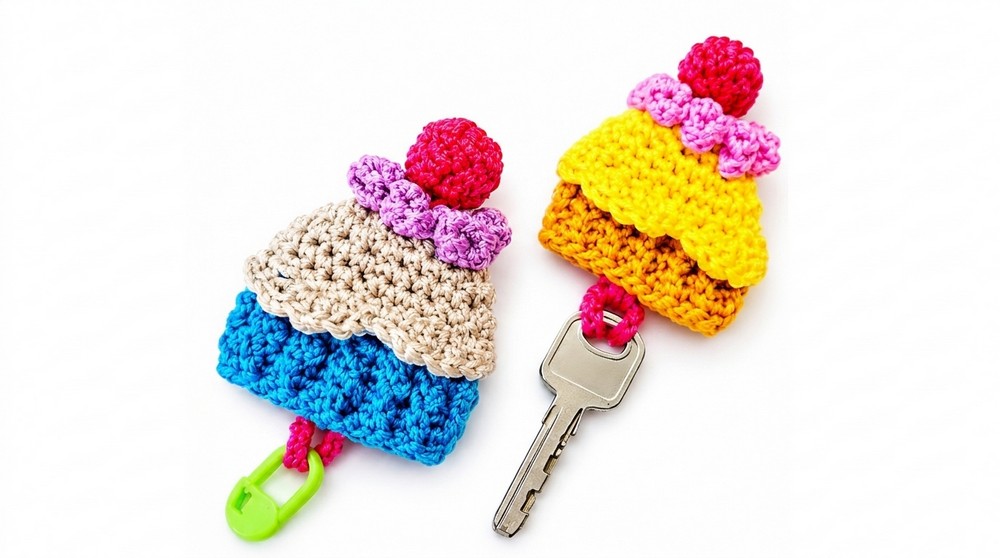
This guide details the step-by-step process to create an amigurumi cake keychain with crochet. The pattern divides the project into cake base, lower cake layer, topping (cream), cherry, cord, and final assembly. The instructions make use of common stitches, textured techniques, and simple assembly for a cute, realistic miniature cake accessory.
Quick Details
- Project: Amigurumi cake keychain
- Components: Cake base, lower cake, cake topping, cherry, cord, assembly
- Techniques: Textured crochet, decorative edges
Important Tips
- Count your stitches carefully each round to keep the shape even.
- Keep tension tight so stuffing and glue won’t show through.
- Change yarn colors cleanly between sections.
- Decorative edges must be worked in front loops only.
- Alternate stitches for texture exactly as directed.
Skill Level
- Beginner to Intermediate
Uses foundational crochet plus texture methods.
Materials
- Three colors of yarn: cake base, brown layer, topping (pink)
- Red yarn or thread for cherry
- Crochet hook: 2.5–3.0mm
- Yarn needle for sewing/weaving ends
- Scissors
- Keychain ring (optional)
- Glue (for topping)
- Poly stuffing (optional)
Measurements
- Finished cake width: roughly 3–5 cm
- Height: roughly 2–3 cm
- Keychain cord: 40 chains (adjustable)
Gauge
- Not specified—tight stitches preferred for amigurumi.
Abbreviations
- SC: Single Crochet
- DC: Double Crochet
- FPDC: Front Post Double Crochet
- Ch: Chain
- SL: Slip Stitch
- Increase: 2 SC in 1 stitch
- Magic ring: Adjustable ring
Special Stitches
- Magic Ring: Adjustable loop for starting rounds.
- Front Post Double Crochet (FPDC): Yarn over, insert hook around post of stitch, complete as DC.
- Back Loop Only: Work only in back loop for texture.
- Decorative Edge: SC, skip 2, 6 DC in next, skip 2 repeats.
Step-by-Step Instructions
1. Cake Base
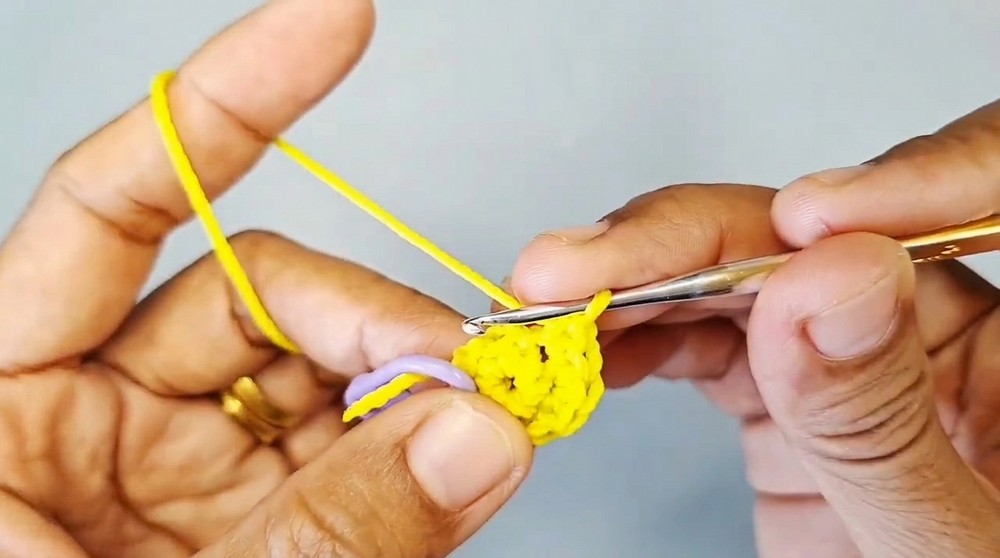
Magic Ring
- Start with a magic ring.
Round 1
- Work 6 SC into the ring.
Round 2
- Increase in every stitch: 2 SC in each, totaling 12 SC.
Round 3
- Repeat: 1 SC, increase (2 SC in next) — six times.
- Total: 18 SC.
Round 4
- Repeat: 2 SC, increase — six times.
- Total: 24 SC.
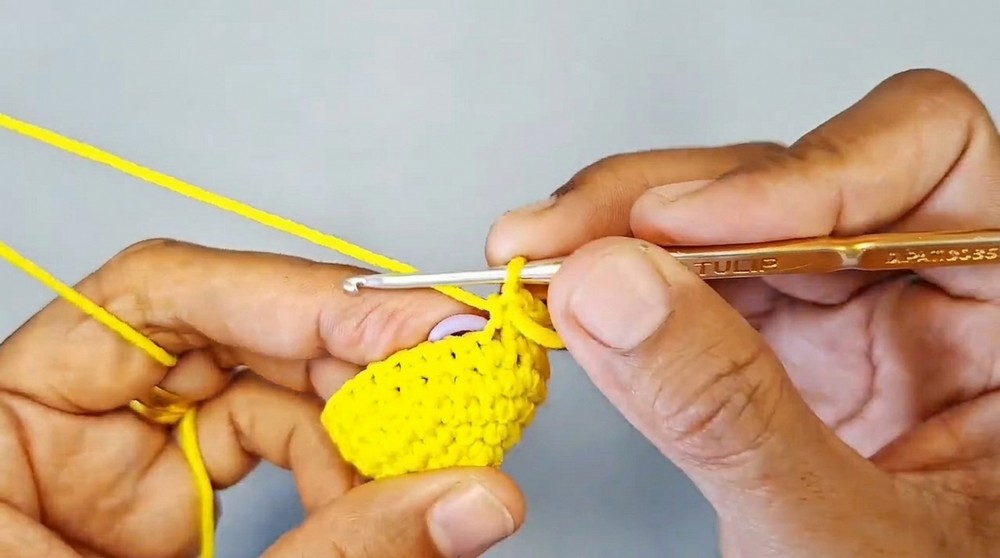
Rounds 5–6
- 1 SC in each stitch around for two rounds.
- (Stay at 24 SC per round.)
Decorative Edge
- Work in front loops only:
- SC, skip 2, 6 DC in next, skip 2
- Repeat this pattern all the way around.
2. Lower Cake Part (Brown Yarn)
Foundation
- Join brown yarn in the back loops left from previous round (after edge).
Round 1
- 1 SC in each back loop (24 SC).
Rounds 2–3
- Alternate: Back loop DC, FPDC around.
- Do this for two rounds for ribbed texture.
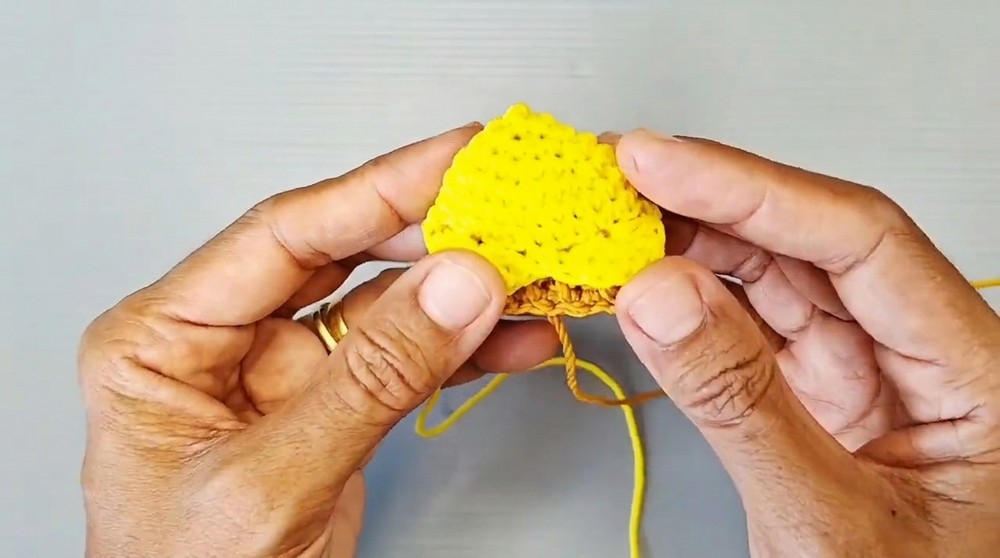
Finishing
- Close with a slip stitch; cut yarn and secure.
3. Cake Topping (Pink Cream)
Foundation
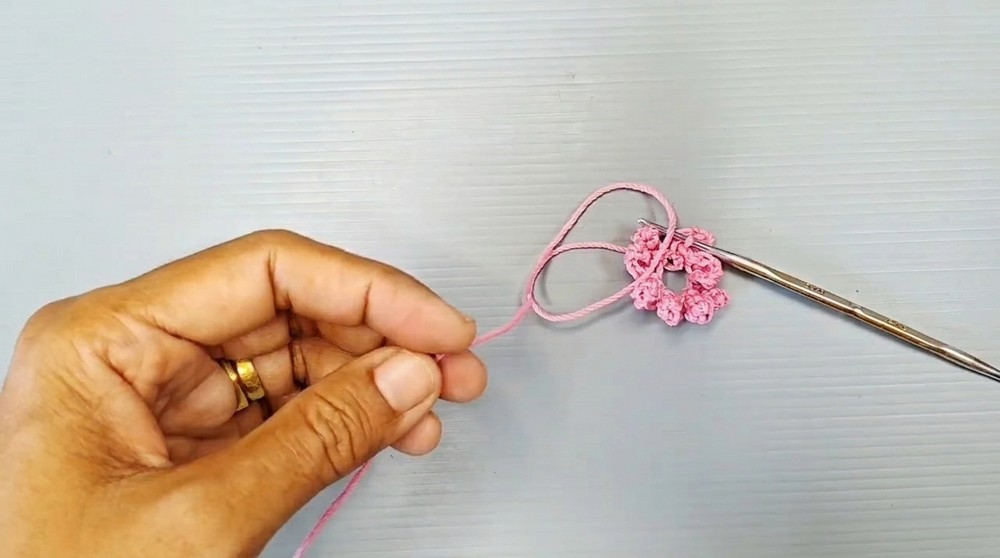
- Chain 4 with pink yarn.
Stitches
- In 3rd chain from hook: 2 SC
- In 2nd chain: 2 SC
- In 1st chain: SL
- Repeat above sequence 8 times to create a ruffled circle.
4. Cherry Component
Magic Ring
- Start with a magic ring, chain 2.
Round 1
- Work 10 DC in ring.
Round 2
- Work 5 decrease stitches to close cherry.
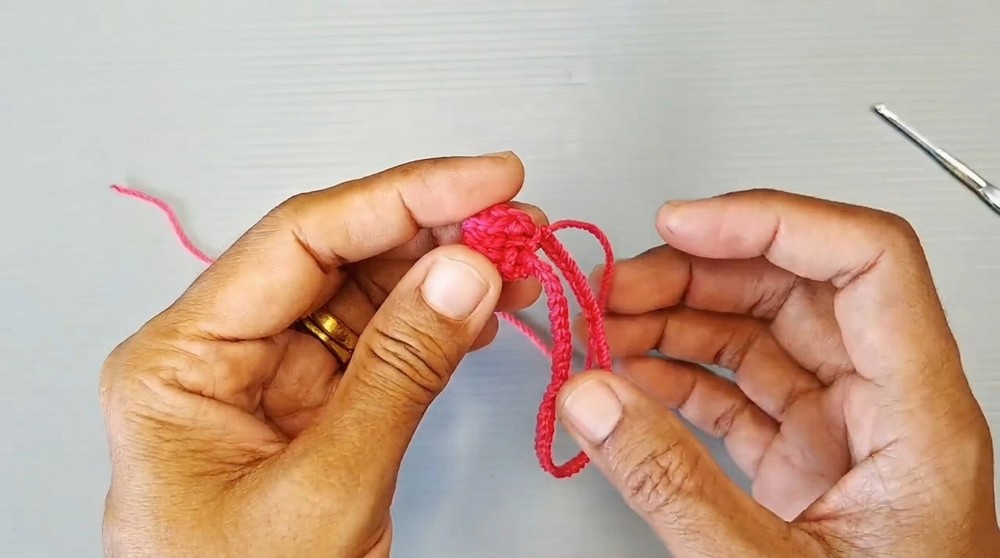
Keychain Cord
- Chain 40 for cord.
- Slip stitch to opposite cherry opening to anchor.
5. Assembly
Joining
- Glue the cream topping to the cake base.
- Keep center hole of cream clear.
Cherry/Cord Attachment
- Pull the cord through cream’s center so the cherry sits atop.
- Secure and finish.
Final Notes
- Use tight SC for amigurumi.
- Only use front loops for scalloped decorative edge.
- For texture, alternate Back loop DC and FPDC precisely.
- Use glue sparingly and let dry.
- Adjust cord length if desired.
- Stuff lightly before final closure for plushness, if you wish.
- Let glue dry before adding to keychain or gifting.
Project Summary
- Crochet base and lower layer using SC, DC, FPDC, and edge techniques.
- Make cream topping via repeated SC and SL in chains.
- Cherry is made with DC and decrease stitches, and finished with a chain cord.
- Assemble by gluing, threading, and securing all parts.
- Enjoy your mini amigurumi cake keychain!
Leave a Reply