

Add elegance to your holiday decor with this free crochet Christmas snowflake pattern, helping you enhance your space with timeless and festive charm.
I love making small, pretty things with yarn that add a special touch to the holiday season. One of my favorite projects is a delicate, winter-inspired piece that looks just like a real snowflake. This is what you get with the free crochet Christmas snowflake pattern, a fun and easy way to create beautiful holiday decorations with crochet.
Modern Free Crochet Christmas Snowflake Pattern for Home
The Christmas snowflake pattern is stunning with its intricate, lacy design that catches the light and looks magical hanging on a tree or in a window. It usually has a round, star-like shape with points that spread out like a snowflake’s arms. The texture is light and airy because it uses open stitches, making it feel almost like real ice crystals.

Its style is elegant and classic, perfect for adding a cozy, handmade feel to your Christmas decor. The standout feature is the detailed patterns that make each snowflake unique and eye-catching. This project is great for beginners who want to try something a little more decorative. The main stitch used is the chain stitch combined with double and treble crochet stitches, which create the open, lacy look.
These crochet snowflakes make wonderful gifts, decorations, or even wearable pieces like pins or earrings if you get creative. They’re perfect for collecting or sharing, and they bring a warm, handmade charm to the cold winter days. Try the free crochet Christmas snowflake pattern and enjoy crafting your own little winter wonderland.
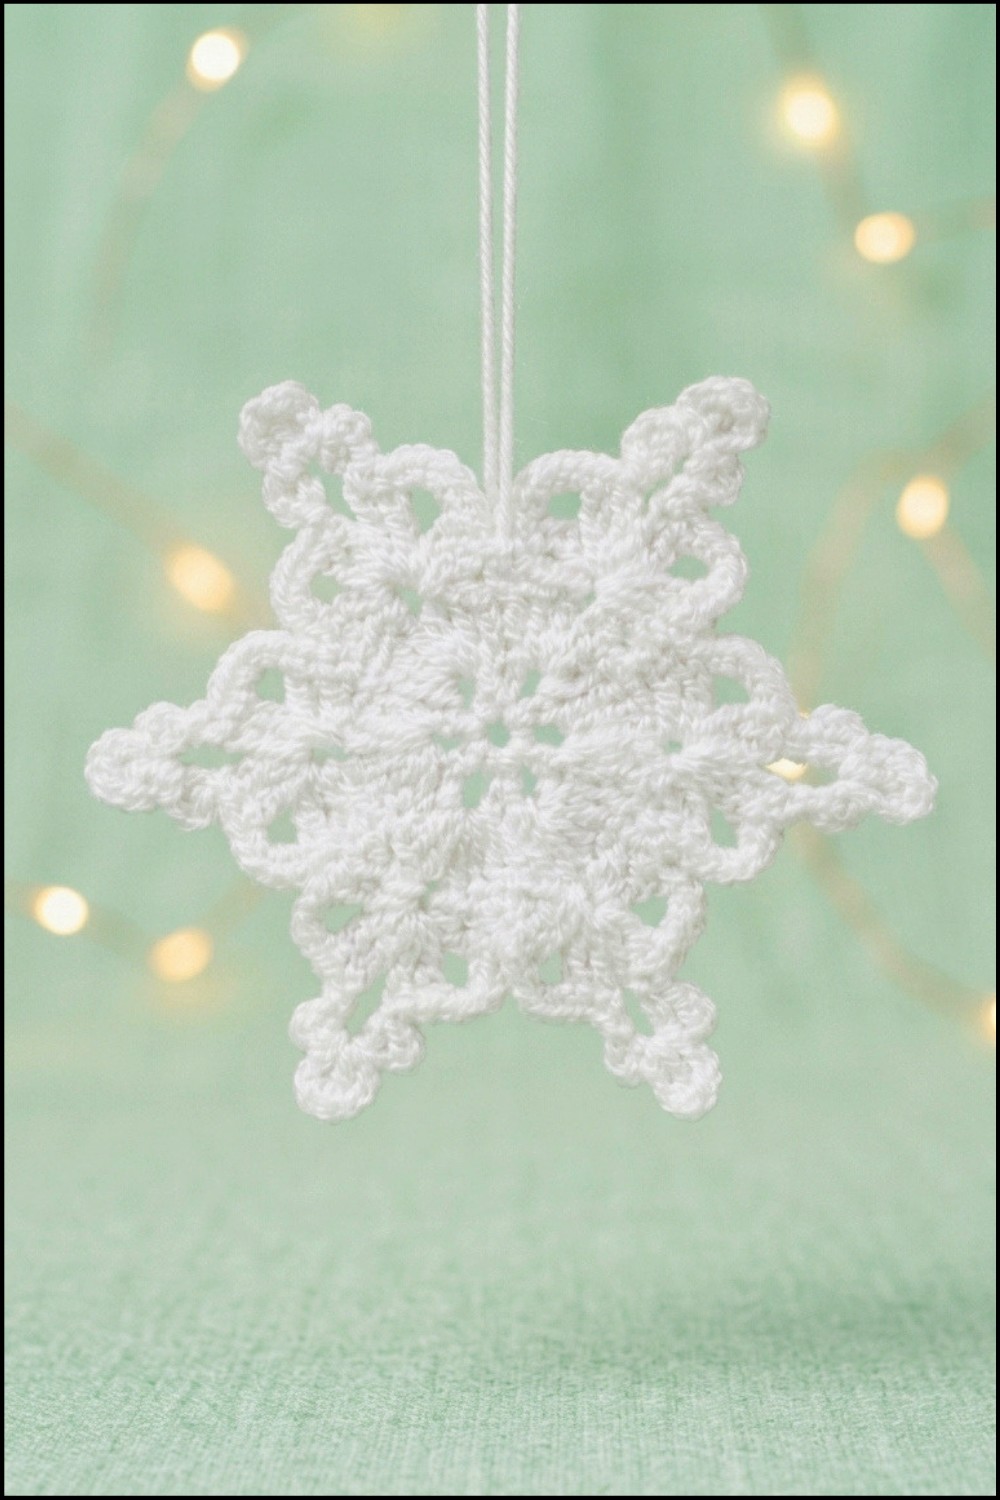
Christmas Snowflake Crochet Pattern
Bring a touch of winter elegance into your home with this beautiful crochet Christmas snowflake. Delicate, classic, and intricate, this snowflake makes a perfect holiday ornament, festive table topper, or charming decorative accent on windows and gifts. The pattern is designed for clarity and success, walking you through every round step-by-step, and offers finishing tips for a professional, long-lasting piece. Whether you craft it for your own celebrations or as a heartfelt holiday gift, this snowflake gleams with seasonal charm and handmade joy.
Pattern Basic Points
- Classic Motif: Features a round-to-pointed snowflake worked in just four rounds.
- Layered Texture: Created with strategic double crochets, chains, and picot clusters.
- Blocking and Finishing: Ensures the snowflake lies beautifully flat, ready for gifting or decoration.
- Optional Gilding: Add sparkling detail with gold-glittered silicone for extra festive magic.
Special Notes
- The sample uses two strands of acrylic yarn held together for a fuller look. You may also use a single stand of thicker thread/yarn if preferred; adjust hook size accordingly.
- As this snowflake is all worked in-the-round, be sure to identify the center point for correct symmetry.
- Blocking is strongly recommended! This brings out the crisp, elegant lines in the snowflake arms and helps maintain structure.
- For best effect, keep your stitches snug, especially when working the final round and edgy picots.
- The optional sparkle finish can add luster but is not required for an elegant effect.
Skill Level
Intermediate
Crocheters should be comfortable working in the round, understanding chain, slip stitch, single and double crochet, and creating picots. The instructions are detailed, making it suitable for adventurous advanced beginners looking for a seasonal challenge.
Materials
- Yarn: 100% acrylic; two strands held together or one strand of a thicker yarn (white recommended for snowflake effect)
- Hook: 1.75 mm steel crochet hook
- Optional: Silicone with gold glitter for extra decoration
- Finishing: Cotton fabric for blocking, warm iron
- Notions: Tapestry needle (for weaving in ends), scissors
Measurements / Sizing
- Finished Size: Varies according to yarn weight and tension; using two strands of acrylic and a 1.75 mm hook, expect approx. 10–12 cm (4–5 inches) diameter after blocking.

Gauge
Gauge is not essential for this pattern—focus more on stitch consistency and maintaining a flat shape. If using alternate yarn or hook sizes, make a quick test motif.
Stitch Abbreviations
| Abbreviation | Stitch |
|---|---|
| ch | chain |
| sl st | slip stitch |
| sc | single crochet |
| dc | double crochet |
| st(s) | stitch(es) |
| sp | space |
| rep | repeat |
Special Stitches
- Picot: Ch 4, sl st to first ch (creates a small loop/point).
- Shell: (3 dc, ch 3, 3 dc) or as noted.
- Slip Stitch Join: Used to finish rounds and move to next working area.
Pattern Instructions
Foundation & First Round (Center Loops)
- Make a slip knot. Ch 5.
- Join with a sl st in the first ch to create a ring.
- Loop sequence:
- Ch 5, sc in ring; repeat a total of 6 times. (You will have 6 chain-5 arches radiating from the center.)
- At the end, you should have 6 loops. Proceed directly to the next round.
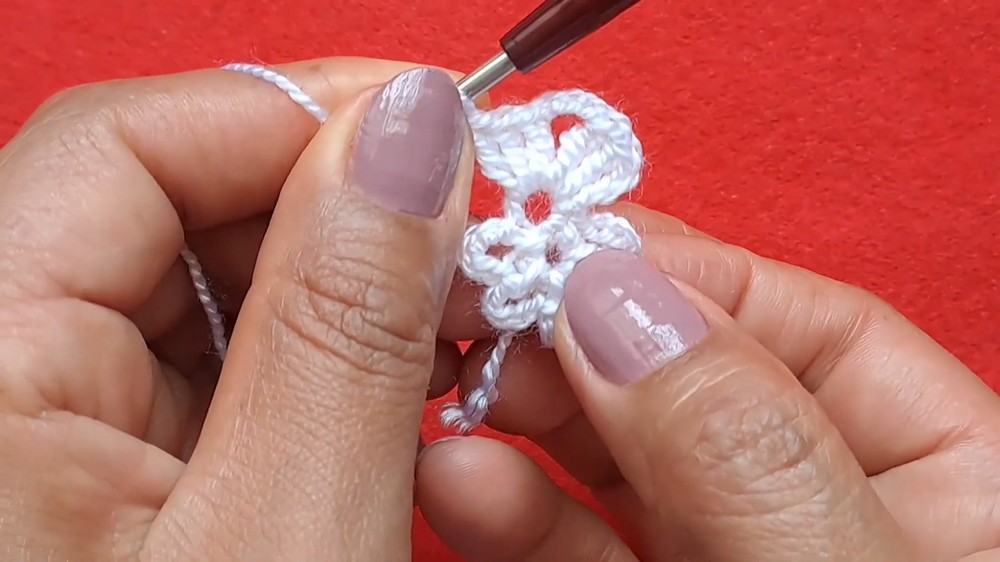
Second Round (Creating Shells)
- Sl st into the first chain-5 loop.
- Ch 3 (counts as first dc), then 2 dc in the same loop.
- Ch 3 (forms central peak), then 3 dc again in the same loop.
- In each of the remaining loops around, repeat:
- (3 dc, ch 3, 3 dc) in next ch-5 loop
- At the end, join with a sl st to the top of the initial ch-3.
Third Round (Forming the Arms)
- Slip stitch (sl st) to the middle chain-3 space above the shell.
- Begin cluster:
- Ch 3 (counts as dc), 1 dc in the space, ch 3, 2 dc in the same sp.
- Ch 5, then repeat in the same space:
- (2 dc, ch 3, 2 dc) again into this chain-3 space (making a double “branch” at each arm).
- Join to the next section with a sc in the center of the shell (the space between shell clusters from the previous round).
- Repeat this pattern for each of the 6 chain-3 spaces (arms).
- At the end of this round, your snowflake will have expanded to 6 main arms.
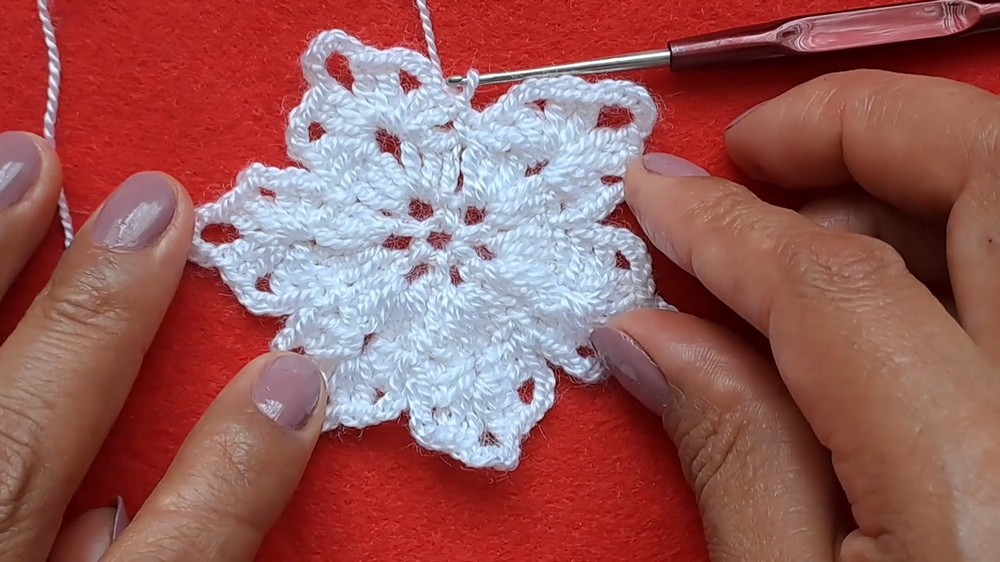
Fourth Round (Edging & Picot Detail)
- Begin on any arm:
- Ch 1, then 1 sc in each of the next 2 dc below you (from the previous round’s arm).
- In the next ch-3 space, sc 6 times (fills out the 'elbow' of the arm, giving fullness).
- 1 sc in each of the next 2 dc.
- Now create the corner picot point at each peak:
- Slip stitch into the next ch-5 space.
- Ch 4, sl st back into the ch-5 sp (first picot/side spike).
- Ch 3, dc into the same ch-5 space.
- Ch 3, sl st to the top of this dc (forms the next spike).
- Ch 4, sl st to the base of the dc to complete the third point (final side spike).
- Continue around: For each arm—sc in dc, sc in ch-3 sp, sc in dc (as above), make picot point, sc along shell, repeat.
- At round’s end, join with a sl st to the initial sc or ch-1. Fasten off and weave in ends.

Assembly & Finished Size
Blocking is crucial for best results:
Gently hand-wash if desired, pat excess moisture, and pin out the snowflake on a flat surface over a piece of cotton fabric. Cover with another layer of cotton cloth, then press gently with a warm iron (no steam) to ensure the motif sits perfectly flat and crisp.
Once dry and blocked, decorate with gold glitter silicone if desired using a fine-tip applicator. Allow all decoration to dry completely before use.
Conclusion
Your intricate and elegant Christmas Snowflake is now ready to spread seasonal joy! Whether displayed on your Christmas tree, used as a gift topper, or hung in windows, this crochet creation brings festive sparkle year after year. The motif’s classic form and detailed arms reflect the beauty of real snowflakes—no two are ever exactly alike! By adding your own creative finish—through yarn color or glittering accents—you make each snowflake uniquely yours.



Leave a Reply