

Change up your style with a super fun crochet phone purse pattern that’s easy to make, versatile, and perfect for showcasing your unique personality!
Organizing your everyday essentials can be both stylish and practical with a crochet phone purse. This delightful accessory offers more than convenience it becomes a reflection of your individuality. Compact yet functional, it’s perfect for carrying your phone, keys, or small items without the need for a heavy or oversized bag. From bold colors to subtle patterns, this versatile design allows you to shape it entirely to your tastes.
Stylish Crochet Phone Pouch Ideas for Everyday Use

Ideal for running errands, casual meetups, or quick walks, this lightweight purse ensures you stay hands-free while feeling effortlessly put together. The soft crochet material adds a unique charm, offering both comfort and durability for everyday use. With room for customization, you can make it even more personal by adding decorative touches like buttons or tassels for a fun and thoughtful finish.
Not just an accessory, it also doubles as a soothing and enjoyable project you can work on at your own pace. Combining practicality with a touch of creativity, this phone purse allows you to enhance your daily routine with something functional and beautiful. Carry your essentials with flair and ease, while showcasing a piece that resonates with your personal style.
Material:
- Yarn
- Hook
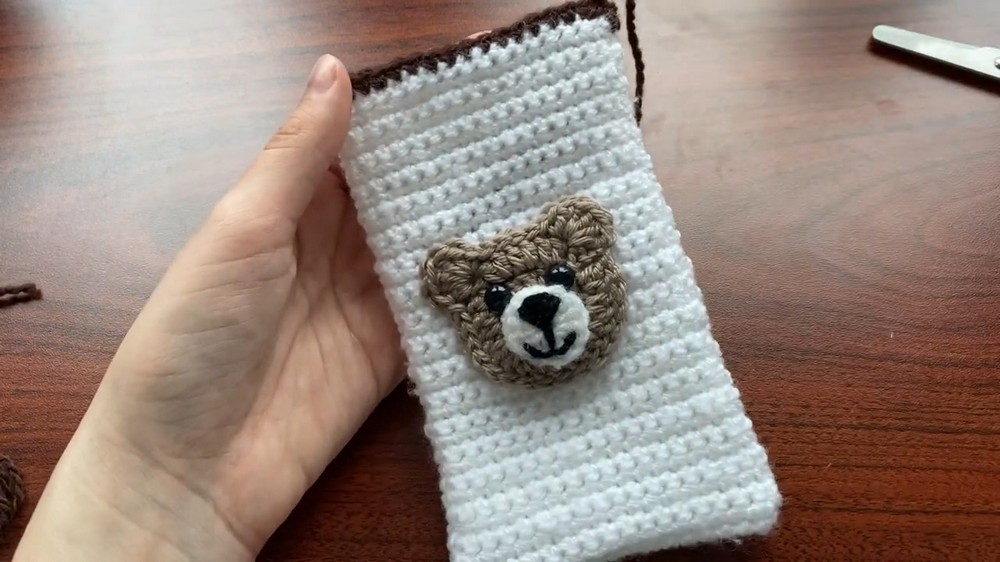
Step-by-Step Details
1. Creating the Initial Slip Knot and Chain
- Begin with making a slip knot.
- Insert the hook and pull the yarn.
- Make chains to achieve the desired width.
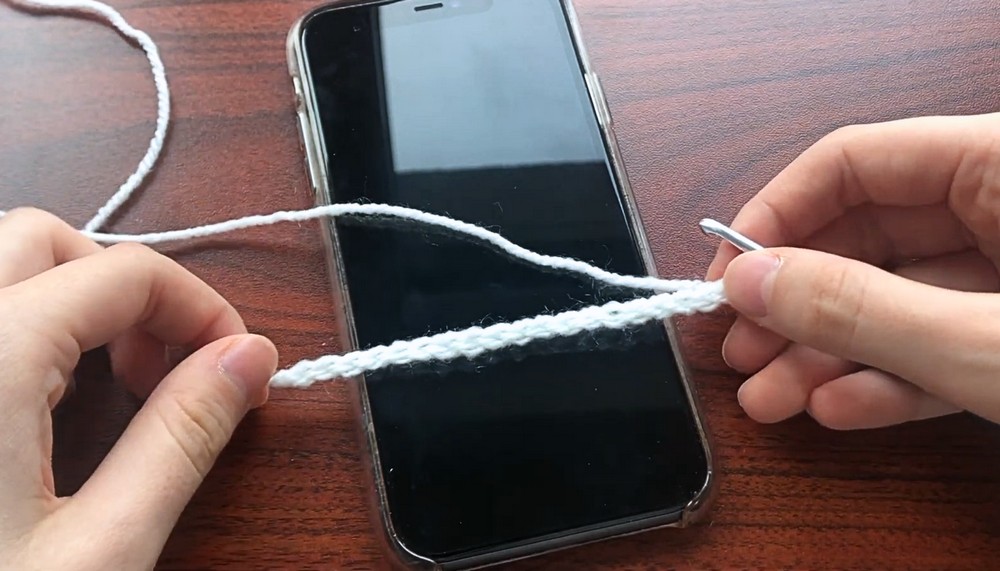
2. Crocheting the First Row
- Skip the first chain.
- Make a single crochet into the second chain by inserting the hook, yarning over, coming out, yarning over again, and pulling through both loops.
- Continue making single crochets across the row.
3. Transitioning to Row 2
- Chain one and turn the project.
- Continue making single crochets into every stitch, ensuring to insert the hook through both loops.
- Chain one and turn the project again.
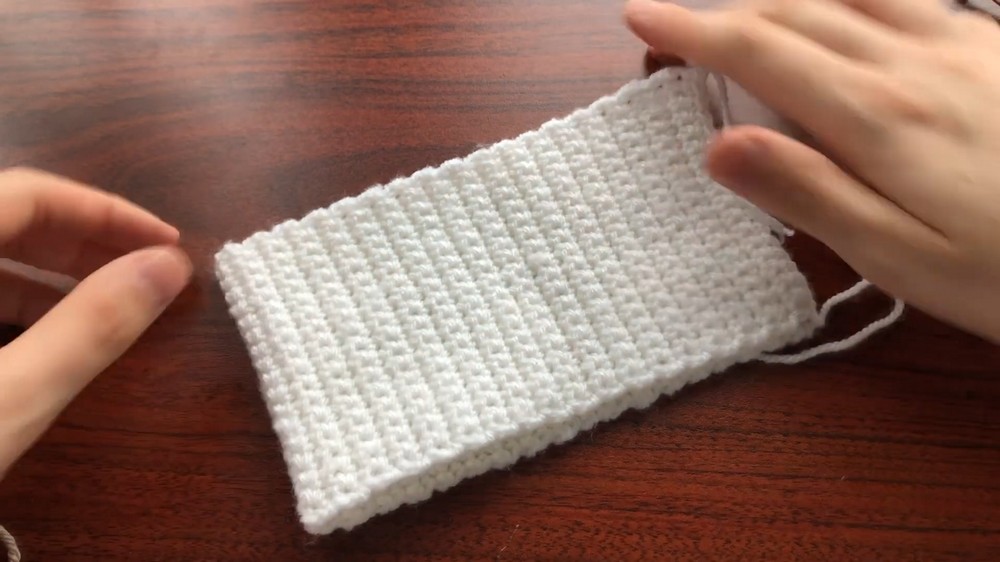
4. Repeating Rows Until Desired Length
- Continue making rows of single crochets until the phone case reaches the required length, ensuring to include the last stitch in every row.
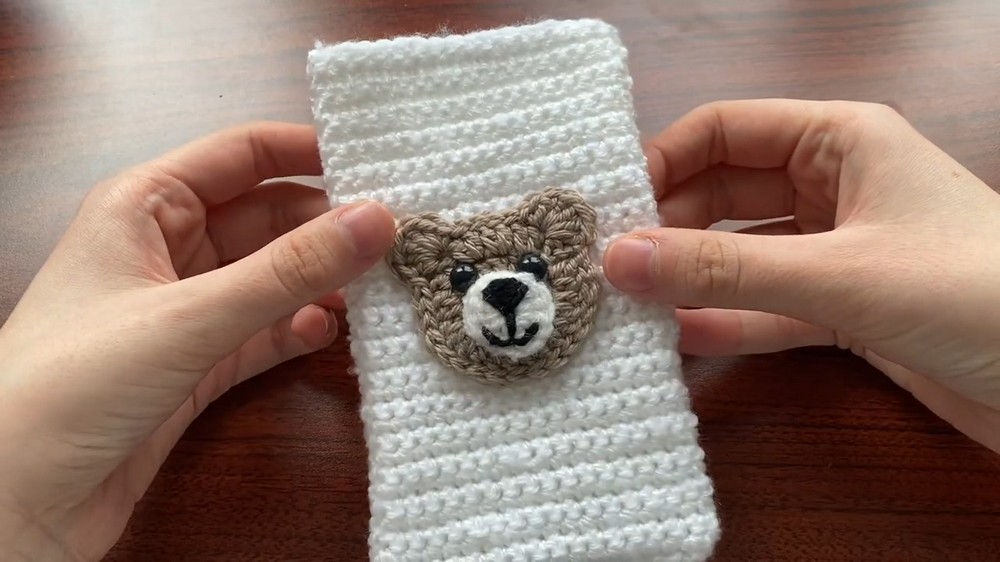
5. Crocheting the Bear Head
- Make a slip knot and insert the hook.
- Start with four chains.
- Make a slip stitch into the first chain, creating a ring.
- Begin row one with chain two, then make 12 double crochets into the ring.
- End row one with a slip stitch into the second chain of the beginning chain two.
- Row two begins with chain two followed by two double crochets into every stitch.
- End row two with a slip stitch into the second chain of the beginning chain two.
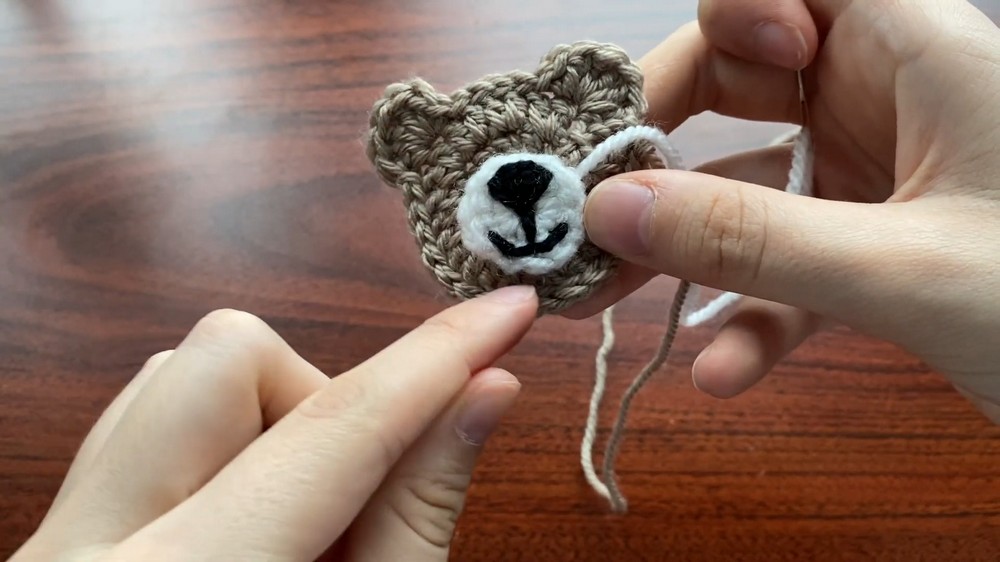
6. Adding Rows to the Bear Head
- Start row three by making five double crochets and one single crochet into the first stitch.
- Make a slip stitch into the next five stitches.
- Repeat the pattern until the end of the row.
- Finish row three with a slip stitch and cut off the yarn, leaving enough to sew the bear onto the phone case.
7. Crocheting the Bear Snout
- Begin with a magic ring, chain one, and make 12 single crochets into the ring.
- End row one with a slip stitch into the first single crochet.
- Row two consists entirely of slip stitches.
- Cut the yarn, leaving enough to sew the snout onto the bear head.
8. Sewing the Bear Nose and Mouth
- Using black yarn, create the nose and mouth by stitching through the magic ring and predetermined points around it.
- Fill in the nose and complete the mouth with careful, evenly spaced stitches.
9. Attaching the Bear Snout to the Head
- Position the snout appropriately and use white yarn to sew it onto the head by stitching through slip stitches and back loops.
10. Adding Eyes
- Position the eyes and secure them using white yarn.
11. Attaching the Bear Head to the Phone Case
- Position the head in the middle of one side of the phone case.
- Use the white yarn strings to sew the head on securely.
12. Sewing the Edges of the Phone Case
- Turn the case inside out to face the bear inwards.
- Sew the sides of the case together by inserting the needle through both sides, securing each stitch.
13. Completing the Phone Case
- Turn the case right side out and crochet around the edges, making single crochets into each stitch.
- Finish with a slip stitch and cut the yarn, then sew in the ends.
Conclusion
Following this comprehensive guide, you can create a charming crochet phone pouch adorned with a cute bear design. The process, although detailed, provides a rewarding challenge for crocheters at any level, resulting in a personalized and unique phone accessory.




Leave a Reply