

Add a sweet touch to your collection with this Crochet Chick a cute little piece with soft colors and an adorable appearance that is perfect for keychain or gifting someone.
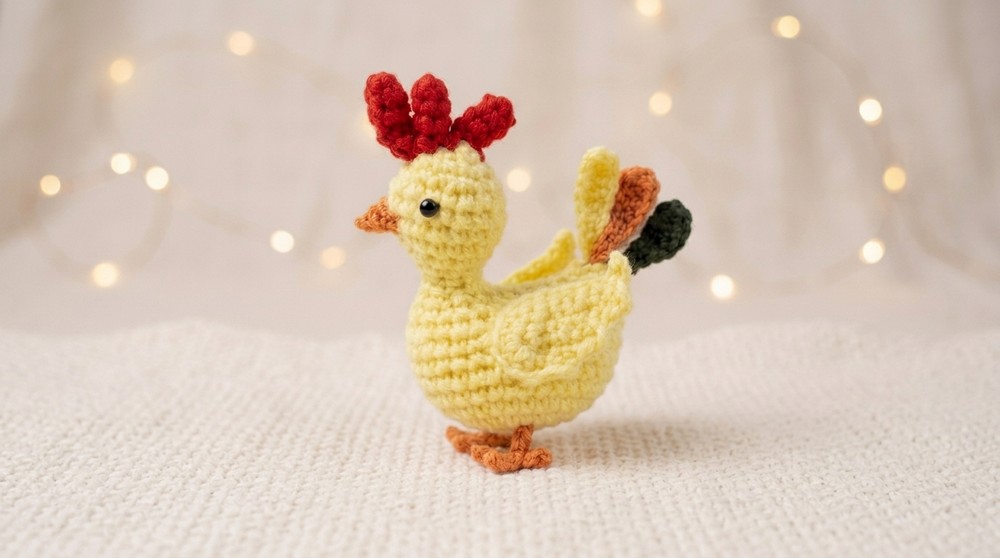
This small and adorable stuffed toy resembles a chicken, standing about 3 to 4 inches tall. The Crochet Chick Amigurumi features a round body, tiny wings, and a small beak, all made from soft yarn. Its size and cute appearance make it a charming addition to any space or a thoughtful gift for someone special.
Free Crochet Chick Amigurumi Pattern for Animal Lovers
To assemble this project, you will need yellow, orange, and black yarn, a crochet hook approximately 2.5mm to 3mm, stuffing material, and a yarn needle to sew the individual parts together. Basic crochet skills are necessary, including single crochet, increases, and decreases. The process consists of crocheting separate pieces for the body, wings, and beak, then attaching them carefully to form the finished chick.
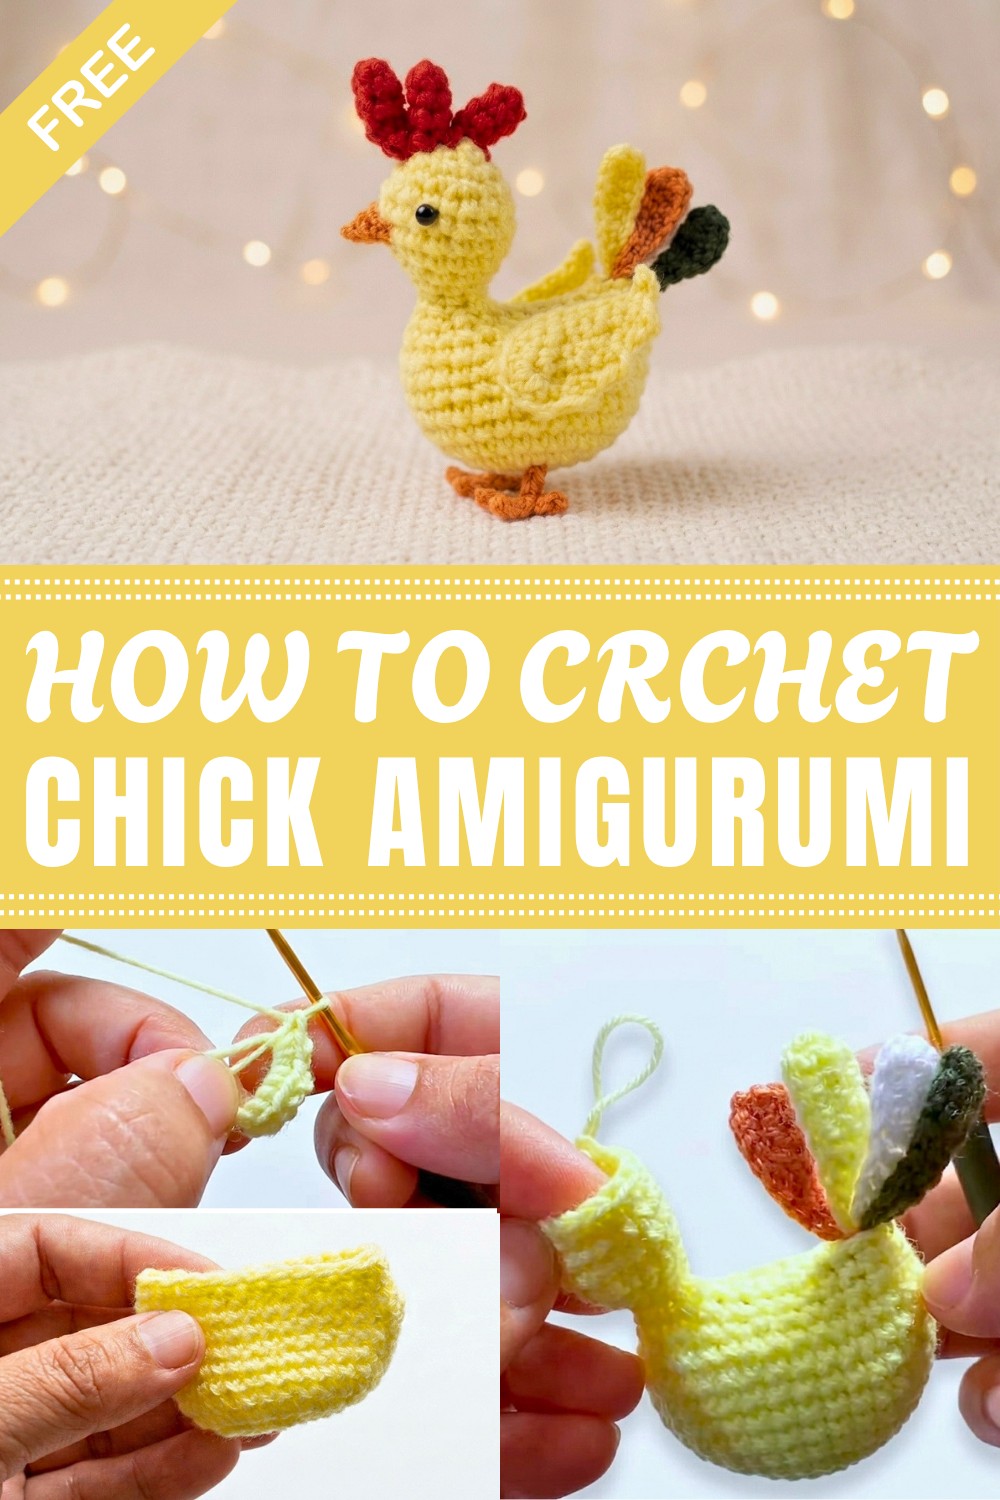
Due to its small size, this project requires a relatively short amount of time, which makes it suitable for those who want a clear and manageable task. The textured pieces, once combined, give the chick a lively and appealing shape that stands out in any setting.
This amigurumi adds a warm, handmade touch that fits well as a keychain, desk companion, or display item. Working through the stages enhances stitch control and sewing skills, making it a worthwhile and satisfying endeavor. Overall, this little chicken delivers charm and simplicity in a soft, plush package.
About the Crochet Chicken Pattern
This crochet chicken project blends classic amigurumi techniques with simple shaping to create an adorable, palm-sized chicken ideal for desk décor, nursery gifts, or keychains. The pattern utilizes a fine yarn and small hook, resulting in a detailed and compact finish. Each component—body, wings, head, tail, comb, beak, and feet—is constructed separately and assembled for a charming toy with lively character.
Pattern Basic Points
- Worked in rounds for body and head using continuous spiral technique.
- Flat pieces for wings, tail, comb, and feet created using foundation chains and simple stitches.
- Stuffed body lends structure and firmness, with safety eyes for realism and durability.
- All features sewn onto the main body with a tapestry needle for secure assembly.
- Customizable details: Change colorways or add embellishments for individual touches.
Special Notes
- Use stitch markers for easier round tracking, as the amigurumi technique involves continuous spirals.
- Keep stitches tight to prevent stuffing leakage and ensure a well-shaped toy.
- Add extra stuffing before closing the body for a firm, smooth chicken; do not overfill.
- For safety eyes, insert before closing the body and secure firmly.
- If you are new to small hooks or fine yarn, take breaks to avoid wrist fatigue.
Skill Level
Beginner to Intermediate – The pattern uses basic amigurumi stitches and shaping, suitable for confident beginners wishing to expand their skills. Familiarity with working in the round, simple increases, and decreases is recommended.
Materials
- Yarn: 2-ply wool or yarn in main (body) color (10–15g), plus scraps for comb, beak, tail, and feet.
- Hook: 2mm crochet hook.
- Stuffing: Cotton or fiberfill.
- Eyes: 2mm safety eyes.
- Needle: Tapestry needle for sewing parts and weaving ends.
- Scissors and stitch markers (optional).
Measurements
- Finished Size: Approximately 7–9 cm (3–3.5”) in height and 6 cm (2.4”) wide when stuffed.
- Each feature is proportionate for a balanced look; sizes may vary slightly based on yarn tension.
Gauge
- Gauge: Not strictly necessary, but aim for:
- 8 single crochets (sc) x 8 rounds = approximately 2 cm x 2 cm (0.75” x 0.75”)
- Tight stitching is important for amigurumi to prevent stuffing holes.
Stitch Abbreviations
- ch – chain
- sc – single crochet
- hdc – half-double crochet
- dc – double crochet
- sl st – slip stitch
- st(s) – stitch(es)
- inc – increase (2 sc in same stitch)
- dec – decrease (sc two stitches together)
Special Stitches
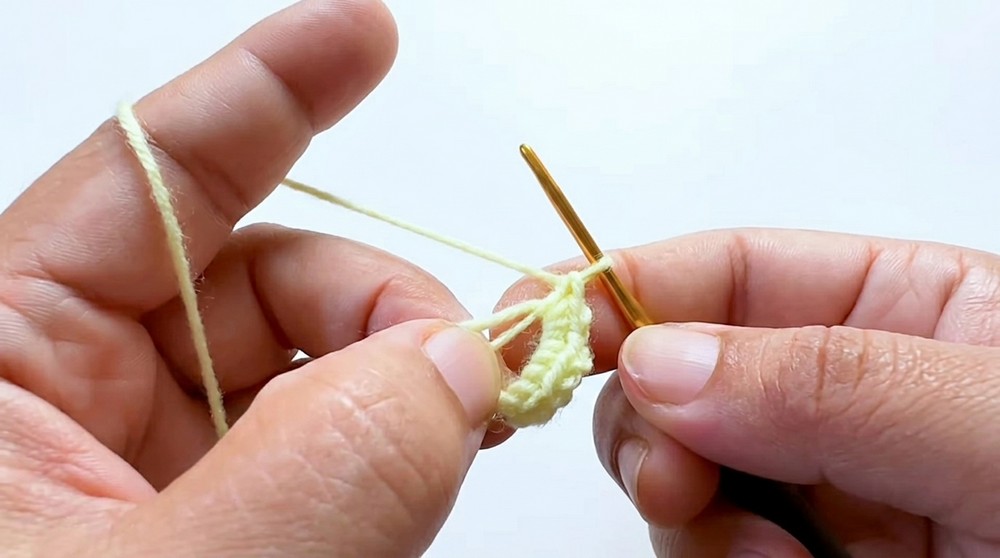
- Magic Ring: Loop yarn into a circle, work stitches as instructed into the loop, pull tight to close.
- Increase (inc): Work 2 sc in one stitch.
- Decrease (dec): Work sc2tog (single crochet two stitches together).
Pattern Instructions
Body
Round 1:
- Begin with a magic ring.
- Work 8 sc into the ring. (8 sts)
Round 2:
- Inc in each stitch. (16 sts)
Round 3:
- [1 sc, inc] repeat around. (24 sts)
Round 4:
- [2 sc, inc] repeat around. (32 sts)
Rounds 5–10:
- Work 1 sc in each stitch around (32 sts per round).
- Mark start of round for ease.
Round 11:
- [2 sc, dec] repeat around. (24 sts)
Round 12:
- [1 sc, dec] repeat around. (16 sts)
Round 13:
- Dec around. (8 sts)
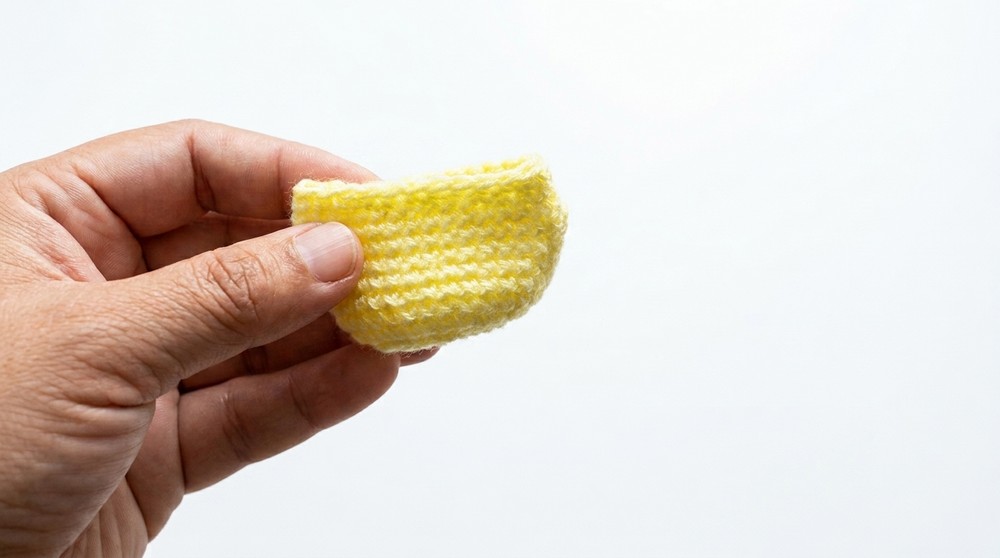
- Pause to stuff body with cotton or fiberfill to desired firmness.
Round 14:
- Dec again if needed, then fasten off.
Wings
(Make 2)
Foundation:
- Ch 8.
Row 1:
- Sc in second ch from hook and next 5 chs (6 sc).
- Work 5 sc in final ch (curve for the tip).
Row 2:
- Work sc down the opposite side of the chain to create an oval shape.
- Fasten off, leaving a long tail for sewing.
Tail
Foundation:
- Ch 9.
Row 1:
- In the 2nd ch from hook:
- Work 1 sc,
- 2 hdc in next two ch (total 4 hdc),
- 4 dc in the next four ch,
- Finish with 1 sc in final ch.
Row 2:
- Fasten off, leaving tail for sewing.
Comb
Foundation:
- Slip knot, ch 3.
Round 1:
- Work sc into each ch (3 sc).
- Turn.
Rounds 2–4:
- Work 1 sc in each across (3 sc per row), for 4 rows total.
- Fasten off, leaving a tail.
Head
Round 1:
- Magic ring, work 6 sc into ring. (6 sts)
Round 2:
- Inc in each st. (12 sts)
Round 3:
- [1 sc, inc] repeat around. (18 sts)
Rounds 4–6:
- Work even: 1 sc in each st (18 sts).
Round 7:
- [dec, 1 sc] sequence as needed to shape down (12 sts).
Round 8:
- Dec around until closed.
- Fasten off, leaving tail for sewing.
Beak
Round 1:
- Magic ring, 4 sc into ring (4 sts).
Rounds 2–3:
- Work in sc around (4 sts), sl st at end for shaping.
- Fasten off, leaving tail.
Feet
(Make 2)
Row 1:
- Ch 5.
Row 2:
- Sc in second ch from hook and in next 3 ch (4 sc).
- Toe structure: Ch 2, sl st in second ch for first toe, repeat across.
- Fasten off, leaving sewing tail.
Assembly
- Stuff the Body:
- Before closing final round, fill the body evenly and firmly with stuffing.
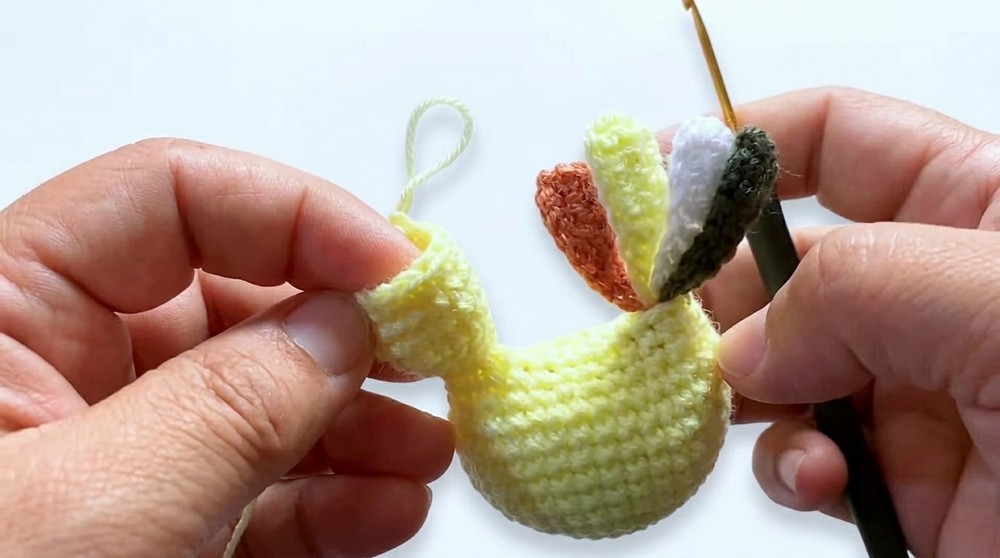
- Attach Tail:
- Position tail at back and sew securely.
- Construct and Attach Head:
- Position head at the front/top; sew evenly to main body.
- Attach Wings:
- Sew wings symmetrically on each side, slightly angled for character.
- Insert Eyes:
- Place safety eyes above beak, at front of head. Secure backs before closing.
- Attach Beak:
- Center beak between the eyes; firmly sew.
- Sew Comb:
- Position comb above eyes; stitch in place.
- Sew Feet:
- Attach at base of body, ensuring toes are evenly spaced.
- Weave in all ends and check for secure attachments.
Finished Size
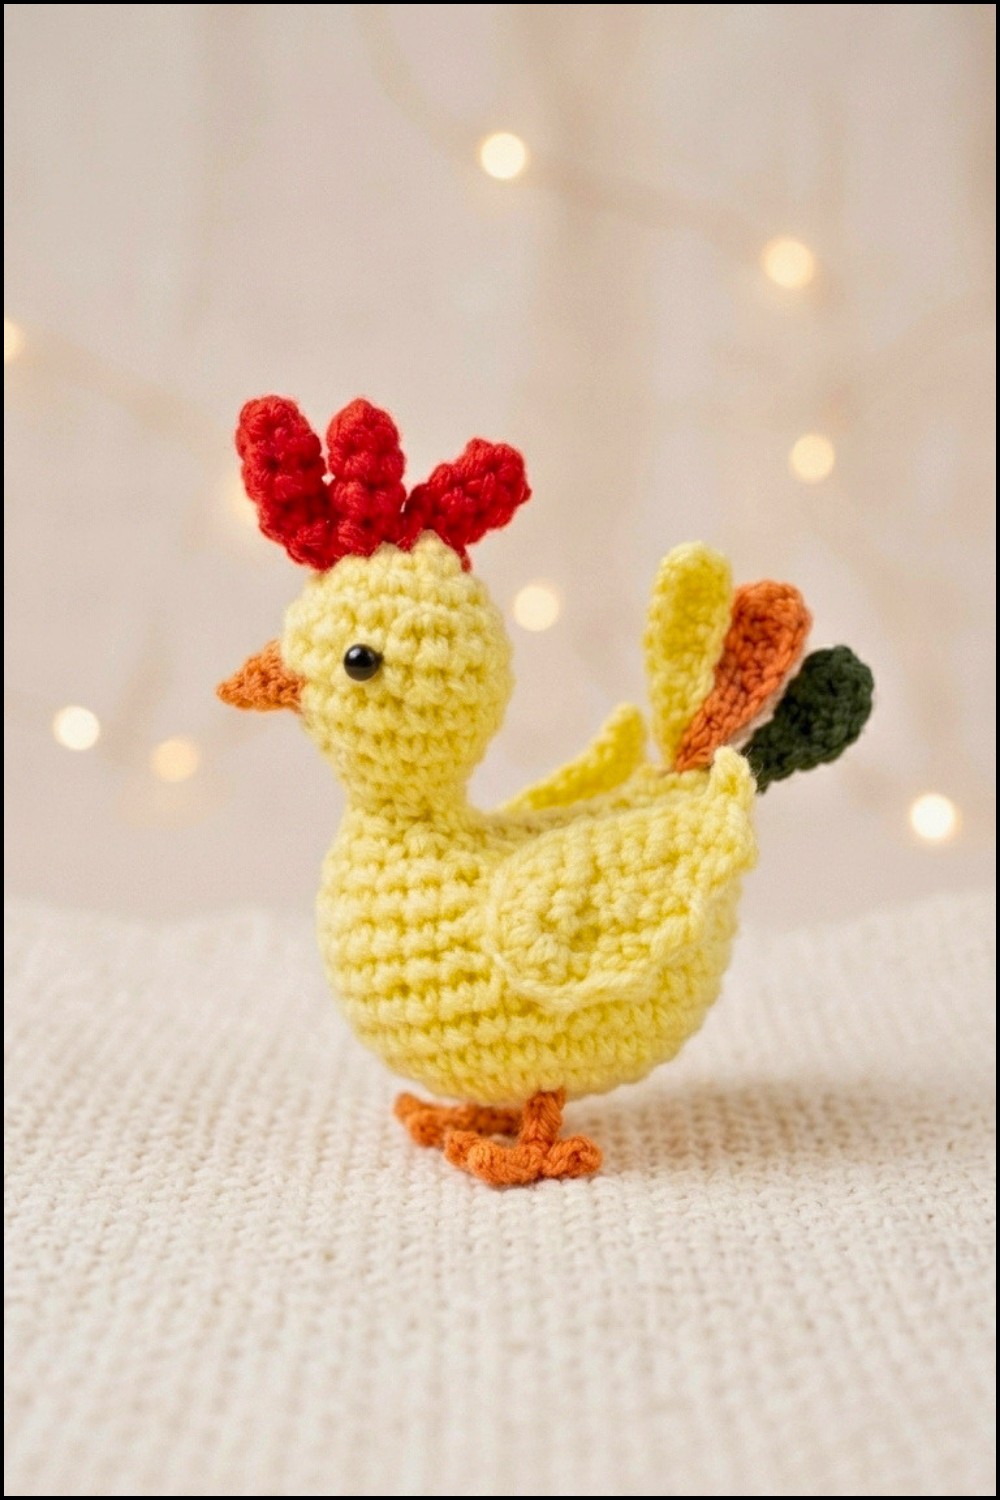
- The chicken stands 7–9 cm tall, with proportionate wings, head, feet, tail, comb, and beak for a lifelike silhouette.
Conclusion
This compact crochet chicken pattern combines classic amigurumi methods with basic flat crochet for expressive details and a realistic finish. The construction is simple yet offers engaging variations in shape and stitch combinations. With adjustments in color and embellishments, the chicken’s appearance can be customized. The finished item is sturdy and suitable for display or playful use, offering a rewarding introduction to small-scale crochet projects and amigurumi techniques.




Leave a Reply