

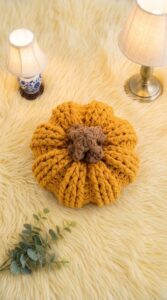
Bring autumn charm into your home with this Crochet Pumpkin Pattern and display this cozy pumpkin on shelves, tables, mantels, or desks.
Whenever the leaves start turning golden and a chill lingers in the air, I find myself reaching for my hooks and yarn to make something that truly captures the season’s spirit. That’s how I stumbled upon a delightful crochet pumpkin pattern, shared generously by the Inspiración a Crochet channel. This little project quickly became a favorite thanks to its charming simplicity and cozy vibe.
Fun Crochet Pumpkin Free Pattern With A Classic Shape
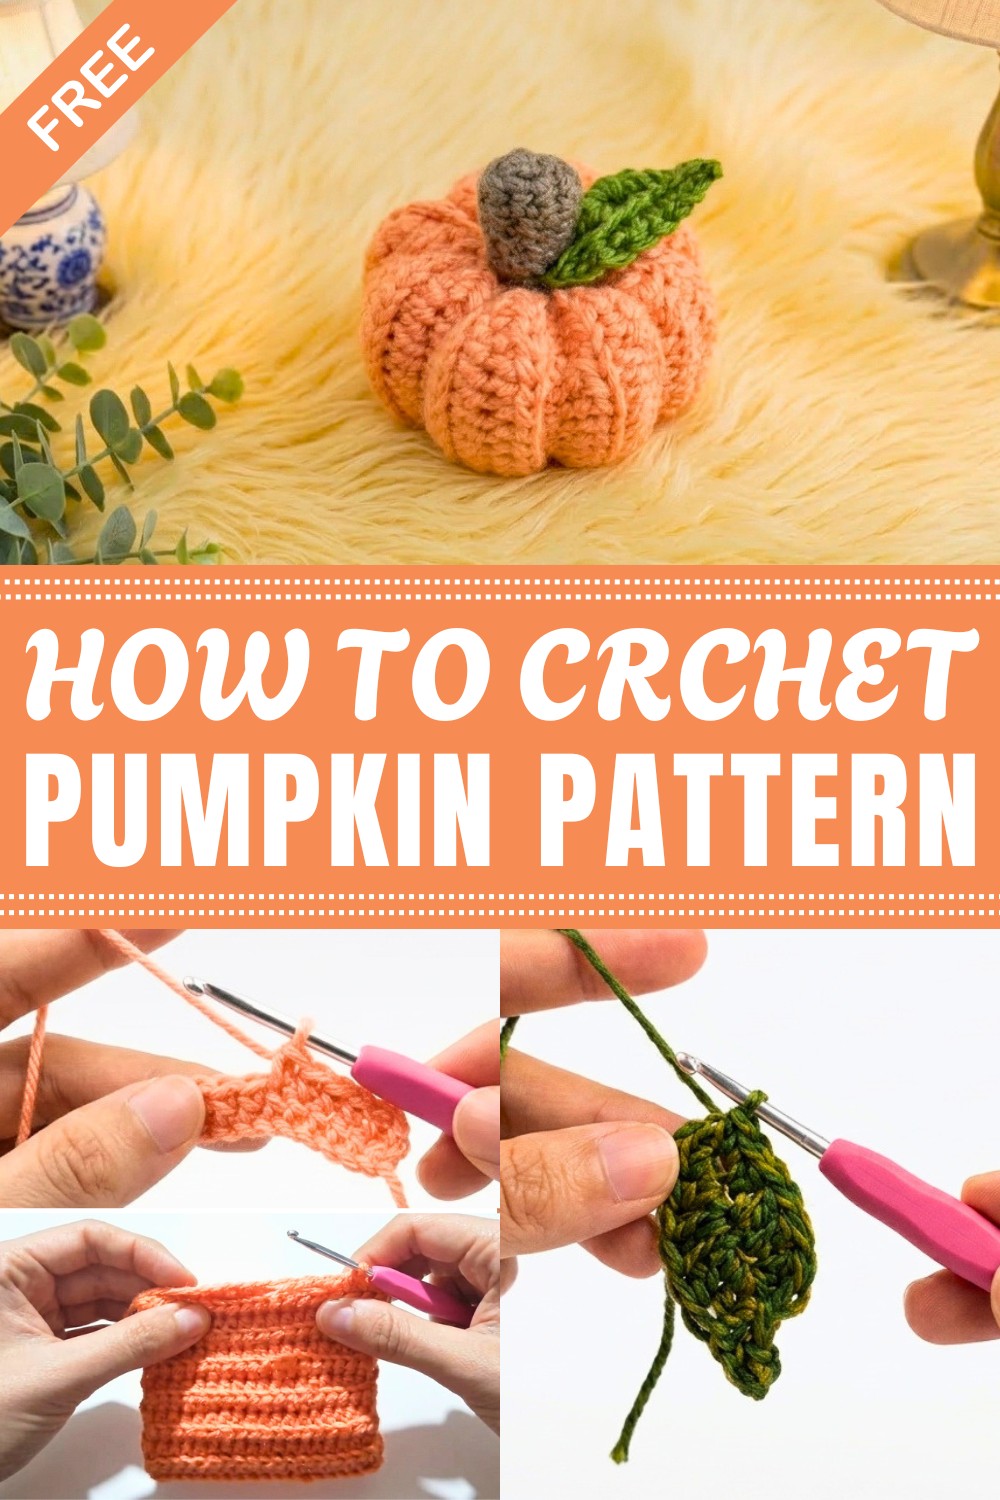
This pumpkin design is more than just a pretty decoration—it’s a textured, rounded piece full of character. The stitches create a ribbed effect that mimics a pumpkin’s natural grooves, giving it a wonderful tactile feel. Its shape is plump and slightly squat, exuding a friendly, welcoming aura. One of the great things about this pattern is its versatility—you can make pumpkins in different sizes by simply tweaking the amount of yarn or hook size, which makes it easy to tailor them for anything from tabletop displays to larger statement pieces.
Constructing these pumpkins generally involves working in rounds, gradually increasing and decreasing stitches to form that classic bulbous shape. A helpful tip I’ve learned: keep your tension consistent to emphasize the ridges, and don’t skip the small stem detail that really pulls the whole look together. The inspiration behind this pattern comes from a love of autumn’s bounty and a desire to bring a little warmth into the home. Using a medium-weight, soft yarn with a bit of texture really highlights the stitch pattern, enhancing both the look and feel.
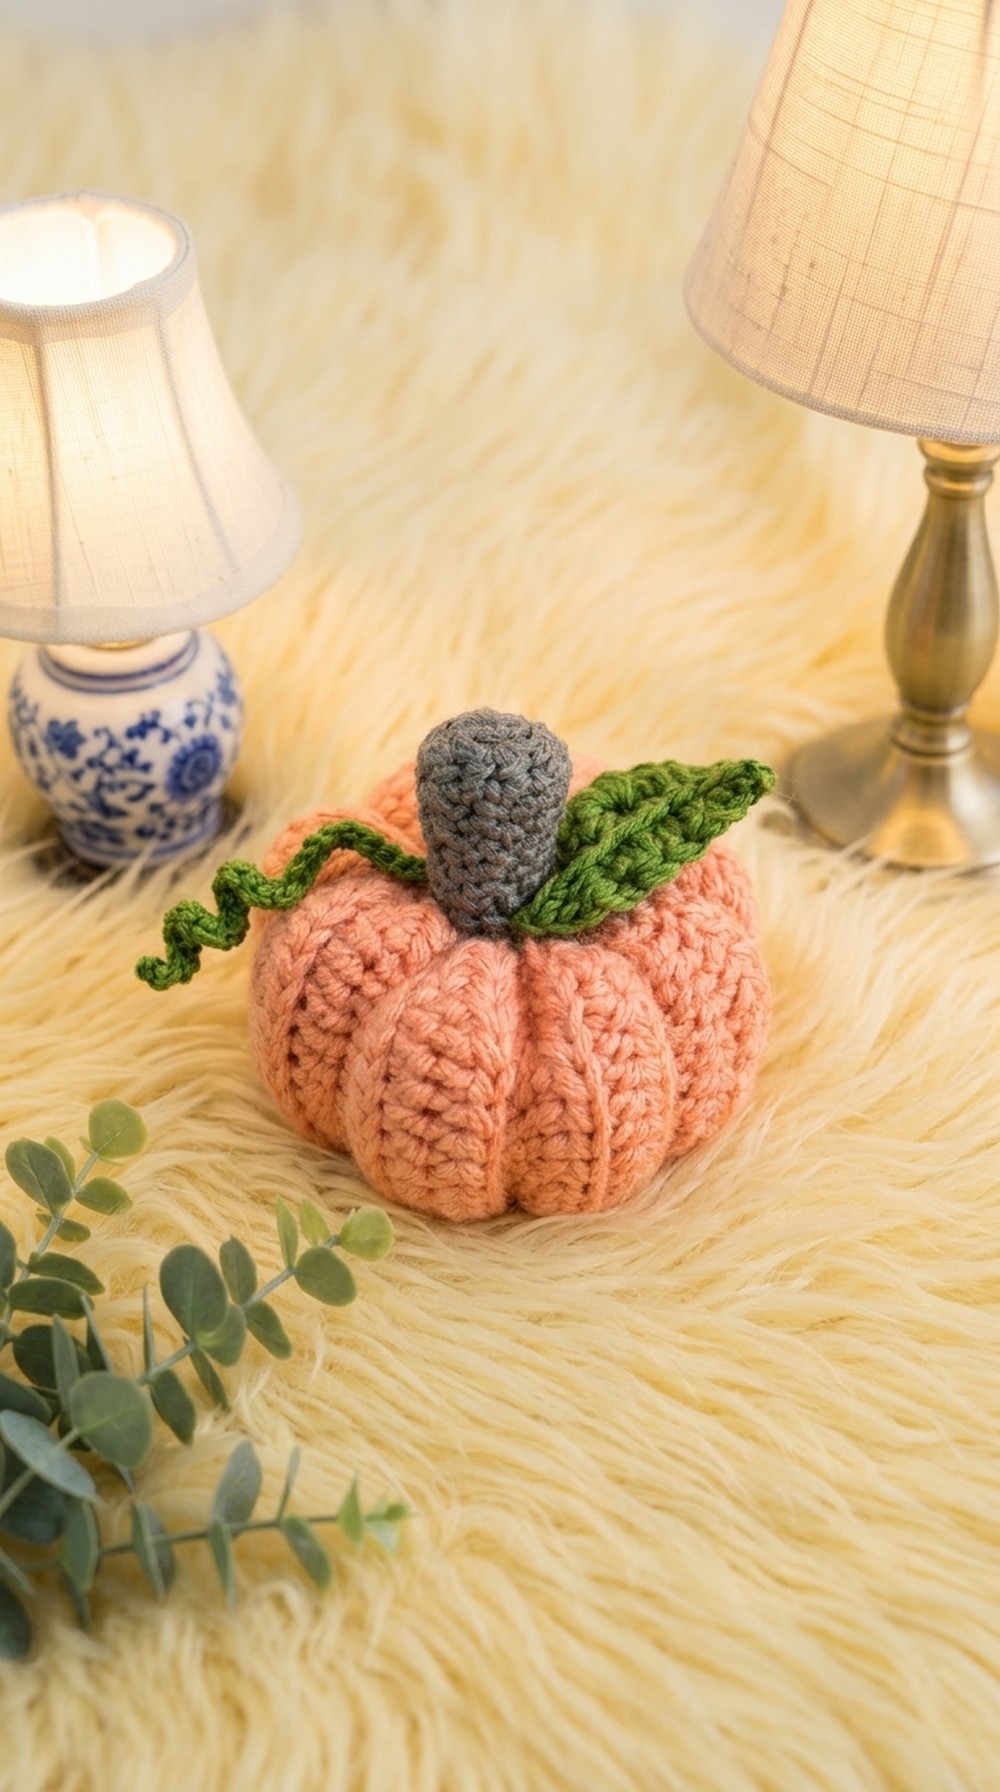
These pumpkins make wonderful gifts during fall gatherings or thoughtful touches for Halloween and Thanksgiving decor. I also love experimenting with different colors and adding little leaf accents to personalize each one. If you enjoy projects that blend simplicity with charm, this crochet pumpkin pattern is a cozy way to celebrate the season and spark your creativity.
Crochet Pumpkin with Stem and Leaf Free Pattern
Autumn’s characteristic colors and textures find a charming expression in this customizable crochet pumpkin project. With just a few basic materials and approachable techniques, it is possible to produce a cheerful accent for the home, suitable for any table, mantel, or seasonal decor setting. By working a ribbed rectangle and shaping it into a plump body, the project achieves a realistic silhouette complemented by a firmly attached stem and sculpted leaf. Thoughtful details, such as thread-wrapped grooves and carefully positioned motifs, give the finished pumpkin depth and character. Suitable for various skill levels, this small project can be adapted for different yarn choices or sizes and offers opportunities for color customization. Through each well-structured section, every stitch and assembly step contributes to a decorative piece that offers both visual appeal and cozy, inviting character to indoor spaces.
Quick Overview of Pattern
- Work a ribbed rectangle pumpkin body in orange yarn.
- Seam and cinch ends to build the pumpkin shape.
- Add yarn for segment grooves.
- Crochet stem and leaf individually.
- Attach both securely to the pumpkin.
Notes
- Adjust base chain for varied pumpkin height.
- Stuff firmly, but avoid overfilling.
- Segment grooves are essential for realistic shaping.
- Make all knots and joins tight for lasting structure.
Skill Level
- Beginner to Intermediate:
Straightforward stitches make this pattern suitable for confident beginners and intermediate crocheters.
Materials
- Orange worsted-weight yarn (body)
- Brown worsted-weight yarn (stem)
- Green worsted-weight yarn (leaf)
- 3.0 mm crochet hook
- Fiberfill
- Tapestry needle
- Scissors
Measurements / Sizing
- Finished pumpkin measures 6–8 cm tall, 8–10 cm wide.
- For customization, change the starter chain or number of rows.
Gauge & Stitch Pattern
- Gauge is not critical; use firm tension to keep stuffing hidden.
- Half double crochet (hdc) is used for the main body.
Stitch Abbreviations
| Abbreviation | Definition |
|---|---|
| ch | chain |
| sc | single crochet |
| hdc | half double crochet |
| dc | double crochet |
| sl st | slip stitch |
| BLO | back loop only |
| inc | increase (2 stitches in same space) |
| MR | magic ring |
Special Stitches
- Back Loop Only (BLO):
Back Loop Only (BLO) is a simple yet effective crochet technique that produces distinctive texture and definition. In standard crochet stitches, the hook is usually inserted under both loops of the stitch. However, when working in BLO, you insert the hook under just the back loop—the loop farther from you as you crochet—leaving the front loop unworked and visible on the surface. This method is frequently used to add ribbing or subtle ridges, making it ideal for projects like pumpkins, hats, or cuffs. BLO creates fabric with greater elasticity, visual interest, and a structured, raised pattern that stands out.
- Magic Ring (MR): Start round shapes seamlessly.
- Segment threading: Wrapping yarn tightly for visible ridges.
The Crochet Pattern
Pumpkin Body
Base Ribbed Rectangle
- Chain Base:
- Chain 21.
- (To alter height, increase/decrease chains.)
- Row 1:
- Skip first 2 chains.
- In the 3rd chain from hook:
- Work 1 hdc.
- Continue placing 1 hdc in each chain across.
- (20 hdc total)
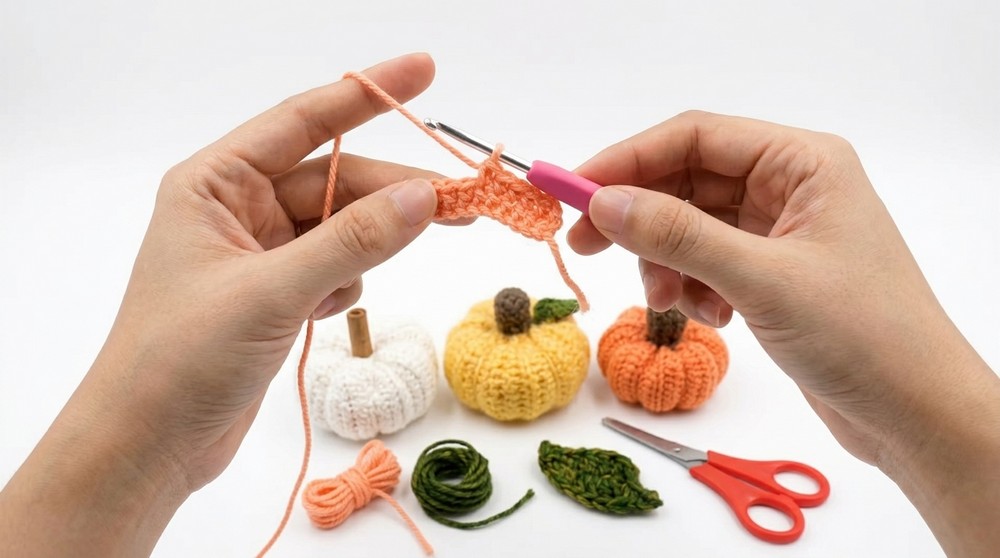
- Row 2:
- Chain 1 and turn.
- Working in BLO, place 1 hdc in each stitch across.
-
- (20 hdc)
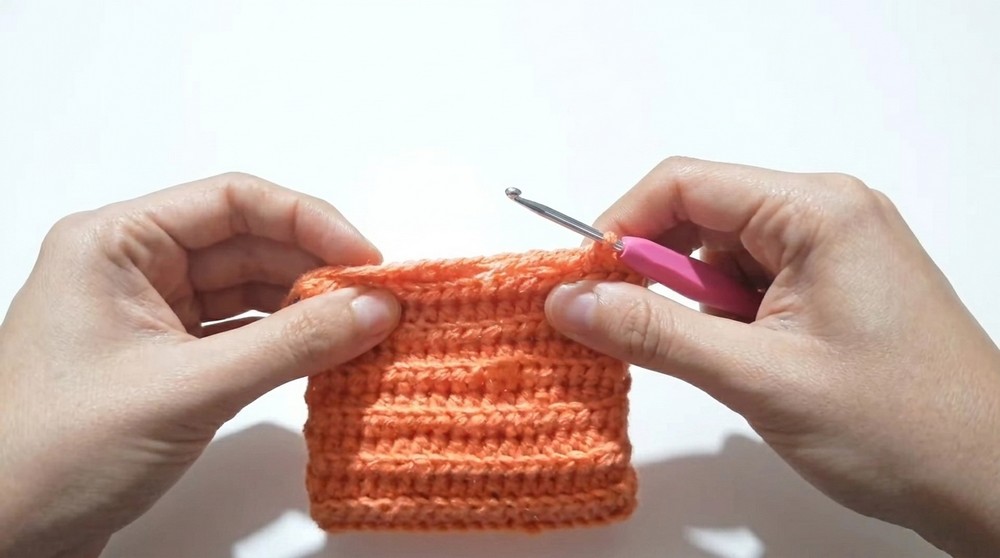
- Rows 3–28:
- Repeat Row 2, always working 1 hdc (BLO) in each stitch for 28 rows.
Assembly & Shaping
- Seaming the Edges:
- Fold rectangle so short edges meet.
- Join ends using slip stitches through both layers over all 20 stitches.
-
- Cut yarn, pull through, turn tube inside out.
- Cinching the Bottom:
- Thread needle with orange yarn.
- Weave in and out along one open cylinder edge.
- Pull tight to cinch closed.
- Tie two knots securely.
- Stuffing:
- Position piece with closed end as base.
- Fill firmly with fiberfill.
- Cinching the Top:
- Weave yarn in and out around second opening.
- Pull tight to close.
- Secure tightly.
- Creating Segments:
- Thread long orange yarn onto needle.
- Anchor at center bottom.
- Wrap yarn over pumpkin, insert needle through top and back down.
- Pull tightly for groove.
- Repeat across 6–8 segments for authentic look.
- Tie knot at bottom.
Stem Pattern (Brown Yarn)
- Round 1:
- Form a magic ring (MR).
- Place 6 sc into ring.
- Join with a slip stitch.
- (6 sc)
- Round 2:
- Chain 1.
- Repeat [1 sc, 1 inc] three times.
- Join with slip stitch.
- (9 sc)
- Round 3:
- Work in BLO:
- Place 1 sc in each stitch around.
- Join with slip stitch.
- (9 sc)
- Work in BLO:
- Rounds 4–7:
- Work 1 sc in each stitch around.
- (9 sc per round)
- Finish:
- Fasten off, leave tail for sewing.
- Hide loose ends inside.
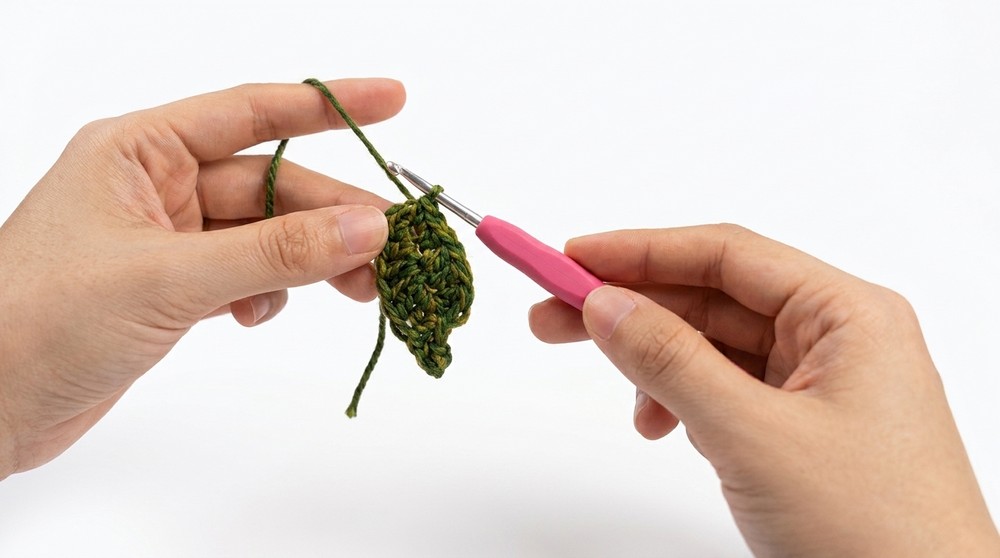
Leaf Pattern (Green Yarn)
- Chain Base:
- Chain 5.
- Side 1:
- Skip 1st chain.
- In 2nd chain: 1 sc
- In 3rd chain: 1 hdc
- In 4th chain: 1 dc
- In 5th chain: 3 dc into same stitch
- Leaf Stem:
- Chain 3.
- In 2nd chain from hook, 2 slip stitches back.
- Slip stitch into center of leaf base.
- Side 2:
- In same end stitch as previous 3 dc: work 3 dc
- In next stitch: 1 dc
- In next stitch: 1 hdc
- In final stitch: 1 sc
- Tip Detail:
- Chain 2
- Skip 1 chain, 1 sc in 2nd chain
-
- Slip stitch into top leaf tip.
- Fasten off, leave tail for sewing.
Assembly & Finished Size
- Place stem over pumpkin’s top center.
- Position leaf beside or slightly beneath stem base.
- Stitch both firmly to pumpkin body.
- Weave in all ends for tidy finish.
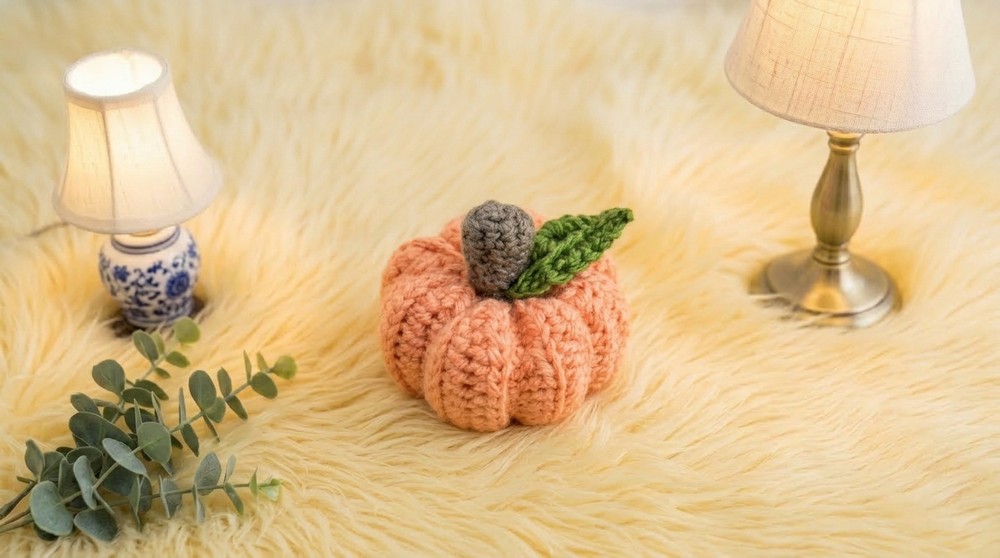
Finished pumpkin stands 8 cm tall with distinct grooves and realistic leaf/stem.
Conclusion
Completing this crochet pumpkin brings a piece of the harvest season indoors, adding a touch of handcrafted warmth to any display. The finished result highlights the careful arrangement of segments, the textured ribbing, and the harmonious combination of colors. A securely anchored stem and lifelike leaf further enhance the three-dimensional effect, making it suitable for year-after-year use. Through precise techniques and attention to secure assembly, this project results in a durable and attractive accessory. Whether as a festive accent for gatherings or a thoughtful gift, the finished pumpkin showcases both skill and style. Its balanced proportions and neat finishing touches ensure it will stand out wherever it is placed, serving as a lasting reminder of the season’s warmth and creativity.
Leave a Reply