

Add warmth to your decor with a Crochet Pumpkin that features soft yarn and a cute stem for cozy displays or thoughtful fall gifts.
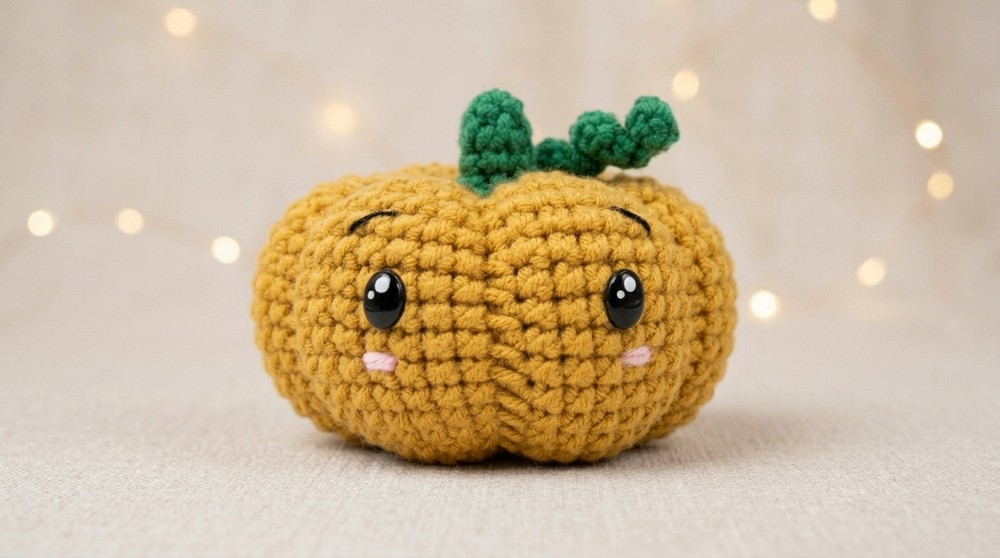
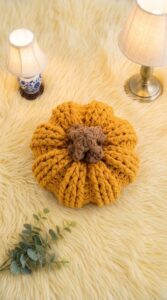
Looking to add a sweet touch of autumn to your home? This Crochet Pumpkin Free Pattern brings to life a soft, plump pumpkin that fits perfectly on shelves, tables, or windowsills. Its bright orange body and little green stem give it a charming and friendly look that instantly warms up any space. The pumpkin’s shape is round and cuddly, making it not just a decoration but also a fun item for kids to hold or play with.
Unique Crochet Pumpkin Free Pattern To Brighten Your Seasonal Display
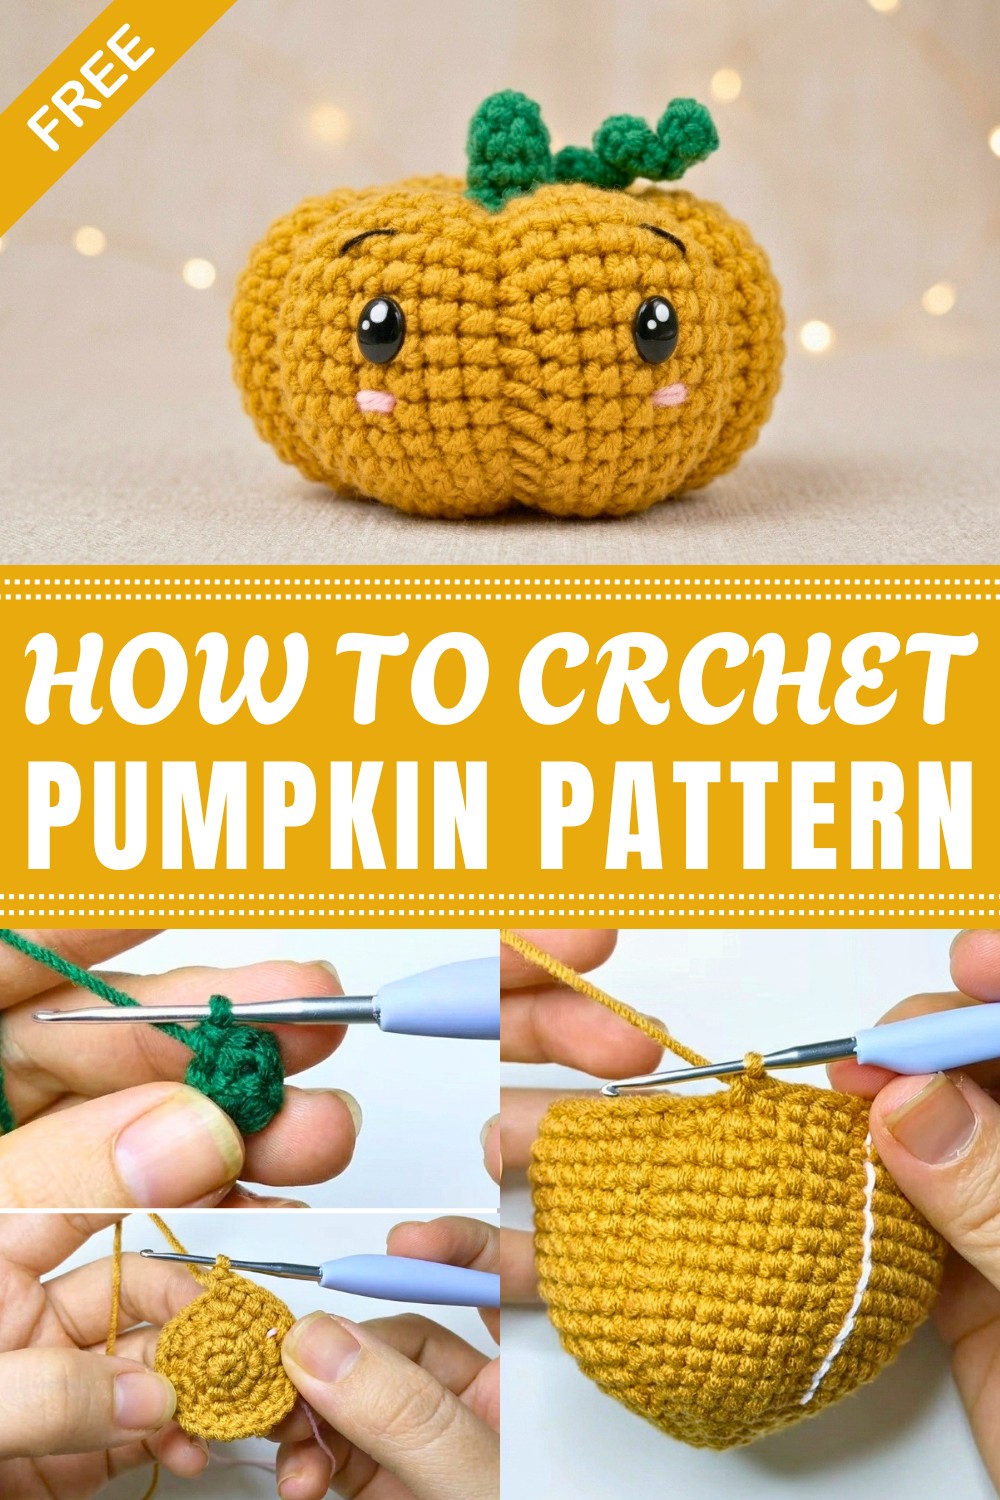
The finished pumpkin is the perfect size to brighten up your fall decorations without taking up too much room. Whether you want to display it alongside other fall items or use it as a centerpiece, this pumpkin adds a cozy, handmade feel to your home. Its simple design means it can blend well with many decorating styles, from rustic to modern.
Besides being visually appealing, the pumpkin feels soft to the touch but keeps its shape nicely. It’s an inviting piece that can stay on your autumn table year after year. Plus, making your own pumpkin means you can customize its size and colors to fit your style perfectly.
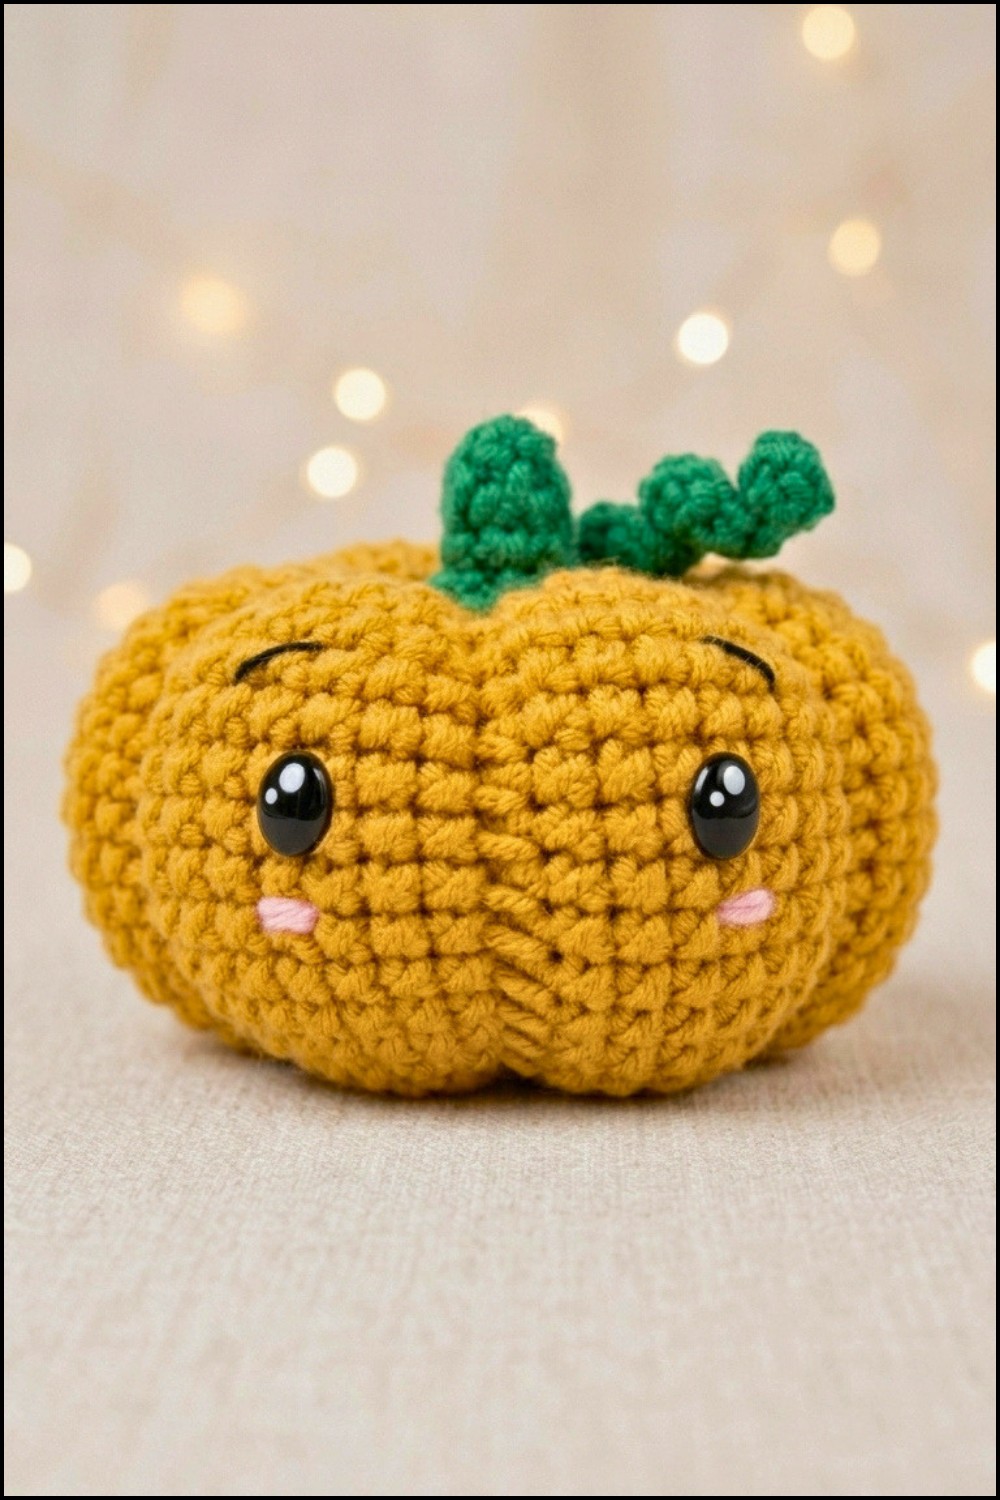
This crochet attern is easy to follow and enjoyable for crocheters of all levels. If you’re looking to bring a little fall magic into your space with a handmade touch, this pattern is a wonderful starting point.
Easy Crochet Pumpkin Free Pattern - Full Guide
This crochet pumpkin pattern offers clear guidance for constructing a plush autumn decoration. Each section guides the maker through shaping the stem, forming the ribbed vine, and building the pumpkin’s main body with detailed increases and decreases. Simple techniques such as back loop and front loop working help achieve realistic grooves and texture. The small scale fits seasonal displays, pin cushions, or personalized gifts. Thoughtful instructions help ensure symmetry, firmness, and vivid color selection for visual appeal. By following the sequence of rounds and assembly, every part of the pumpkin comes together with purpose and clarity.
Quick Overview Of Pattern
- Start with the pumpkin stem in dark green yarn, working from a magic ring outwards.
- Add a ribbed vine for extra character.
- Move on to the pumpkin body in golden brown or earthy orange yarn, crocheted in the round with detailed increases, body rounds, then decreases.
- Stuff both stem and body as instructed.
- Finish by shaping pumpkin ridges using the long yarn tail.
- Sew on the completed stem and optional face details for personality.
Notes
- This pattern is ideal for using leftover yarn.
- Stuffing should be firm before final assembly for best results.
- Adjust sizing by increasing or decreasing the number of increasing and even rounds, always matching both for symmetry.
- The ribs are created using exposed front loop (FLO) or back loop (BLO) stitches, combined with threading to shape the pumpkin.
- For the face, safety eyes are secured between rounds, but adhesive eyes and blush can be substituted.
Skill Level
This project is great for advanced beginners to intermediate crocheters. Familiarity with working in the round, magic rings, increases, decreases, and BLO/FLO stitches is required. Assembly requires basic hand sewing skills.
Materials
- 2.0mm milk yarn (earthy orange/mustard brown, dark green)
- 2.0mm or 2.25mm crochet hook
- Wool sewing needle
- Fiberfill / stuffing
- Pins
- Scissors
- 7–8mm safety eyes (or adhesive eyes and glue gun)
- Black thread (for eyebrows)
- Pink thread or blush (for rosy cheeks)
Measurements / Sizing
- Pumpkin can be customized to any size.
- Following these instructions, expect a pumpkin body around 6–7 cm in diameter and a stem of proportional size.
- Adjusting the number of increase or even rounds yields a larger or smaller pumpkin.
Gauge
- Gauge is not critical for this project, but aim for a tight, dense fabric so stuffing does not show through.
Stitch Abbreviations
- MR – Magic Ring
- sc – single crochet
- inc – increase (work 2 sc in same stitch)
- dec – decrease (work 2 sc together)
- ch – chain
- sl st – slip stitch
- BLO – back loop only
- FLO – front loop only
- st(s) – stitch(es)
Special Stitches
- Magic Ring (MR): Begin amigurumi with a tight, closed center.
- Back Loop Only (BLO): Work into the back loop to create ribbing or segmented effect.
- Front Loop Only (FLO): Used for shaping pumpkin ridges.
- Invisible Decrease: For a smoother look during decreases.
The Crochet Pattern
Stem Pattern (Dark Green Yarn)
- Round 1: Make a Magic Ring (MR), then work 6 sc into the ring. [6 st]
- Round 2: Crocheting into BLO, 6 sc around. [6 st]
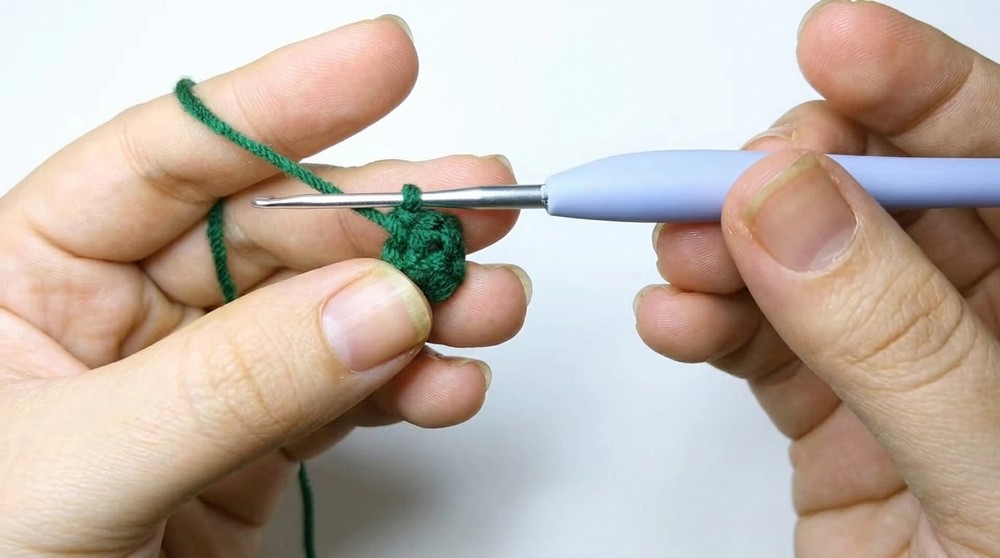
- Round 3: 1 sc in each stitch around. [6 st]
- Round 4: Work (2 sc, 1 inc), repeat 2 times. [8 st]
- Round 5: Work (3 sc, 1 inc), repeat 2 times. [10 st]
Ribbed Vine/Tail Base
- sl st into the next stitch.
- ch 20.
- Turn, skip the 1st ch from the hook, sc in the 2nd ch, then sc in each of the next 18 ch back to the stem base. [18 sc]
- sl st into the adjacently next base stitch to finish.
- Fasten off, leaving a long yarn tail for sewing onto the pumpkin, and stuff a small amount of fiberfill into the stem body.
Pumpkin Body Pattern (Earthy Orange or Mustard Yarn)
- Round 1: MR, 6 sc into the ring. [6 st]
- Round 2: 6 inc. [12 st]
- Round 3: (1 BLO sc, 1 inc), repeat 6 times. [18 st]
- Round 4: (1 BLO sc, 1 sc, 1 inc), repeat 6 times. [24 st]
- Round 5: (1 BLO sc, 2 sc, 1 inc), repeat 6 times. [30 st]
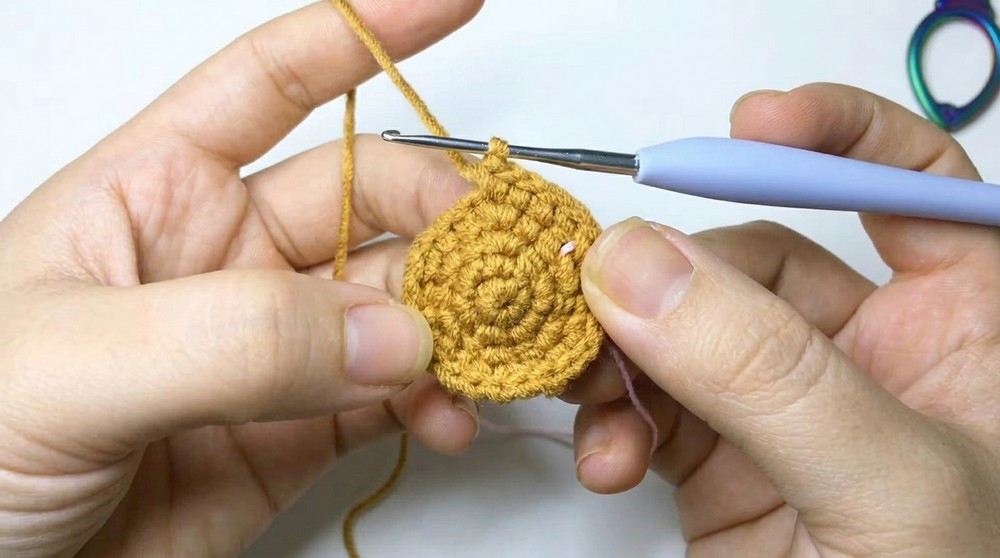
- Round 6: (1 BLO sc, 3 sc, 1 inc), repeat 6 times. [36 st]
- Round 7: (1 BLO sc, 4 sc, 1 inc), repeat 6 times. [42 st]
- Round 8: (1 BLO sc, 5 sc, 1 inc), repeat 6 times. [48 st]
Even Rounds
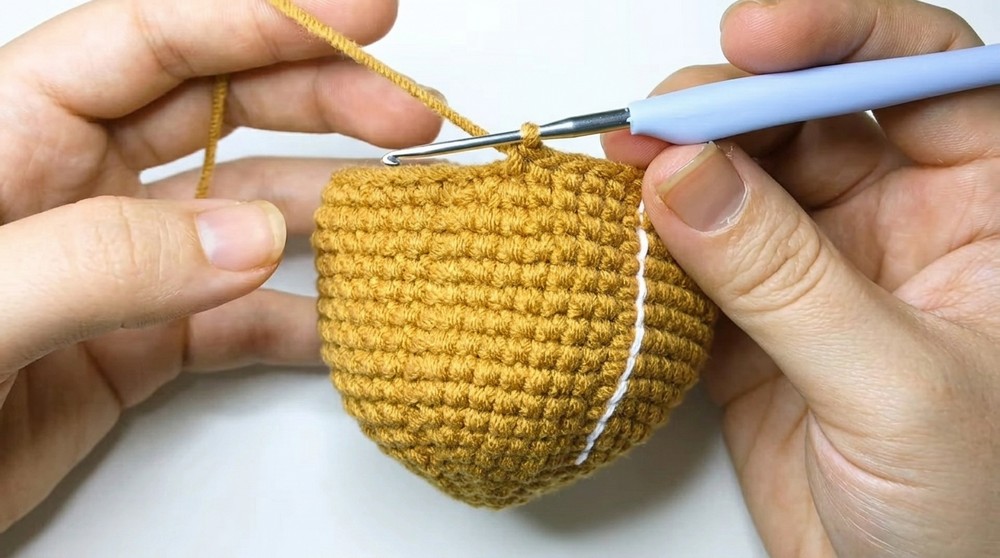
- Rounds 9–16: (1 BLO sc, 7 sc), repeat 6 times per round. [48 st each round]
- Tip: To change the pumpkin's size, add the same number of even rounds as you did increase rows.
Decrease Rounds
- Round 17: (1 BLO sc, 5 sc, 1 dec), repeat 6 times. [42 st]
- Round 18: (1 BLO sc, 4 sc, 1 dec), repeat 6 times. [36 st]
- Round 19: (1 BLO sc, 3 sc, 1 dec), repeat 6 times. [30 st]
- Round 20: (1 BLO sc, 2 sc, 1 dec), repeat 6 times. [24 st]
- Round 21: (1 BLO sc, 1 sc, 1 dec), repeat 6 times. [18 st]
- Round 22: (1 BLO sc, 1 dec), repeat 6 times. [12 st]
- Remember to firmly stuff pumpkin before this round concludes.
- Round 23: 6 dec to close. [6 st]
- Fasten off, leaving a long tail to sculpt the pumpkin ridges.
Assembly & Finished Size
Shaping Pumpkin Ridges
- Thread the long yarn tail onto a yarn needle.
- Insert the needle from bottom center to top center of the pumpkin, pulling tightly to create a central dimple.
- Guide the thread along the outer contour, following each vertical FLO ridge segment.
- Pull tightly on each pass to sculpt 6 pronounced pumpkin sections; repeat for all sides.
- Knot securely and weave in ends.
Attaching the Stem
- Stuff the stem lightly to maintain its shape.
- Position the stem at the pumpkin’s top center.
- Using the long stem yarn tail, sew the stem securely to the pumpkin by catching both stem and pumpkin stitches with neat whip stitches.
- Fasten off and hide the yarn end.
Adding Facial Details (Optional)
- Attach 7–8mm safety eyes evenly on the pumpkin, typically between Rounds 11 and 12.
- Stitch small eyebrows above each eye with black thread using short, straight horizontal stitches.
- Add rosy cheeks with a dot of pink thread or a soft brush of blush below the eyes.
Finished Size
- Using a 2.0mm hook and DK or milk cotton yarn, the finished pumpkin measures about 6–7 cm in diameter.
- Adjust dimensions by simply working more or fewer increase and even rounds as explained.
Conclusion and Ending Words
By following these step-by-step instructions from the video, you will have a delightful and customizable crochet pumpkin. The combination of simple stitches, back loop detailing, and careful shaping creates a realistic, ridged effect for the pumpkin body. Adding a stem and vine introduces extra charm, while optional face embroidery brings the project to life for seasonal display or gifting. The straightforward construction method easily allows for size modifications by changing the number of increasing and even rounds. The finishing process, including sculpting the pumpkin grooves and sewing on details, results in a snug, plush decoration suitable for Halloween or cozy autumn decor. Enjoy the satisfaction of seeing each section come together into a playful, handmade accent.
Leave a Reply