

The 小师妹手作 channel offers a wonderful design that captures the cozy essence of fall with a charming project perfect for seasonal decoration. This project is a delightful pumpkin-shaped item that works beautifully as an accent for autumn décor or a heartfelt gift. The Crochet Pumpkin Pattern featured provides clear instructions to create a warm, textured piece that embodies the spirit of the harvest season.
Lovely Crochet Pumpkin Free Pattern To Add Seasonal Charm
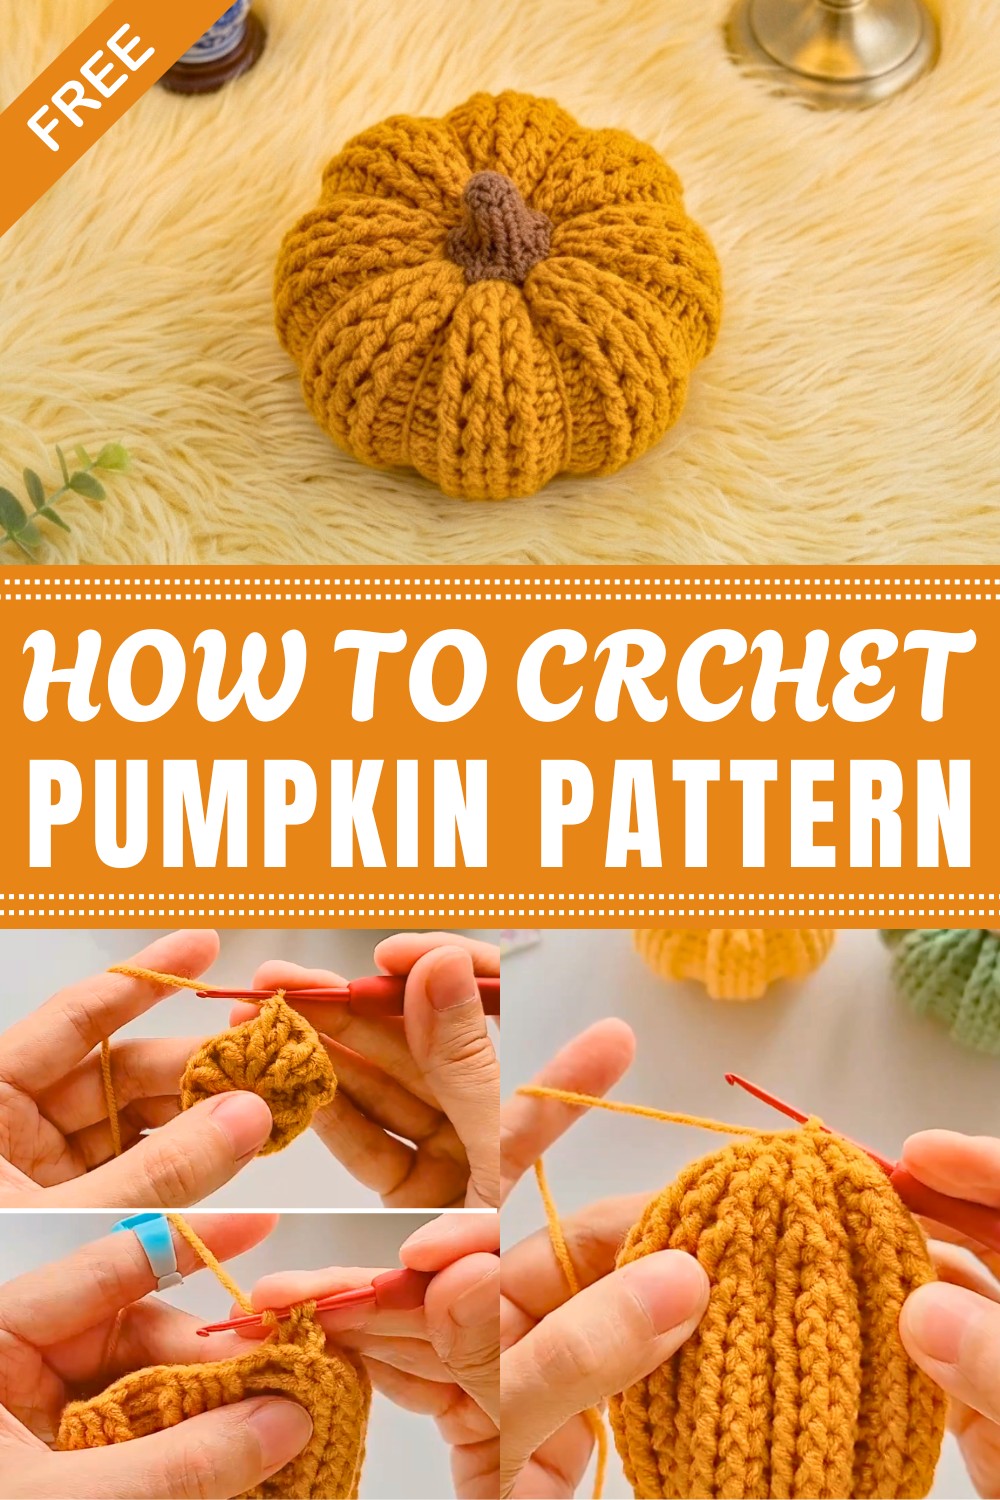
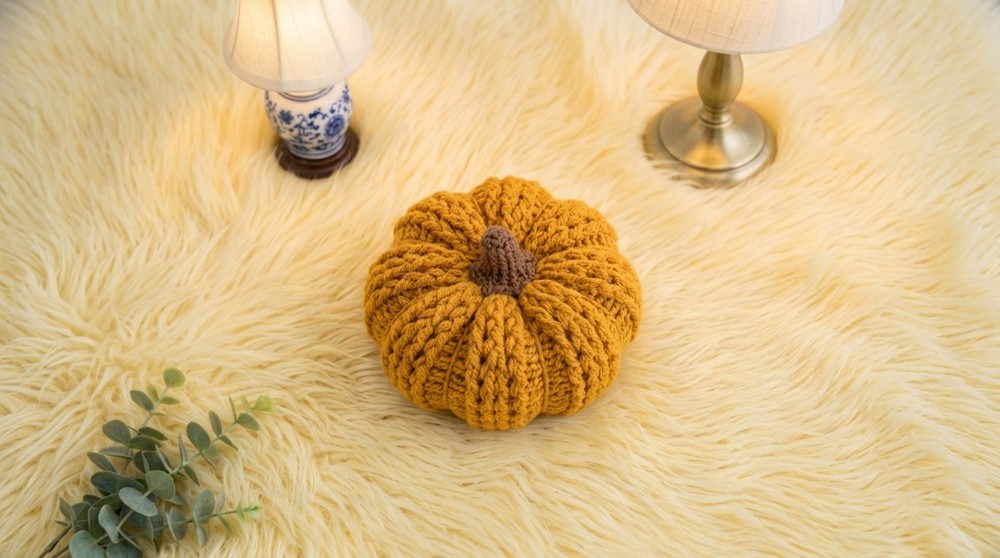
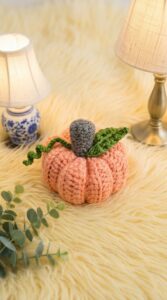
The pumpkin boasts a plump, rounded shape that closely mimics a real pumpkin’s silhouette. Its texture is brought to life through carefully executed stitches, giving it a natural ribbed look that adds depth and authenticity. A small, twisted stem crowns the top, completing the rustic yet inviting appearance.
Typically crocheted in warm, earthy shades, this pumpkin complements a variety of home décor styles, from classic farmhouse to modern minimalism. Its soft yet firm texture makes it versatile—it can adorn shelves, dining tables, or mantels, while also making a thoughtful, handmade gift for autumn celebrations.
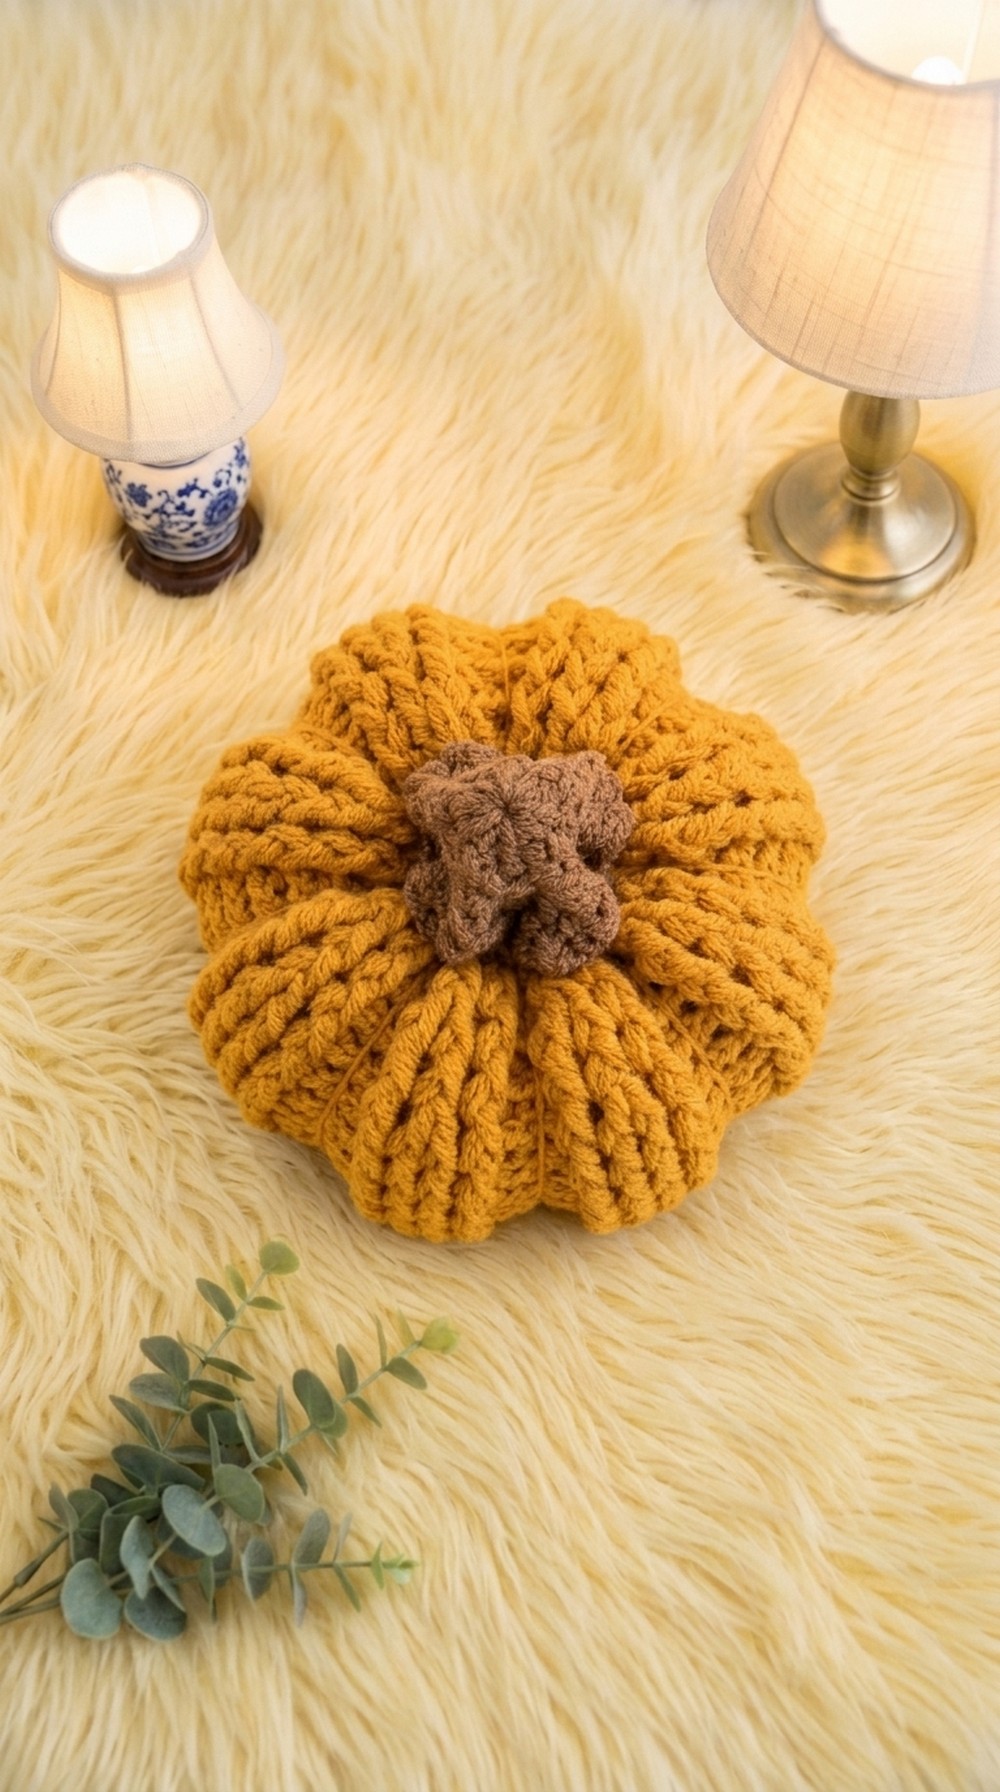
What makes this pattern truly special is the balance of simplicity and intricate detail. The defined ridges and the sculpted stem ensure that the finished pumpkin is both a satisfying project and an attractive decorative element. Whether used to greet guests or as a seasonal accent, this Crochet Pumpkin Pattern brings a cozy, autumnal charm that brightens any space with warmth and style.
Charming Crochet Pumpkin Free Pattern
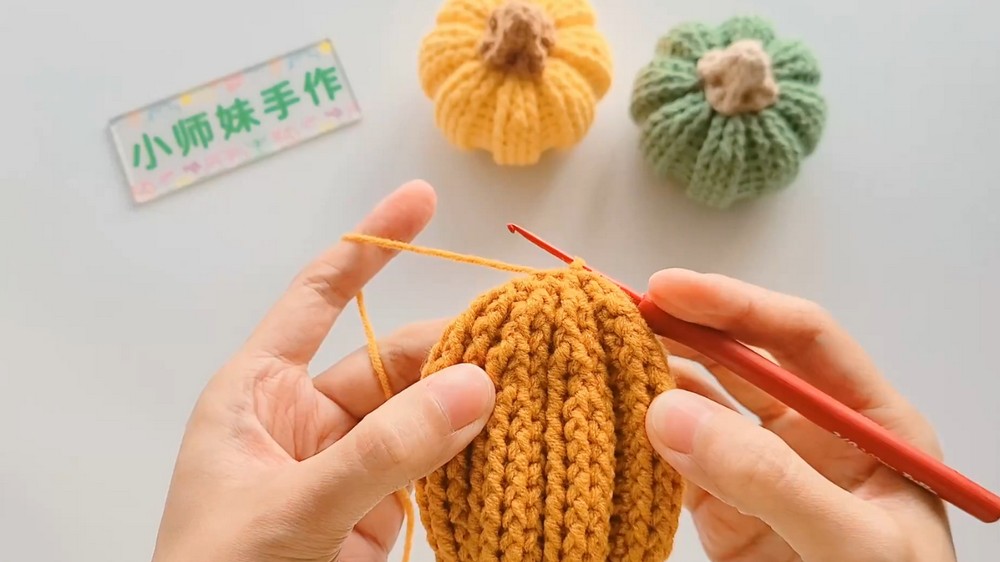
This adorable pumpkin ornament features a round, textured body with visible ridges and a petite crocheted stem. Made with four-strand milk cotton and a 2.0 mm crochet hook, the entire pumpkin is worked in the round using alternating front and back post double crochet stitches, which create realistic, plump ridges that capture the essence of a small gourd. Decreases are skillfully incorporated to shape the top, and the project is completed with firm stuffing and thoughtful assembly for a polished finish.
Quick Overview of Pattern
- Crochet a firm base in the round, using increases to achieve the pumpkin’s shape.
- Alternate between front post double crochet (fpdc) and back post double crochet (bpdc) to produce ribbing.
- Continue with body rounds to achieve depth.
- Decrease as instructed to form the rounded top.
- Finish with a closing round.
- Stuff thoroughly and cinch the opening.
- Shape and sew the stem.
- Add definition by tightening the pumpkin’s ridges with sewing.
Notes
- The alternation of fpdc and bpdc gives a genuine, segmented pumpkin effect.
- Use firm stuffing for the best 3D results.
- Keep stitch counts precise for even increases and decreases.
- Use the tapestry needle for both closing the top neatly and shaping the ribbed sections.
- The stem can be lengthened or shortened for stylistic variety.
Skill Level
- Advanced Beginner to Intermediate
Comfort with post stitches (fpdc, bpdc) and working increases/decreases in the round is necessary.
Materials
- Yarn: 4-strand milk cotton (orange for the body, green/brown for the stem)
- Hook: 2.0 mm crochet hook
- Stuffing: Fiberfill or cotton filling
- Tapestry needle
- Scissors
Measurements / Sizing
- Approximate Diameter: 5–7 cm (depends on tension and stuffing)
- Height (excluding stem): 4–5 cm
*For adjustments, work more rounds for a larger pumpkin or use a lighter touch for a smaller motif.
Gauge (and Stitch Pattern if applicable)
- Gauge: 16 dc in magic ring ≈ 2.5 cm in diameter after Round 1.
- Main Stitch Pattern: Alternating front post double crochet (fpdc) and back post double crochet (bpdc).
Stitch Abbreviations
- ch – chain
- dc – double crochet
- fpdc – front post double crochet
- bpdc – back post double crochet
- sc – single crochet
- sc2tog – single crochet two together
- sl st – slip stitch
- st(s) – stitch(es)
Special Stitches
- Front Post Double Crochet (fpdc): Yarn over, insert hook from front to back around the post of the stitch below, finish as dc.
- Back Post Double Crochet (bpdc): Yarn over, insert hook from back to front around the post of the stitch below, finish as dc.
- sc2tog: Insert hook into next st, yarn over, pull up loop, insert in next st, yarn over, pull through all three loops.
The Crochet Pattern
Main Body
Round 1 (Foundation Circle)
- Begin with a magic ring.
- Ch 2.
- Work 16 dc into the magic ring. (Total: 16 dc)
- Pull the ring tight to close.
- Sl st to the first dc to join.
Round 2 (First Increase)
- Ch 2.
- Work 1 bpdc in first st, 2 fpdc in the next st;
- Repeat from * to * around. (Total: 24 sts; 8 sts increased)
- Sl st to join.
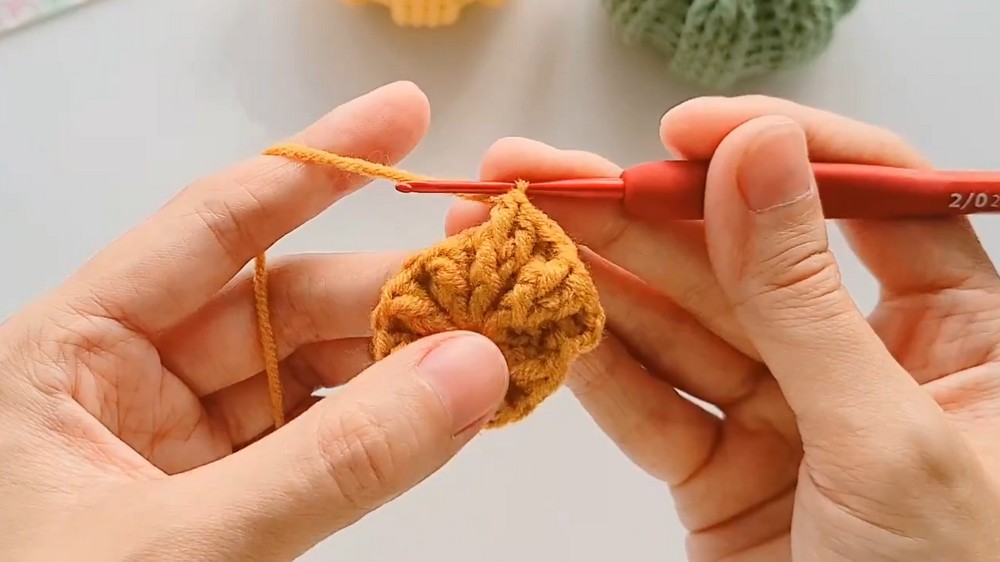
Round 3 (Second Increase)
- Ch 2.
- Work 2 bpdc in first bpdc, 1 fpdc in each of next 2 fpdc;
- Repeat from * to * around (sets of 4 sts). (Total: 32 sts; 8 increased)
- Sl st to join.
Round 4 (Third Increase)
- Ch 2.
- Work 1 bpdc in each of next 2 bpdc, 1 fpdc in next fpdc, 2 fpdc in next fpdc;
- Repeat from * to * around (sets of 5 sts). (Total: 40 sts; 8 increased)
- Sl st to join.
Round 5 (Fourth Increase)
- Ch 2.
- Work 1 bpdc, 2 bpdc in next bpdc, 1 fpdc in each of next 3 fpdc;
- Repeat from * to * around (sets of 6 sts). (Total: 48 sts; 8 increased)
- Sl st to join.
Rounds 6 – 7 (Further Increases)
- For each of the next two rounds, continue the established increase logic:
- In each round, increase by 8 stitches, expanding the fpdc/bpdc pattern so that each repeat group equals 8 stitches by Round 7.
- At Round 7, you should have 64 sts total.
- Always finish with sl st to join at the end of each round.
Rounds 8 – 12 (Body – No Increase)
- Ch 2 at the start of each round.
- Work 4 bpdc, then 4 fpdc;
- Repeat from * to * around (8 sts per rib/section).
- Continue in established pattern for 5 rounds, ending with sl st at each round.
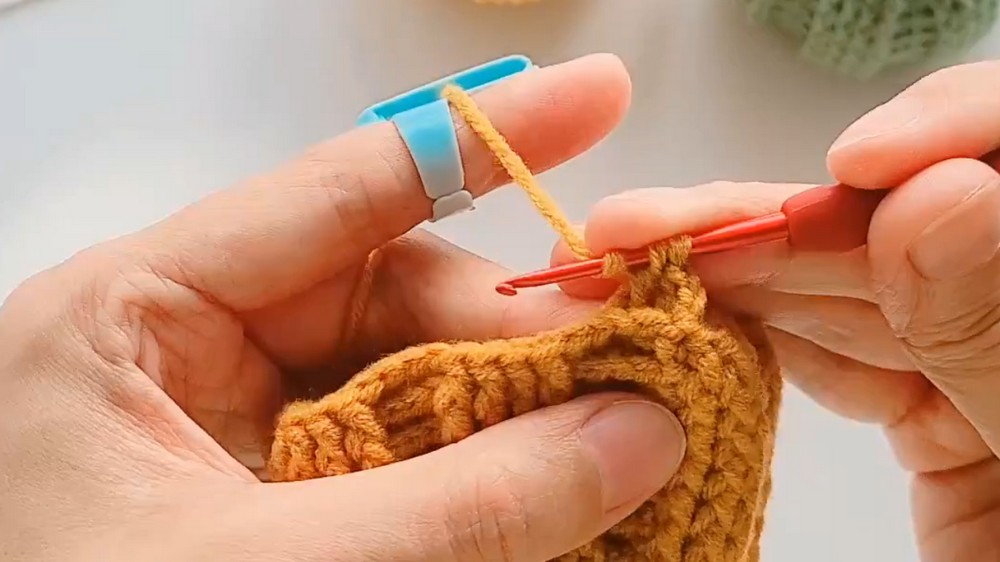
Round 13 (First Decrease)
- Ch 2.
- Work 1 bpdc, bpdc2tog, 1 bpdc, 4 fpdc;
- Repeat from * to * around (Total: 56 sts; 8 decreased).
- Sl st to join.
Round 14 (Second Decrease)
- Ch 2.
- Work 3 bpdc, 1 fpdc, fpdc2tog, 1 fpdc;
- Repeat from * to * around (Total: 48 sts; 8 decreased).
- Sl st to join.
Rounds 15–18 (Further Decreases)
- Continue decreasing 8 sts per round using a mirrored approach to your increases, always maintaining the alternating fpdc/bpdc rib pattern.
- The pumpkin will become more rounded as you decrease.
- End Round 18 with a significantly reduced opening at the top.
Round 19 (Closing Round & Finishing)
- Ch 1.
- Work sc2tog across each pair of top loops; repeat 8 times (ending with 8 sts total).
- Fasten off with a long tail.
Stuffing
- Firmly stuff the pumpkin through the top opening.
- Thread the tail onto a tapestry needle.
- Cinch the opening closed by weaving around the final 8 stitches and pulling tight.
- Secure with a knot and weave in the end neatly.
Assembly & Pumpkin Stem
Stem
- Begin with a magic ring and work in-the-round—mirroring your pumpkin’s start, but with fewer stitches (e.g., 6–8 sc into a ring).
- Work 1-2 rounds of sc in a continuous spiral to form a small cylinder.
- Fasten off, leaving a tail.
Final Shaping
- Use a tapestry needle and a strong length of yarn.
- Sew from the top center, pulling down and out through the base along the ribbed grooves, then back through the bottom up to the top; repeat for each segment.
- Pull tightly to define section “ridges” and knot off securely.
- Attach stem to top center, stitching firmly into place with the tails.
Finished Size
- The completed pumpkin will measure approximately 5–7 cm in diameter and 4–5 cm in height (excluding stem), with a plump, sculpted shape and pronounced ribs running vertically.
Conclusion and Ending Words
A small crocheted pumpkin is both a seasonal accent and a testament to precise, thoughtful technique. This project uses alternating post stitches to achieve the classic pumpkin look, careful increasing for a rounded base, and strategic decreases to bring in the opening at the top. Attention to detail in the closing and the rib shaping ensures a professional finish and a pleasing three-dimensional form. Secure seaming and a firmly worked stem complete the ornament, ready to enhance autumn décor or become a cherished miniature gift. Through clear step-by-step progression, consistent posture, and the use of quality materials, this pumpkin offers both beauty and structure, all in one compact design.
Leave a Reply