

Keep Your things safe with a crochet flower coin purse that is easy to make and perfect for keeping your small items safe while adding a touch of handmade style.
Looking for a small and lovely project? A Crochet flower Coin Purse is a great choice. It is usually small enough to fit in your hand or your pocket, making it perfect for keeping coins, keys, or small items safe. The shape is often round or square, with a cute flower design on the front. This flower adds a bit of charm and color to the purse, making it stand out from plain ones.
Free Crochet Flower Coin Purse Pattern With Unique Desgin
The purse often closes with a zipper or a simple flap, so your items stay secure. The flower details are made using basic stitches that give a nice texture and feel. As a result, the coin purse looks both pretty and practical.
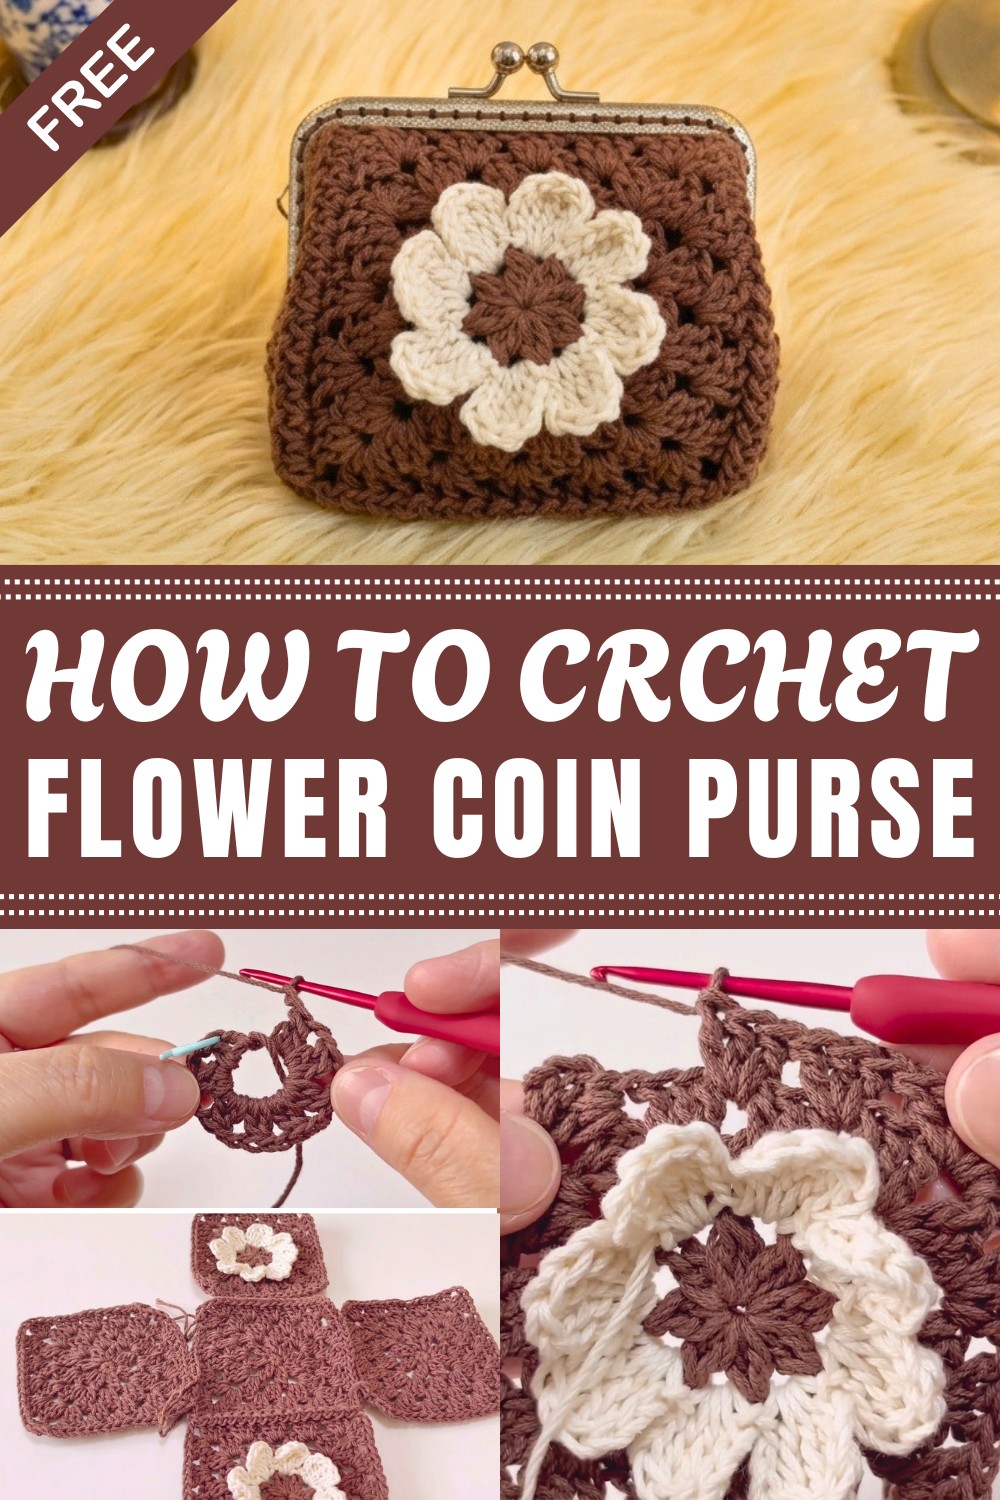
Besides its appearance, this purse is easy and fun to make. It suits beginners who know simple crochet stitches like single crochet and double crochet. You can also try it if you are at an intermediate level and want to practice shaping and working in small rounds. Generally, this project doesn’t take long, so it’s great for a quick gift or a treat for yourself.
Finally, the flower purse comes in many bright and soft colors, which means you can personalize it easily. Overall, it’s a warm and practical project that adds a touch of handmade happiness to daily life.
3D Flower Motif Coin Purse
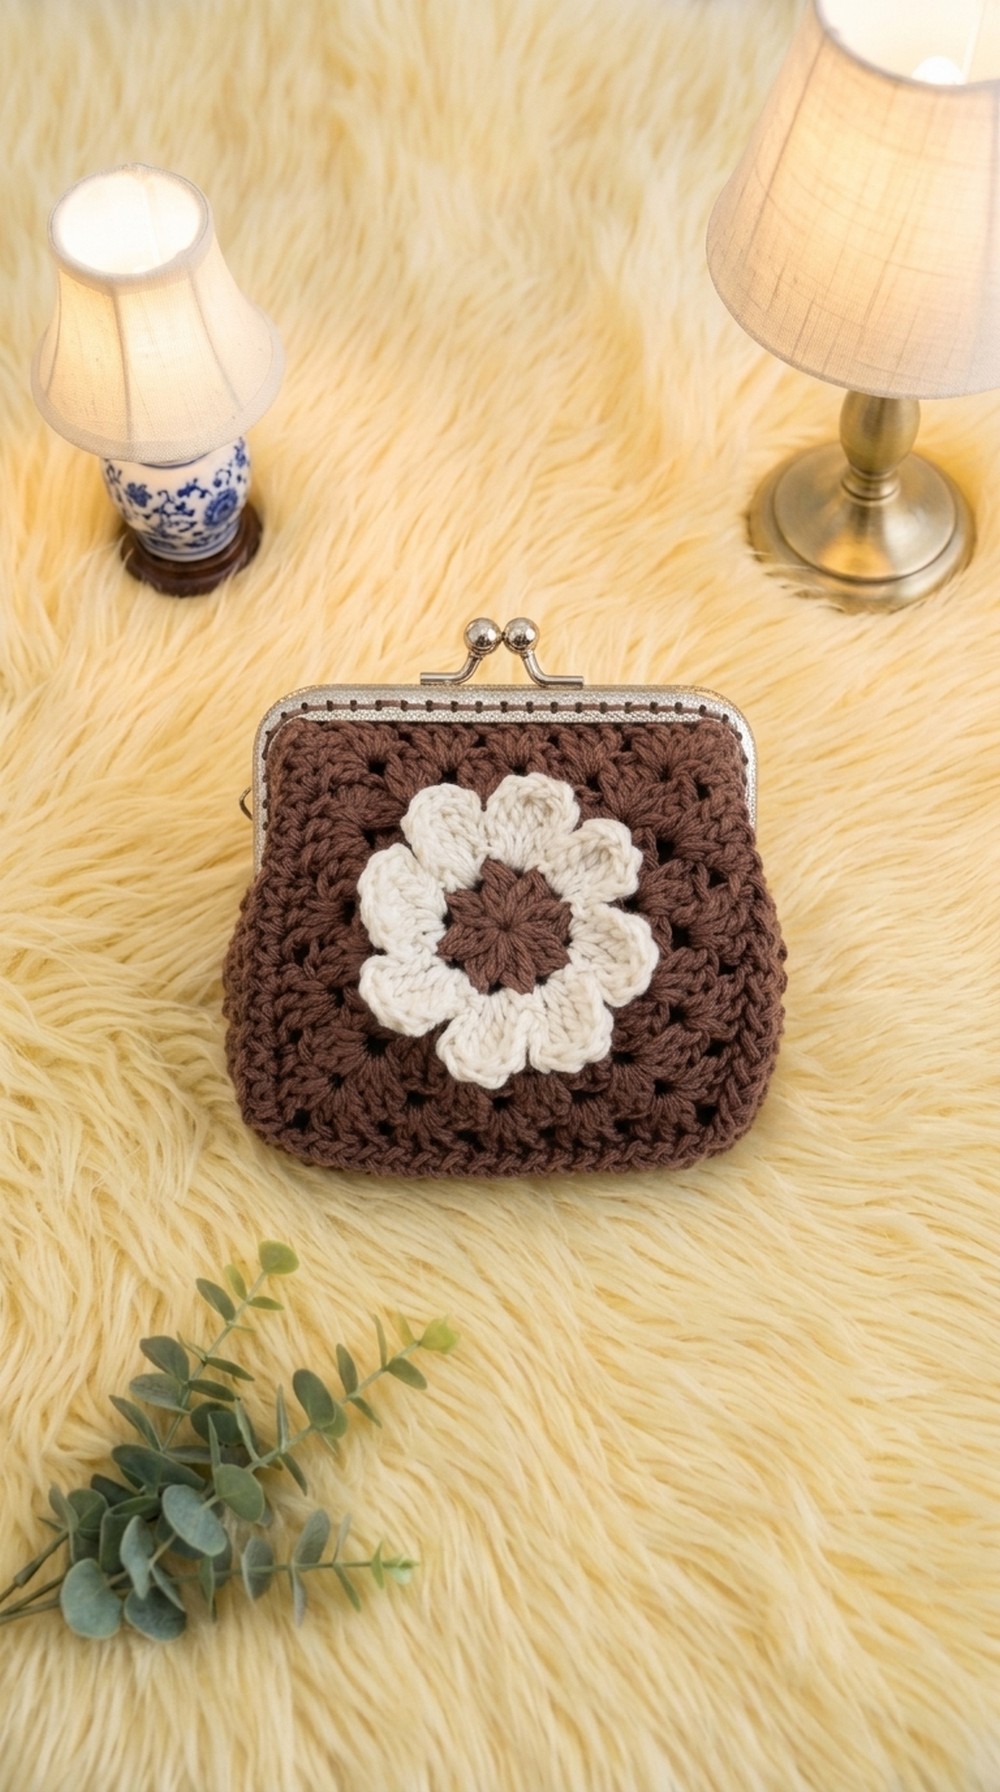
A 3D flower motif coin purse seamlessly combines texture, classic flower-granny square styling, and practical purse construction. The delicately raised floral center is built into one motif and surrounded by solid color squares, all elegantly assembled and mounted into a sturdy metal clasp. The robust yet soft fabric, slight 3D effect, and clean professional finish make this accessory perfect for gifting or personal use.
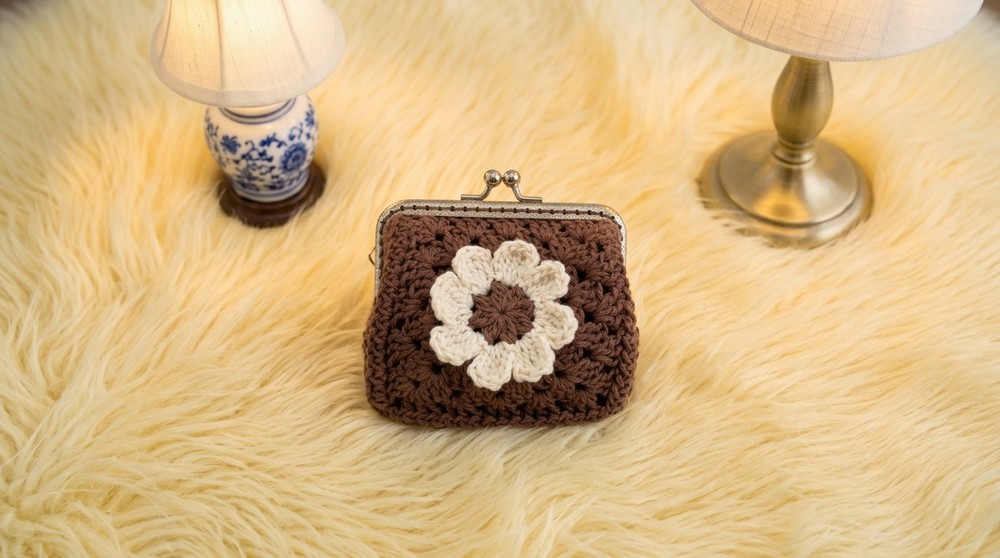
Pattern Basic Points
Design Focus
- Three-dimensional flower centered within a classic granny square frame.
- Motifs joined for seamless texture and structure.
- Sturdily attached to a metal gamaguchi (kiss lock) clasp for elegance and function.
Techniques Best Practiced
- Working in the round with both puff and cluster stitches.
- Crocheting squares with a 3D raised center.
- Joining motifs using a tapestry needle.
- Attaching crochet to hardware with a strong, neat edge.
Special Notes
- Substitute yarn of similar weight/texture if necessary, keeping gauge in mind.
- The pattern suits adventurous beginners to intermediates: expect puff stitches, granny clusters, sewing motifs, and finishing work.
- Maintain even stitch tension across motifs for uniform finishing and effortless assembly.
- Blocking finished motifs is optional but recommended before assembly for a crisp look.
Skill Level
Intermediate: The pattern employs basic to intermediate techniques such as magic ring, puff stitches, granny cluster construction, and purse frame sewing.
Materials
- Yarn:
- New Angel Cotton (Seria):
- Color 2001 (Off-white): Small amount for flower centers
- Color 2014 (Brown): ~1.8 skeins (35 g)
- 4.0 mm Crochet Hook (Japanese size 4)
- Seria Square Kiss Lock Clasp (10.5cm x 5.5cm interior)
- Tapestry Needle (for sewing)
- Sewing Clips or small binder clips (to hold work as you sew)
- Scissors
Measurements
- Finished Width: 13 cm (including frame)
- Height: 9 cm (not including clasp arch)
- Motif Size: Each square approx. 5.5 - 6 cm side to side before joining
Gauge
- 8 single crochets around magic ring = 2.5 cm diameter
- Complete flower motif (before edge joining) = approx. 5.5 to 6 cm square
Gauge is not critical but consistent motifs and overall proportion will yield the best results.
Stitch Abbreviations
- ch: chain
- sc: single crochet
- dc: double crochet
- tr: treble crochet
- sl st: slip stitch
- bo: back loop only
- st(s): stitch(es)
- sp: space
- puff: puff stitch (see Special Stitches)
- beg: beginning
Special Stitches
- Puff Stitch (2-dc Cluster Puff):
(Yarn over, insert hook in stitch, yarn over and pull up a loop, yarn over and pull through 2 loops) repeat once more in the same stitch, then yarn over and draw through all loops on hook. - Granny Cluster:
Work (3 dc) all into same stitch or space as indicated.
Detailed Pattern Instructions
Flower Motif (Make 6)
Each motif is worked from the center out, creating a 3D flower effect set in a granny square.
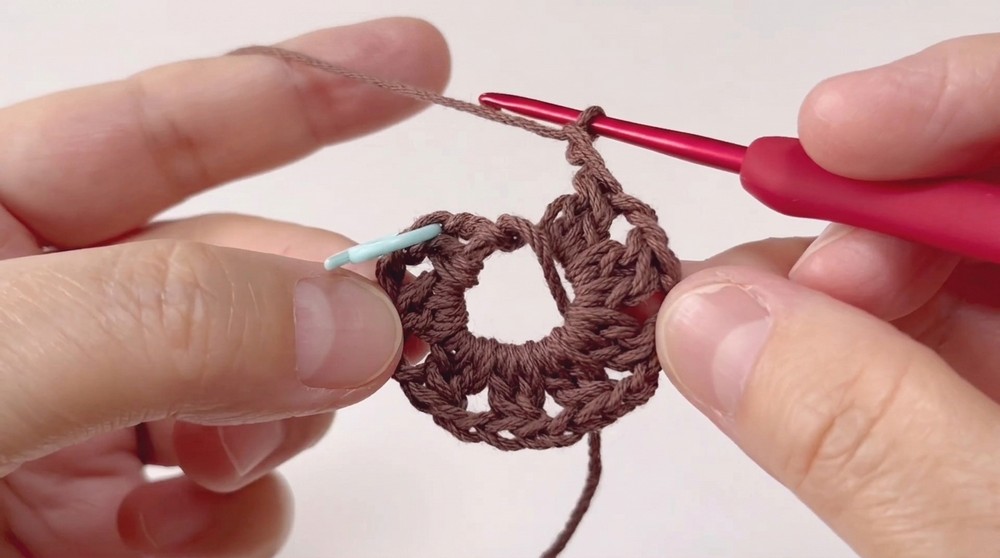
Round 1: Flower Center
- make a magic ring.
- [Puff, ch 2] x 8 into ring. (8 puffs, with each puff stitch as defined above and separated by ch-2.)
- Join with sl st to top of the first puff. Fasten off Off-White.
Round 2: Flower Petals
- Join white yarn in any ch-2 sp.
- Ch 3 (acts as first tr), 3 tr in same sp, ch 3, sl st in same sp — this forms one petal.
- [Sl st into next ch-2 sp, ch 3, 3 tr in same sp, ch 3, sl st in same sp] repeat for each ch-2 sp (total 8 petals).
- Join with sl st to base of first petal. Do not fasten off.
Round 3: Granny Square Start
- Sl st to back of next petal into the bo of the puff’s top from previous round.
- Ch 1, sc in same bo. (Sc in bo of next 7 puffs, skipping petals by working behind them in the bo only. 8 sc total.)
- Join with sl st to first sc.
Round 4: Forming Square Corners
- Ch 3 (counts as dc), dc in next 2 sc, (ch 2, dc in next 3 sc) around, forming four 3-dc groups with ch-2 corners.
- Join with sl st to top of beginning ch-3.
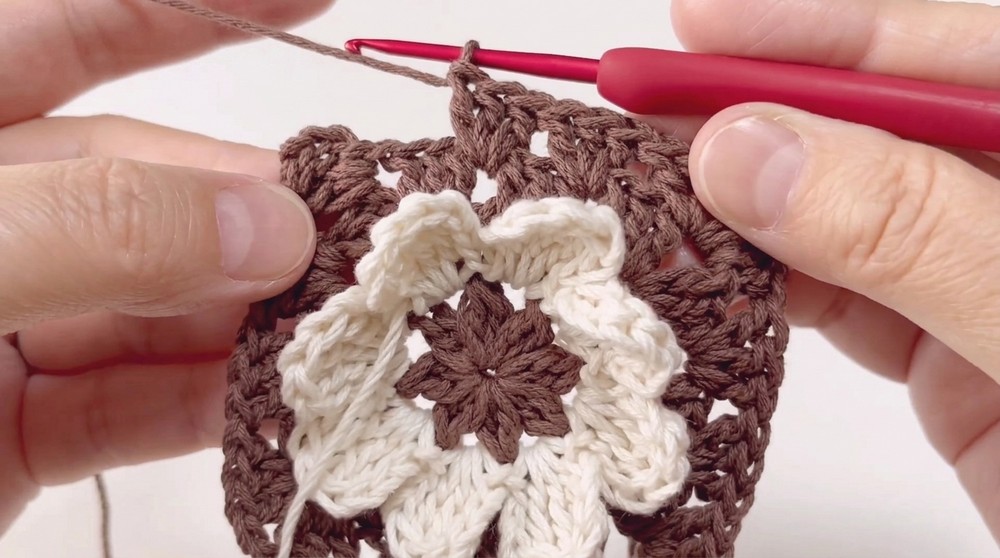
Round 5: Building Square
- Sl st into corner sp, ch 3 (counts as dc), (2 dc, ch 2, 3 dc) in the same corner.
- Continue (3 dc in each side sp), (3 dc, ch 2, 3 dc) in each corner sp, around.
- Join with sl st to first dc.
Round 6: Final Square Round
- Repeat as for previous round:
In each corner, work (3 dc, ch 2, 3 dc); in each side space, work 3 dc. - Join with sl st. Fasten off and weave in ends.
Plain Motif (Make 2)
Use solid Brown throughout.
Round 1:
- Magic ring, work 8 sc into ring, join with sl st.
Round 2:
- [Puff, ch 2] in each sc around (8 puff stitches & ch-2 spaces).
Join with sl st.
Rounds 3-6:
- Repeat “Rounds 3-6” as for Flower Motif, using Brown only.
Assembly & Finishing Instructions
Motif Arrangement & Joining
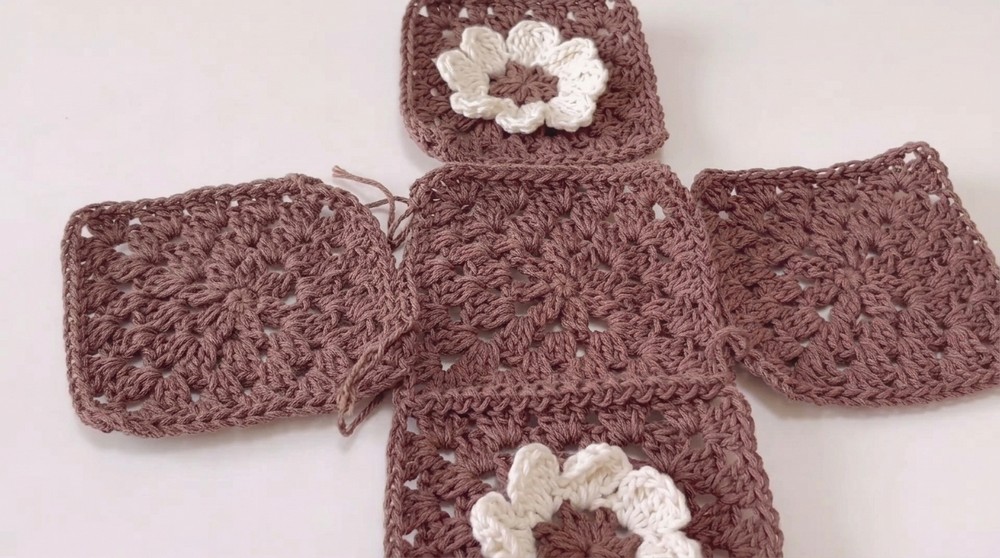
- Lay motifs in desired order: typically, alternate two rows of three motifs, with flower motifs in front and one plain motif each side, plain on the bottom.
- Using Brown and tapestry needle, join motifs by whipstitching through back loops only for a neat seam.
- Carefully seam into a rectangle (3 motifs wide x 2 high), then seam sides and base to form coin purse body.
Top Edge Finish
- With Brown, join yarn at “mouth” edge.
- Work one round of sc evenly along upper edge.
- Sl st to beg sc, fasten off and weave in all ends. This creates a sturdy, clean finish for sewing into the clasp.
Attaching to the Clasp
- Position purse inside frame, aligning corners and securing with sewing clips.
- With a long strand of Brown and tapestry needle, neatly sew edge of crocheted purse to the inner holes in the frame using small overcast stitches.
- Ensure the stitches are tight, secure, and evenly spaced for a professional appearance.
Finished Size
- Approximate finished dimension: 13 cm (width) x 9 cm (height) (excluding clasp arch).
Conclusion
A 3D flower motif coin purse marries texture, color, and classic granny styling with thoughtful assembly for a beautiful, functional, and lasting accessory. Uniform motifs, gentle tension, and meticulous joining yield a polished finish, while the sturdy kiss-lock clasp brings security and elegance to the project. This purse is ideal for practicing motif assembly and hardware techniques, making it both a delightful personal accessory and a thoughtful handmade gift. Adjust colors to suit and enjoy both the process and the beautiful end result.


Leave a Reply