

Bring festive warmth with the Free Crochet Pumpkin Pattern, a playful accent for décor, gifting, and adding seasonal style to any space.
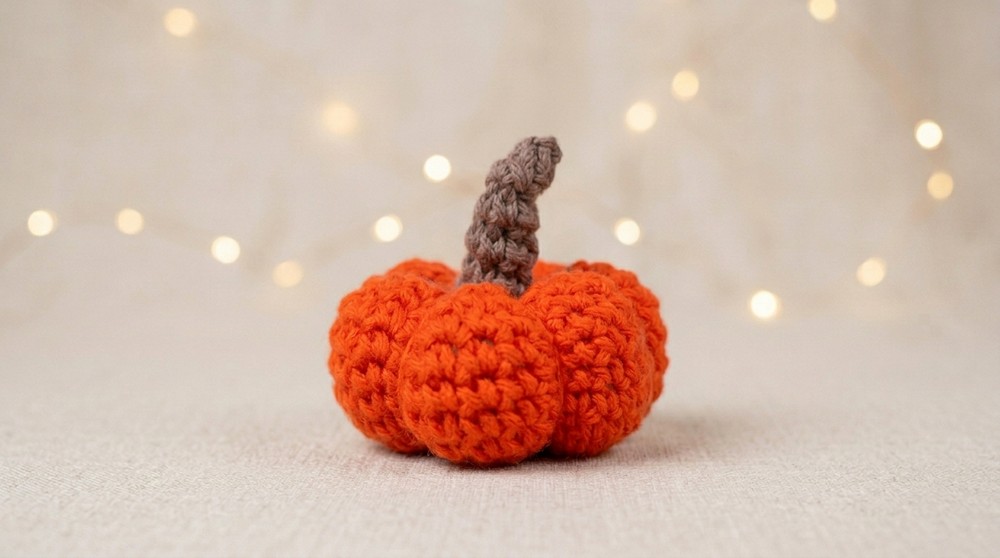
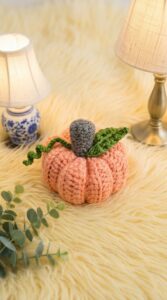
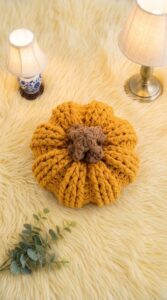
Autumn is a great time to add cozy and cute decorations to your home. A small Crochet Pumpkin is a wonderful way to bring fall colors and charm inside. This little pumpkin is round and soft-looking, with simple ridges that look like a real pumpkin. Its warm orange color makes it a nice gift, decoration, or a fun item to collect.
Cute Crochet Pumpkin Free Pattern for Cozy Fall Decor
This project is good for beginners and those with some crochet experience. You will use easy crochet stitches like single crochet, slip stitch, and half double crochet. The pumpkin is made by working in the round and shaping it with increases and decreases. These techniques help create the pumpkin’s shape and texture.
The pumpkin is about 4 to 6 inches tall, making it just the right size to sit on a shelf, table, or desk. It has a small stem on top that gives it a natural look. You can also add little leaves if you want to make it more detailed. Because it is small and light, this crochet pumpkin is easy to display anywhere.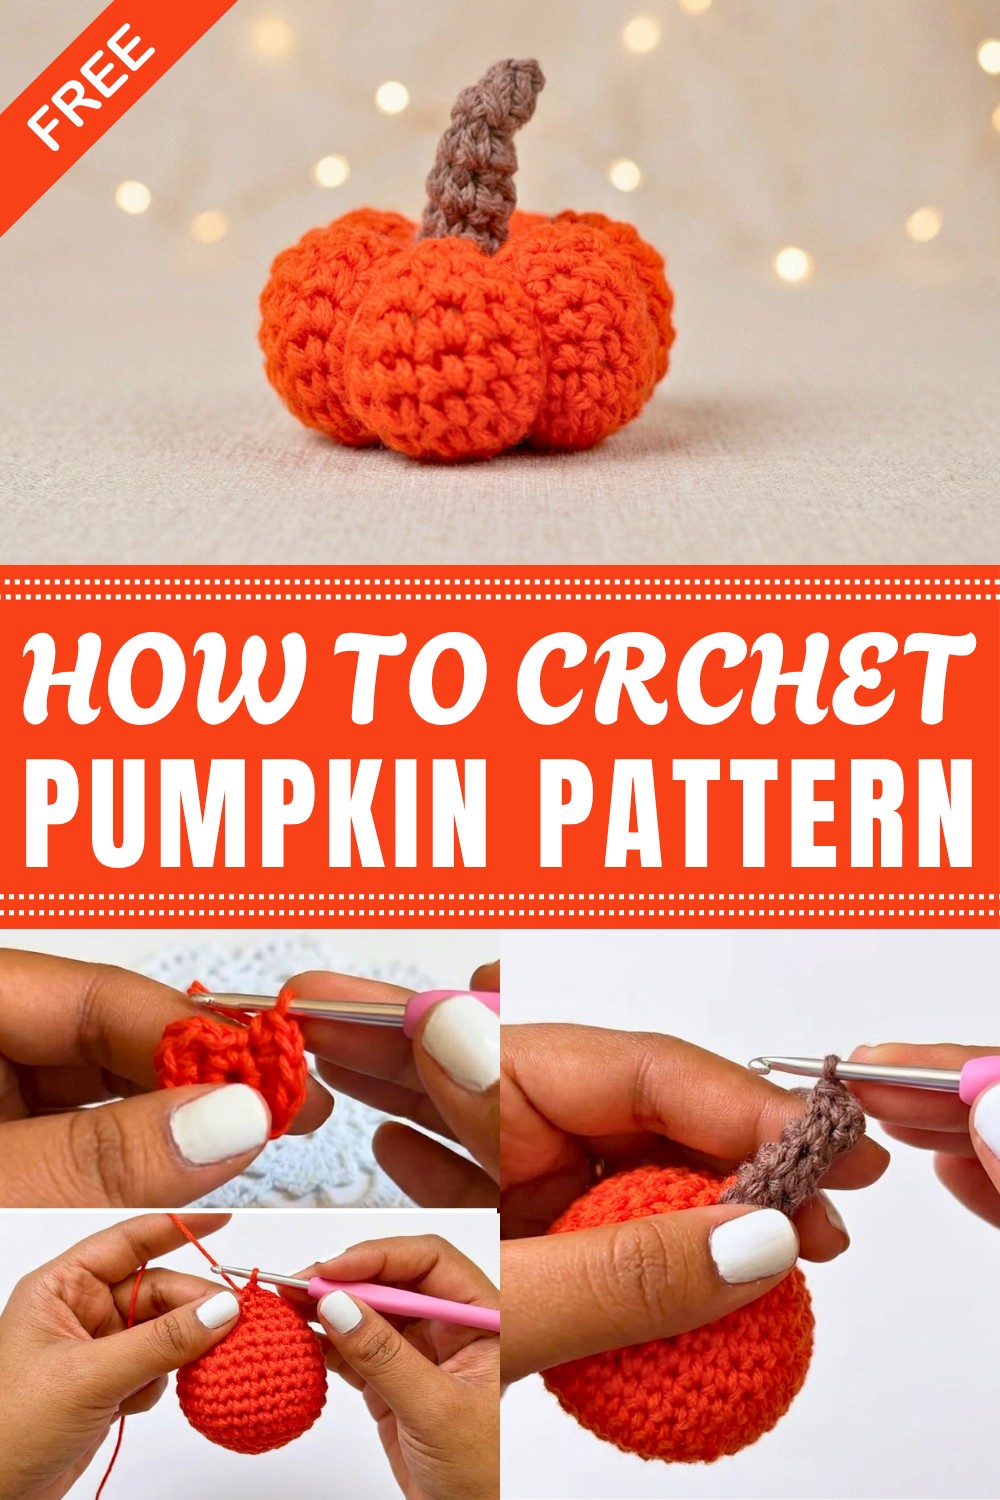
Whether you want a simple fall decoration or a cute handmade gift, this crochet pumpkin is a cheerful choice. It helps you practice basic crochet skills while making something pretty and fun. Adding this pumpkin to your autumn décor brings a soft, warm feeling to your home during the cooler months.
Mini Day of the Dead Pumpkin Amigurumi Pattern
This pattern provides step-by-step instructions for creating a miniature amigurumi pumpkin, perfect for Day of the Dead altars, festive decorations, or as a seasonal keychain. The pumpkin is worked in the round using basic increases and decreases, closed at both ends, and finished with neat ribbing detail created through embroidery for a realistic segmented appearance. The project is small, quick, and ideal for gift-giving or crafting in multiples.
Pattern Basic Points
Key Features
- Amigurumi construction in continuous rounds for the pumpkin body
- Shaping created through classic increases and decreases
- Seamless color change for the stem
- Segmentation “ribs” added with yarn for authentic pumpkin sections
- Detailed instructions for neat closure at both ends
Versatility
- Perfect scale for altars, home décor, or use as a keychain
- Easily adjustable for larger or smaller sizes by varying yarn weight and hook size
- Great practice for beginners to learn amigurumi shaping and finishing
Special Notes
- Maintain consistent tension for even shaping and closed fabric.
- Stuff the pumpkin firmly but gently to avoid stretching the stitches.
- Use a blunt yarn needle for embroidery and assembly to avoid splitting the yarn.
- Divide the pumpkin into 8 even segments with yarn for a natural look—repeat stitches firmly to keep definition.
- If using as a keychain, attach keyring hardware securely at the stem.
Skill Level
Beginner–Friendly
All steps use basic crochet stitches: single crochet, increases, decreases, and slip stitches. The assembly and embroidery are straightforward, making it suitable for those new to amigurumi.
Materials
- Size 8 cotton yarn in orange (main body)
- Cotton yarn in brown (stem)
- Polyester fiberfill or preferred stuffing
- 3.0 mm crochet hook
- Yarn/tapestry needle
- Scissors
- Optional: extra orange yarn for ribbing/embroidery
- Optional: keychain finding
Measurements / Sizing
- Finished pumpkin measures approximately 4–5 cm tall and wide (depending on tension and yarn)
- Ideal for mini altars or as a portable charm
Gauge (and Stitch Pattern if applicable)
- Gauge is not critical; close, tight stitches are best for amigurumi to avoid stuffing showing through
Stitch Abbreviations
| Abbreviation | Meaning |
|---|---|
| MR | Magic ring |
| ch | Chain |
| sc | Single crochet |
| inc | Increase (2 sc in one stitch) |
| dec | Decrease (sc two together) |
| sl st | Slip stitch |
Special Stitches
- Magic Ring (MR): Form a loop, work stitches into the ring, pull tail to tighten center.
- Invisible Decrease (dec): Insert hook into front loop of each of next two stitches, yarn over, pull through both front loops, yarn over, pull through two loops (reduces bulk in decreases).
- Ribbing Division: After assembly, use a length of orange yarn to wrap around and divide the pumpkin into sections by stitching through the center repeatedly.
How to Crochet It
Pumpkin Body
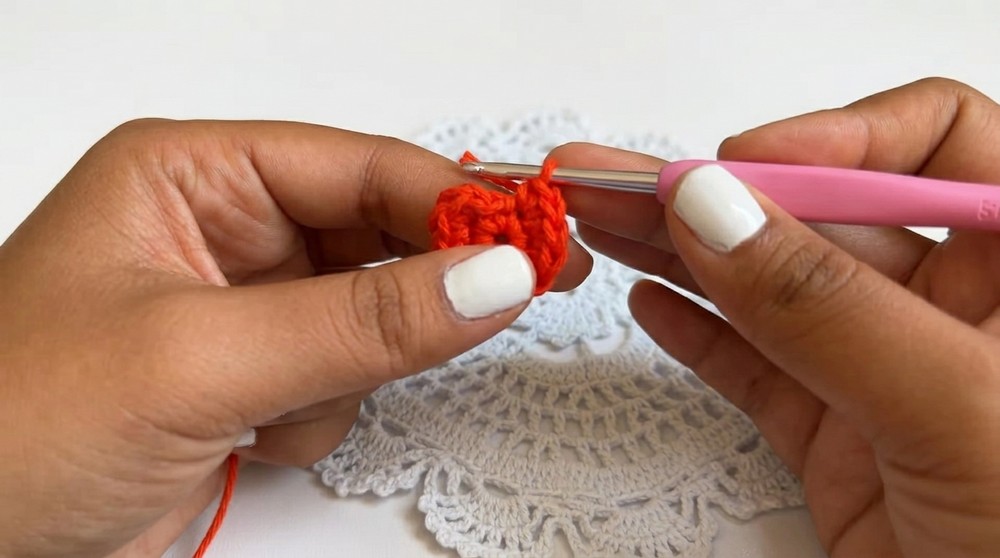
- Round 1: With orange yarn, make a MR. Ch 1 (does not count as a stitch), work 6 sc into the ring. Pull ring closed. Sl st to starting chain to join the round. (6 sc)
- Round 2: Ch 1, then 2 sc in each stitch around (inc in each st). Sl st to the chain. (12 sc)
- Round 3: Ch 1, sc in next st, inc in next st; repeat around. Sl st to the beginning. (18 sc)
- Round 4: Ch 1, sc in next 2 sts, inc in next st; repeat around. Sl st to join. (24 sc)
- Round 5: Ch 1, sc in next 3 sts, inc in next st; repeat around. Sl st to join. (30 sc)
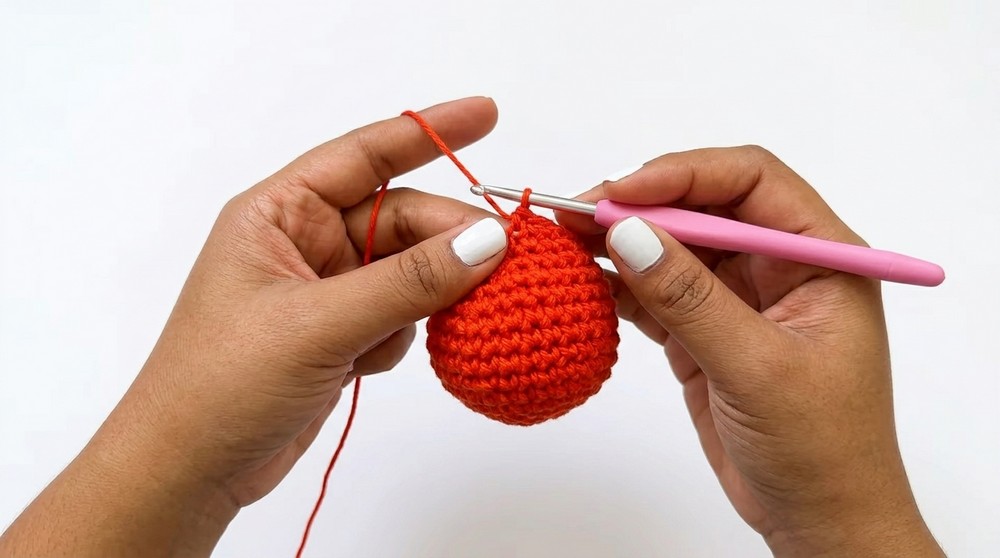
- Rounds 6–10: Ch 1, sc in each st around. Sl st at end of each round. (30 sc each round, 5 rounds total)
- Round 11: Ch 1, sc in next 3 sts, dec over next 2 sts; repeat around. Sl st to join. (24 sc)
- Round 12: Ch 1, sc in next 2 sts, dec over next 2 sts; repeat around. Sl st to join. (18 sc)
- Round 13: Ch 1, sc in next st, dec over next 2 sts; repeat around. Sl st to join. (12 sc)
- Begin stuffing the pumpkin. Ensure an even, round shape and do not overstuff (to avoid stretching stitches).
- Round 14: Ch 1, dec over every 2 sts around. Sl st to join. (6 sc)
Stem
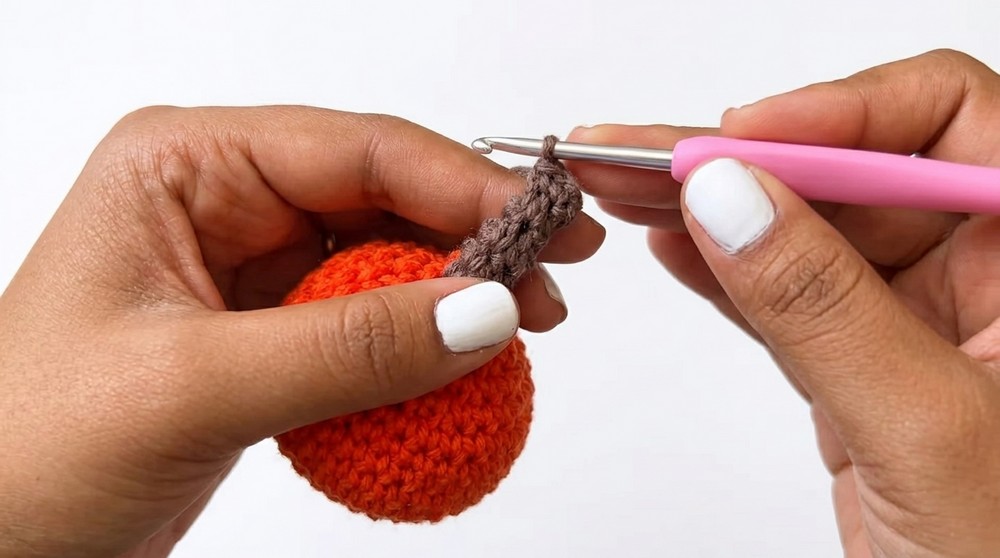
- Change to brown yarn. Join with sl st in next st.
- Ch 1, sc in each st around (6 sc). Sl st to join.
- Ch 1, sc in each st around repeat (6 sc). Sl st to join.
- Repeat for a total of 4 rounds in brown for the stem.
- At end, cut yarn leaving a long tail. Thread tail on needle and weave through front loops of remaining stitches. Pull to close tightly at top of stem. Fasten off and weave in any remaining ends.
Assembly & Finishing
1. Ribbing/Divisions
- Thread a long piece of orange yarn on your needle.
- Insert needle through the hole at the base of the pumpkin and bring out at the top (center of the stem).
- Wrap yarn around the outside of the pumpkin, reinserting needle through the base and out at the top (dividing the pumpkin in half). Pull snug to shape a groove.
- Repeat this process 4 times, spacing evenly, then divide each section in half again to achieve 8 total segments. Pull taut each time.
- If yarn runs out, weave in the end and continue with a fresh piece as needed.
2. Weaving in Ends & Final Shaping
- Once segments are completed, secure and weave in any visible yarn tails at the bottom or inside the pumpkin.
- Adjust stuffing and grooves with your finger or soft tool for an even, plush shape.
- If you are making a keychain, attach hardware at the top of the stem with split rings or a sturdy loop.
Assembly & Finished Size
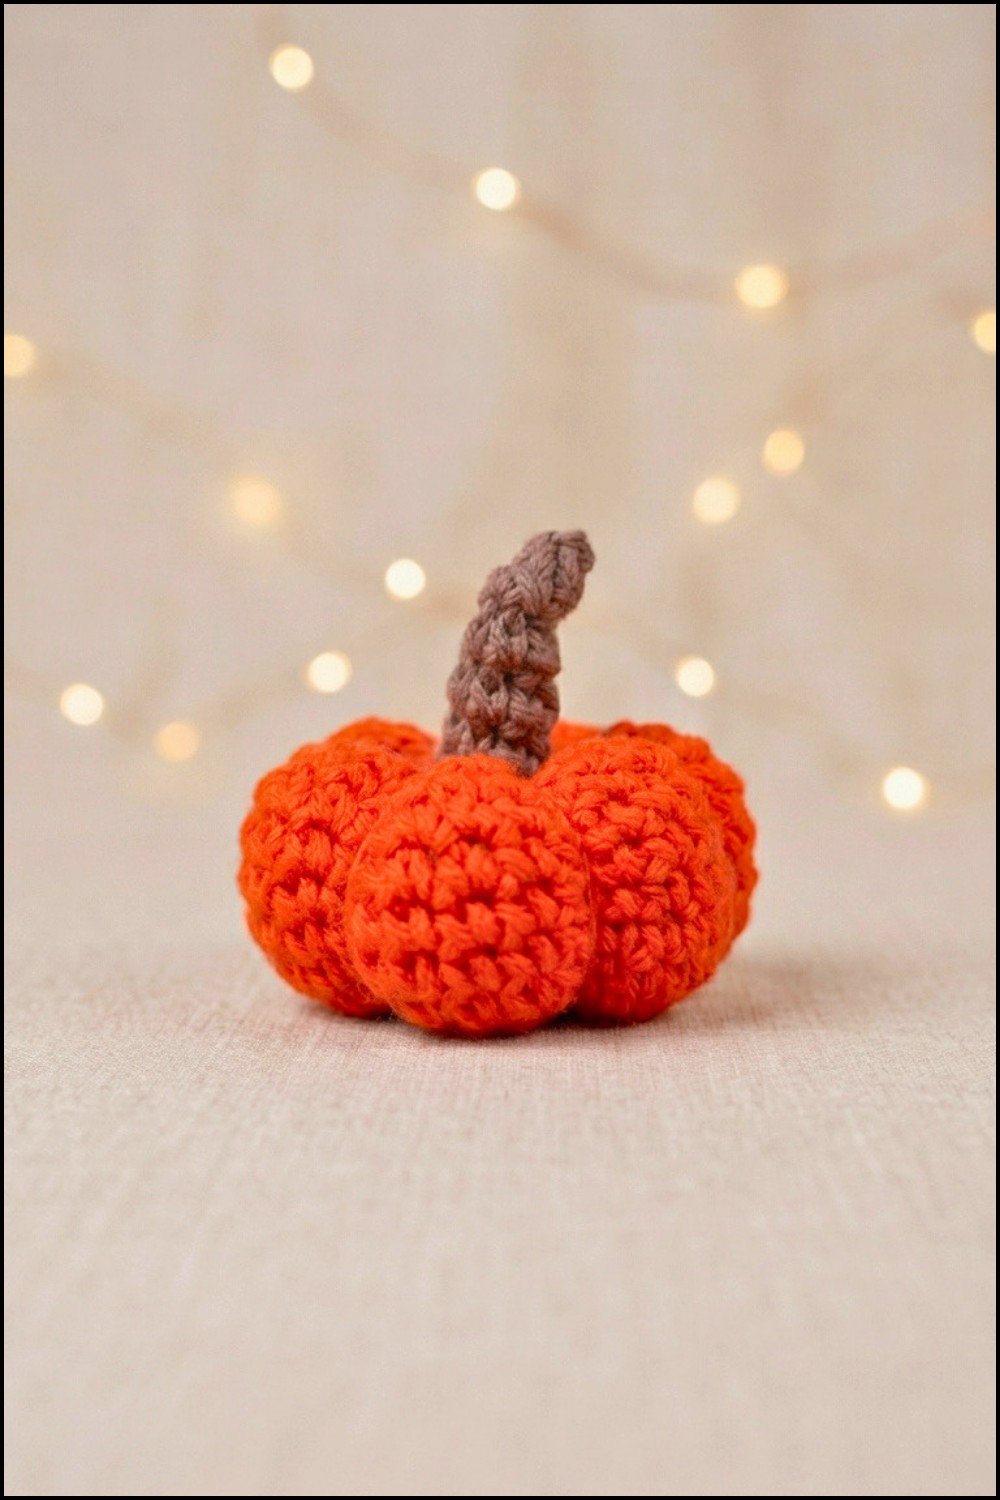
- Finished pumpkin measures 4–5 cm tall/wide.
- Can be used as a small altar piece, mini decoration, or converted into a keychain.
- For broader ribbing definition, divide into more segments if desired (e.g., 10 for a more intricate look).
Conclusion and Ending Words
This mini amigurumi pumpkin pattern is a simple and delightful project that highlights the essentials of amigurumi—circular shaping, increases, decreases, and invisible closure. The segmented finish gives the pumpkin a realistic and festive look, perfect for seasonal decorations, gifts, or accessories. Versatile and easy to customize, this project allows for personal touches, from the yarn choice to stem length and sectioning. Whether made as a single piece or in multiples for Day of the Dead, autumn displays, or Halloween, the end result is both adorable and practical, showcasing a handmade touch in every detail.
Leave a Reply