

Make a cute Crochet Pumpkin that brings warm Halloween feelings to your home with easy steps and bright colors perfect for decorating or gifting loved ones.
If you want to add a warm touch to your home, making something cozy and fun is always a good idea. A Crochet Pumpkin looks soft and round, just like a real pumpkin but smaller and lighter. Usually, it is made with bright orange yarn, which brings a cheerful fall feeling. Sometimes, people add a green stem or little leaves on top, making it look even more alive and cute.
Crochet Crochet Pumpkin Free Pattern for Cozy Fall Home Décor Pattern
Moreover, working on a crochet pumpkin helps you relax and enjoy a calm hobby. It doesn’t need many materials or skills if you start with simple stitches. Plus, once done, the pumpkin can be used in many ways. For example, it can be a decoration on tables, shelves, or doorsteps. It also makes a great gift for friends and family during fall and Halloween. Some even use crochet pumpkins as pincushions or small toys for children.
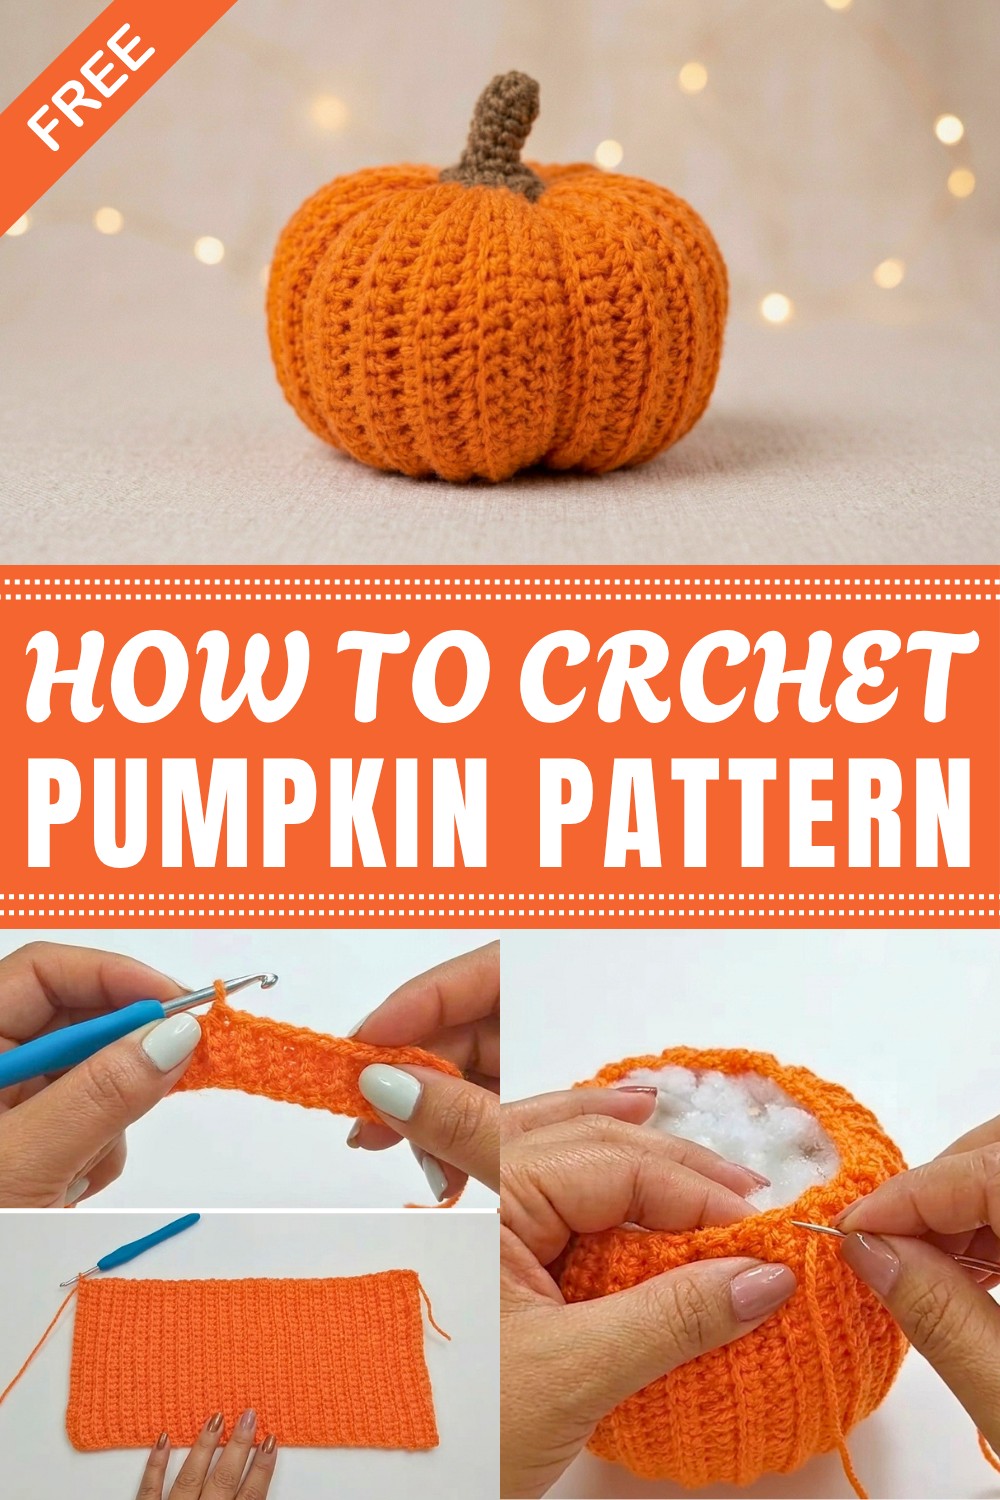
Moreover, working on a crochet pumpkin helps you relax and enjoy a calm hobby. It doesn’t need many materials or skills if you start with simple stitches. Plus, once done, the pumpkin can be used as a decoration, a gift, or even a small toy for kids. It brightens up any place and spreads happy fall vibes.
In addition, crochet pumpkins are light and easy to store. This means you can bring them out every season without worry. Finally, they are a great way to use leftover yarn and practice your crochet skills. Overall, a crochet pumpkin is a fun, colorful, and useful project that anyone can enjoy.
About the Crochet Pumpkin Pattern
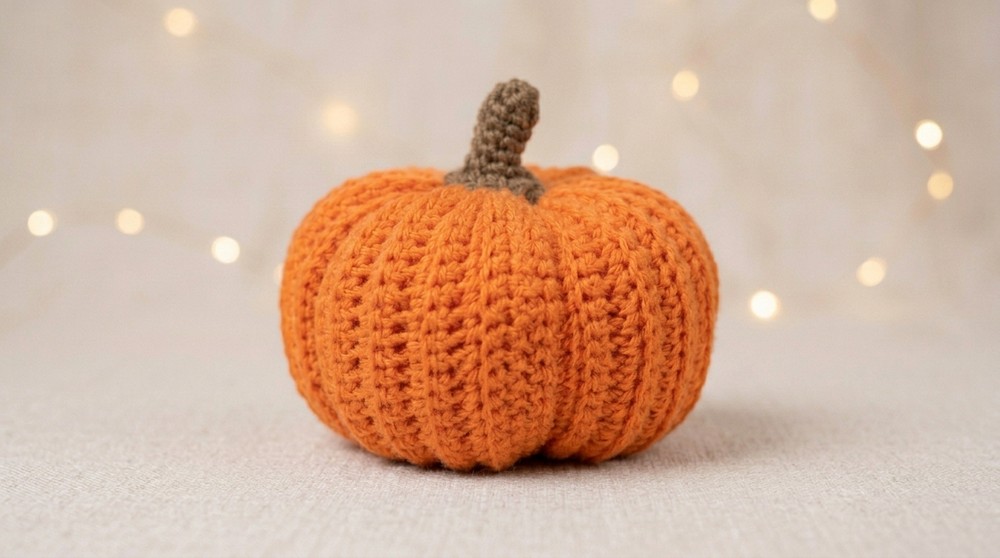
Crocheting a classic crochet pumpkin is a favorite seasonal project, embedding warmth and texture into home décor or festive displays. These pumpkins are worked flat, then gathered and shaped, making excellent use of simple stitches for big effect. Rich ribbing mimics a natural pumpkin’s contours, while basic shaping offers flexibility in sizing, color, or customization. A three-dimensional stem finishes the look for a charming, handmade pumpkin.
Pattern Basic Points
- Worked in rows, then seamed to form a cylinder before gathering at top and bottom.
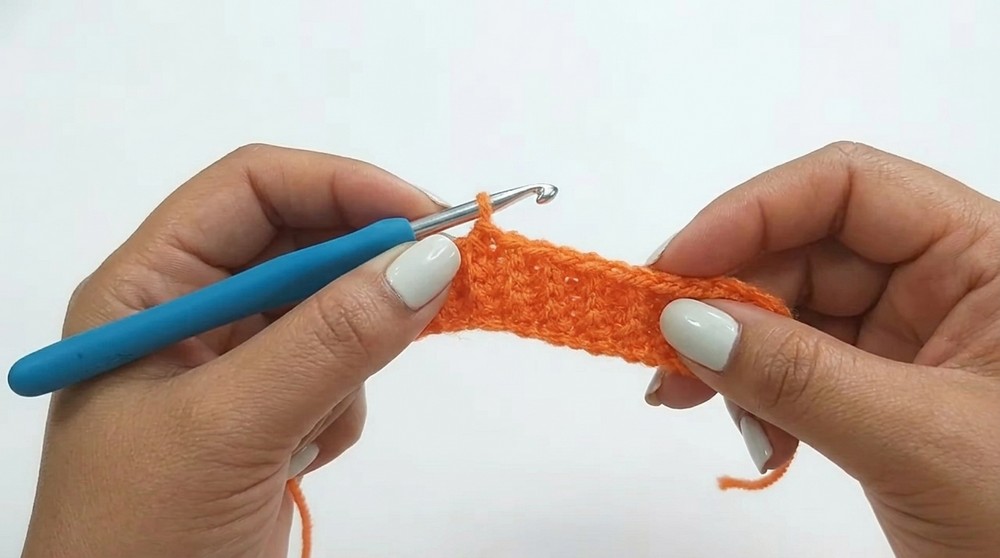
- Ribbing texture is created by consistent use of single crochet in the back loop only.
- Pumpkin body is stuffed to create classic plumpness.
- Stem is crocheted in the round and attached for realistic finish.
- Easily adaptable size: Adjust chain or rows for custom pumpkins.
Special Notes
- The chain length can be increased or decreased to make pumpkins of different circumferences; the row count controls the pumpkin's height.
- Tight and even stitches help contain the stuffing and enhance the ribbed effect.
- Use a yarn color of your choice for pumpkins; orange is traditional but pastels or jewel tones work beautifully for modern décor.
- Defining ridges with extra yarn cinching is entirely optional but recommended for a natural pumpkin effect.
Skill Level
Beginner to Intermediate – This pattern uses foundational stitches such as chains and single crochet, with straightforward seaming and basic shaping. The stem introduces the magic ring and simple rounds in single crochet, but the construction remains approachable for newer crocheters.
Materials
- Yarn: Worsted weight or aran yarn in orange (or preferred color) for the pumpkin, and brown or green for the stem (small amount).
- Hook: 4mm crochet hook.
- Stuffing: Polyester fiberfill for a plush finish.
- Tapestry needle: Large eye for seaming and sewing.
- Scissors.
Measurements
- Pumpkin Base: Sample dimensions (before assembly): Approx. 26 cm wide x 13 cm tall (for the “large” version; size is adjustable).
- Stem: Approx. 3.5 cm long; width increases at the top for realism.
Gauge
- Gauge: 12 sc and 16 rows = 10 cm x 10 cm (4” x 4”), in single crochet worked flat.
- A precise gauge is not essential; just ensure a tight enough fabric to prevent stuffing from poking through.
- Stitch Pattern: Repeated single crochet worked in the back loop only (BLO) for ribbing effect.
Stitch Abbreviations
- ch – chain
- sc – single crochet
- sl st – slip stitch
- st(s) – stitch(es)
- inc – increase (2 single crochets in the same stitch)
- BLO – back loop only
Special Stitches
- Back Loop Only (BLO): Insert hook under only the back strand of the stitch each time you make a single crochet. This creates the signature ribbed texture.
- Magic Ring: Used to start the stem—a circle into which you crochet the first round of stitches, then pull tight.
Pattern Instructions
Pumpkin Body (Base)
Foundation Chain:
- Ch 25 (for a medium-large pumpkin; adjust for smaller/larger size).
Row 1:
- Sc in 2nd ch from hook and in each ch across (24 sc total).
- Ch 1, turn.
Rows 2 and onwards:
- Sc in BLO of each st across row. Ch 1, turn.
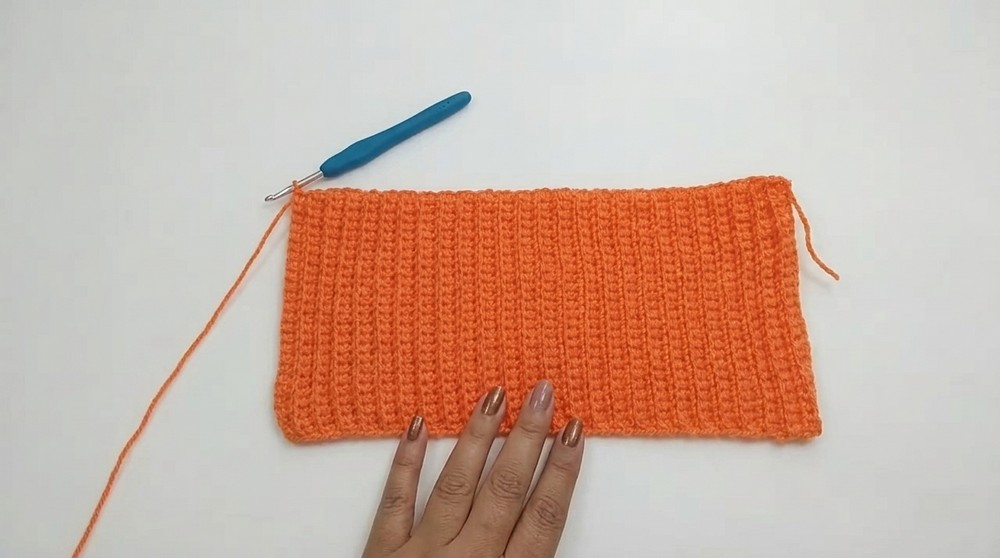
- Repeat this step until your flat piece measures approximately 26 cm wide by 13 cm tall (or desired size).
- Fasten off, leaving a long yarn tail for sewing.
Assembling the Pumpkin Body
- Side Seam:
- With tapestry needle and the long yarn tail, fold the rectangle so the short sides meet.
- Whipstitch or slip stitch the two ends together to form a tube. Secure with a knot.
- Gathering the Bottom:
- Thread the remaining yarn tail and weave a running or zig-zag stitch around the bottom edge of the tube.
- Pull firmly to gather and close the bottom shut. Sew and knot extra to secure and prevent gaps.
- Stuffing:
- Turn the closed tube right side out so the seam is inside.
- Stuff the pumpkin evenly and firmly with polyester fiberfill, shaping as you go for a plump appearance.
- Gathering the Top:
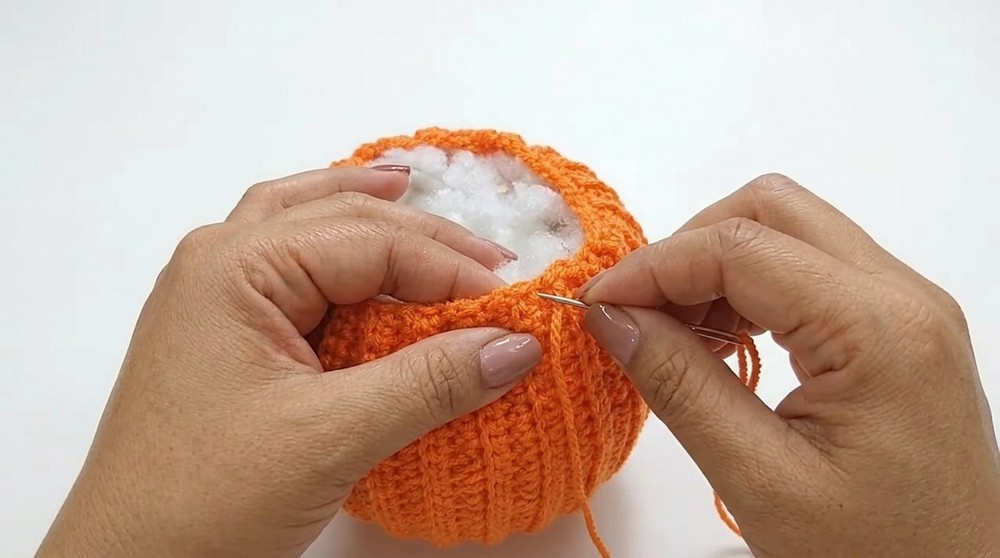
- With a separate length of yarn, weave a running stitch around the open top edge.
- Pull tight, carefully tucking in any remaining stuffing.
- Secure by stitching the opening shut, knotting well.
- Defining the Ridges (Optional):
- With a long strand of yarn and tapestry needle, insert through center top down to the base and back up, pulling snugly to create a dimple and define pumpkin segments.
- Repeat as desired (usually 5–8 passes, evenly spaced) to shape pumpkin curves.
- Secure yarn, knot, and hide ends inside.
Stem (Pedúnculo)
Round 1:
- With brown or green yarn, make a magic ring.
- Work 6 sc into the ring. Pull closed. (6 sts)
Rounds 2–5:
- Sc in each st around, working in a spiral (mark first st to keep track).
- Continue until stem measures approx. 3.5 cm tall.
Round 6 (Widening Top):
- Inc in each stitch around (2 sc in each st)—ends with 12 sc.
Round 7:
- Sl st in next stitch to finish round.
- Fasten off, leaving a long tail for sewing.
Assembly
- Sew the Stem:
- Place the wide side of the stem over the closed top opening of the pumpkin.
- Using the yarn tail and tapestry needle, stitch the stem securely in place, sewing discreetly around the base.
- Finishing Touches:
- Weave in all ends.
- Fluff and shape the pumpkin, making sure stuffing is evenly distributed and the shape is round or slightly squat, as desired.
Finished Size
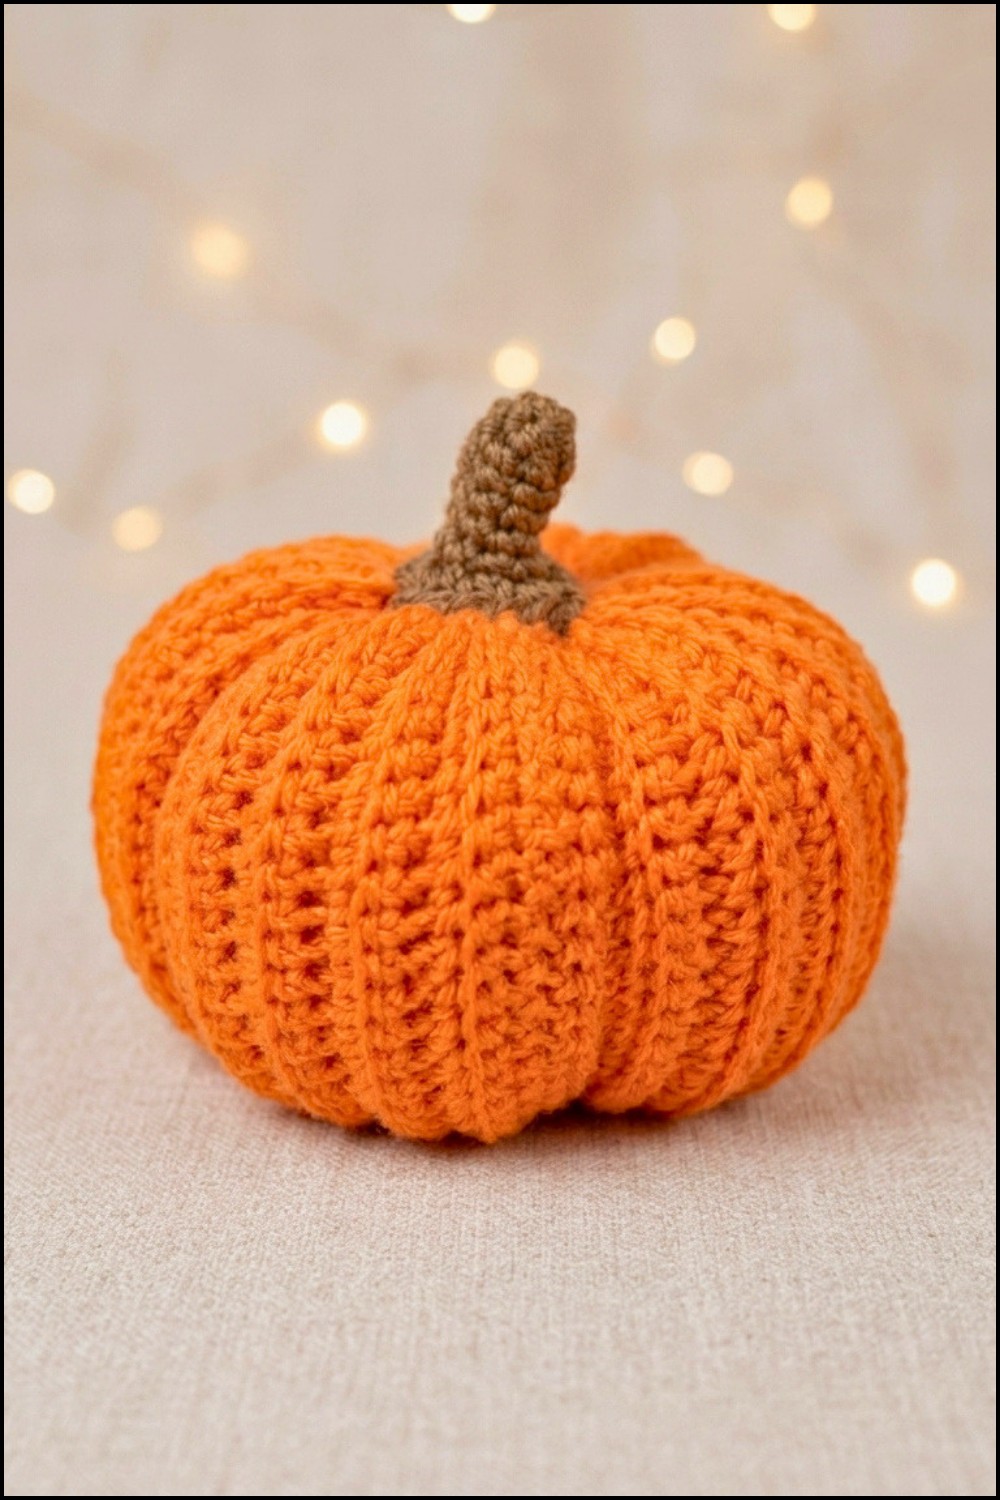
- Pumpkin: Approximately 13 cm tall by 12–14 cm wide after stuffing, but this can easily be changed by adjusting the initial chain and working additional/fewer rows.
- Stem: About 3.5 cm long, flaring slightly at the top for a realistic appearance.
Conclusion
This crochet pumpkin pattern highlights how straightforward stitches and careful assembly create delightful, textured autumnal décor. The ribbed body reproduces natural pumpkin ridges, while a tightly crocheted base and top ensure stability and plumpness. The design is flexible—alter yarn, hook, or dimensions for a variety of customized pumpkins suited to any space or celebration. Simple, sturdy construction makes this pattern ideal for both creative beginners and seasoned crocheters seeking quick, satisfying results.




Leave a Reply