

Cozy up your space with a unique crochet rabbit and chick using simple steps that make charming decorations or thoughtful handmade gifts.
Small, soft, and very cute, these little animals make people happy. The Crochet Rabbit and Chick Amigurumi are fun toys that kids and grown-ups can enjoy. You can put them on shelves, desks, or carry them around.
Cozy Crochet Rabbit and Chick Amigurumi Free Pattern with Cuddly Designs
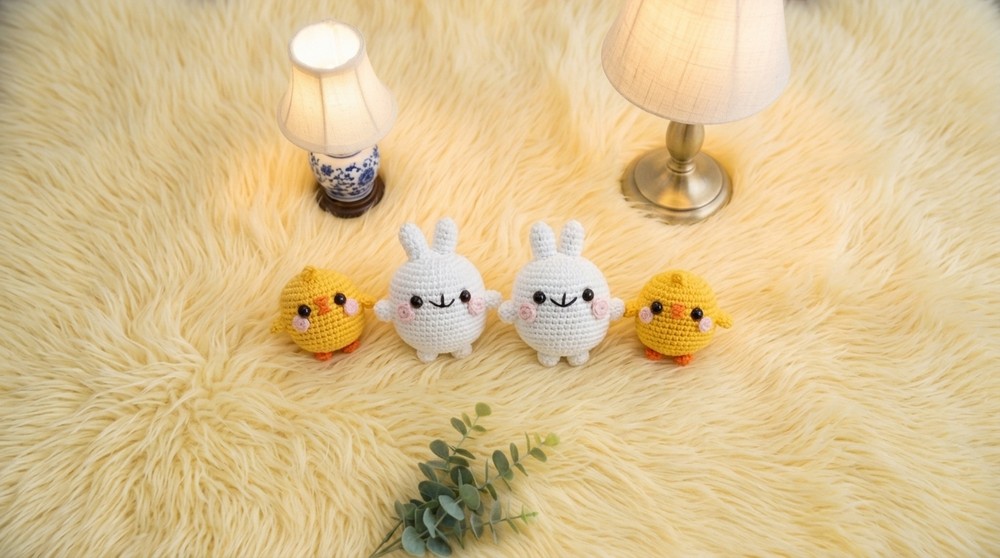
These Crochet Rabbit and Chick Amigurumi are special because they look nice and carefully made. The rabbit has long ears, and the chick looks soft and round. You can choose any colors you like. Light colors like pink, yellow, and blue make them look gentle, and bright colors make them stand out.
You can make your rabbit and chick any size you want. Some people make small ones that fit in your hand, and others make big ones that feel like a soft pillow. To make these toys, you use the single crochet stitch. This stitch makes the toy strong and neat so the stuffing stays inside.
These crochet animals are useful too. They make great gifts for birthdays, holidays, or baby parties. Kids love to play with them gently. Adults like to keep them as pretty decorations. You can even add small things like hats or scarves to make them extra cute.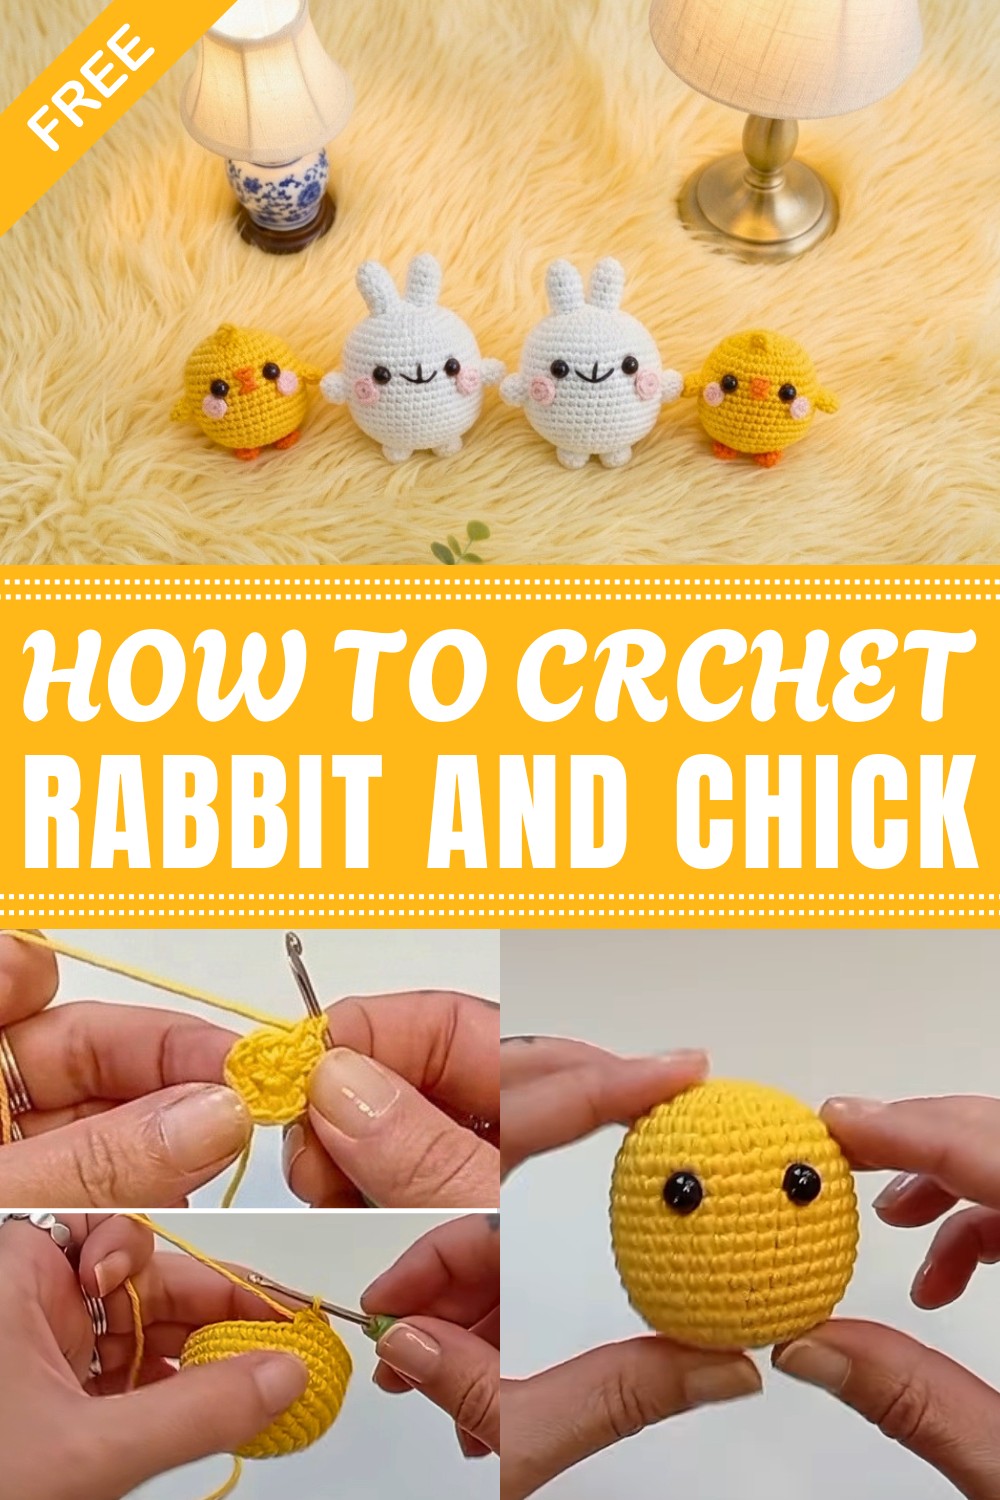
In short, making a crochet rabbit and chick amigurumi is easy and fun. You use yarn and hooks to make soft, colorful friends. Whether you want a toy or a decoration, these crochet animals are perfect for everyone.
Kawaii Bunny & Chick Amigurumi – Step-by-Step Crochet Pattern
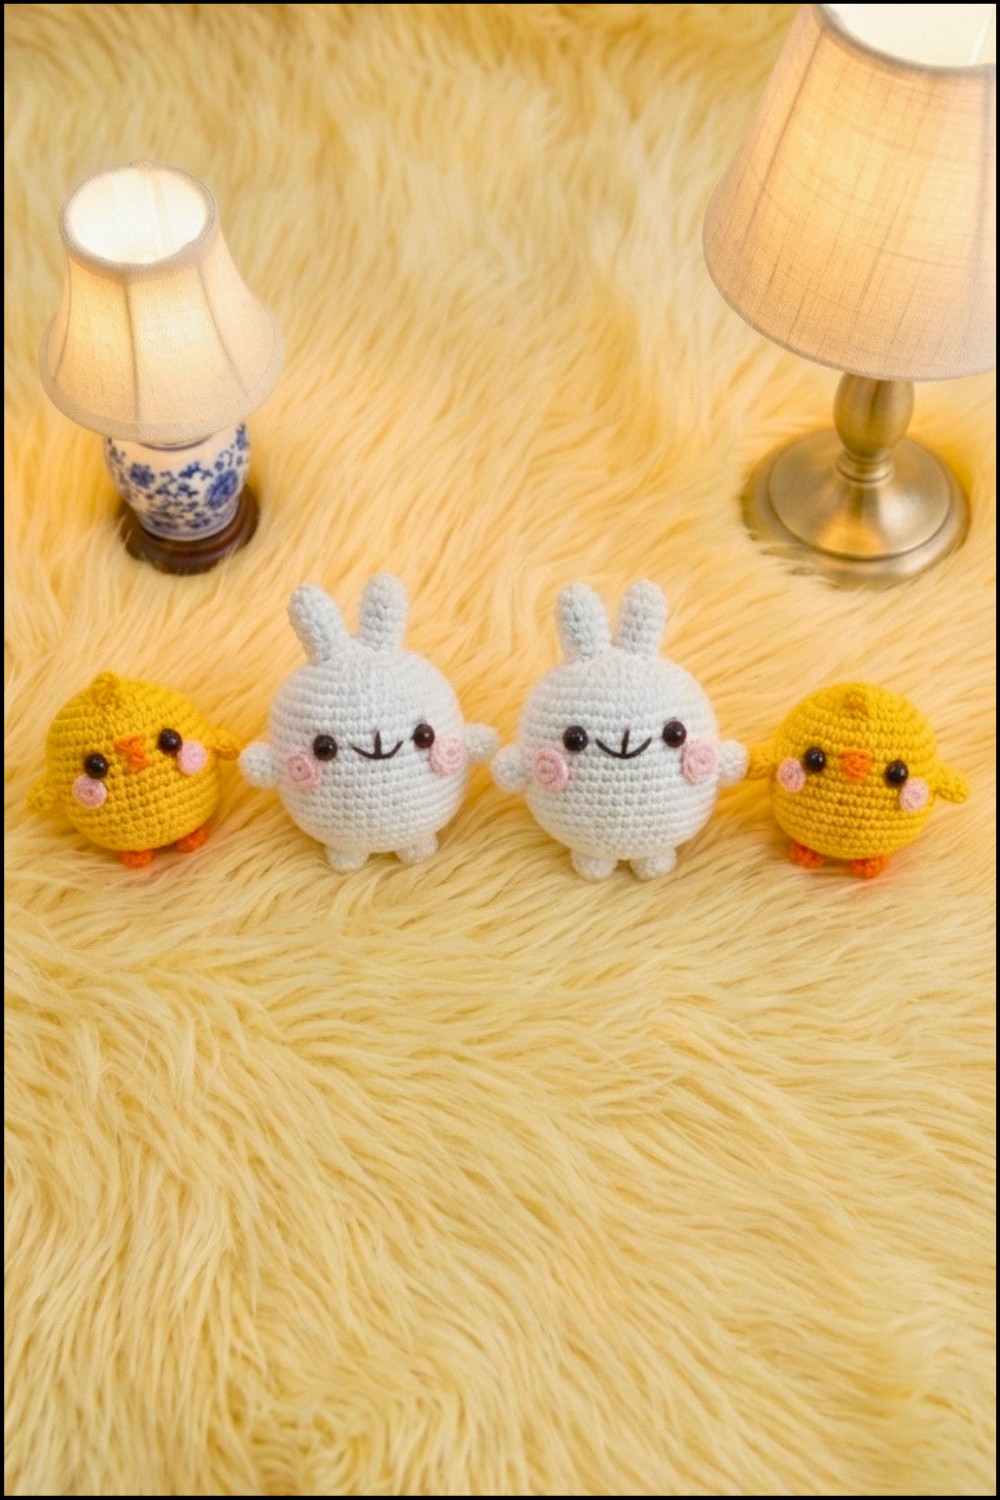
This delightful amigurumi project, where you'll crochet a pair of adorable, kawaii-style little animals: Molan the Bunny and Piu Piu the Chick! These charming crochet creations make the perfect gift or decoration for your home, bringing a touch of cuteness wherever they go. Whether you’re crocheting for yourself or as a gift, you’ll find these patterns both enjoyable and rewarding.
Quick Overview Of The Pattern
In this pattern, you’ll learn to crochet a kawaii bunny (approx. 10 cm from ears to feet) and a chick (approx. 5–6 cm tall) using basic amigurumi techniques. Each animal is worked in the round and features charming details like embroidered faces, rosy cheeks, and simple assembly.
Notes
- The pattern is written using US (American) crochet terms.
- Both animals are worked primarily in continuous rounds.
- Use stitch markers to keep track of rounds.
- Safety eyes or black yarn can be used for the eyes.
- Parts are sewn or glued together as specified.
- Feel free to slightly stuff the limbs for firmness.
- Keep seams neat for best results.
Skill Level
Beginner to Intermediate
Basic knowledge of amigurumi, single crochet, magic ring, increase, and decrease is recommended.
Materials
- Yarn:
- DK or Sport weight 100% cotton yarn
- White (bunny)
- Yellow (chick)
- Pink (cheeks)
- Orange (chick’s beak and feet)
- DK or Sport weight 100% cotton yarn
- Hook: 2.0 mm—2.5 mm (or size to match gauge)
- Stuffing: Polyester fiberfill
- Needle: Yarn needle for sewing
- Stitch markers
- Embroidery thread (black): For bunny’s face details
- Safety eyes: Two pairs (or black yarn for embroidery)
- Scissors
- Hot glue or silicone (for cheeks and feet; optional)
Measurements / Sizing
- Bunny (Molan): approx. 10 cm (from ears to feet)
- Chick (Piu Piu): approx. 5–6 cm tall
Gauge
Exact gauge is not critical for this project, but aim for a firm, tight stitch so stuffing does not show through.
Stitch Abbreviations
| Abbreviation | Meaning |
|---|---|
| MR | Magic Ring |
| sc | Single crochet |
| inc | Increase (2 sc in st) |
| dec | Decrease (sc2tog) |
| ch | Chain |
| st(s) | Stitch(es) |
| … x | Repeat instructions x times |
Special Stitches
- Magic Ring (MR): Wrap yarn into a loop, hold it, insert hook, yarn over, pull through, yarn over, and pull through loop.
- Invisible Decrease (dec): Insert hook into front loop of next two stitches, yarn over, pull through both, yarn over and pull through final loop.
The Crochet Pattern
Bunny (Molan)
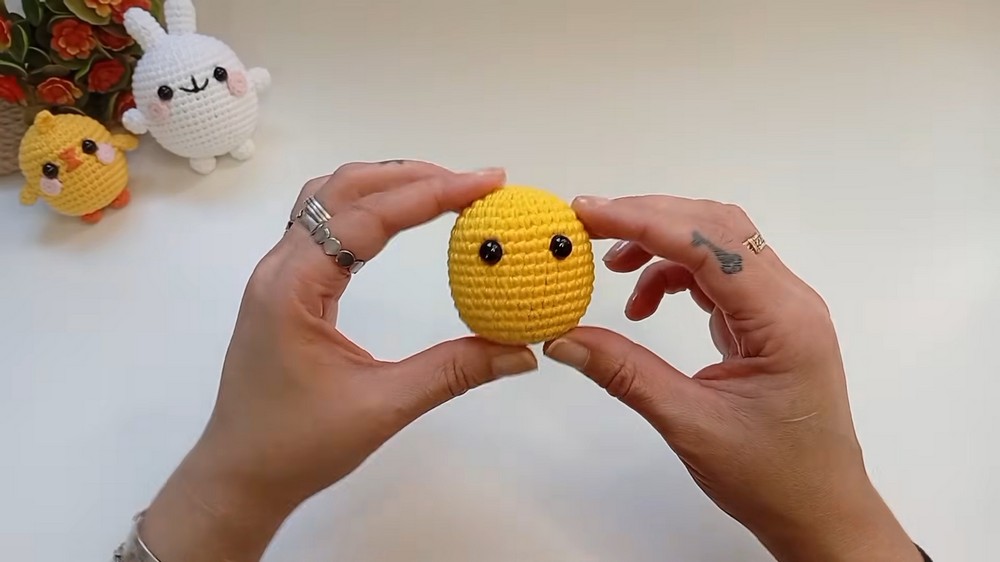
Body & Head
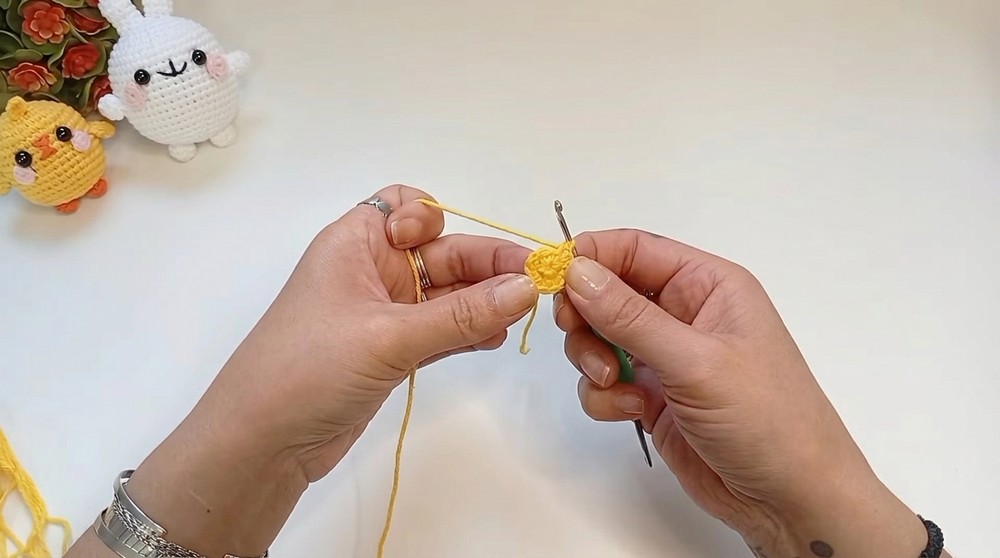
- Round 1: In white yarn, MR, 6 sc. (6)
- Round 2: 6 inc. (12)
- Round 3: (sc, inc) repeat x6. (18)
- Round 4: (sc in next 2, inc) x6. (24)
- Round 5: (sc in next 3, inc) x6. (30)
- Round 6: (sc in next 4, inc) x6. (36)
- Round 7: (sc in next 5, inc) x6. (42)
- Round 8: (sc in next 6, inc) x6. (48)
- Rounds 9–18: sc around. (48 sts for 10 rounds)Insert safety eyes between Rounds 10 and 11, with 7 stitches between. Secure.
- Round 19: (sc in next 6, dec) x6. (42)
- Round 20: (sc in next 5, dec) x6. (36)
- Round 21: (sc in next 4, dec) x6. (30)
- Round 22: (sc in next 3, dec) x6. (24)
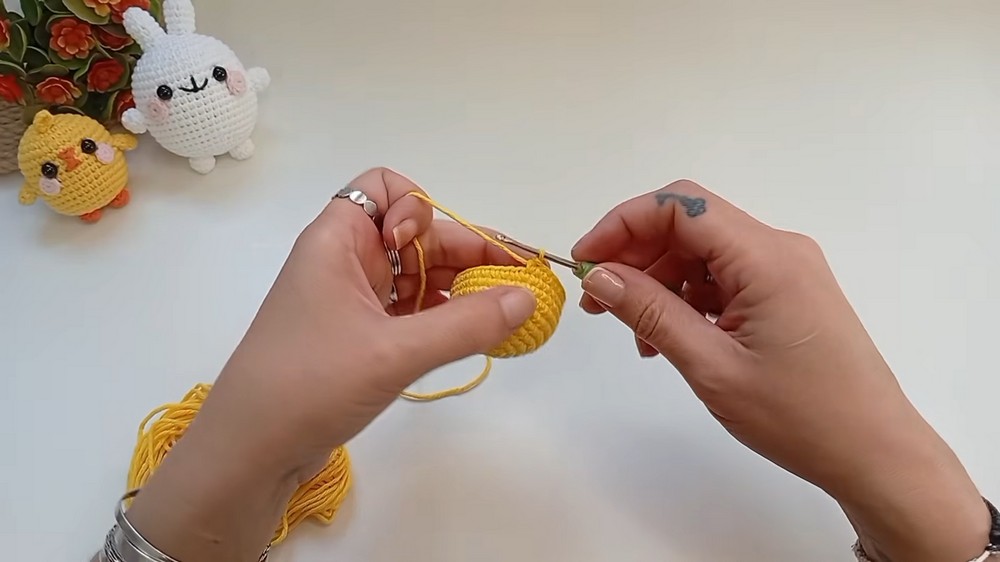
- Begin stuffing. Keep stuffing as you close.
- Round 23: (sc in next 2, dec) x6. (18)
- Round 24: (sc, dec) x6. (12)
- Round 25: 6 dec. (6)
- FO, thread end through front loops of remaining 6 sts, pull tight to close.
Arms & Legs (make 4, white)
- Round 1: MR, 6 sc. (6)
- Round 2: (sc, inc) x3. (9)
- Round 3: sc round. (9)
- FO, leave long end for sewing. No stuffing needed.
- Sew legs symmetrically to bottom, arms under head (2 rounds below eyes).
Ears (make 2, white):
- Round 1: MR, 6 sc. (6)
- Round 2: (sc, inc) x3. (9)
- Round 3: inc, sc in next 8. (10)
- Rounds 4–6: sc round. (10)
- FO, leave end for sewing. Add a bit of stuffing.
- Attach top center of head, ears close together above eyes.
Cheeks (make 2, pink):
- Round 1: MR, 8 sc. (8)
- FO, secure and cut yarn.
- Glue cheeks beside the eyes (last round nearest to the face).
Face Embroidery
- With black embroidery thread, create a small nose between the eyes (on round 8), mouth two rounds below the nose, and a slight smile from the center under the nose.
Chick (Piu Piu)
Body & Head
- Round 1: In yellow, MR, 6 sc. (6)
- Round 2: 6 inc. (12)
- Round 3: (sc, inc) x6. (18)
- Round 4: (sc in next 2, inc) x6. (24)
- Round 5: (sc in next 3, inc) x6. (30)
- Round 6: (sc in next 4, inc) x6. (36)
- Rounds 7–10: sc round. (36)
- Round 11: Ch 4, sc in second ch and next 2 ch (making a little tab), sc in each st around, sc 3 on the opposite side of the starting ch. (42)
- Rounds 12–13: sc in each st. (42)
- Round 14: dec x2, sc in next 36, dec x1. (39)
- Round 15: dec, sc in next 33, dec x2. (36)
- Round 16: (sc in next 4, dec) x6. (30)
- Insert safety eyes between rounds 8–9, 5 sts apart, centering tail at the back.
- Round 17: (sc in next 3, dec) x6. (24)
- Round 18: (sc in next 2, dec) x6. (18)
- Start stuffing and continue as you close.
- Round 19: (sc, dec) x6. (12)
- Round 20: 6 dec. (6)
- FO, thread end through front loops of remaining sts, pull tight to close.
Wings (make 2, yellow):
- Round 1: MR, 6 sc. (6)
- Round 2: (sc, inc) x3. (9)
- Round 3: sc round. (9)
- FO, leave end to sew. Attach at sides around round 10.
Feet (make 2, orange):
- Round 1: MR, 6 sc. (6)
- Round 2: sc around, but after 3 sts, turn and sc last 3; fold foot.
- FO, glue or sew to bottom (one round from closing).
Beak Embroidery
- With orange (or embroidery thread split), embroider a small X between and slightly below the eyes, filling in the beak shape.
Cheeks (make 2, light pink):
- Round 1: MR, 8 sc. (8)
- FO, glue beside eyes.
Head Feathers
- With yellow, ch 6. FO, leave tail for sewing. Attach to the top center (count 3 rounds from magic ring).
Assembly & Finished Size
- Bunny: Sew arms and legs in place, attach ears above eyes, cheeks beside eyes, embroider nose and mouth.
- Chick: Sew/attach wings to sides, feet underneath, cheeks beside eyes, embroider beak, and attach tuft on top.
- Finish: Weave in all ends securely. Ensure stuffing is even and shapes are firm.
Conclusion & Ending Words
Congratulations! You’ve completed your adorable Kawaii Bunny and Chick! These cheerful amigurumi animals are perfect as thoughtful gifts, charming decorations, or sweet companions. Thank you for crocheting along. If you have questions or suggestions, please leave a comment, and happy crocheting! 🐰🐥

Leave a Reply