

Begin your creative journey with this Free Crochet Frog Keychain Pattern, a fun and cheerful project to make an adorable companion for your keys.
For a fun and quick project that doubles as a cute accessory, the Free Crochet Frog Keychain pattern is a great pick. This small amigurumi-style keychain features an adorable frog with a rounded body, big eyes, and tiny limbs that give it a lot of personality despite its compact size. Its playful design makes it an eye-catching little companion to brighten up your keys or bag.
Free Crochet Frog Keychain Pattern – Fun Project

The texture of the frog is smooth but firm, thanks to tight single crochet stitches that help keep its shape intact. This pattern is perfect for crocheters at any skill level, especially those looking for a fast and rewarding project. You can easily make the frog larger or smaller by choosing different yarn weights or adjusting your hook size, and experimenting with colors is a fun way to create unique frogs every time.
The construction is simple, involving working in continuous rounds with basic stitches and shaping techniques. To get nice stitch definition and good durability, it’s best to use cotton or cotton-blend yarn. This type of yarn helps the keychain maintain its firm structure, so your frog stays looking neat no matter how much it’s handled.
This little keychain makes a charming gift for friends or a cute party favor, and it’s also a sweet way to add a handmade touch to your own belongings. Don’t hesitate to add little details like tiny bows or embroidered smiles, there’s plenty of room to make this Free Crochet Frog Keychain pattern truly your own.
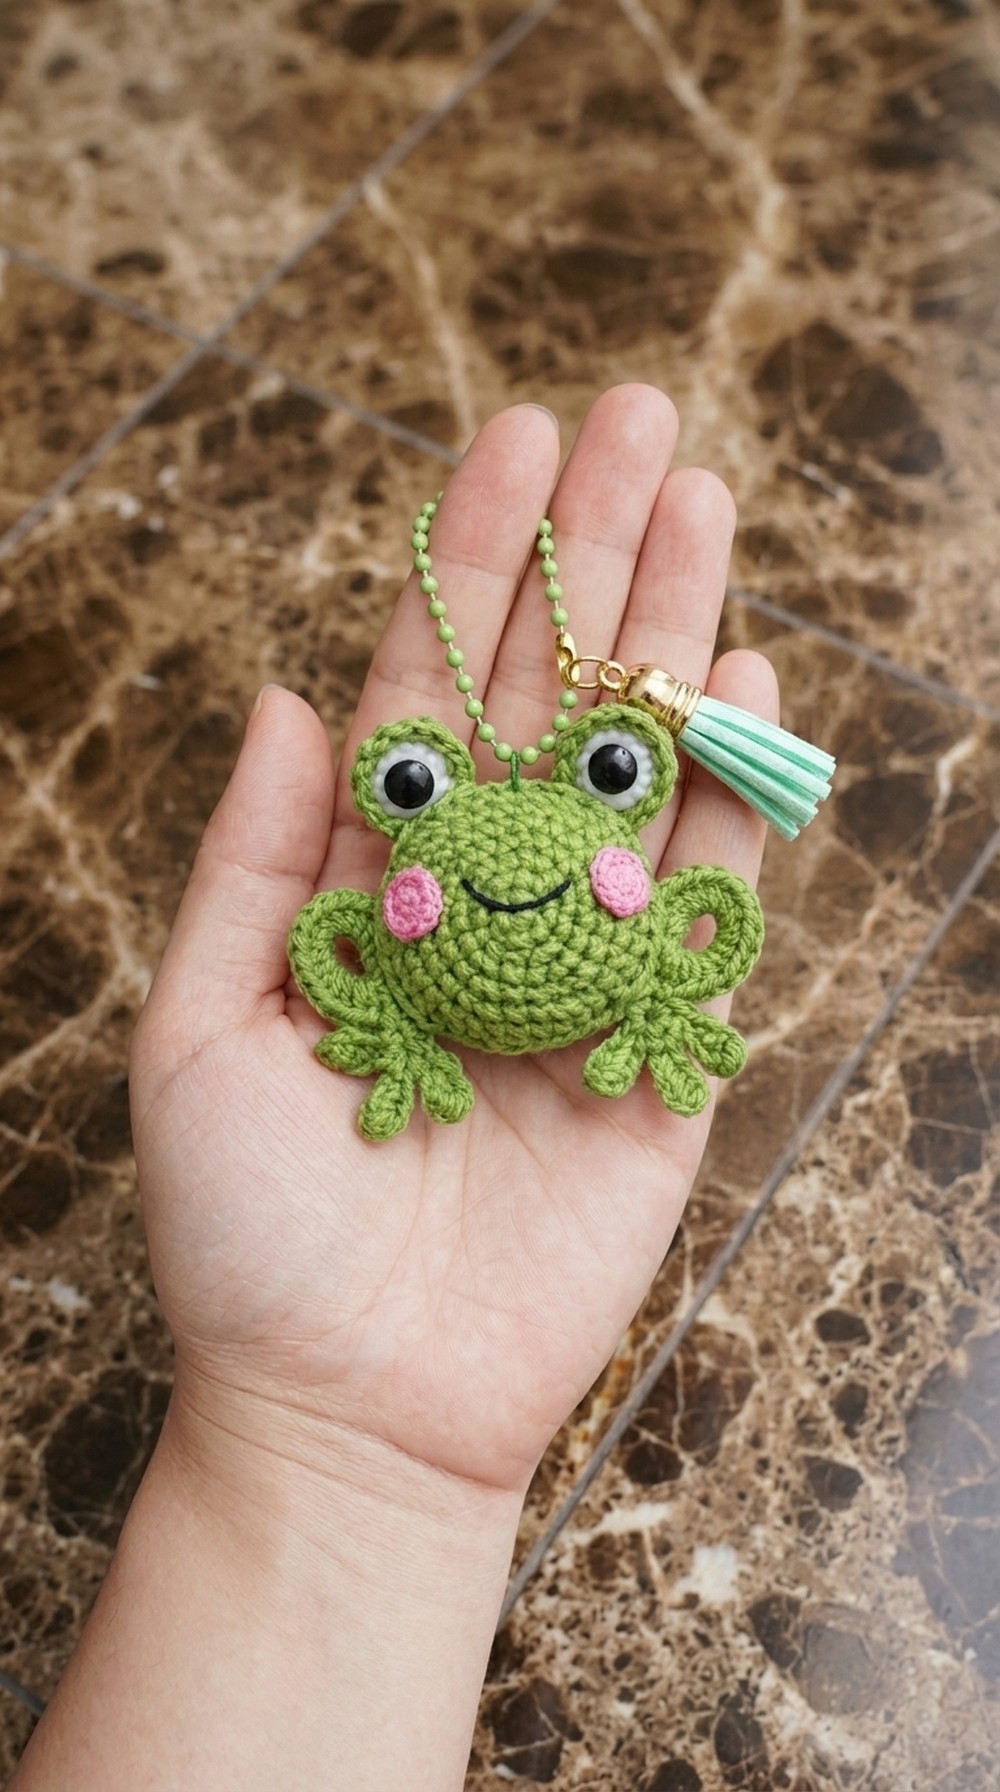
Cute Frog Keychain Amigurumi Crochet Pattern
Crochet your very own adorable frog keychain with this beginner-friendly amigurumi tutorial! The frog is made primarily in single crochet, worked in spirals for a round, squishy body, with three-toed legs, cheerful cheeks, and big whimsical eyes for extra charm. This project is perfect for practicing basic amigurumi shaping and simple assembly, resulting in a delightful accessory you can use as a keychain, bag charm, or gift. Choose your favorite colors and personalize your frog's expression for a totally unique amphibian friend!
Pattern Notes
- The pattern is worked in continuous spirals; use a stitch marker or scrap yarn to mark the start of each round.
- Stuffing is added before finishing assembly.
- Color changes are minimal; use embroidery thread for details.
- Cheeks can be crocheted, made with felt, or simply painted/blushed on.
- All parts are sewn or glued together at the end.
- Safety eyes are used, but you can substitute with embroidered or glued-on eyes.
Skill Level
Beginner Amigurumi
You should be comfortable with:
- Working in the round with single crochet
- Basic increases and decreases
- Magic ring (adjustable ring)
- Attaching limbs/parts
- Simple embroidery or surface detailing
Materials
- DK/light worsted yarn in green (main), white (eyes), pink (cheeks, embroidery thread or yarn), and black (mouth, embroidery thread or yarn)
- 1.8 mm crochet hook (or size appropriate for your yarn)
- Toy stuffing (polyester fiberfill)
- 7 mm safety eyes or googly eyes (or black yarn for embroidery)
- Tapestry needle/scissors
- Sewing or fabric glue (for cheeks and eyes if not sewn in)
- 0.75 mm hook for tiny details (cheeks, optional)
- Keychain hardware (chain, ring, tassel, etc. optional)
- Stitch marker or contrasting yarn scrap
Measurements / Sizing
- Finished frog: approx. 6–7 cm tall (2.5–3 in), not including tassel or keychain
- Eye circles: approx. 1.5–2 cm wide
- Cheeks: approx. 1 cm wide
- Legs: approx. 2.5–3 cm long
Gauge
- Tight amigurumi gauge—no stuffing should show between stitches.
Stitch Abbreviations
| Abbreviation | Meaning |
|---|---|
| ch | chain |
| sc | single crochet |
| hdc | half double crochet |
| dc | double crochet |
| inc | increase (2 sc in 1 st) |
| sl st | slip stitch |
| st(s) | stitch(es) |
| MR | magic ring |
Special Stitches
- Magic Ring (MR): Create an adjustable loop; work stitches into the loop, then pull to close.
- Invisible Join: After last stitch, join seamlessly using a tapestry needle (for smooth closure).
- Bobble/Finger Clusters: As worked for toes in legs, follows “partial double crochets” gathered in same stitch.
- Working in Back Loops: As directed for some parts.
The Crochet Pattern
1. Frog Body (Make 2)
With green yarn and 1.8 mm hook:
- MR, ch 1, 6 sc in the ring (6)
- inc in each st (12)
- [sc 1, inc] around x6 (18)
- [sc 2, inc] around x6 (24)
- [sc 3, inc] around x6 (30)
- [sc 4, inc] around x6 (36)
- sc in each st (36)
- Fasten off, leaving a long tail for sewing.


Make two identical pieces for front and back.
2. Legs (Make 2)
With green yarn:
Sole/Toes Section:
- MR, ch 1, 18 hdc in ring. Pull tight but leave ring semi-open to form a flat disc.
- sl st to first hdc to close round.
- ch 1, sc in same st and next st,
- (In next stitch) Work 3 dc in the same st to start first toe.
- ch 5, (working into chain) * Yarn over, insert into 2nd ch from hook, pull up loop, yarn over, pull through two, keep loop, repeat 4 times; yarn over, pull through all 5 loops. (Makes bobble for tip of toe) *
- Sc down next 3 chains.
- sl st to side of dc cluster.

Repeat toe steps for three toes.
8. After the third toe, sl st into base of first toe to close.
- ch 1, fasten off.

Second Leg is started the same, then after first section, turn the piece before making the toes to mirror the toes’ direction. (So when sewn on, left and right feet point opposite.) Hide all ends inside.
3. Eyes (Make 2)
Start with white yarn:
- MR, ch 1, 6 sc in ring.
- inc in each st (12)
- sl st to close circle, ch 1, cut yarn.
Change to green:
- Insert in any st, ch 1, sc in each st around (12). At round’s end, add 1 extra sc if needed to have 13 total for a tight fit.
- sl st to finish, cut yarn leaving a long tail for sewing.
4. Cheeks (Make 2, Optional)
With pink embroidery thread and 0.75 mm hook:
- MR, ch 1, 6 sc in ring (6)
- inc in each st (12)
- sl st to close, cut with long enough tail to sew.
5. Assembly Embroidery – Mouth
With black embroidery thread.
- After assembling body, embroider a simple smile/mouth between rounds 3–4, or where desired.
Assembly & Finished Size
- Use whip stitch or mattress stitch and the long tail from the body to join front and back, adding stuffing before closing the circle.
- Before closing sides, insert legs in between body pieces and sew in place securely.
- Attach eyes to top of body, sewing in at four points each for stability.
- Insert and attach safety eyes in center of white eye circles or glue googly eyes if preferred.
- Sew or glue cheeks beneath each eye, adjusting for cuteness.
- Embroider mouth in black as shown, weaving ends inside.
- Attach keychain ring or hardware through top or one side as desired.
- Finished size is about 6–7 cm tall, 7–8 cm wide (depends on yarn and stuffing).
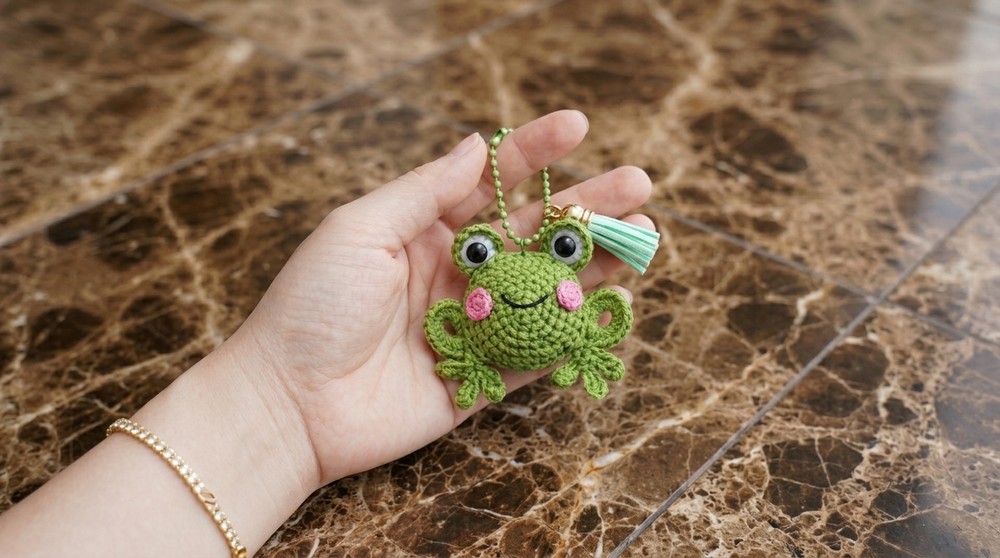
Quick Overview for Beginners
- Crochet two flat round body pieces (front/back).
- Crochet two feet with three toes each.
- Crochet two big eyes in white+green, add safety/black eyes.
- Crochet or create cheeks (optional).
- Embroider a simple mouth on front.
- Sew both sides of the body together, inserting and attaching legs and stuffing as you go.
- Sew or glue on eyes and cheeks.
- Attach your favorite keychain findings.
Tips for Success
- Use a very tight tension so stuffing doesn’t peek out.
- Use a marker to keep track of rounds in the spiral sections.
- For mirrored legs, remember to work the toes in opposite directions.
- Place eyes and cheeks symmetrically for a kawaii look.
- Hide all thread ends and knots inside the body for neatness.
- Customize your frog with different colors or add a bow, crown, etc.

Leave a Reply