

Find a charming crochet pumpkin that adds cozy fall decor to your home or makes a thoughtful handmade gift using simple stitches and soft yarn.
A soft pumpkin adds a warm and cozy charm to any space, making it perfect for fall decorations, Halloween décor, gifts, or even as a unique keychain. A crochet pumpkin features a round, plump shape that closely resembles a real pumpkin, adding a handmade touch to your seasonal style.
Fun Crochet Pumpkin Free Pattern With Warm Fall Style
These pumpkins often have a ribbed texture created by crocheted stitches and commonly include a small stem or leaf detail on top for added character. They come in various sizes—from tiny pumpkins ideal for keychains or ornaments to larger ones that work well for mantelpieces, tabletops, or shelves.
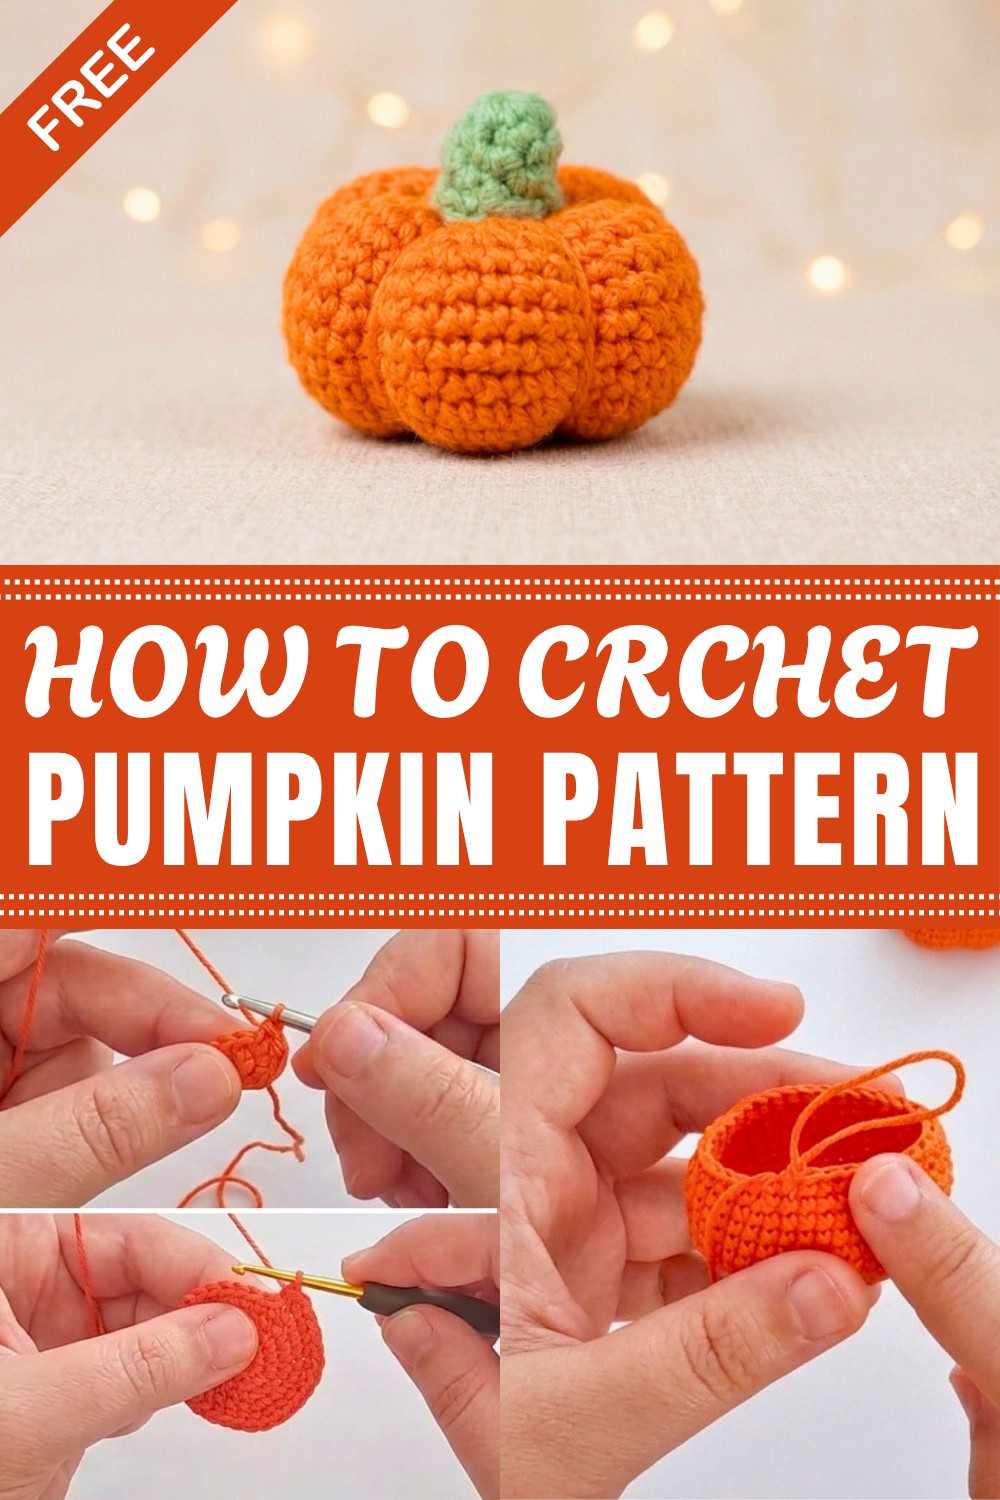
Creating a crochet pumpkin is a great project for beginners and intermediate crocheters. It involves basic techniques such as working in rounds, single crochet stitches, and simple increases and decreases to shape the pumpkin’s body and stem. This makes it accessible yet satisfying to make. Choosing yarn that is both soft and firm helps the pumpkin hold its shape while maintaining a pleasant texture.
Beyond being charming décor, crochet pumpkins offer a chance to practice important crochet skills. You can personalize them by experimenting with different colors, adding embellishments like leaves or curly vines, or adjusting the size to create a pumpkin patch effect. Whether displayed around the home, given as thoughtful handmade gifts, or attached to keys and bags, crochet pumpkins bring festive warmth and unique character to the autumn season.
About the Crochet Pumpkin Pattern
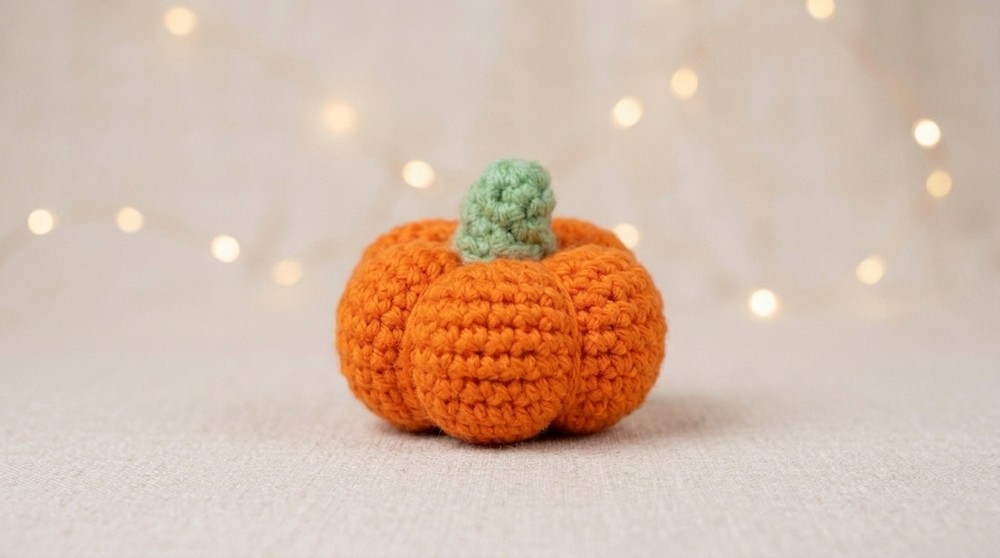
A classic amigurumi pumpkin is a staple for autumn décor, Halloween, and harvest displays. This pattern brings together simple shaping, basic increases and decreases, and subtle construction techniques to create well-defined segments and a realistic finish. Using cotton yarn and a small hook with tight stitches, the pumpkin emerges plump, round, and sturdy—ideal both as a festive centerpiece and as a beginner-friendly crochet project.
Pattern Basic Points
- Crocheted in the round using continuous spiral and amigurumi techniques for seamless shaping.
- Direct, systematic increases and decreases form the characteristic sphere, then the pumpkin is cinched for visible segments.
- Stem is made separately and attached for a finished look, easily customizable for color and length.
- Stuffed firmly with fiberfill for shape retention and stability.
- All assembly steps use basic sewing with a yarn needle.
Special Notes
- Maintain tight tension to ensure a solid fabric that holds stuffing without gaps.
- Always use a stitch marker at the beginning of each round in spiral work for accuracy.
- Adjust the thickness of segment lines (when defining the ridges) by varying the number of times you wrap and cinch the yarn.
- The stem can be lengthened or colored differently for creative effects.
Skill Level
Beginner – This pumpkin uses primarily single crochet, basic increases, and simple decreases, making it ideal for those starting amigurumi. Familiarity with working in the round and basic sewing required.
Materials
- Cotton yarn: Orange for pumpkin, green for stem (light worsted/2 plies recommended)
- 2mm crochet hook
- Fiberfill/stuffing: for shaping
- Yarn needle
- Scissors
Measurements
- Pumpkin: Approx. 5–7 cm (2–2.75") in diameter after stuffing, depending on tension and yarn weight.
- Stem: Around 2 cm (0.75") in length, proportionate to pumpkin size.
Gauge
- Gauge: Not critical, but keep stitches tight enough that stuffing is not visible.
- Stitch Pattern: All rounds use single crochet (sc).
Stitch Abbreviations
- sc – single crochet
- inc – increase (2 sc into one stitch)
- dec – decrease (sc two stitches together)
- mr – magic ring
- st(s) – stitch(es)
Special Stitches
- Magic Ring (mr): The ring is used to begin both pumpkin and stem.
- Invisible Decrease: Insert hook into front loop of next two stitches, yarn over, pull through both loops, yarn over, pull through.
Pattern Instructions
Pumpkin Base
Round 1:
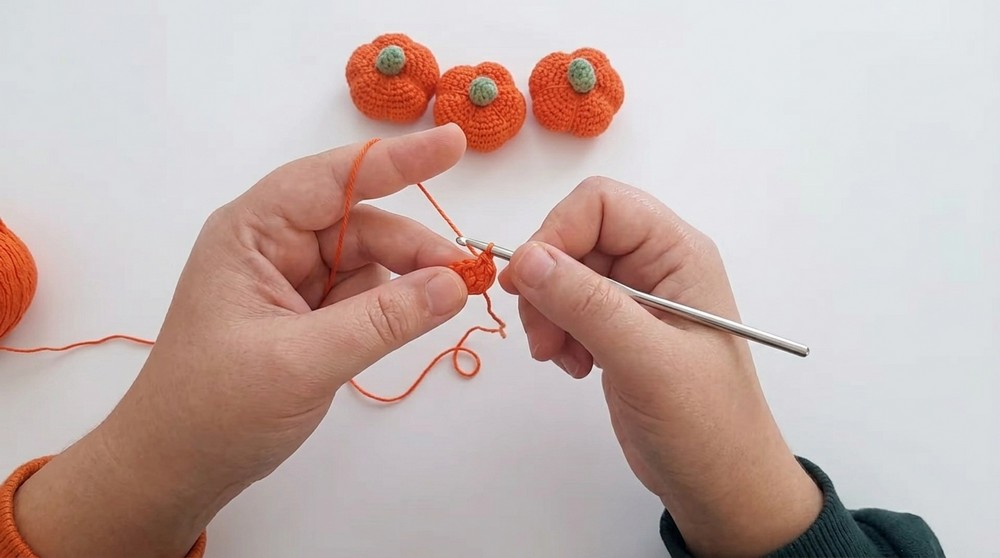
- With orange yarn: Make a magic ring, 6 sc in ring. (6 sts)
Round 2:
- Inc in each stitch around (2 sc in each st). (12 sts)
Round 3:
- [sc in the next st, inc] repeat around. (18 sts)
Round 4:
- [sc in next 2 sts, inc] repeat around. (24 sts)
Round 5:
- [sc in next 3 sts, inc] repeat around. (30 sts)
Round 6:
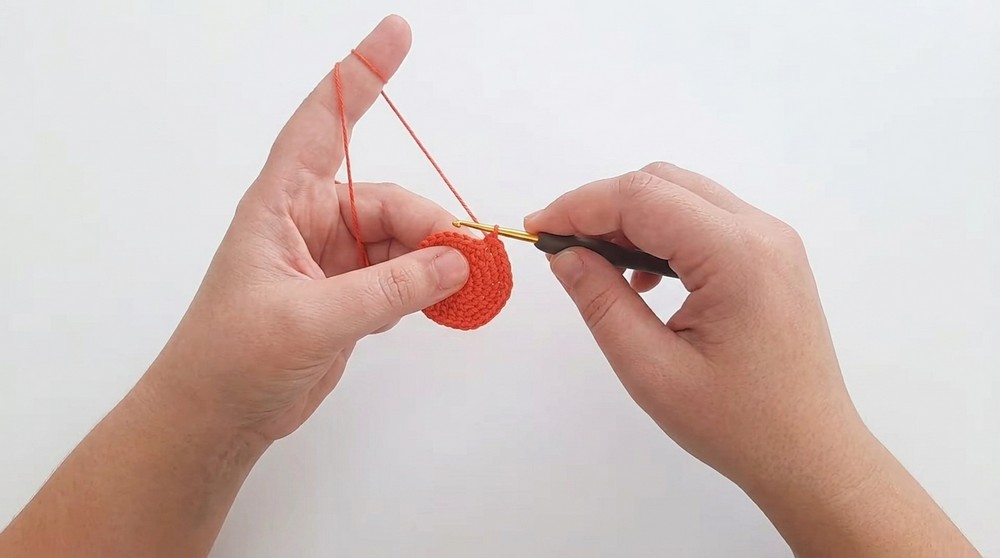
- [sc in next 4 sts, inc] repeat around. (36 sts)
Round 7:
- [sc in next 5 sts, inc] repeat around. (42 sts)
Rounds 8–13 (Body Rounds):
- Sc in each stitch around for 6 rounds (42 sts each round).
Decrease Rounds:
- Reverse the increase order to close the pumpkin:
Round 14:
- [sc in next 4 sts, dec] repeat around. (36 sts)
Round 15:
- [sc in next 3 sts, dec] repeat around. (30 sts)
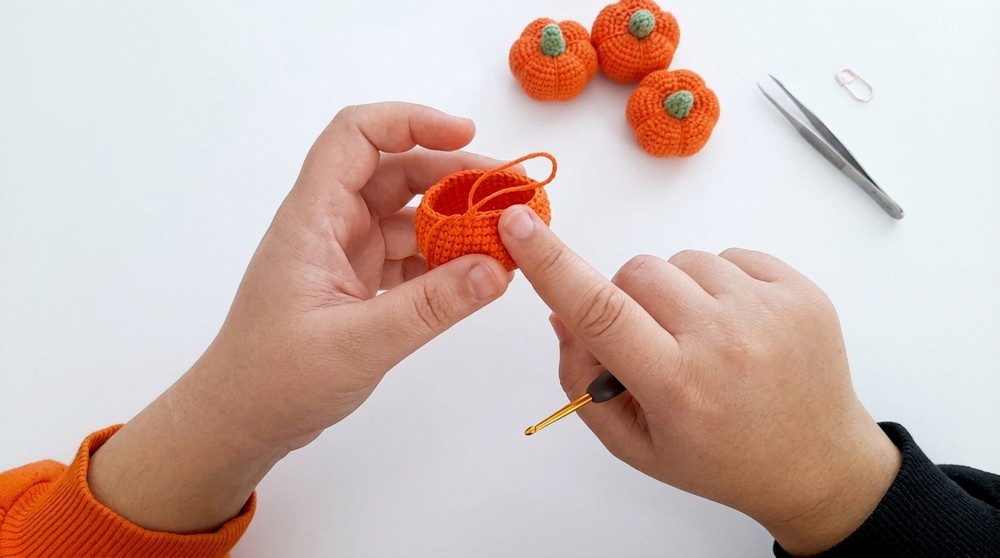
Round 16:
- [sc in next 2 sts, dec] repeat around. (24 sts)
Round 17:
- [sc in next st, dec] repeat around. (18 sts)
Round 18:
- [dec] repeat around. (6 sts)
Stuff the pumpkin firmly.
Fasten off, leaving a long tail for segment definition and closing.
Pumpkin Segment Definition
- With the yarn tail and yarn needle, close the opening by weaving through the last 6 stitches and pull tight.
- To define the segments:
- Insert the needle through the center top hole and out the center bottom hole of the pumpkin.
- Pull snugly, slightly indenting the pumpkin.
- Wrap the yarn around the outside edge, then repeat the process 5–7 times, spacing evenly to create the ridges.
- Pull gently each wrap for definition; knot securely at the top to finish.
Stem
Round 1:
- With green yarn: Make a magic ring, 4 sc into ring. (4 sts)
Round 2:
- Inc in each st around. (8 sts)
Rounds 3–5:
- Sc in each st around (8 sts per round).
Stuff the stem lightly if desired.
Fasten off, leaving a tail for sewing.
Assembly
- Attach the stem:
- Place stem base over the pumpkin’s top hole.
- Use the yarn tail and needle to sew stem securely around the hole, making sure it is centered and stable.
- Finish:
- Hide all ends inside the pumpkin.
Finished Size
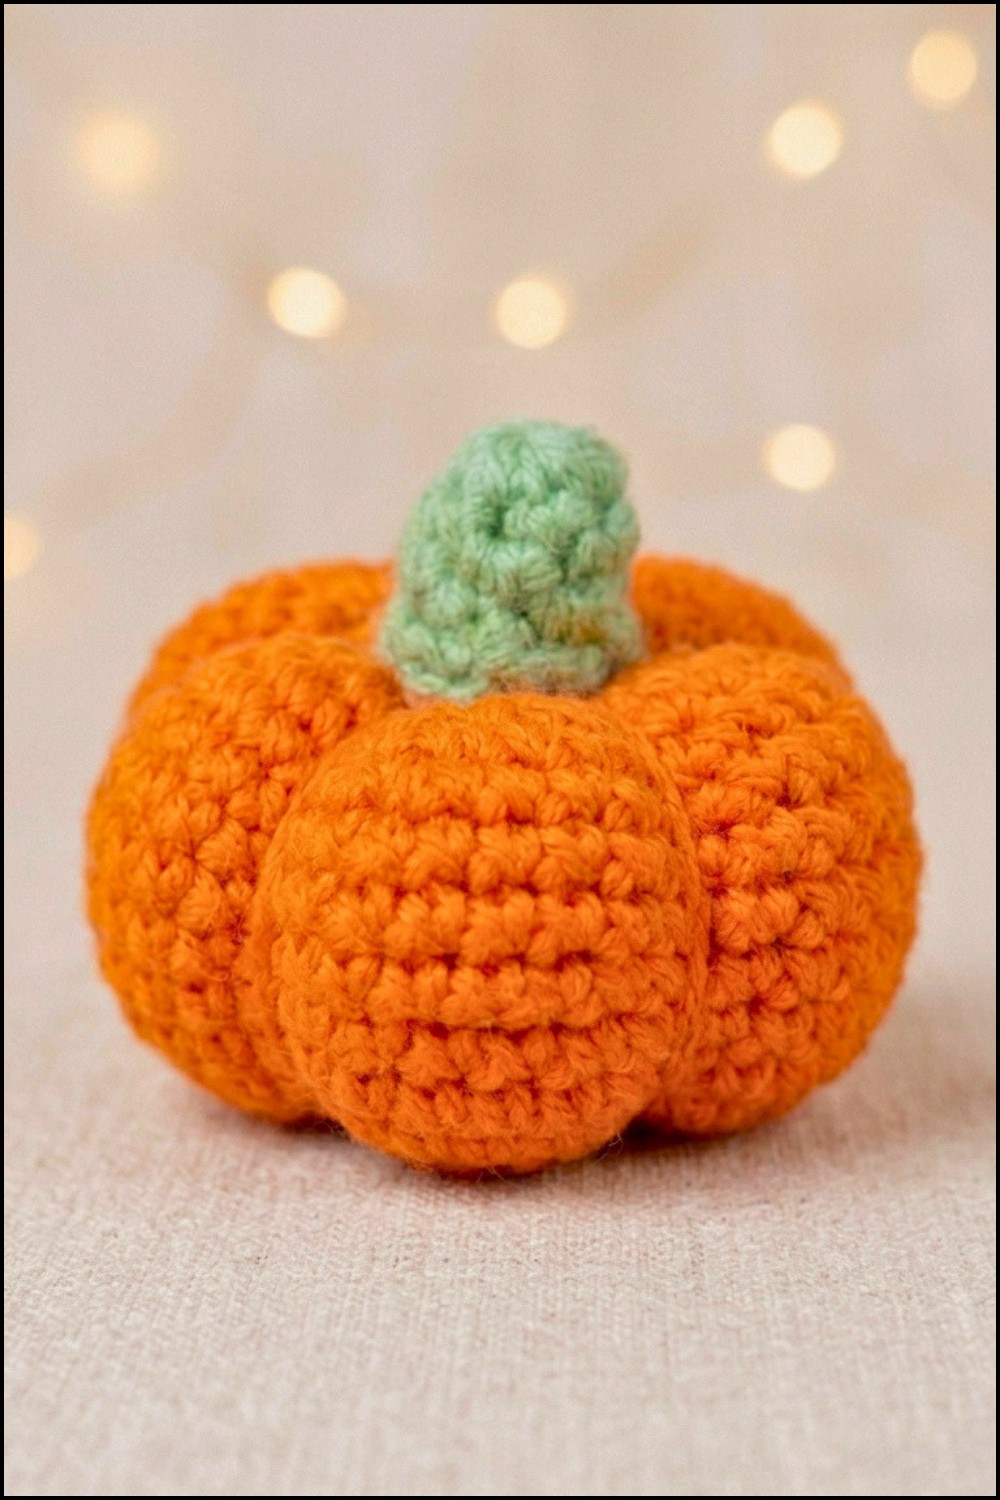
- The pumpkin will be about 5–7 cm wide, with a short, neatly attached stem.
- Segment definition is prominent, accentuating the classic pumpkin shape.
Conclusion
This compact pumpkin pattern is a prime example of using basic amigurumi shapes to achieve natural, sculpted dimension. The technique of cinching for ridges transforms a sphere into a charming autumn fruit. The project is quick and effective, suitable for confident beginners and easily expanded for larger or multi-colored pumpkins. The final piece is sturdy, tactile, and attractive for both seasonal decoration and gifting.




Leave a Reply