

Make your holidays brighter with this free crochet Christmas candles pattern, adding a cozy and festive touch to your decorations in an elegant and creative way.
I always enjoy making little decorations that bring holiday cheer to my home. One of my favorite easy projects is creating cute, festive candles made from yarn. The free crochet Christmas candles pattern is a wonderful way to craft colorful holiday ornaments that look warm and inviting.
Fun Free Crochet Christmas Candles Pattern for Holidays
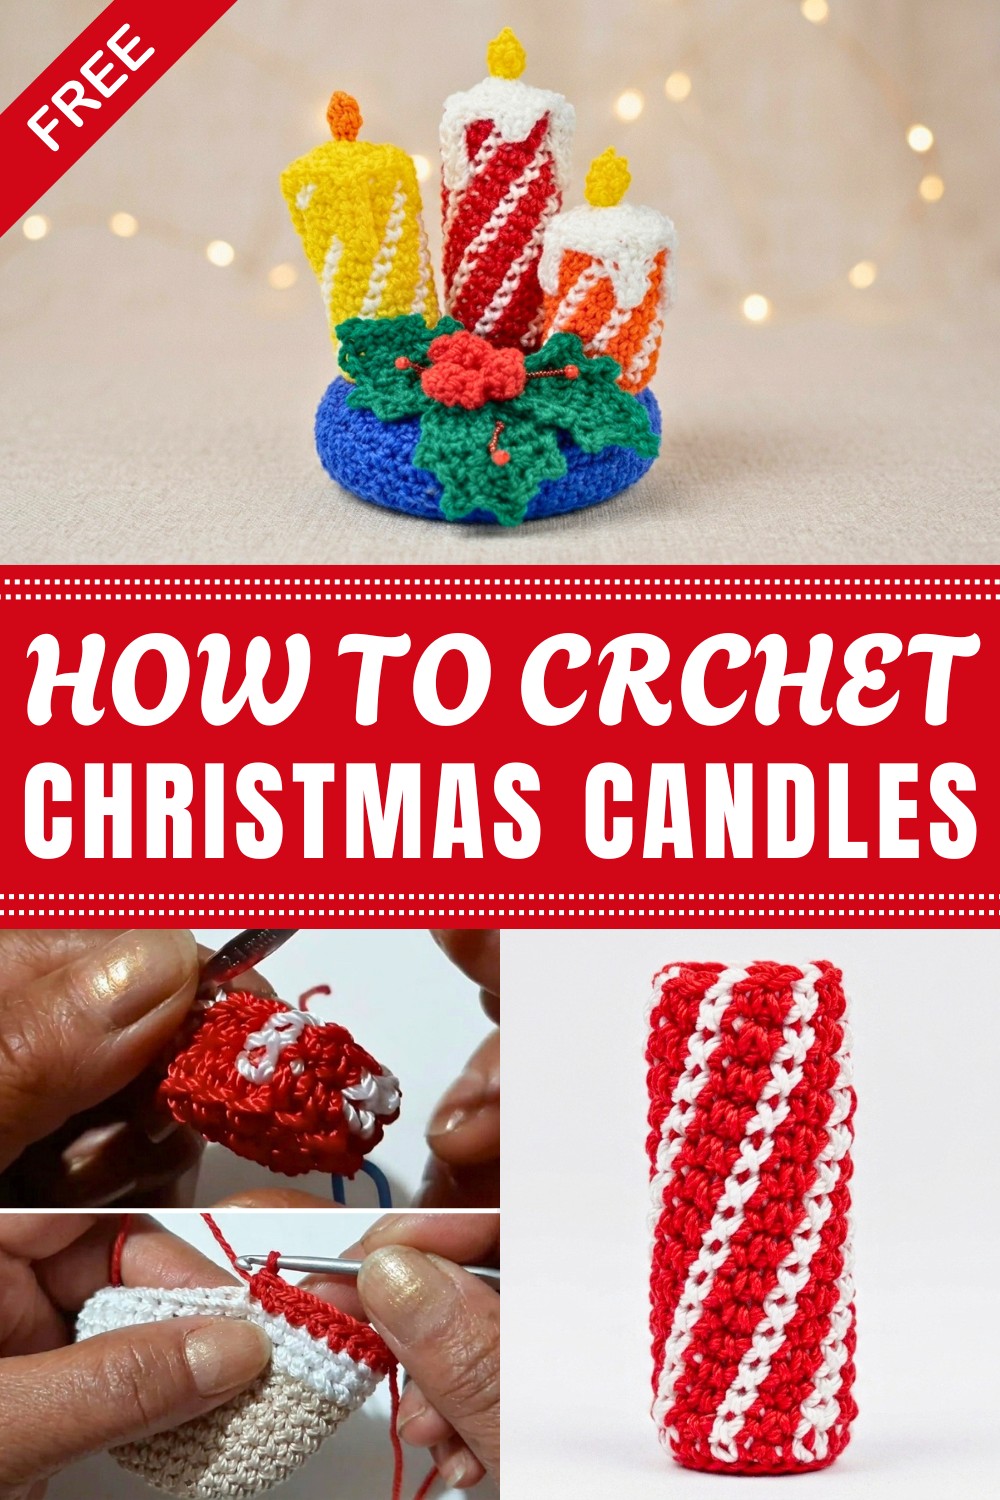
These crochet Christmas candles are lovely and charming. They look like real candles with a bright “flame” on top, but they’re soft and cozy because they’re made with yarn. The shape is tall and round, just like a candle, and the texture feels soft yet firm enough to hold up well. The style is simple but festive, often decorated with ribbons or holly made from crochet, which makes them stand out as perfect Christmas decorations.
This pattern is great for beginners since it mainly uses the single crochet stitch to build up the candle’s body and the flame. The instructions are clear, so even if you’re new to crochet, you can follow along easily and finish your candle quickly.

The free crochet Christmas candles pattern makes lovely gifts or decorations for your own holiday setup. They are safe to use anywhere since they’re flameless, making them perfect around kids or pets. You can even collect them in different colors or sizes to brighten your home year after year. Try making these sweet candles and add a warm, handmade touch to your festive season.
Crochet Decorative Candle Pattern
Add a warm accent to any table setting with this beautifully crocheted decorative candle. Designed with traditional festive colors and realistic shaping, this project includes a striped candle body, a charming rippled base, and a simple but effective crocheted flame. The finished candle is both striking as a standalone piece and perfect as part of a themed centerpiece or mantle display. Ideal for crocheters looking for a creative home project or thoughtful handmade gift, each step is thoroughly explained to ensure an enjoyable and successful experience.
Pattern Basic Points
- Structured Candle Body: Worked in a spiral with vivid red and white striping for a realistic wax effect.
- Rippled Decorative Base: Adds charm and stability, made with a creative chain and slip stitch sequence to suggest melted wax or a holder.
- Shaped Crocheted Flame: Made separately and attached, gives the project an authentic, finishing touch.
- Stuffed and Durable: Nylon yarn and firm stuffing keep the shape for years.
Special Notes
- Yarn Management: Because nylon can fray, all ends should be burned slightly with a lighter to seal.
- Color Changes: Carry yarn not in use up the inside of the body to avoid constant fastening off.
- Stuffing: Add just enough stuffing to hold shape and keep the candle upright.
- Base Edging: Be creative with ripple/chain lengths; the variation is intentional for a whimsical, organic edge.
- Safety Notice: Never use as a real candle! For decorative/novelty use only.
Skill Level
Adventurous Beginner to Intermediate
Comfort with working in the round, color changes, basic increases, and slip stitch edges are needed.
Materials
- Yarn: Omega Hilo Espiga (100% nylon), or similar strong nylon/fiber yarn (in Red, White, and Yellow)
- Hook: Size 2 (steel crochet hook)
- Other Tools: Scissors, lighter (for burning/sealing ends of nylon yarn), sewing/embroidery needle, polyester fiberfill or stuffing
Measurements / Sizing
- Finished height: Approx. 7–10 cm (2.7–3.9 in), can vary based on tension or added rounds
- Diameter: Approx. 3–4 cm (1.2–1.6 in)

Gauge
Gauge is not critical. The important thing is to work tightly enough for a firm, dense fabric that holds its shape and does not show stuffing.
Stitch Abbreviations
| Abbreviation | Stitch |
|---|---|
| ch | chain |
| sl st | slip stitch |
| sc | single crochet |
| dc | double crochet |
| inc | increase (2 sc in 1 st) |
| st(s) | stitch(es) |
| BL | back loops only |
Special Stitches
- Magic Ring: Begin with a loop, work stitches into it, and pull tight.
- Ripple Edge: Built by chaining a variable number, then working back into the chains with slip stitches and single crochets for wavy effects.
Pattern Instructions
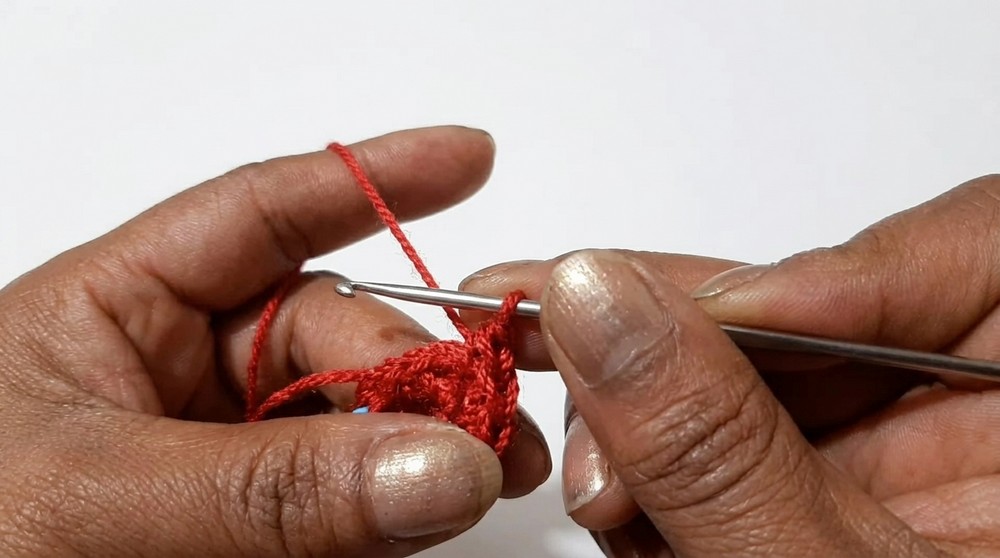
1. Candle Body
With Red and White:
- Make a magic ring.
- Work 6 sc into the ring. Pull tight to close the ring (first round complete).
- Round 2:
- Work 2 sc in each st around (inc in each st). (12 sc total)
- Round 3:
- [1 sc, 1 inc] repeat around. (You will alternate 1 sc in next st; then 2 sc in following st — total after round is 18 sc)
- Round 4:
- Working back loops only (BL):
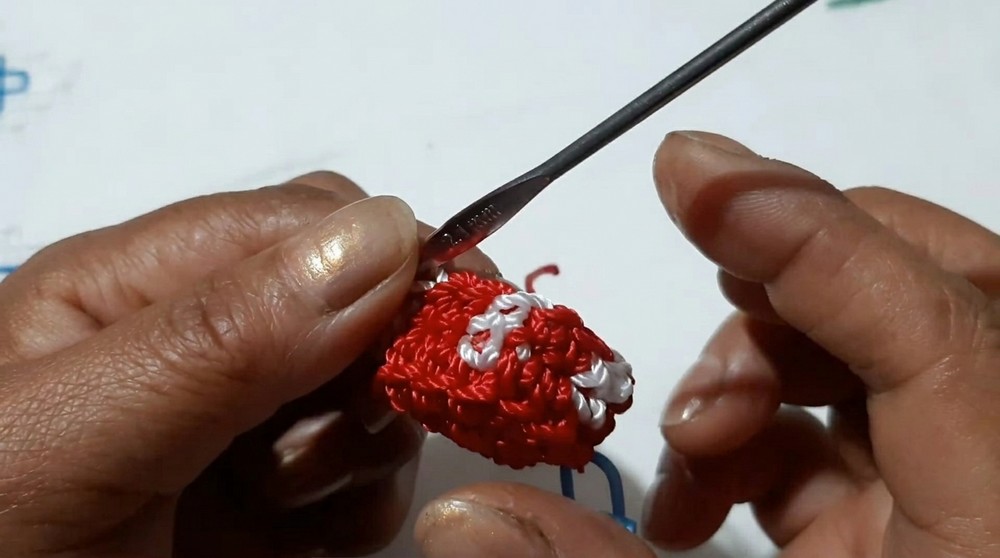
- Begin alternating 2 sc in red and 1 sc in white around the round.
- Continue this color sequence until round is complete. (You’ll have 6 sets of “2 red, 1 white” for 18 sts total)
- Working back loops only (BL):
- Rounds 5–16:
- (Switch back to working through both loops)
- Continue in a spiral (i.e., do NOT join rounds), maintaining the color pattern — 2 sc in red, 1 sc in white — in all rounds.
- At the end of Round 16 (or desired height), cut yarn, use lighter to seal nylon ends, and pull ends to inside.
- Stuff the candle firmly but without over-stretching.
2. Candle Base
With Red (or coordinating color):
- Work a magic ring.
- Round 1:
- 6 sc into ring. Pull closed.
- Round 2:
- 2 sc in each st around. (12 sc)
- Round 3:
- [1 sc, 1 inc]; repeat around. (18 sc)
- Round 4 (Decorative Ripple Edge):
- In each st, you’ll be making a small chain, then working back into it for a wavy rippled base:
- First st: ch 5, starting in second ch from hook, work back: sl st in next ch, sc in next, sl st in next, sc in next; sl st to base.
- Second st: ch 6, work back as follows: sl st, sc, sl st, sc, sl st; sl st to base.
- Next st: ch 3, sl st, sc; sl st to base.
- Next st: ch 7, (continue the same, using a combination of sc and sl st as before).
- Next st: ch 4, similarly work back and sl st to base.
- Repeat pattern around the base alternating ripple sizes for organic effect.
- Fasten off, seal end with lighter.
- In each st, you’ll be making a small chain, then working back into it for a wavy rippled base:

3. The Flame
With Yellow:
- Ch 4.
- In the first chain from the hook (furthest from your hook), work 4 dc.
- Fasten off, leave long tail for sewing.
- Seal end with lighter.
4. Assembly
- Using sewing needle:
- Attach the base: Whipstitch or sew the base to the bottom opening of the stuffed candle body. Stitch all around to secure.
- Attach the flame: Sew flame securely into the center of the candle’s top surface, taking care to anchor well and weave in ends.
- Any remaining tails should be secured and trimmed; nylon ends burned gently so they won’t fray.
Assembly & Finished Size
- When fully assembled and shaped, your candle should stand upright, with a gently ruffled base and a small yellow flame at the top.
- Approx. height: 7–10 cm (customizable by adjusting rounds).
- Diameter at base: 3–4 cm.
Conclusion
With the completion of this project, you’ve created a charming and realistic crochet decorative candle—a lasting symbol of warmth and celebration perfect for holiday tables, home decor, or festive gifts. Show off your colorwork and textured crochet skills with this safe, flame-free accent. The playful ripple base and simple stitched flame add delightful detail and whimsy. Be creative: try metallic yarn for a "glowing" flame or experiment with different color spirals for birthday and event themes.



Leave a Reply