

Follow this free Crochet Bolso Granny Square Bag pattern to easily work through each step and complete a charming and colorful accessory for any occasion.
Do you love carrying something colorful and different? The Crochet Bolso Granny Square Bag is a lovely accessory made by joining small crochet squares together. Its mix of colors and traditional design gives it a fun, relaxed look. It is a nice choice for anyone who likes useful accessories with a personal style. Yanet pupo crochet shares this granny square idea for people who love working with yarn.
Free Crochet Bolso Granny Square Bag Pattern To Match Outfits
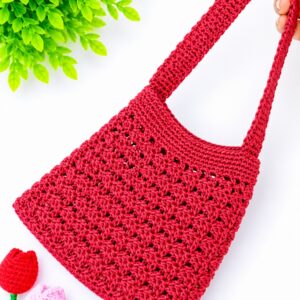
The bag features several square pieces connected to form its main body. Each square can have a different color arrangement, giving the finished item an interesting appearance. The small openings between the stitches add texture, while the handles allow you to carry it comfortably. You can choose earthy tones, soft pastels, or a mix of your favorite shades.
The making process starts with crocheting individual granny squares. Once the required number is finished, the pieces are joined to form the bag. The opening and handles are completed afterward. Keeping the squares even helps everything fit together properly.
You can use this bag for carrying everyday items, going shopping, or spending time outdoors. It also looks nice with a plain cotton dress, wide trousers, or a casual summer outfit. It can be a thoughtful handmade gift for someone who likes simple fashion.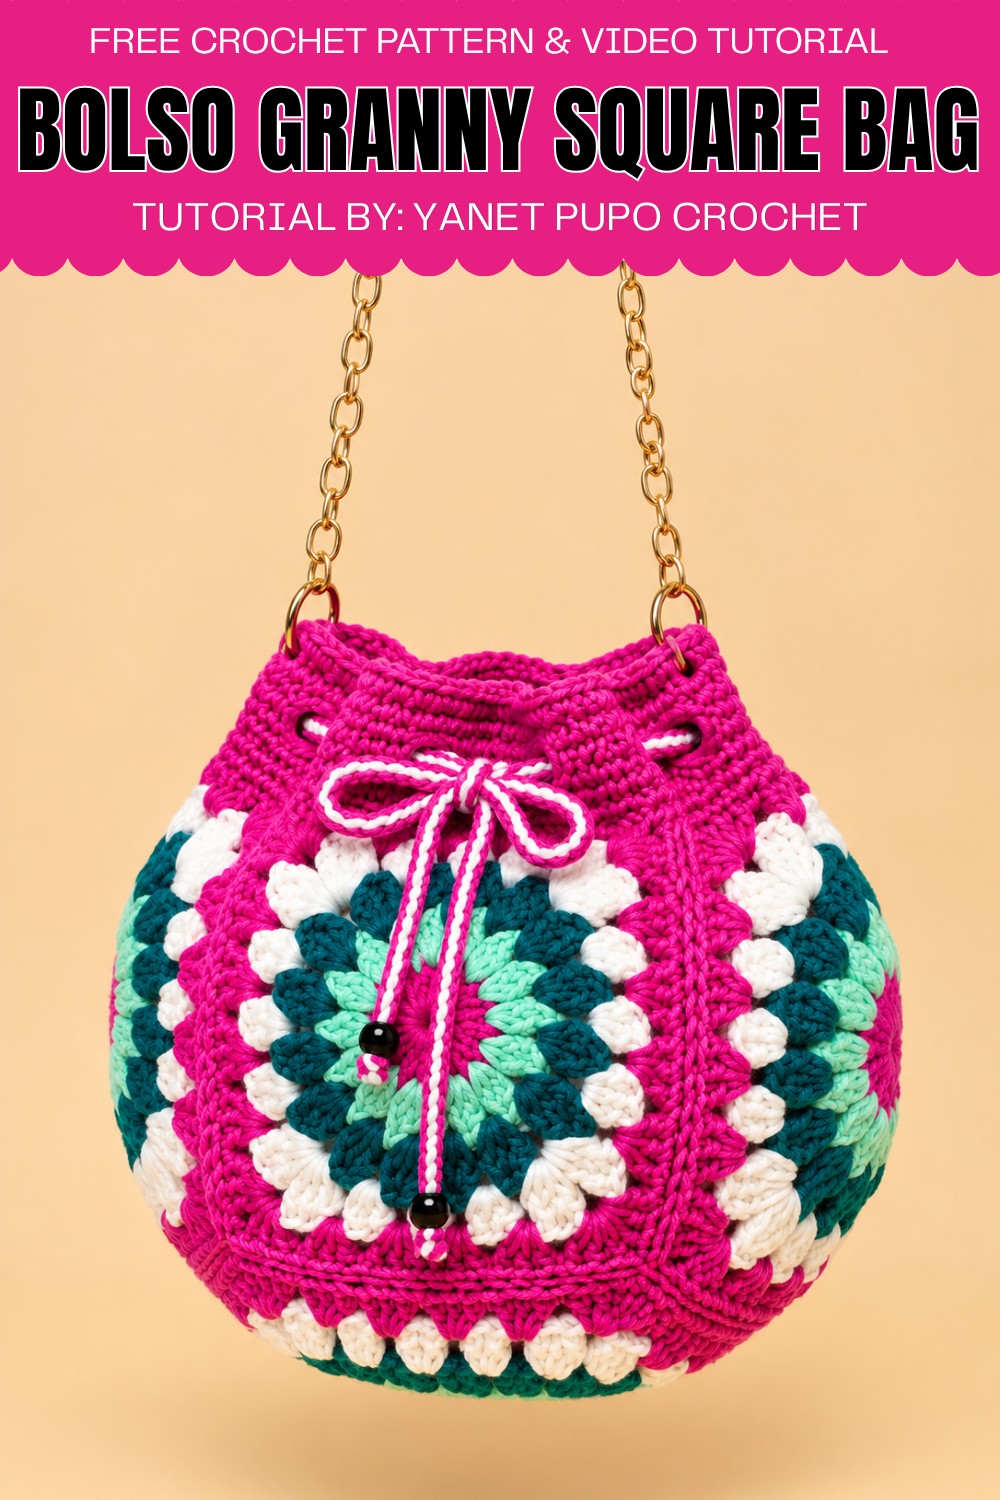
This bag is useful for daily activities and gives you the freedom to choose your own colors. Its granny square design adds a personal touch without needing extra decorations.
About the Pattern
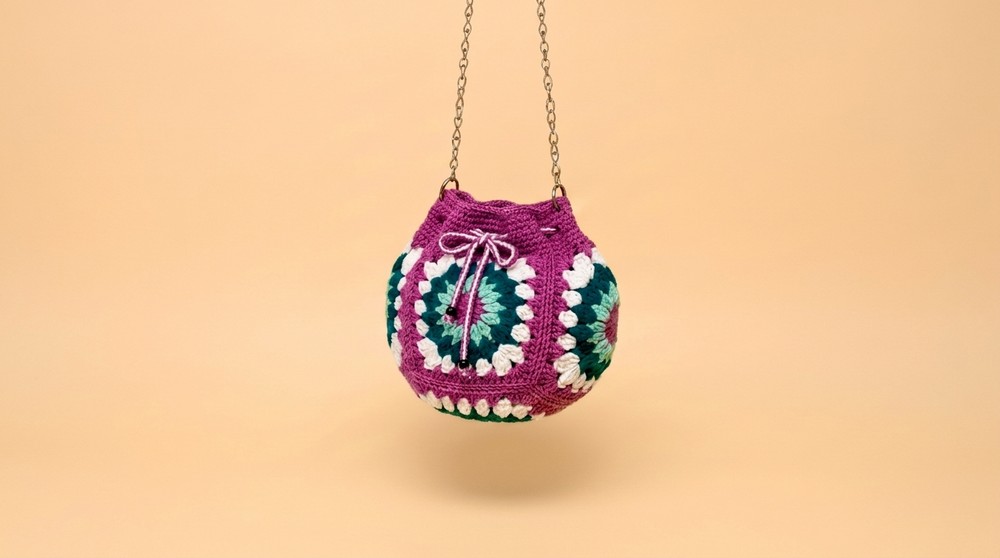
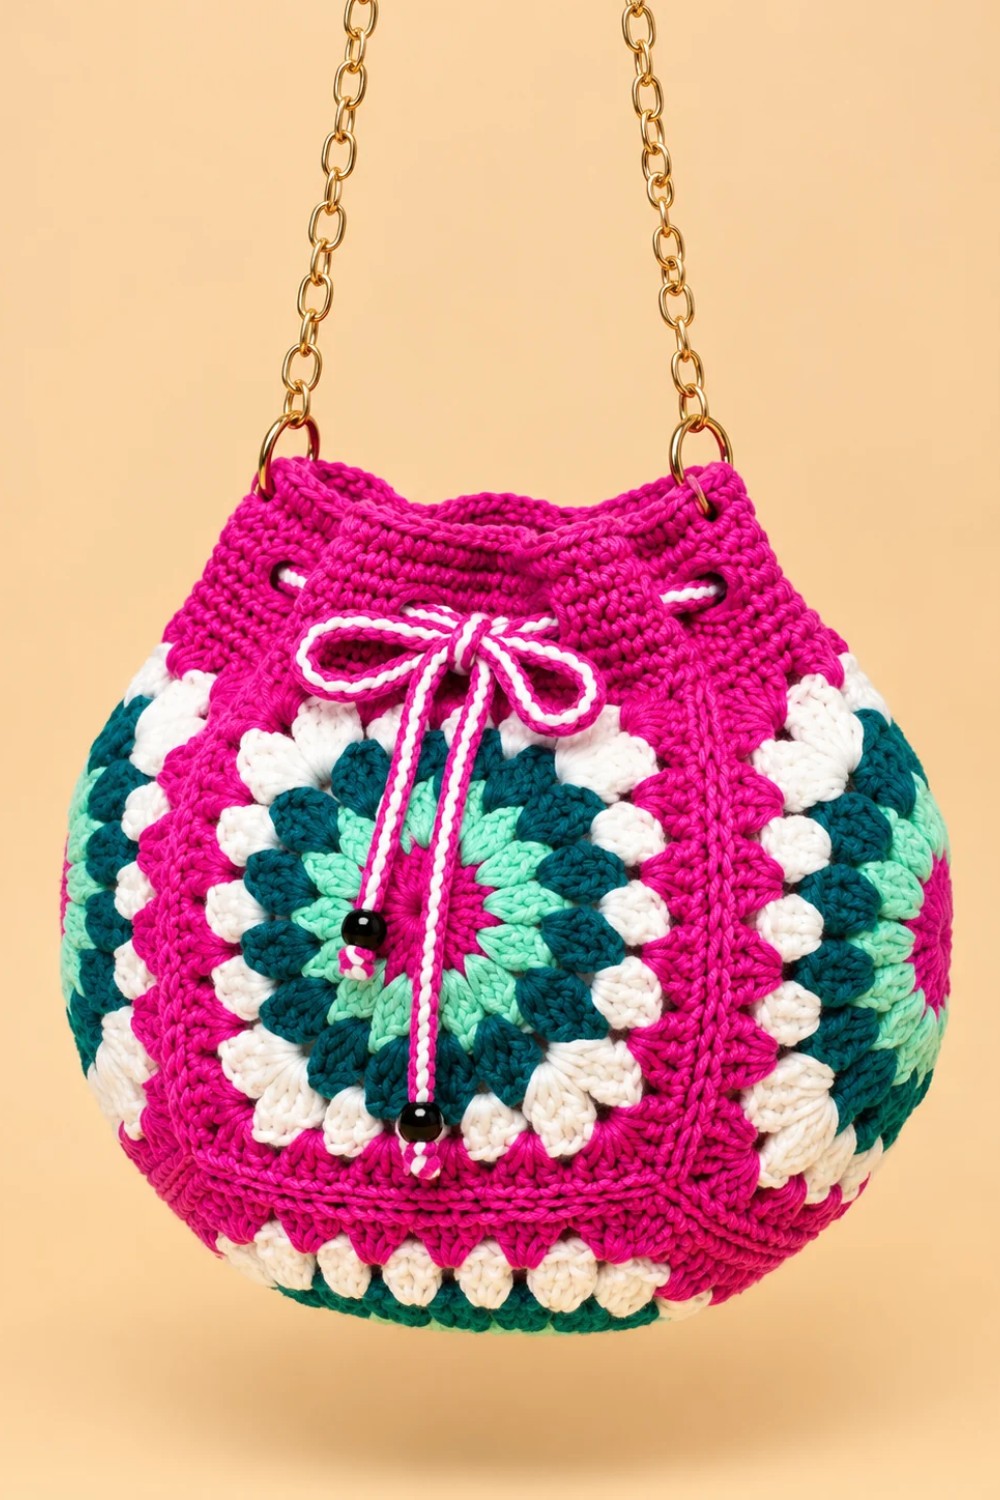
This drawstring bag is a versatile and stylish accessory, constructed simply by joining five square crochet motifs. The project highlights colorwork, seaming skills, and neatly finished edges, with a drawstring closure and an optional chain handle for enhanced functionality. With customizable color choices and easy-to-modify dimensions, the finished bag is suitable for casual outings or as a gift. The sturdy wool and precise seaming provide both visual appeal and lasting durability.
Pattern at a Glance
- The bag is worked from five identical crochet squares, joined together to create a three-dimensional form.
- Assembly is achieved by sewing or crocheting the squares with careful alignment.
- The top edge of the bag is structured with single and half double crochet rounds to reinforce stability and guide the cord.
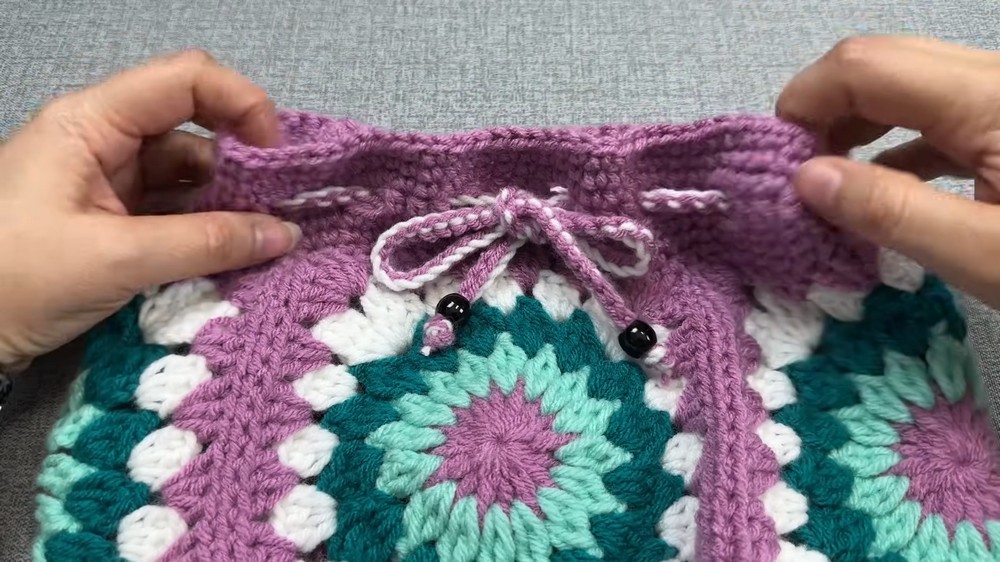
- A decorative cord is woven through chain spaces near the top.
- An optional chain handle is affixed with removable rings.
Important Notes
- For seam invisibility, use the same color thread as the motifs when joining.
- Firm, even seaming improves the shape and longevity of the bag.
- Square motifs should be identical in size; different color combinations add a personal touch.
- Always check alignment at corners when joining for neat, structured results.
- The cord can be made with one or two colors for a marled effect.
Difficulty Level
This pattern is suitable for advanced beginners. Basic knowledge of squares, seaming, and working in rounds is required, along with comfort in basic stitch variations (single crochet, half double crochet).
Supplies Needed
- 80 g worsted-weight (#4) wool yarn, assorted colors as desired
- 3.75 mm aluminum crochet hook
- Wool/large-eyed yarn needle
- Scissors
- Two 6.5 mm or similar rings for handle attachments
- Optional: Chain handle (store-bought or handmade)
- Hair braid bead or decorative stopper (for cord ends)
Size & Measurements
- Finished bag width: approximately 32 cm
- Finished height: approximately 26 cm
- Drawstring cord: approximately 65 cm (make to fit as needed)
- Each square: size will vary, but must be equal for even join
Gauge & Stitch Details
- Gauge is not strict; ensure five squares are identical in size for smooth assembly.
- Main stitches: single crochet, chain, slip stitch, half double crochet.
- Edge and structure: three rounds of single crochet after join, then a round with half double crochet and chain spaces.
- Consistency matters: work with moderate tension for crisp, sturdy squares and neat seams.
Crochet Abbreviations
- ch: chain
- sc: single crochet
- hdc: half double crochet
- sl st: slip stitch
- st(s): stitch(es)
Special Stitch Guide
- Single Crochet Decrease: Insert hook into st, pull up a loop, insert hook into next st, pull up a loop, yarn over, pull through all three loops.
- Joining: Use whipstitch/sew with yarn needle or work sc or sl st with hook, picking up the appropriate stitch or chain on each motif edge.
Complete Crochet Pattern
Bag Motif Squares
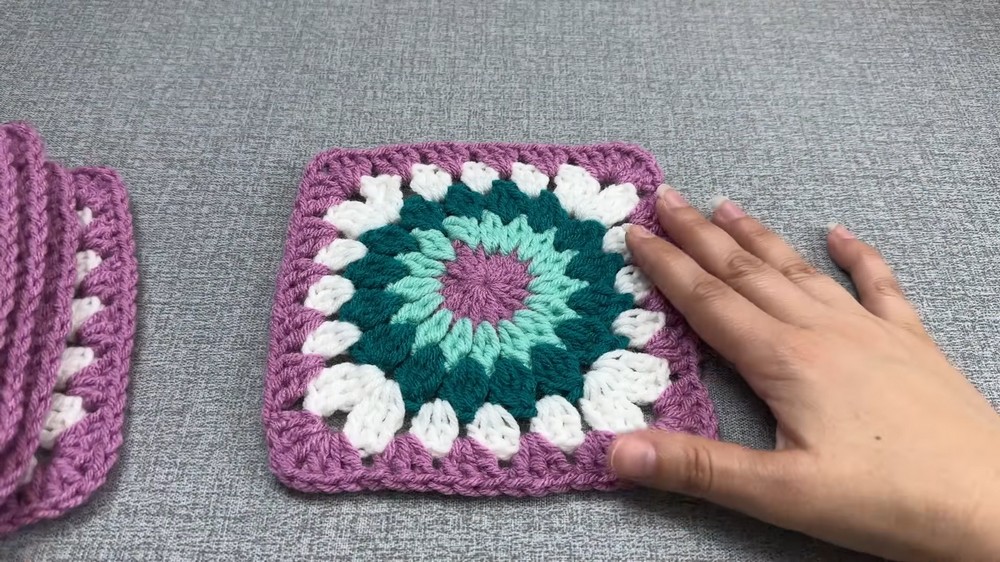
Make five squares in chosen colors. Each should match in size. See resources or recommended pattern for motif construction.
Assembly (Joining Squares)
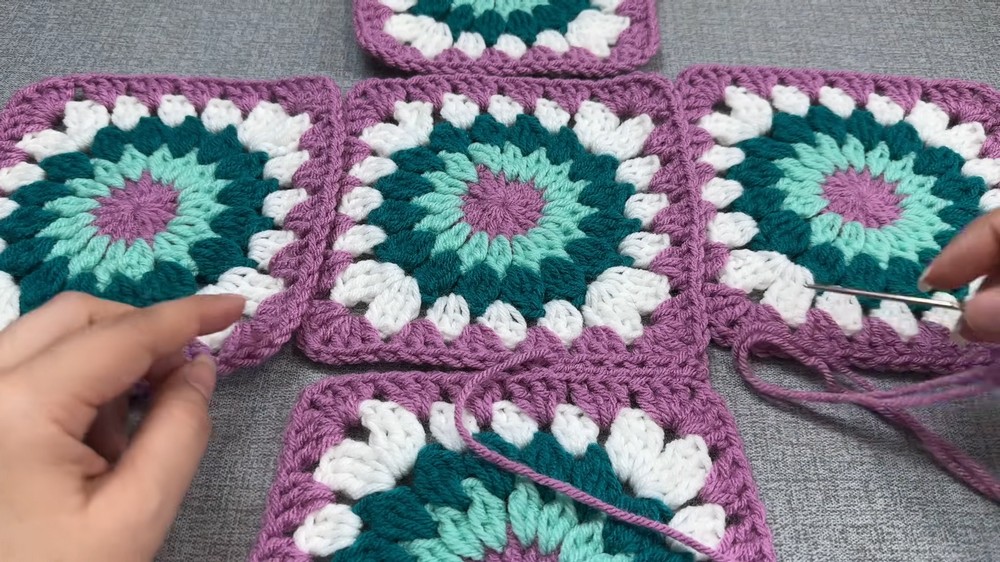
Step 1: Arrange squares with one in the center and the other four on each side to form a cross shape.
Step 2:
Join with a wool needle (preferred for invisibility) or with a sc or sl st seam:
- Working with right sides facing, align edges, taking one st (or ch) from each motif side.
- Sew or crochet edges together with matching yarn.
- After every three stitches, pause to gently pull and secure the seam.
Step 3:
Continue joining edges until all four sides of the center square are attached to the outer squares. This forms the bag “base” and sides.
Step 4:
Once the sides are attached, seam adjacent outer squares together vertically, raising the bag sides. After this step, the bottom and sides of the bag are assembled, ready for the top finishing.
Top Edge Finishing
Round 1:
- With the same color yarn, join at any top corner.
- Ch 1 (does not count as a stitch).
- In the same place, work 1 sc.
- Sc in each st around the entire top, working one sc in each corner and stitch.
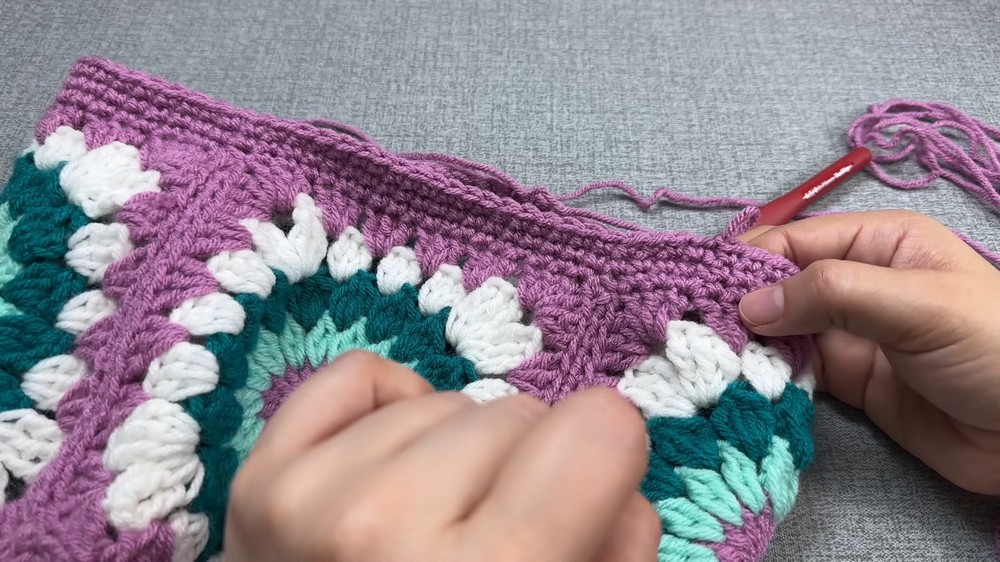
At each seam union:
- When reaching a seam, insert hook through both edge seams, yarn over, pull up a loop, then again in the next seam, yarn over, pull up a loop, and single crochet decrease these together. This creates a smooth, unified edge.
Continue:
- Sc in each st (or ch) between seams.
At round’s end:
- Sl st to beginning sc to close the round.
Rounds 2 & 3:
- Ch 1, sc in each sc around, sl st to complete the round.
- No decreases necessary; keep stitches even and aligned.
- Repeat for a total of three rounds of single crochet (including first joining round).
Eyelet & Shell Round
Next Round:
- Sl st to start, ch 2 (counts as first hdc).
- Hdc in next 2 sts (3 hdc in total).
- Ch 2, yarn over, skip 2 sts, hdc in next 3 sts, repeat around.
- Adjust at end: if 4 sts remain, skip one ch, place group in next st, leaving a small gap (for cord).
Sl st to join at round’s end.
Finishing Rounds
Single Crochet Rounds:
- Ch 1, sc in each st, and sc in each ch of eyelet spaces.
- At separation ch-2 spaces, work 2 sc (one in each chain).
- Continue in rounds until you have three rounds of sc (or as thick as you wish).
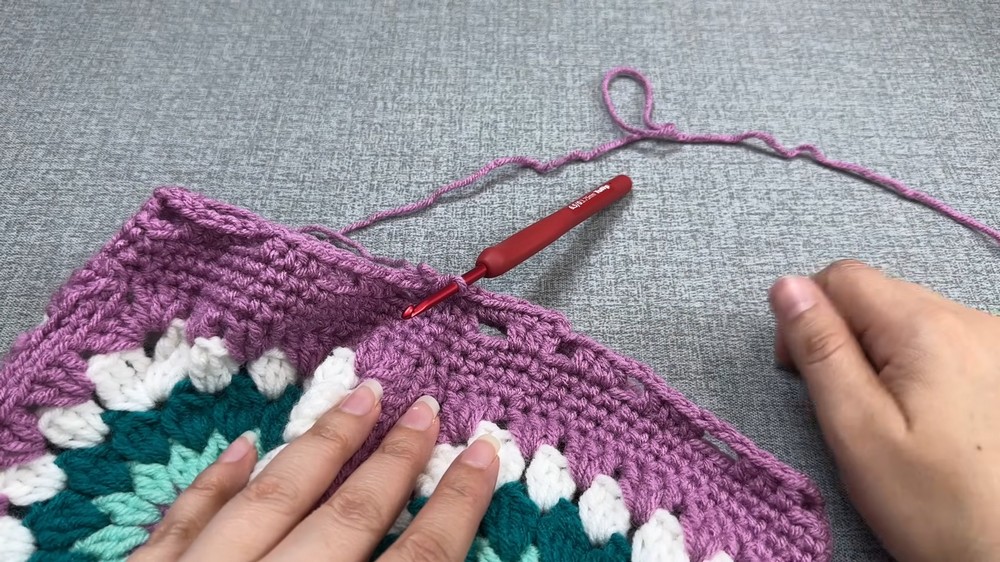
Fasten off and weave in ends on the inside, hiding thoroughly for a secure finish.
b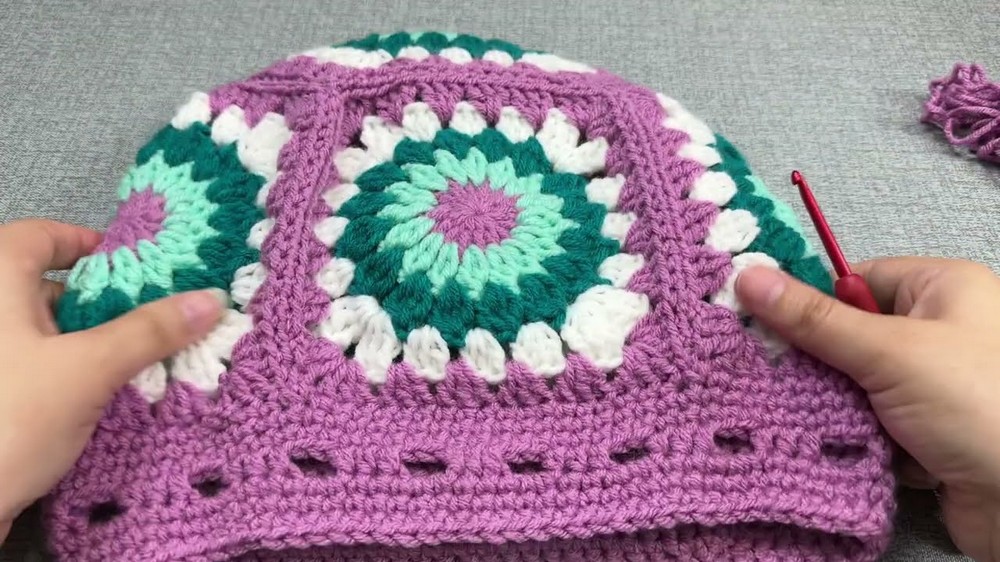
Drawstring Cord
- With two yarn colors held together, tie a knot to start.
- Holding one color over hook, use other to close the loop, repeat—this creates a square, mixed-color cord.
- Continue until cord measures at least 65 cm or to preferred length.
- Trim and use a bead or hair braid accessory at ends, knotting tightly and trimming flush.
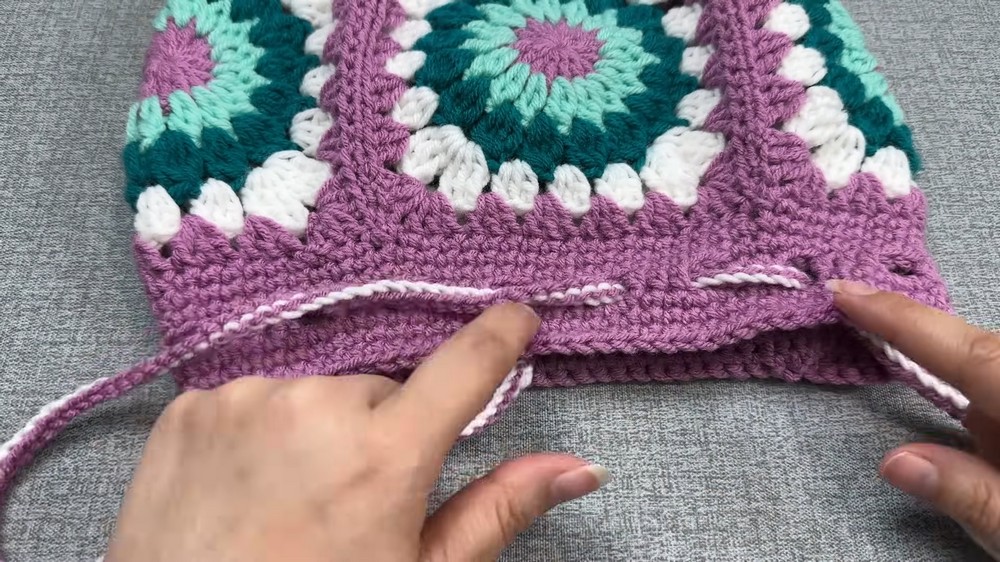
Weaving Cord:
- Weave cord through the top eyelets formed by ch-2 spaces: over one, under the next, all the way around.
- Tie ends together securely.
Handle Assembly
- Attach chain or ready-made handle at opposite sides, centering each on the second round from the top, away from the topmost edge to prevent stretching.
- Use removable rings for easy attachment and adjustment.
Assembly & Finished Size
Once completed, the bag measures approximately 32 cm wide and 26 cm high, with a 65 cm drawstring cord threaded through the top. Five equally-sized squares form a boxy, structured base and sides. The handle is easily removed for washing or styling. Decorative elements like hair braid beads not only add flair but also keep the drawstring knot secure.
Conclusion
This project demonstrates how a collection of simple crochet squares can be transformed into a practical and attractive accessory. Combining structured assembly with creative finishing techniques such as edge rounds and decorative cords, the completed bag is both robust and versatile. With opportunities for personalization in color choice and handle placement, the pattern is accessible, satisfying, and ideal for building technique and personal style.

Leave a Reply