

Add charm to your home and enjoy a simple and fun project by crocheting a Crochet Hedgehog that also serves as a thoughtful handmade gift anyone will love.
Small crochet toys are fun and cute, and this little hedgehog is just that. It has a round body, short legs, and sweet details that make it look friendly. This soft toy is nice to put on shelves, desks, or in a baby’s room. It also makes a great gift or a nice item to collect.
Beautiful Crochet Hedgehog Free Pattern to Add Charm to Home Décor
The hedgehog is small and easy to hold. Its body has stitches that look like little spikes, and the face is simple and kind. You can add safety eyes or sew a small nose to make it special. The colors and shape make it a happy decoration.
This project is good for beginners and people who know some crochet. It uses easy stitches like single crochet, magic ring, and simple increasing and decreasing. You will also add small details. The toy is small, so you can finish it in a few hours.
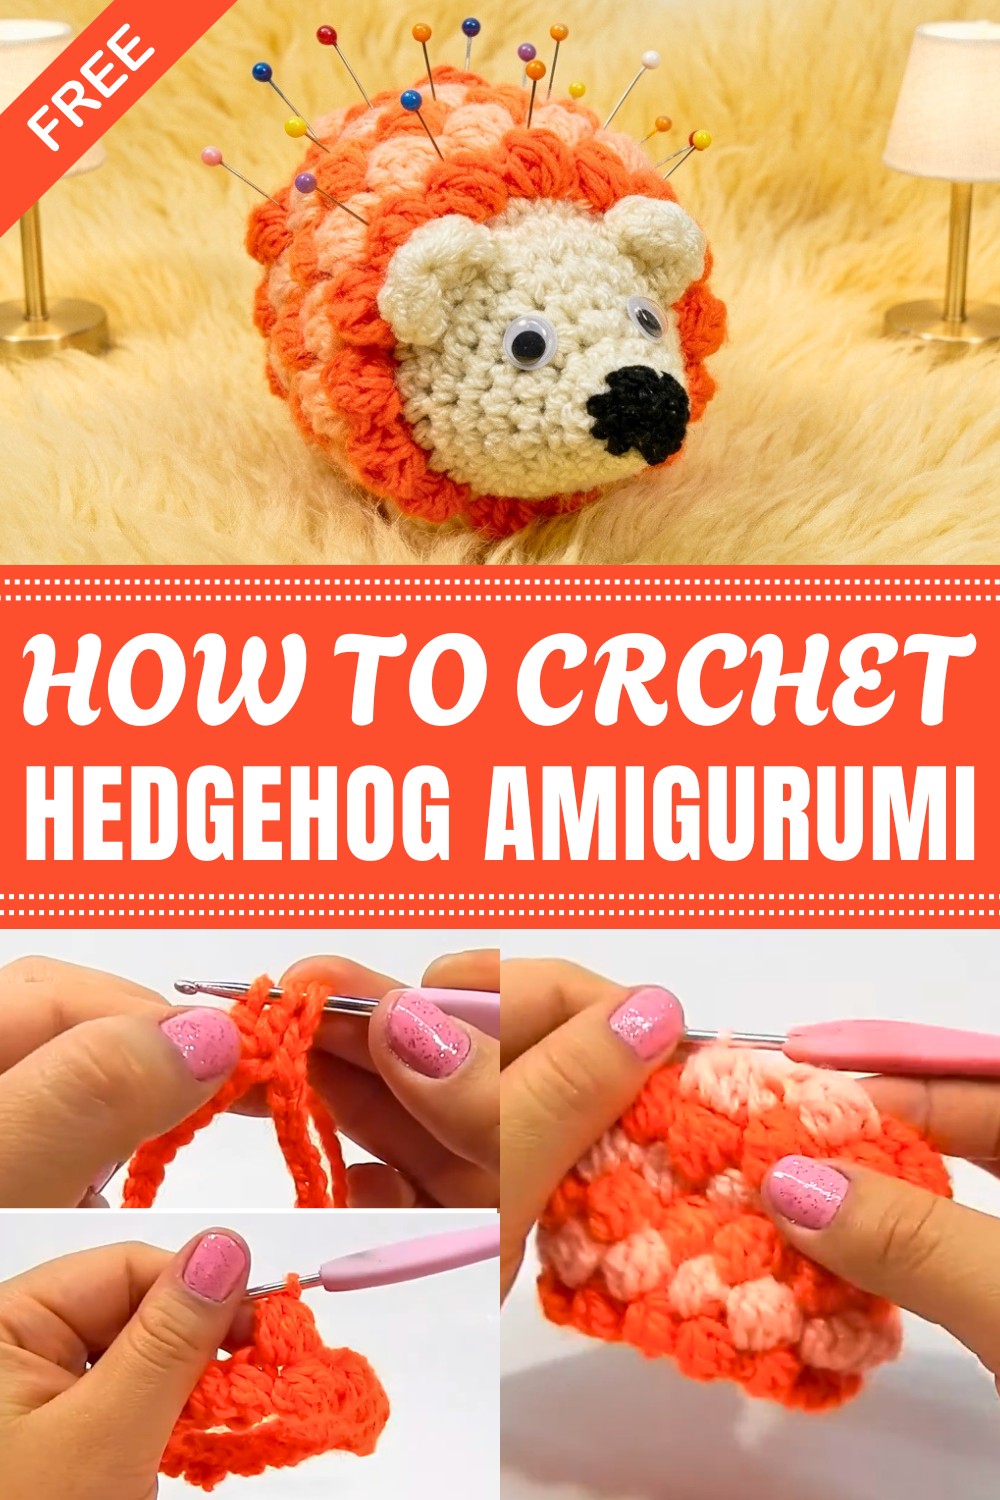
Putting the parts together is fun and helps you learn how to build a toy step by step. The hedgehog brings a nice feeling wherever you place it.
This little crochet hedgehog can be used in many ways. It can sit on your desk, decorate a baby’s room, or be part of a collection. It makes a thoughtful gift for birthdays or baby showers. Some people use it as a pincushion or a keychain decoration.
If you like making small yarn toys, this Crochet Hedgehog project is a good one. It uses simple stitches and makes a cute toy. Keep reading to get tips to crochet your own tiny hedgehog.
Amigurumi Hedgehog Pin Cushion Pattern
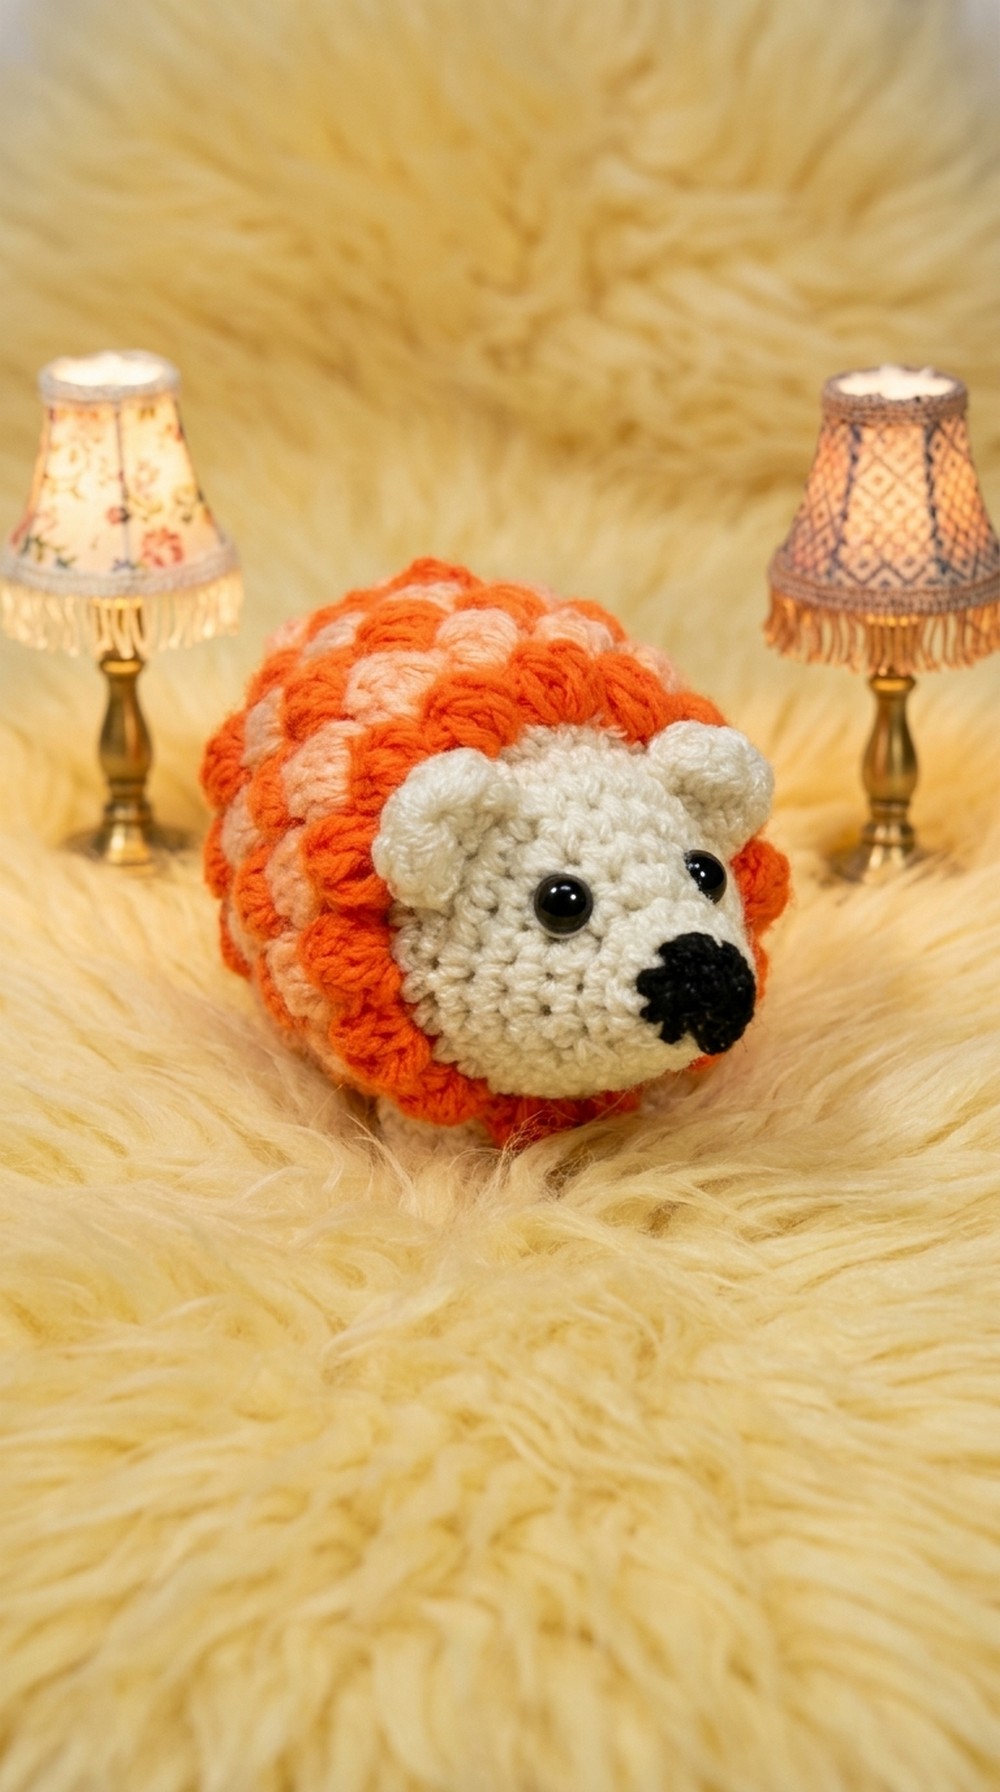
This pattern will show you how to crochet a cute hedgehog, perfect for use as a pin cushion or a tiny desk companion. The “pineapple stitch” gives the body a prickly look, while the face and features are simple to sew on. All steps are broken down clearly, so even if you’re new to crochet, you can follow along.
Pattern Highlights
- Textured “spiky” body using pineapple stitch
- Simple face, ears, and feet—easy for beginners
- Great for gifts or practical use
- No complicated color changes
- Beginner-friendly assembly
Notes
- US crochet terms are used.
- Start with the body, then make and attach the face, ears, and feet.
- The pineapple stitch is a cluster of unfinished half double crochet worked together.
- Use a stitch marker if you need help keeping your place in the round.
Skill Level
Beginner & above
You should be able to:
- make a chain (ch)
- slip stitch (sl st)
- single crochet (sc)
- half double crochet (hdc)
- Do basic seaming for assembly (sewing or gluing features).
Materials Needed
- Yarn:
- About 40g for the body (medium brown or similar, 3-4mm thick)
- About 10g for the face, ears, and feet (light beige or tan, same thickness)
- 3.5mm crochet hook
- Synthetic stuffing (fiberfill)
- Two small movable or safety eyes
- Small amount of black yarn (for nose)
- Yarn needle (for sewing)
- Scissors
- Optional: Glue for attaching ears/feet
Finished Size
- About 10–12 cm long (about 4–5 inches)
- About 7–8 cm wide (about 3 inches)
Gauge
Not important for this project! Just make sure your stitches are tight so the stuffing doesn’t come out.
Stitch Abbreviations
| Term | Meaning |
|---|---|
| ch | Chain |
| sl st | Slip Stitch |
| sc | Single Crochet |
| hdc | Half Double Crochet |
| dec | Decrease (sc2 together) |
| MR | Magic Ring |
Special Stitches
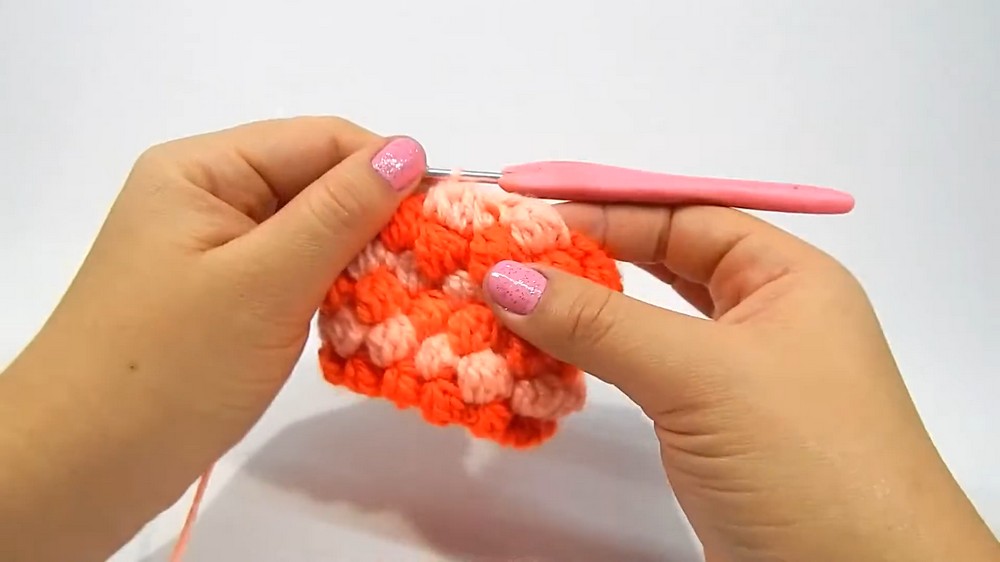
Pineapple Stitch (for Body):
- Yarn over, insert hook into stitch, yarn over, pull up a loop (do this 4 times, leaving loops on hook).
- Yarn over, pull through all loops—one pineapple stitch made.
INSTRUCTIONS
1. Make the Body
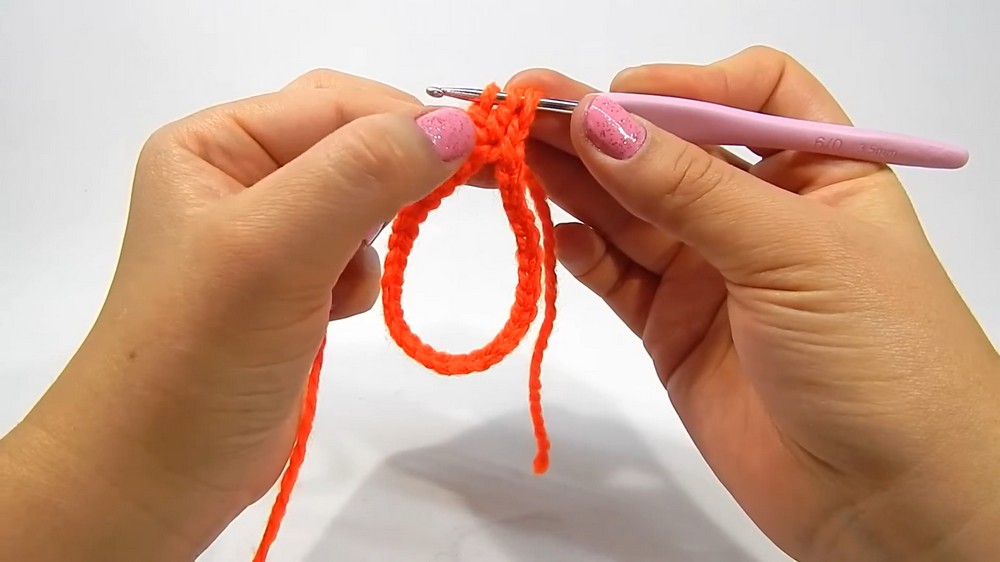
Step 1: Start the Base
- Make a slip knot.
- Chain (ch) 30. Make sure your chain isn’t twisted!
- Join the chain ends into a ring with a slip stitch (sl st).
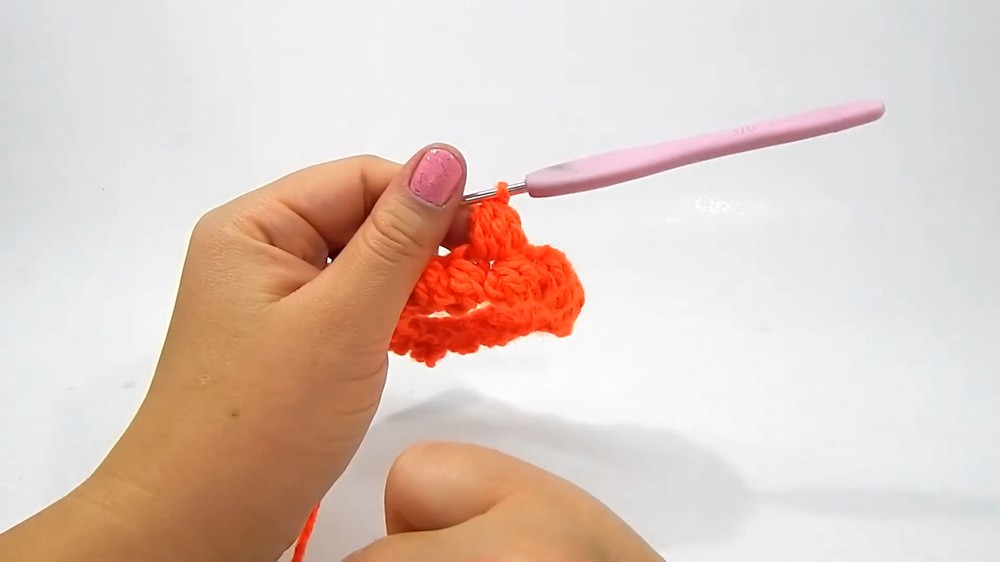
Step 2: Begin Pineapple Stitch Round
- Chain 1 (ch 1).
- Repeat around:
- Pineapple stitch in the first stitch
- ,
- Single crochet (sc) in next stitch
- Alternate pineapple stitch and single crochet (sc) all the way around the ring.
- Join with a slip stitch (sl st) at the end.
Step 3: More Pineapple Stitch Rounds
- Make 4 more rounds (total of 5 rounds), but stagger the stitches.
This means: if the last round started with pineapple stitch, next round starts with single crochet (sc). - So:
- Row starts with single crochet (sc), then pineapple stitch—alternate around.
- At the end of each row, join with a slip stitch (sl st).
Step 4: Shape the Top (Decrease)
- For the next 3 rounds, do this:
- Work a “decrease pineapple stitch” across 3 spaces instead of one (making the clusters).
- Continue with single crochet (sc) between decreased pineapple stitches.
- When almost closed, cut the yarn, thread the end through the remaining stitches, and pull tight to close the hole.
2. Make the Face & Nose
Step 1: Attach Face Yarn
- Use your light (face) yarn.
- Attach at the open bottom of the body.
Step 2: Crochet the Face
- Round 1: Work single crochets (sc) all around the edge (about 30 sc).
- Round 2: 1 sc in each stitch around.
- Round 3: (4 sc, dec) repeat around.
- Round 4: (3 sc, dec) repeat around.
- Round 5: (2 sc, dec) repeat around.
- Round 6: (1 sc, dec) repeat around.
- Remember: As the opening gets smaller, start stuffing the hedgehog.
- Rounds 7–8: 1 sc in each stitch, just to lengthen the nose.
- Add more stuffing as needed.
Step 3: The Nose
- Switch to black yarn for the tip.
- Do 1 round of sc, then do decreases (sc2tog) around to close.
- Fasten off and hide the yarn end inside.
3. Make Ears and Feet
Step 1: Make Six Small Circles (for Ears and Feet)
- With face color yarn:
- Make a magic ring (MR).
- 10 half double crochet (hdc) into the ring.
- Join with a slip stitch (sl st), fasten off, and leave a tail.
Step 2: Assemble Ears and Feet
- For ears: Fold each circle in half to make a little bump.
- Sew or glue each folded circle to the top sides of the head.
- For feet: Shape the other four circles into rounded feet and sew or glue them to the underside of the body (two rows back from the face is a good spot).
4. Final Touches
- Attach safety or movable eyes to the face (you may want to sew or glue).
- Stick sewing pins in the back to look like hedgehog spines!
- Weave in or hide all yarn tails.
Assembly & Finished Size
- Make sure all parts are attached securely.
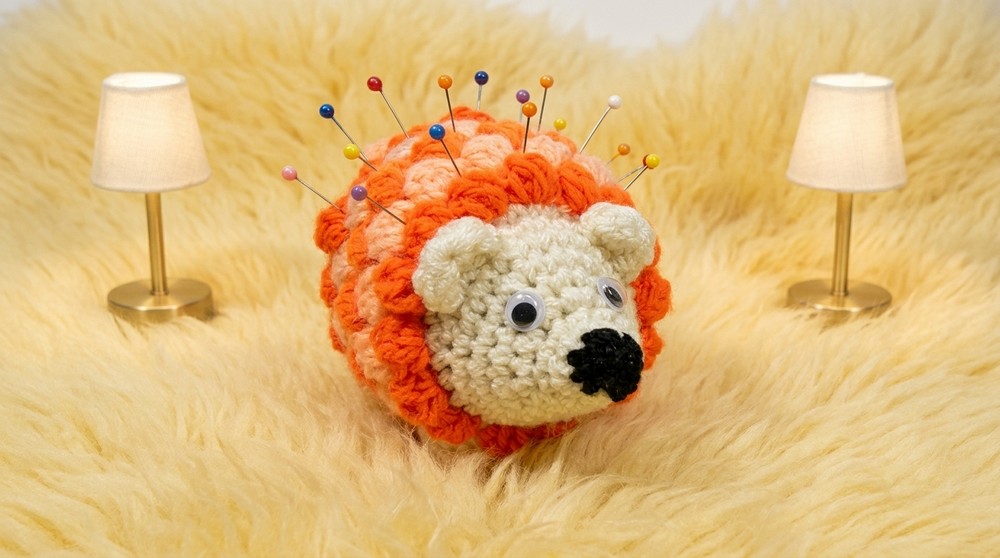
- Finished hedgehog is palm-sized and sits flat.
- Add as many pins as you want!
Conclusion
You’ve finished your adorable crochet hedgehog pin cushion! The fun pineapple stitch makes it look prickly, while the sweet face, ears, and feet bring it to life. This beginner-friendly project makes a great gift for yourself or a sewing friend. Enjoy your new handmade friend, and happy crocheting!




Leave a Reply