

Give your shelf a cute food themed accent with Crochet Rice Ball Free Pattern and enjoy a tiny decorative piece that adds personality to your space.
Looking for a cute and simple crochet project that’s full of charm? This small Crochet Rice Ball is just the right choice! Perfect for anyone who loves kawaii style or handmade toys, it makes a lovely gift, a cheerful desk decoration, or a fun addition to any amigurumi collection.
Tiny Crochet Rice Ball Free Pattern For Handmade Gifts
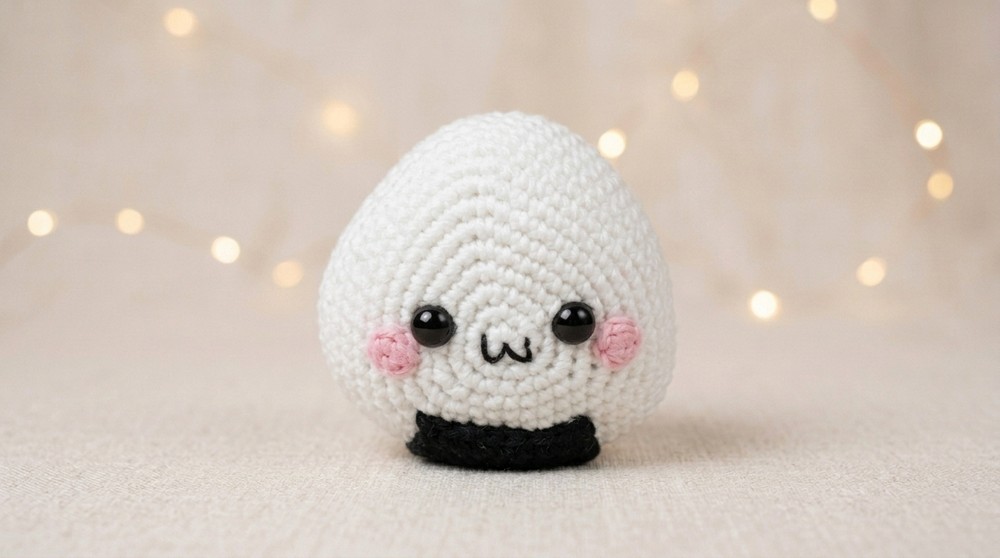
Measuring about 3 to 4 inches wide, it has the classic triangle shape of a rice ball with a dark “seaweed” strip carefully stitched on to look like real onigiri. The clean lines and simple colors keep the design easy to recognize and very appealing. It’s a great project for beginners and those with a little crochet experience.
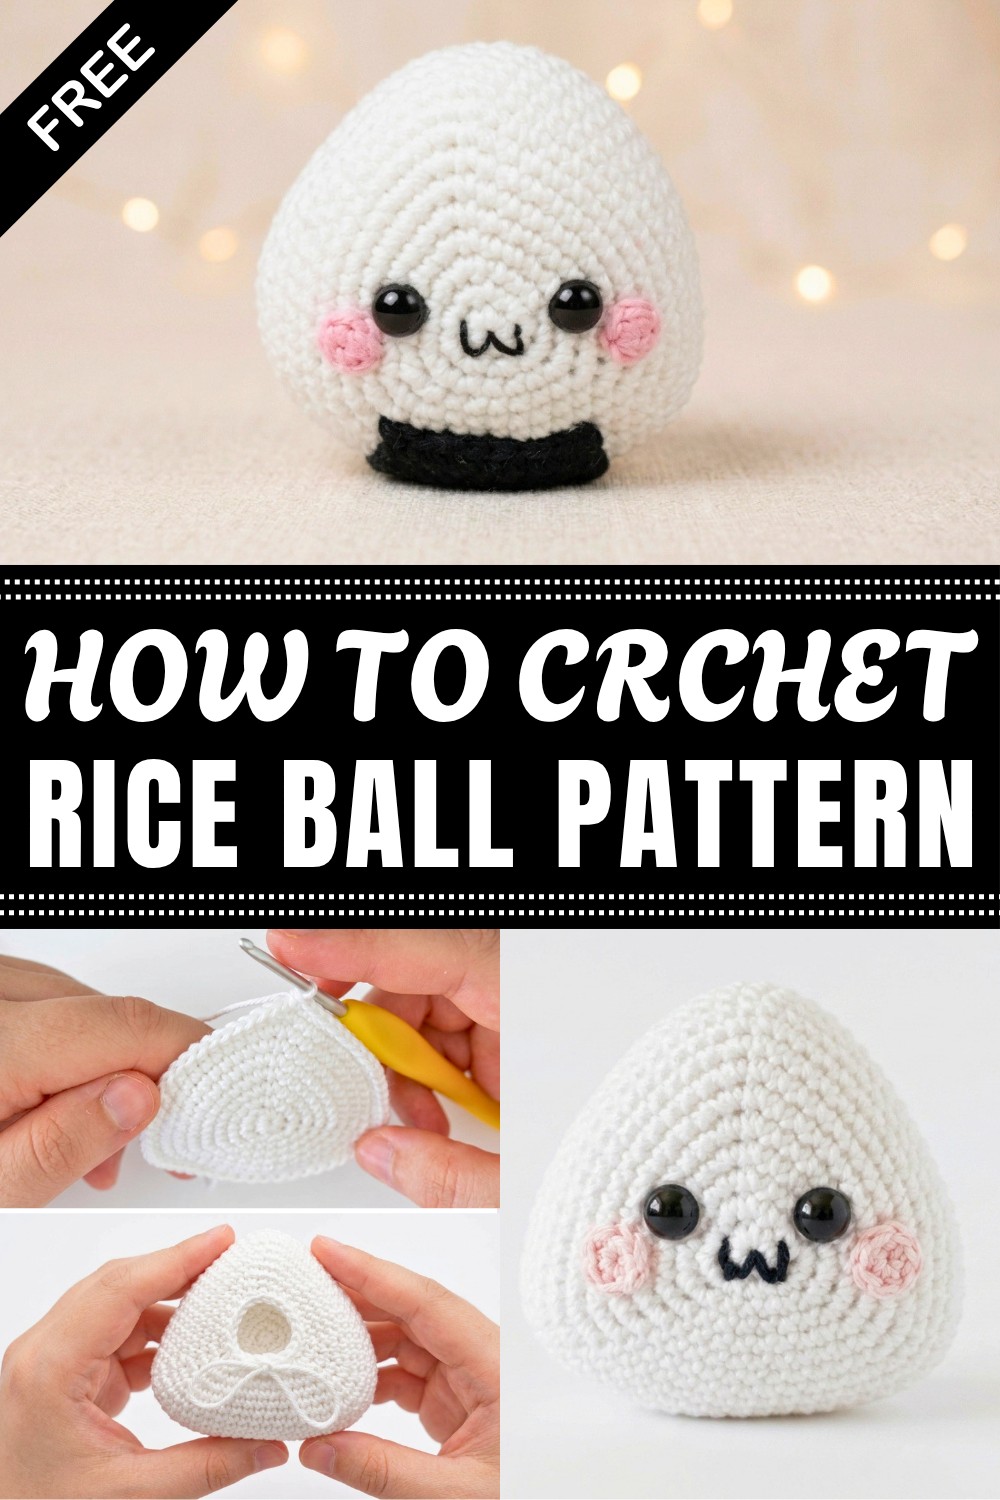
You’ll use basic stitches like single crochet for a firm, neat fabric and magic rings to start rounded sections smoothly. Increases and decreases shape the triangle, while color changes add the seaweed detail. This project is a nice way to practice colorwork and controlling stitch tension.
Small and sweet, this crochet rice ball fits perfectly in your hand or on a shelf, brightening any space. It’s an easy, enjoyable project that adds a bit of handmade charm wherever it goes!
Amigurumi rice ball
This rice ball amigurumi pattern creates a soft, triangular onigiri character with cheerful facial features and a customizable "nori" seaweed rectangle. The design focuses on smooth shape transitions, balanced increases and decreases, and straightforward embroidery for the face and cheeks. The finished rice ball is charming on its own or can be used as a decorative accent, toy, or keychain. Crochet beginners and intermediates are guided step-by-step to achieve a neat result with attention to the signature rice ball form.
Pattern Basic Points
- Worked in continuous spirals unless otherwise specified (do not join rounds).
- Consistent use of increases in the first portion, seamless tip-to-base triangle shaping.
- Face details and cheeks are placed before final stuffing to ensure symmetry.
- The “nori” (seaweed) piece is worked flat and attached with neat sewing.
- Neatness emphasized in facial embroidery and final sewing for a finished appearance.
Special Notes
- A stitch marker is highly recommended for keeping track of round beginnings and endings.
- Stuff the triangle little by little to maintain the sharpness of the triangular points.
- The black “nori” rectangle features alternate rows of normal and inverted single crochet for a refined texture; if needed, replace inverted stitches with regular single crochet.
- Final shaping and stuffing should be adjusted patiently so the plush maintains its form after attachment of the seaweed.
- Use vibrant color for cheeks to add charm, and fine embroidery thread for the mouth for best definition.
Skill Level
Beginner to Intermediate
The pattern primarily uses single crochet increases and decreases, with minor embroidery. Inverted single crochet in the nori piece provides additional refinement, but standard single crochet can be used as a substitution.
Materials
- Worsted weight cotton or acrylic yarn in:
- White (main rice ball)
- Black (nori/seaweed)
- Pink or blush (cheeks)
- 3.0–3.5 mm crochet hook
- Fiberfill for stuffing
- Yarn needle for sewing and embroidery
- Black or brown embroidery thread (for mouth and/or face)
- 6–8 mm safety eyes, or black thread to embroider eyes
- Scissors
- Stitch marker
Measurements
Finished Size:
Height: Approx. 7–9 cm (2.75–3.5 in)
Width: Approx. 8–10 cm (3–4 in)
Thickness: Approx. 4–5 cm (1.5–2 in)
Gauge
Gauge is not critical for this item. For reference:
8 single crochets x 8 rows = 4 cm x 4 cm using a 3.5 mm hook in worsted cotton.
Stitch Abbreviations
- sc – single crochet
- inc – increase (2 sc in same stitch)
- dec – single crochet 2 stitches together (decrease)
- MR – magic ring (adjustable loop)
- ch – chain
- st(s) – stitch(es)
- rs sc – reverse single crochet (crab stitch)
- sl st – slip stitch
Special Stitches
Reverse Single Crochet / Crab Stitch:
Insert hook from front to back in next st to the right (instead of left), yarn over, pull through, yarn over, pull through both loops
This stitch creates a twisted, corded edge. Optional to use; if unfamiliar, simply substitute sc.
Rice Ball Body
Use white yarn. Work in continuous rounds unless specified.
Rnd 1:
- Start with a MR.
- Work 9 sc into the ring. (9 sts)
Rnd 2:
- 1 inc in each st around. (18 sts)
Rnd 3:
- 1 inc.
- Repeat twice: 4 sc, 2 inc.
- Finish with 4 sc, 1 inc. (24 sts)
Rnd 4:
- 1 inc.
- Repeat twice: 6 sc, 2 inc.
- Finish with 6 sc, 1 inc. (30 sts)
Rnd 5:
- 1 inc.
- Repeat twice: 8 sc, 2 inc.
- Finish with 8 sc, 1 inc. (36 sts)
Rnd 6:
- 1 inc.
- Repeat twice: 10 sc, 2 inc.
- Finish with 10 sc, 1 inc. (42 sts)
Rnd 7:
- 1 inc.
- Repeat twice: 12 sc, 2 inc.
- Finish with 12 sc, 1 inc. (48 sts)
Rnd 8:
- 1 inc.
- Repeat twice: 14 sc, 2 inc.
- Finish with 14 sc, 1 inc. (54 sts)

Rnd 9:
- 1 inc.
- Repeat twice: 16 sc, 2 inc.
- Finish with 16 sc, 1 inc. (60 sts)
Rnd 10–17:
- Sc in each st around. (60 sts for 8 rounds)
Face & Cheeks
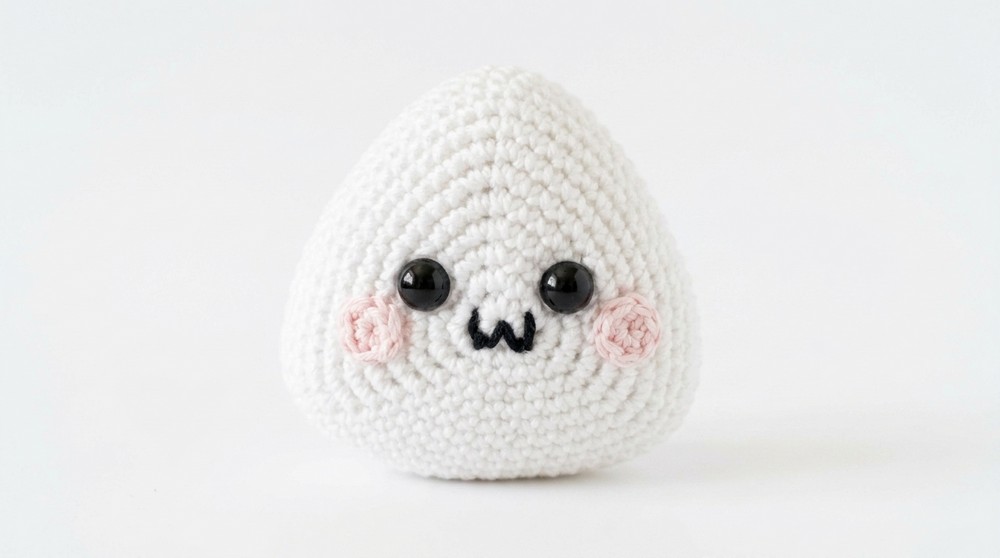
- Insert safety eyes (or embroider) between rounds 4 and 5 at the front tip of triangle, spaced horizontally.
- For cheeks: With pink yarn, create 2 small circles—MR, 6 sc in ring, sl st to close and fasten off.
- Sew cheeks below and slightly to the sides of eyes.
- Embroider a “W”-shaped smile centered between the eyes, one or two rounds below.
Continue Rice Ball Body
Rnd 18:
- 1 sc, 2 dec.
- Repeat twice: 16 sc, 2 dec.
- Finish with 15 sc. (54 sts)
Rnd 19:
- 2 dec.
- Repeat twice: 14 sc, 2 dec.
- Finish with 14 sc. (48 sts)
Rnd 20:
- 1 sc, 1 dec.
- Repeat twice: 12 sc, 2 dec.
- Finish with 11 sc, 1 dec. (42 sts)
Rnd 21:
- 1 dec.
- Repeat twice: 10 sc, 2 dec.
- Finish with 10 sc, 1 dec. (36 sts)
Rnd 22:
- 1 dec.
- Repeat twice: 8 sc, 2 dec.
- Finish with 8 sc, 1 dec. (30 sts)
- Stuff the triangle firmly, focusing attention on corner points to keep the shape.
Rnd 23:
- 1 dec.
- Repeat twice: 6 sc, 2 dec.
- Finish with 6 sc, 1 dec. (24 sts)
Rnd 24:
- 1 dec.
- Repeat twice: 4 sc, 2 dec.
- Finish with 4 sc, 1 dec. (18 sts)
- Add additional stuffing as needed, especially at the corners.
Rnd 25:
- 9 dec. (9 sts)
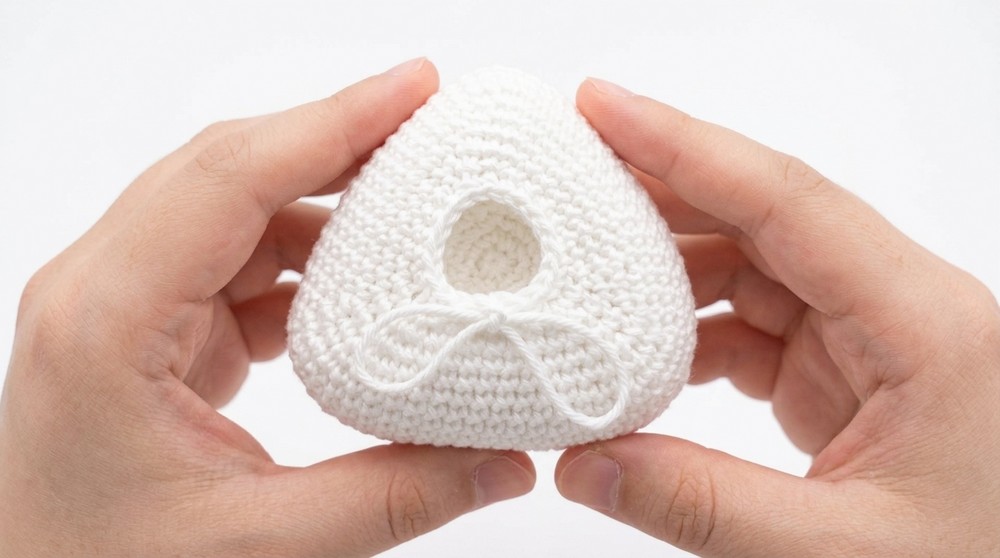
- Fasten off, close hole with yarn needle, weave in end.
Nori (Seaweed Rectangle)
Use black yarn. Work flat in rows.
Row 1:
- Ch 10 (for 9 sts).
- Starting in 2nd ch from hook, sc in each ch across. (9 sts)
Rows 2–18:
- Ch 1, turn.
- Alternate sc in each st across with rs sc (reverse crab stitch) for a neat look:
- Row 2: sc across (9 sts)
- Row 3: rs sc (or sc) across (9 sts)
- Continue alternating sc and rs sc until 18 rows total.
- Fasten off.
Assembly & Finished Size
- From the mouth, count 4 rounds down; place top edge of nori (seaweed) rectangle at this point on the body.
- Center the nori horizontally.
- Using black yarn and yarn needle, whip stitch (or invisibly sew) along top, sides, and base of the rectangle to attach securely.
- Weave in remaining yarn ends.
- Final measurements: approx. 7–9 cm tall by 8–10 cm wide.

Conclusion
This approachable amigurumi rice ball pattern focuses on smooth shaping, neat facial embroidery, and a unique alternating-stitch nori accent. The design allows for modification with different facial expressions, the use of embroidery or safety eyes, and playful color choices for cheeks. Neat attachment of the nori rectangle enhances both stability and the classic onigiri appearance. This rice ball plush can stand alone or serve as a base for personalized, themed amigurumi, supporting creative exploration for crocheters at a beginner or intermediate level.
Experiment with alternate yarns, or add keychain findings for a practical accessory. Its concise, well-planned rounds and simple finishing techniques yield a playful and clean result suitable for both gifting and personal enjoyment.




Leave a Reply