

Switch up your usual look with the Crochet Handbag Free Pattern, a neat purse to wear with casual outfits on relaxed afternoons and outings.
Yanet pupo crochet shares this beautiful handbag idea for anyone who loves useful crochet projects.
Unique Crochet Handbag Free Pattern To Try At Home
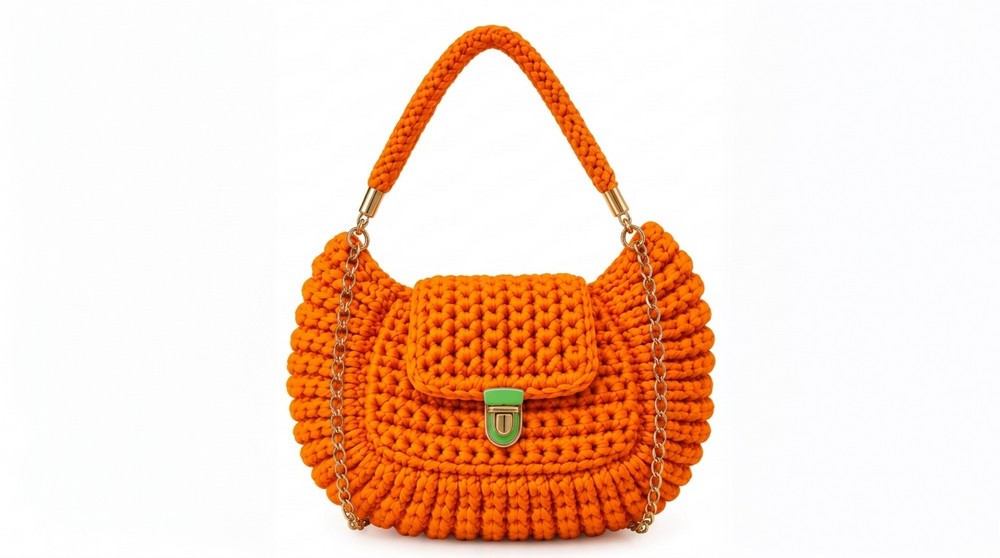
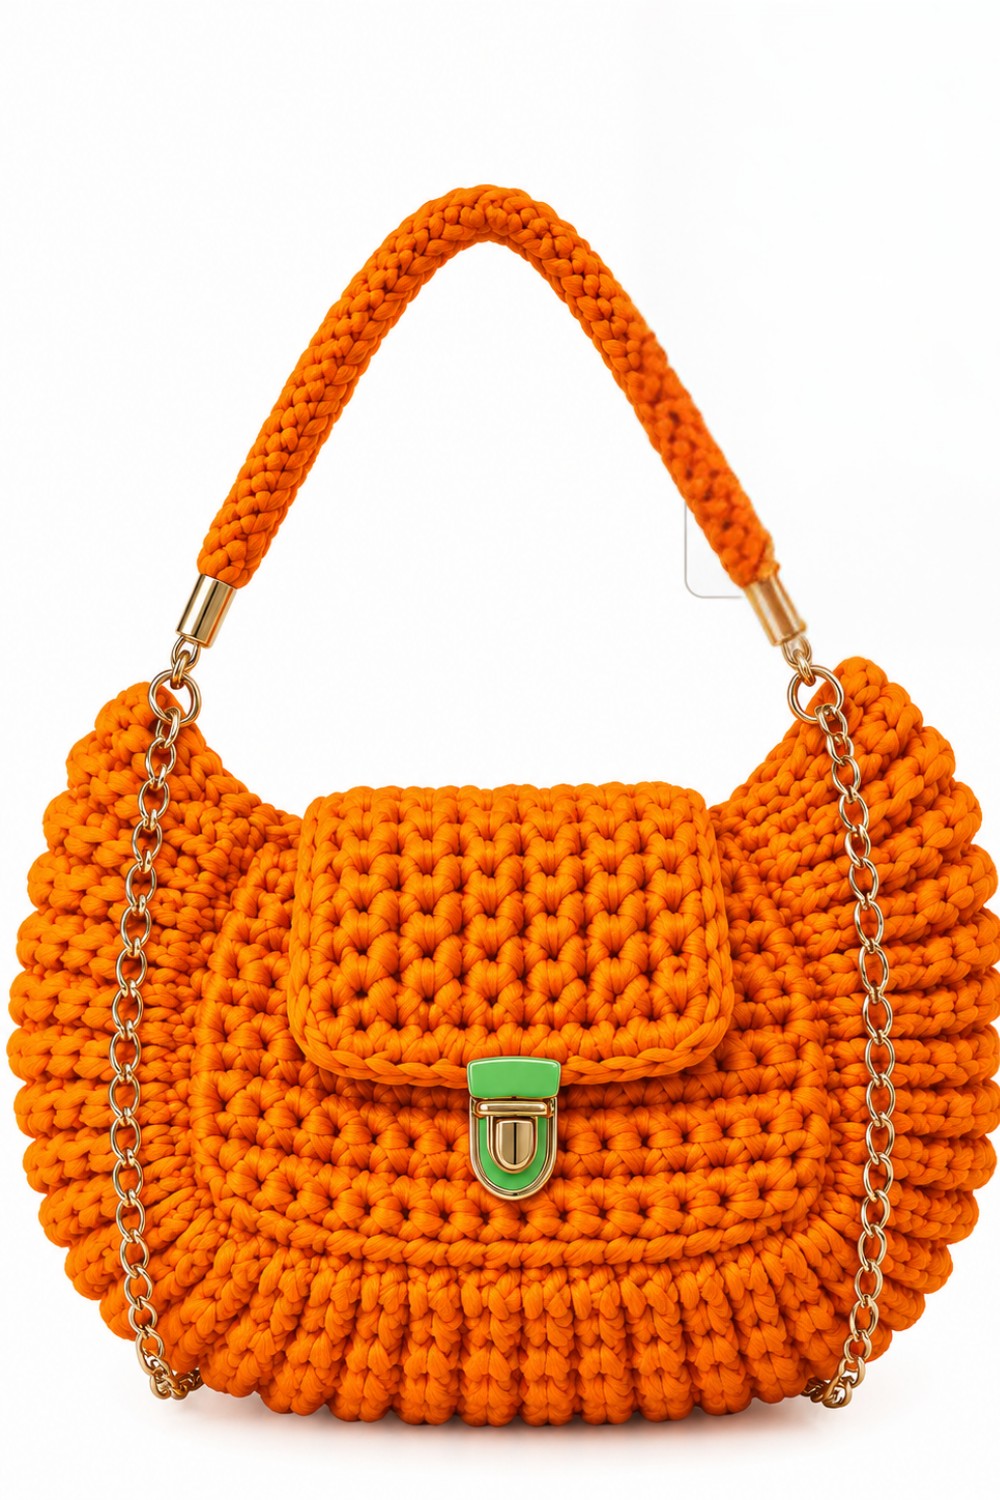
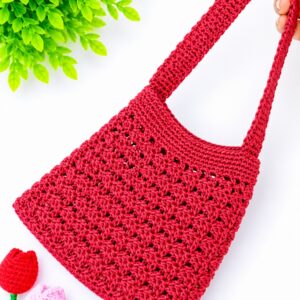
The bag has a well-shaped body, tidy edges, and comfortable handles. Its carefully worked stitches form an interesting surface that stands out without extra decorations. You can choose classic beige, soft cream, or rich brown yarn for a simple and elegant appearance.
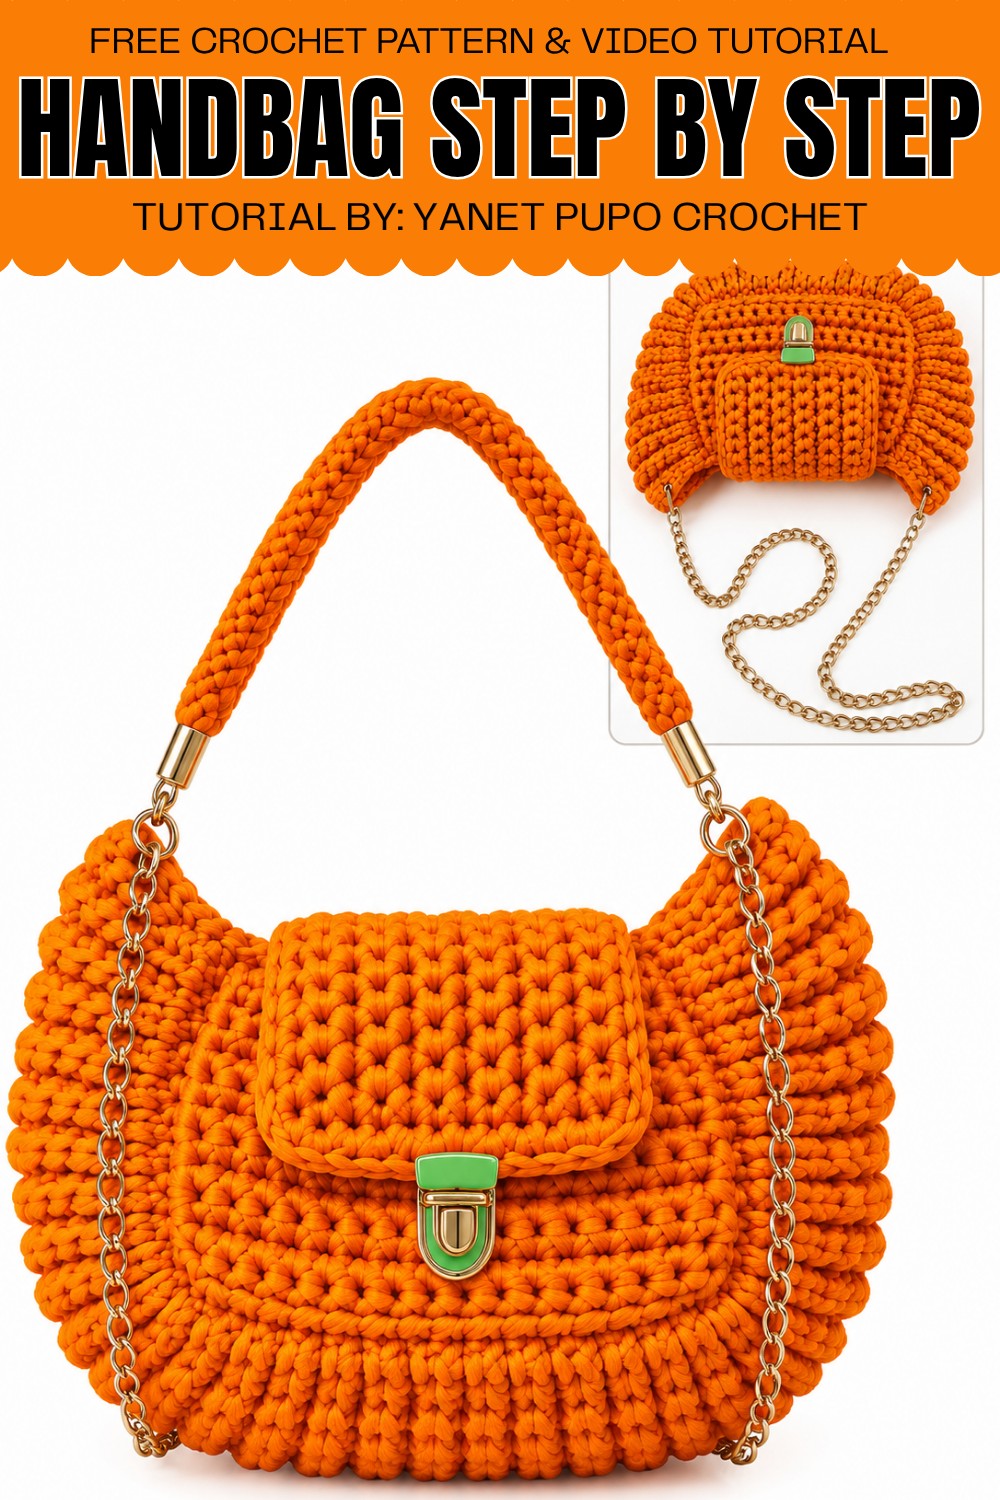
This bag is suitable for shopping, casual outings, or meeting friends. It can hold a phone, wallet, keys, and other small items. You can also give it as a thoughtful handmade birthday gift.
Paired with jeans, a summer dress, or a relaxed everyday outfit, this handbag offers a lovely combination of fashion and practical use.
About the Pattern
This sturdy cloth-woven crochet bag is both spacious and stylish, designed with practicality and unique handmade appeal. Created from durable cloth strips, the bag uses basic stitches and simple shapes, making it an ideal project for confident beginners and experienced crocheters seeking a substantial, modern accessory. Three pieces form the structure: two base panels and a third functioning as a cover. The sides and base are constructed using strong stitches which complement the thickness of the textile, and the finishing touches provide sleek top edges and the option of a stylish chain or soft handle.
Pattern at a Glance
- Constructed from three identical rectangular panels using cloth strips about 2 cm wide.
- The main body is worked in rows of single crochet and later edged all around.
- Side joining is handled with chain extensions and a modified slip stitch/single crochet method.
- Features a firm upper edging and a functional flap cover.
- Closes with buckles and can accept a chain handle or a handle made from the same cloth.
Important Notes
- Maintain an even but not overly tight tension when working chains and single crochet to avoid difficulty inserting the hook with thick textile.
- Count the starting chains and stitches for each piece to ensure perfectly equal sizes.
- The cloth-tape makes the fabric heavy; adjust tension so it stays flat and square.
- All ends should be woven in securely with a wool needle for durability.
- Placement of buckles and handle should be reinforced to support bag weight.
Difficulty Level
This project is best for confident beginners or intermediate makers familiar with basic crochet techniques and reading stitch instructions, but no advanced stitch knowledge is required.
Supplies Needed
- 650 g of cloth strips, approximately 2 cm wide
- 6.50 mm aluminum crochet hook or knitting needle
- Wool needle for joining pieces and sewing in ends
- Scissors
- Measuring tape
- Buckles/closures (split into two pieces for flap closure)
- A chain with two rings (for handle) or additional cloth to crochet a handle
Size & Measurements
- Each panel: approx. 21 cm long x 13 cm wide (before joining and edging)
- Finished bag: approx. 22 cm wide x 35 cm long
Gauge & Stitch Details
- Gauge: Not strictly specified, but ensure all panels measure the same for accurate assembly.
- Main stitch: Single crochet (sc) in rows, with slip stitch (sl st) for edging and joining.
Crochet Abbreviations
- ch – chain
- sc – single crochet
- sl st – slip stitch
Special Stitch Guide
- Single crochet (sc): Insert hook, yarn over, pull up a loop, yarn over, pull through both loops.
- Slip stitch (sl st): Insert hook, yarn over, pull through both the stitch and the loop on the hook.
- Working into the back of the chain: Turn chain over and insert hook into the back loop (the "bump") for a neater edge.
Complete Crochet Pattern
Panels (Make 3)
Foundation Row
- Using cloth strip and 6.50 mm hook, make a slip knot and ch 17 loosely (do not pull tightly).
- Leave the chain loose enough so it is easy to work into later with thick material.
Row 1
- Turn chain over and work into back bumps. Skip the 17th ch (turning ch), then into 16th ch from hook, sc 1.
- Sc 1 into each chain across (total 16 sc).
Rows 2 to 12
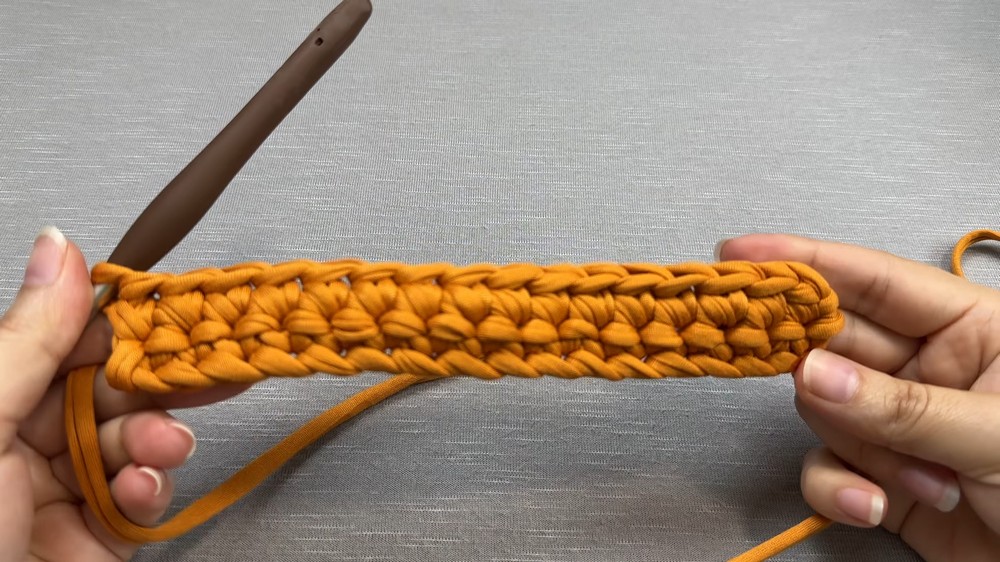
- Turn your work. Ch 1 (does not count as a stitch).
- Work sc 1 in each stitch across (16 sc per row).
- Repeat to complete 12 rows in total, always counting to ensure consistent panel size.
- Gently shape or stretch the panel flat as the textile may twist slightly.
Edging Around the Panel
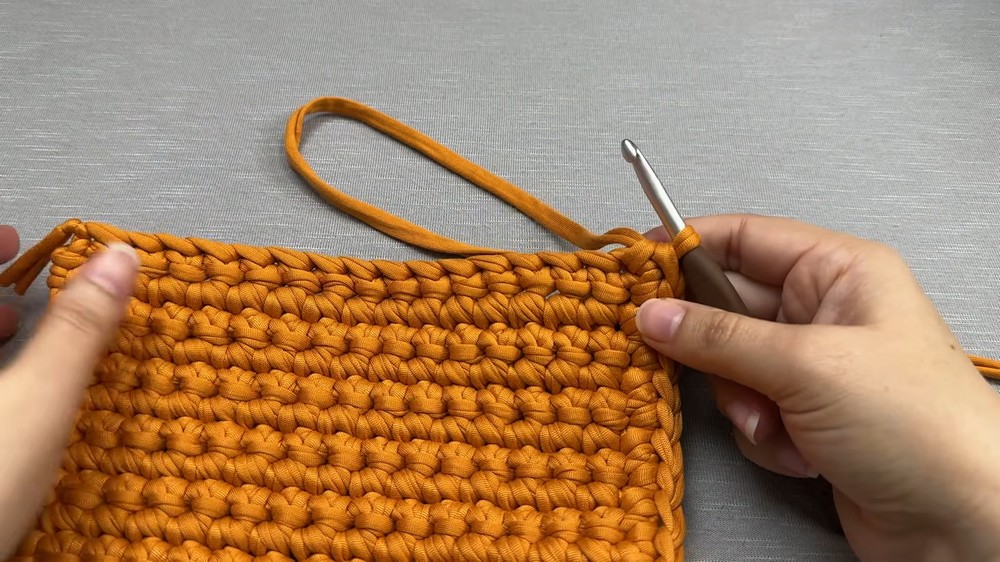
- When the last row is complete, do NOT break yarn.
- Ch 1 to turn corner, sc in same space (corner). Begin working up the short edge:
- Sc 1 in the end of each row up the short side (12 sc).
- Ch 1 at next corner, continue down the long side, sc in each stitch across (16 sc).
- Repeat for remaining sides, always ch 1 at each corner and ensure you have 12 or 16 sc as appropriate.
- Fasten off and weave in end.
Preparing All Panels
- Make three panels as above, ensuring all are the same size.
Joining the Panels and Side Construction
Preparation for Side Strip
- On the second panel (when finishing final edge), instead of breaking yarn, ch 16 loosely.
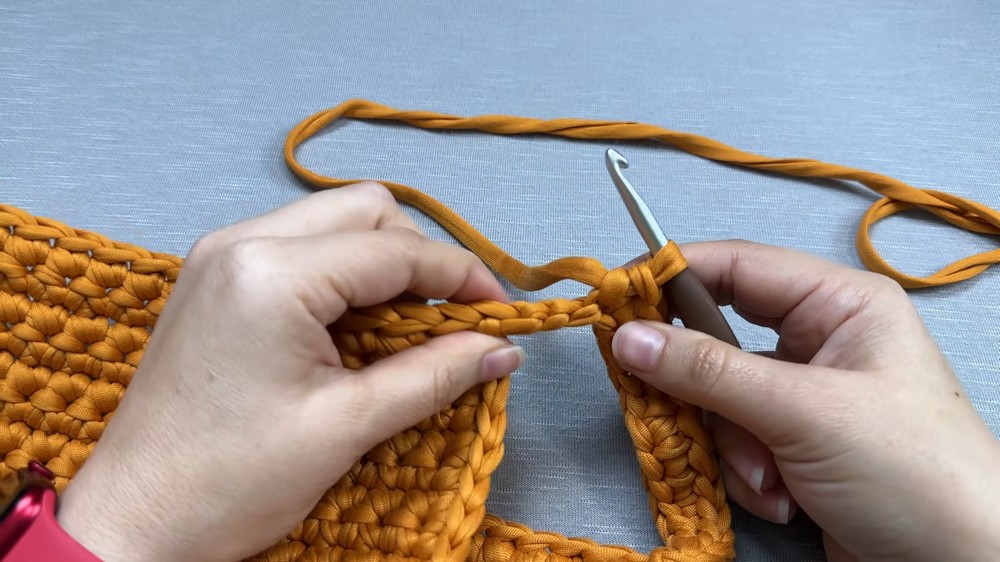
Attaching Third Panel
- Ensure both panels are aligned (right side facing out).
- Insert hook into first corner stitch of third panel, sl st to join.
- Along the base of the chain, sl st 3, sc 10 (along back bumps of the chain), sl st 3 (total 16).
- Continue along short edge, working sl st 3, sc 10, sl st 3 of panel.
- Repeat this joining method (3 sl st, 10 sc, 3 sl st) for each side, always working into the back bump.
- Continue joining along all sides; complete with slip stitches at corners for a neat finish.
Bag Assembly and Top Edging
Finishing the Outer Edge
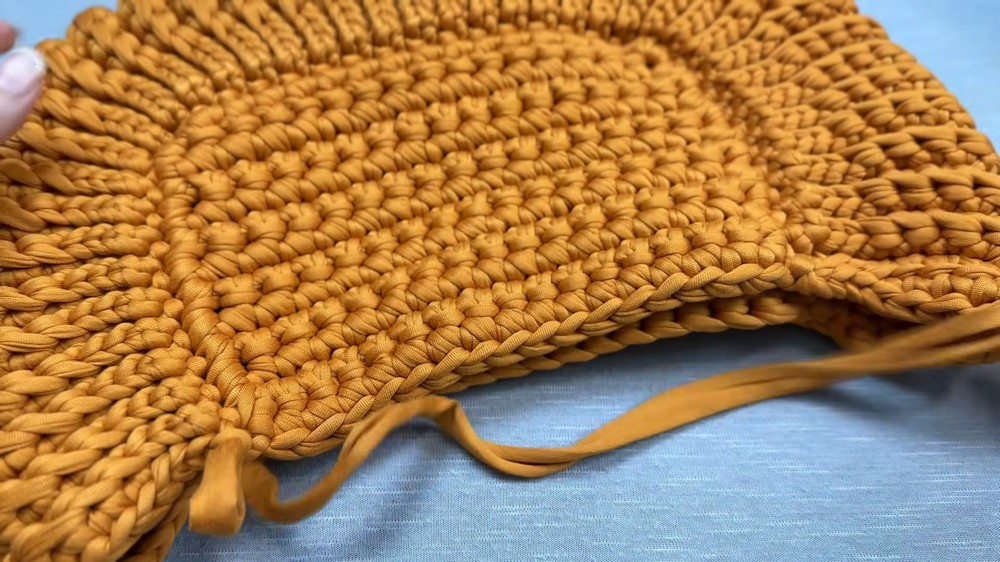
- With yarn still attached after final panel join, add extra firmness with a round of sl st around the bag opening.
- For the top: Insert hook into the next available stitch, sl st across each stitch for the entire round.
- Continue for both front and back of the opening, including the edges of the flap to provide stability and consistency.
- Fasten off securely.
Flap and Closure
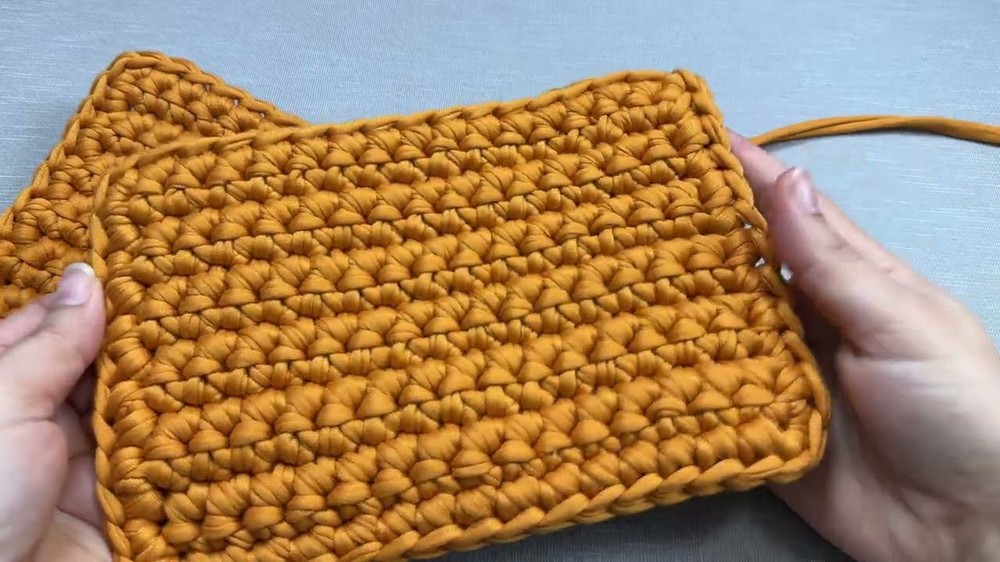
- Take the third panel (identical rectangle) as the cover/flap.
- Center it with respect to bag body using visual markers or stitch markers; attach as flap.
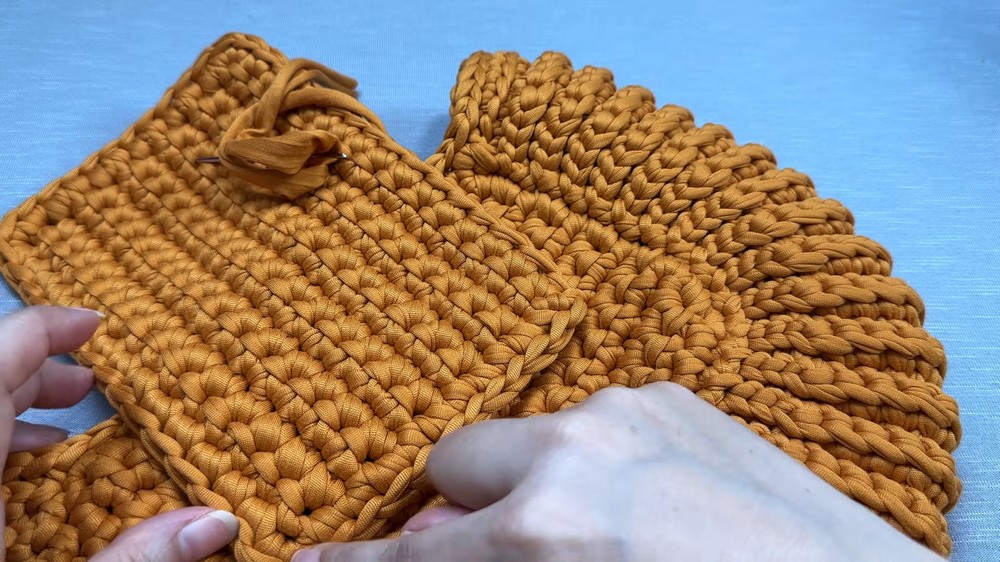
- Sew flap panel to bag edge at the back, using matching cloth and a wool needle. Stitch all the way across for a sturdy join.
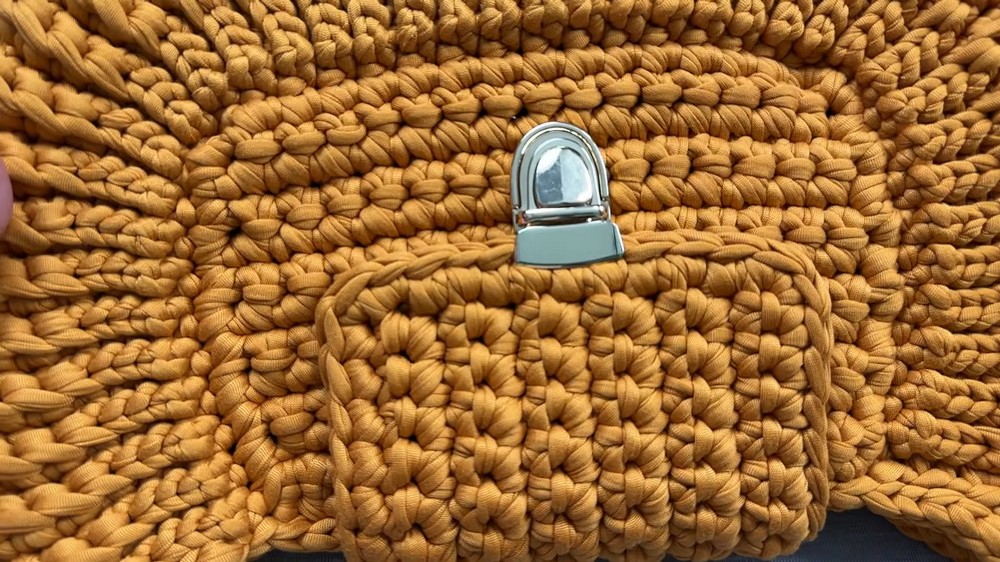
- Attach buckle/closure:
- Mark and center the closures.
- Sew or fasten half of the buckle on the flap and the other half on the corresponding place on the bag’s front using cloth and your wool needle.
- Make adjustments for symmetry as needed.
Handle Attachment
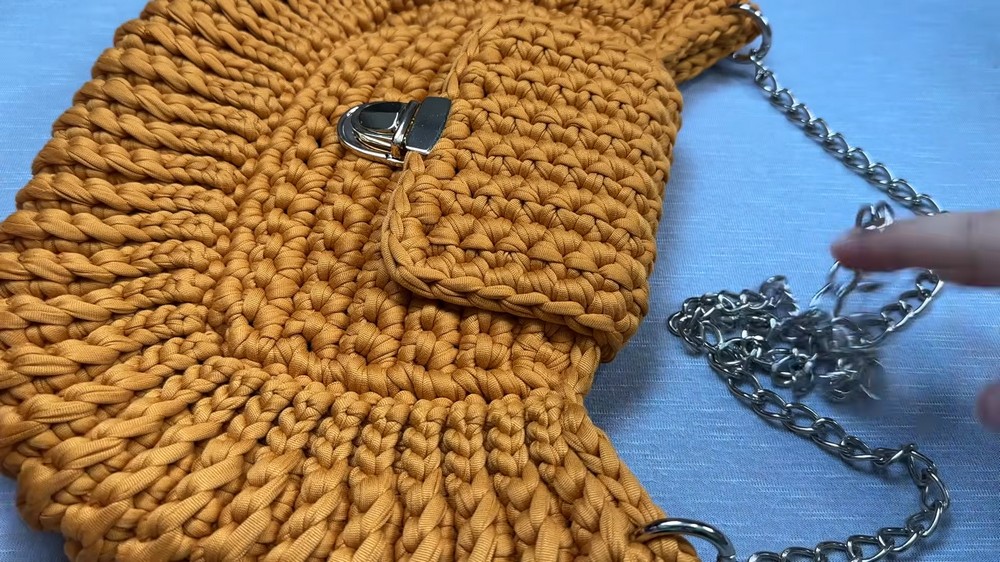
- Use a chain with rings for the handle, or crochet a handle from the same cloth using chains and rows of sc as desired.
- Attach rings securely to the bag corners (not at extreme edges to avoid stretching).
- Make sure handle rings loop around sturdy stitches and thread through to the inside for reinforcement.
Assembly & Finished Size
When finished, the bag is about 22 cm wide and 35 cm long. The side and flap are sturdy thanks to the thick cloth strips, while the edges remain firm due to the added slip stitch edging. The closure is centered, and the chain or strap is placed to balance the bag when filled.
Conclusion
This cloth crochet bag marries traditional construction with modern textile technique, capitalizing on simple rectangles and robust stitches for a stylish, durable accessory. The pattern’s clear structure and stepwise approach ensure reliability and longevity, whether created as a personal staple or a thoughtful handmade gift.

Leave a Reply