

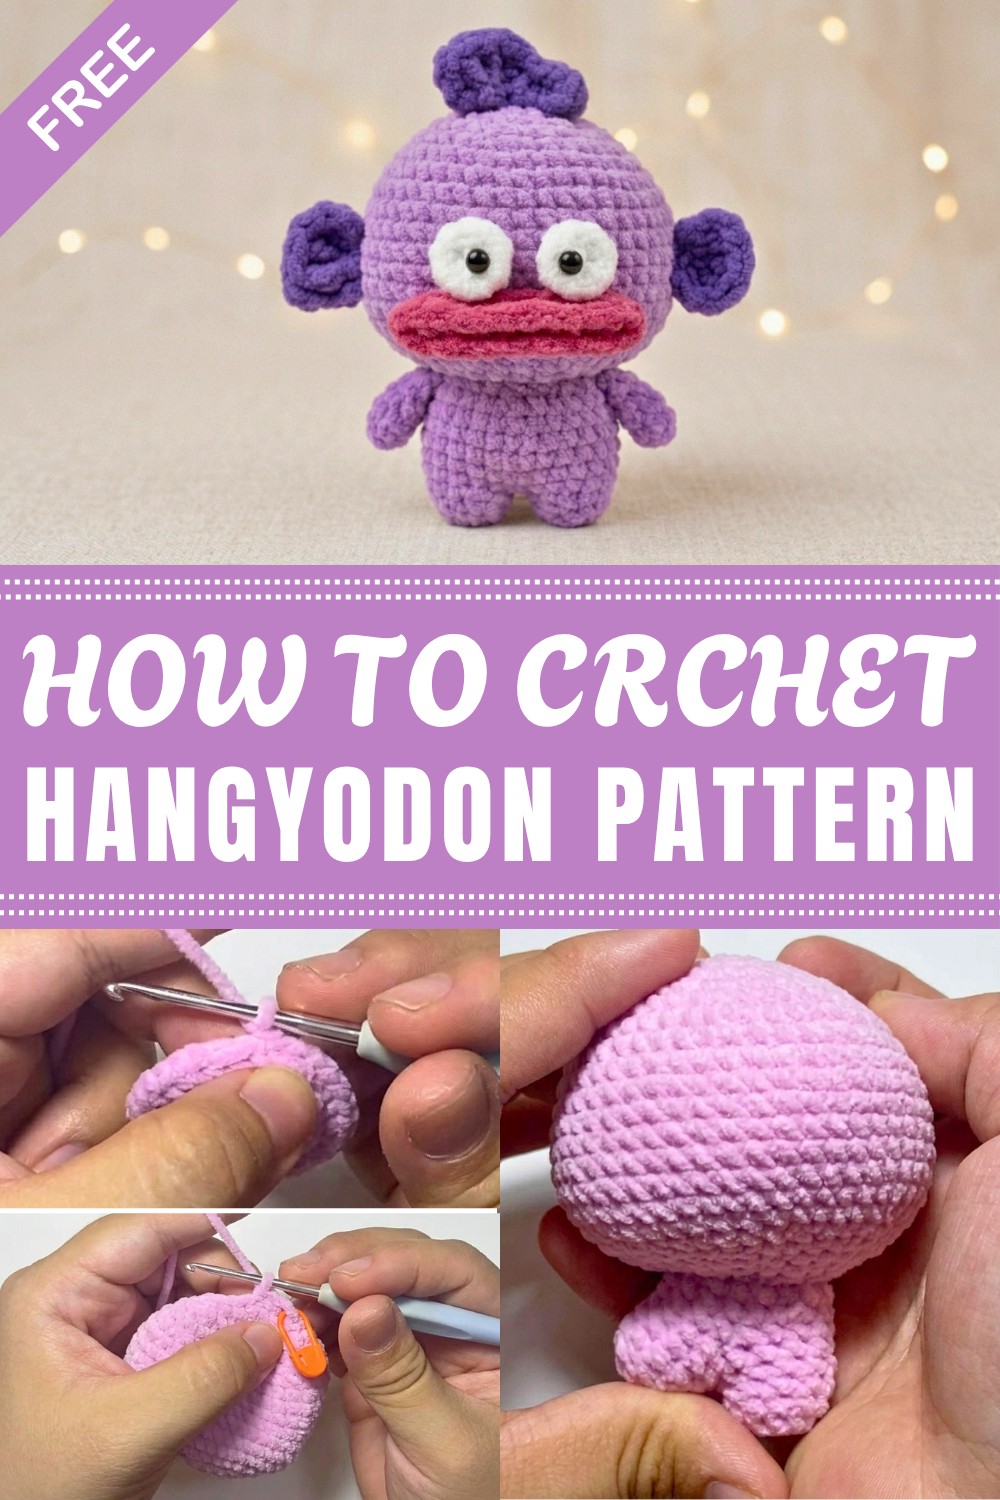
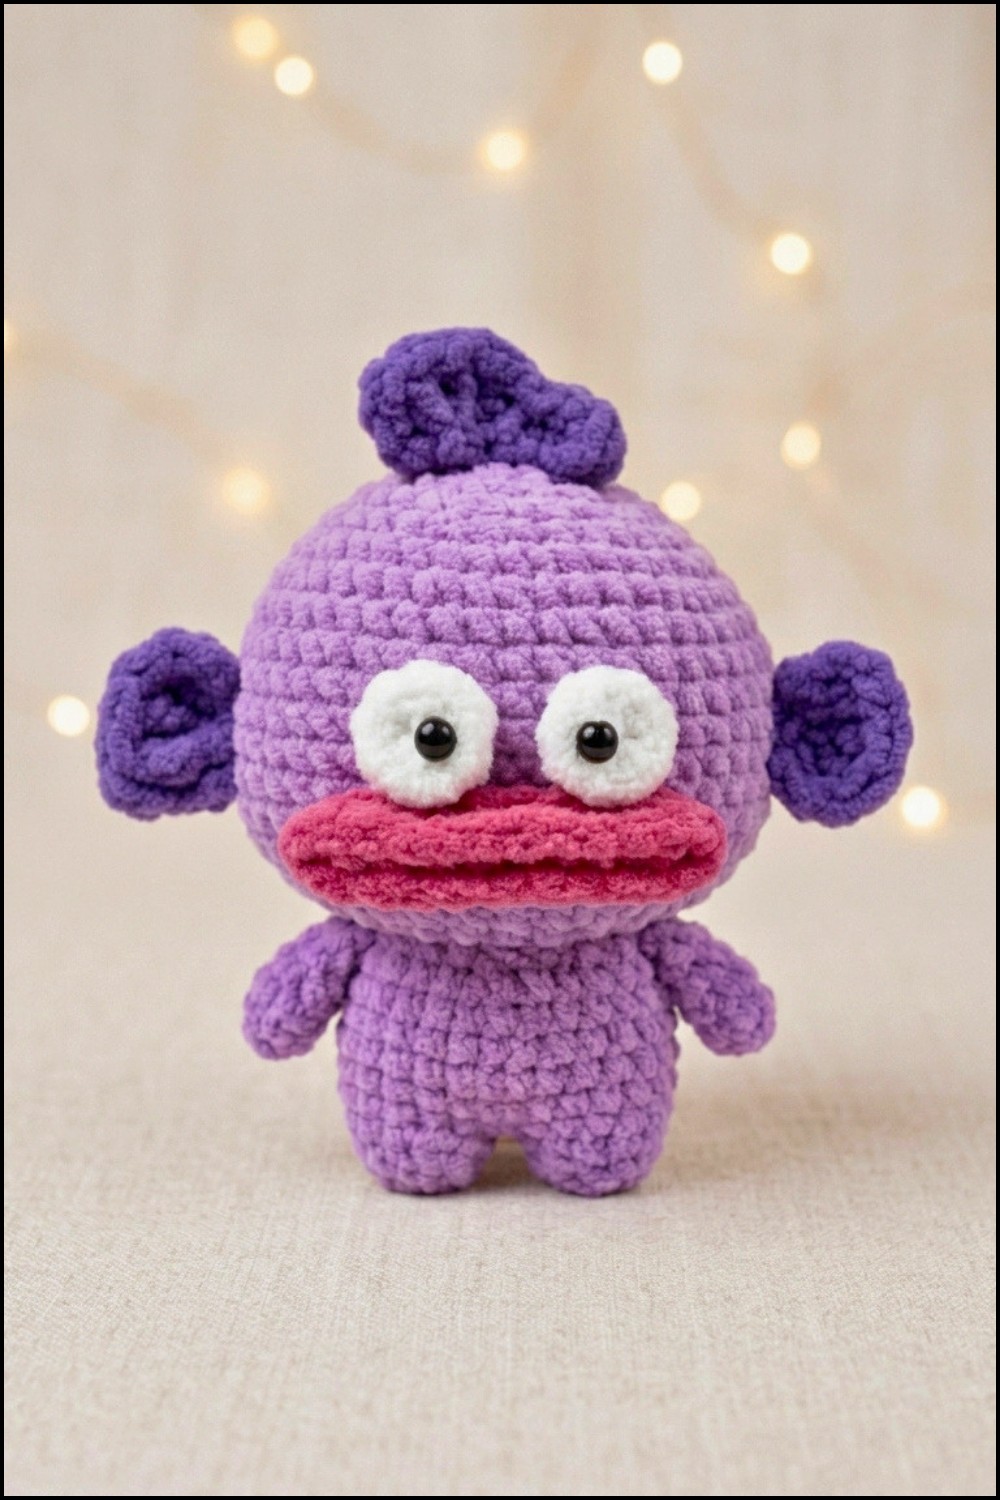
Experience the fun and unique charm of Crochet Hangyodon Free Pattern with its soft texture and playful design adding a cozy touch to your favorite accessories.
This cute little character brings a fun and friendly touch to any room. The Crochet Hangyodon is great as a gift, a decoration, or a collectible piece. Its soft feel and happy face make it very inviting.
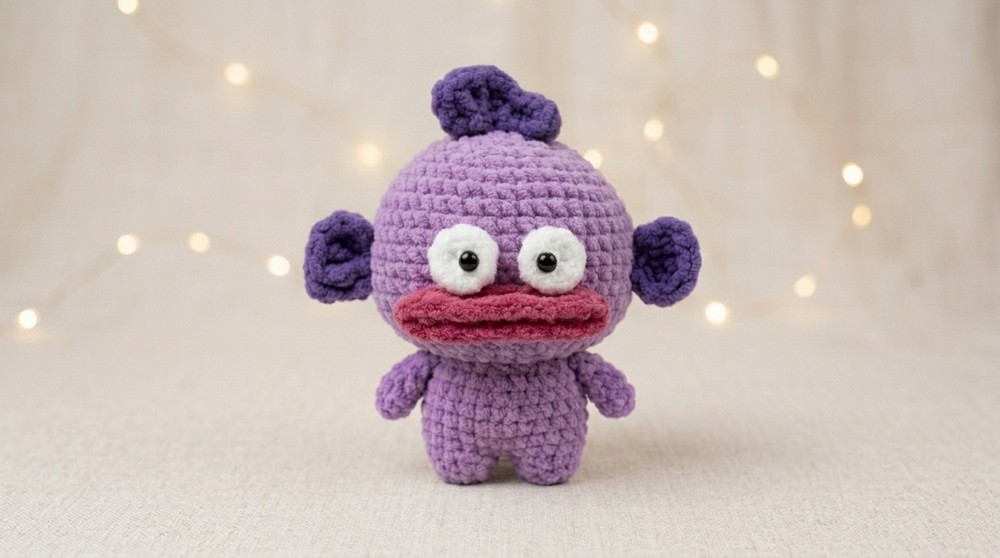
It is small enough to fit in your hand, so you can put it on your desk, shelf, or hang it on your bag or keys. The round shape with big eyes and small fins makes it look lively and sweet. Bright, soft yarn and neat stitches give it a nice, clean look.
Fun Crochet Hangyodon Free Pattern With A Playful Look
This project is good for people with beginner to intermediate crochet skills. It uses basic techniques like working in the round, single crochet, and simple increases and decreases to shape the parts. You also join the pieces with easy sewing.
The Crochet Hangyodon is a fun project that adds a little charm to your collection or home. Its small size and cute design make it perfect for different uses. This crochet piece is a great way to practice simple stitches and end up with a cheerful figure to keep or gift.
A lovely addition to your crochet projects, this character brings color and joy with easy steps suited for most skill levels.
Hangyodon Crochet Amigurumi Pattern
Create a vibrant and adorable crochet Hangyodon with this clearly detailed step-by-step pattern, perfect for those wanting to add a whimsical aquatic friend to their collection. The project focuses on simple shapes, basic stitches, and straightforward assembly to achieve the charming look of a classic Hangyodon, complete with bold stripes and expressive fins.
Pattern Basic Points
Features:
- Worked in continuous rounds (spiral crochet).
- Minimal sewing required; some parts are attached with glue for accuracy.
- Includes both body and costume elements for a playful touch.
- Detailed shaping for head, body, fins, and unique clothing accent.
Sections Covered:
- Head
- Body and Legs
- Fins, Mouth, and Clothing
- Assembly Directions
Special Notes
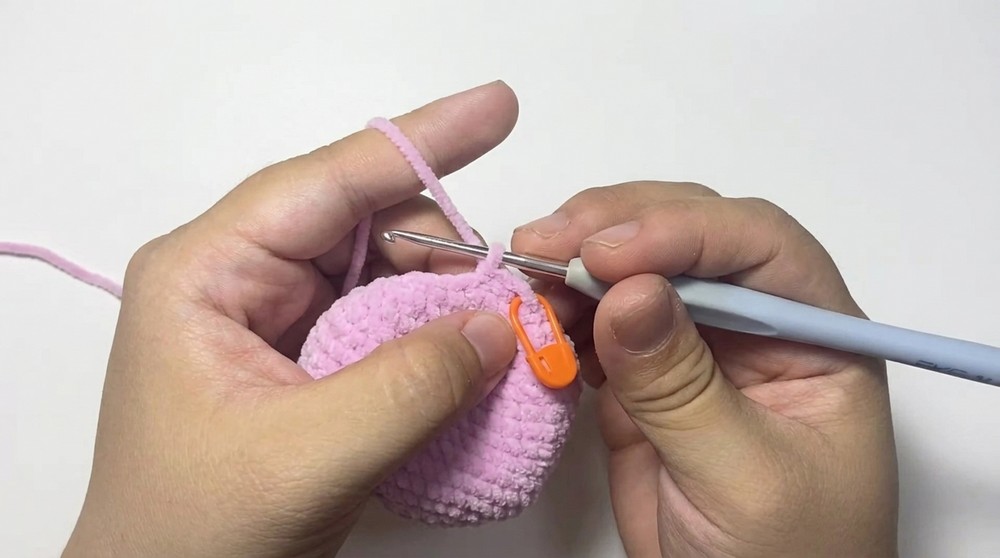
- Stitch markers are strongly recommended to track the beginning of each round.
- Use safety eyes or secure glued features, especially if making for children under three.
- When instructed to “join,” yarn colors may be switched as per the desired stripe pattern (customizable).
- Firm but flexible stuffing leads to a well-shaped Hangyodon without distorting the stitches.
- Crochet tightly to avoid stuffing showing through.
Skill Level
Beginner/Intermediate:
Clear instructions allow confident beginners to attempt this project, though familiarity with reading amigurumi patterns, making a magic ring, increasing, and decreasing is beneficial.
Materials
- Yarn: Medium weight / worsted yarn in orange, white, and black
- Hook: 2.5mm – 3.5mm crochet hook (adjust hook size for a tighter fabric)
- Stuffing: Polyester fiberfill
- Eyes: 6mm safety eyes (or small black beads/felt circles)
- Tapestry needle: For sewing and weaving ends
- Stitch markers: For marking rounds
- Scissors
- Craft glue: For small details like eyes and fins (optional, as demonstrated in the reference)
- Optional: Chenille stems (pipe cleaners) for shape, embroidery floss for extra details
Measurements & Gauge
- Finished Size: Approximately 10–12 cm (4–4.7 in) in length using recommended yarn and hook
- Gauge: Not critical for amigurumi; ensure tight stitches so stuffing does not show
- Suggested Stitch Pattern Gauge: 5 rounds of sc in the round ≈ 2.5 cm diameter
Stitch Abbreviations
| Abbr. | Stitch Name |
|---|---|
| sc | single crochet |
| v | increase (2 sc in same st) |
| a | decrease (ssk; invisible dec) |
| hdc | half double crochet |
| sl st | slip stitch |
| ch | chain |
| MR | magic ring |
| st(s) | stitch(es) |
| FO | fasten off |
Special Stitches
- Magic Ring (MR): Form a closed circle for the first round, especially useful for amigurumi heads and bodies.
- Invisible Decrease (a): Insert hook into front loops only of next two stitches, yarn over and draw up a loop (3 loops on hook), yarn over and draw through all loops.
- Half Double Crochet (hdc): Yarn over, insert hook in stitch, yarn over and pull up a loop (3 loops on hook), yarn over, pull through all three loops.
Pattern Instructions
Head
(Work in a continuous spiral, using orange yarn)
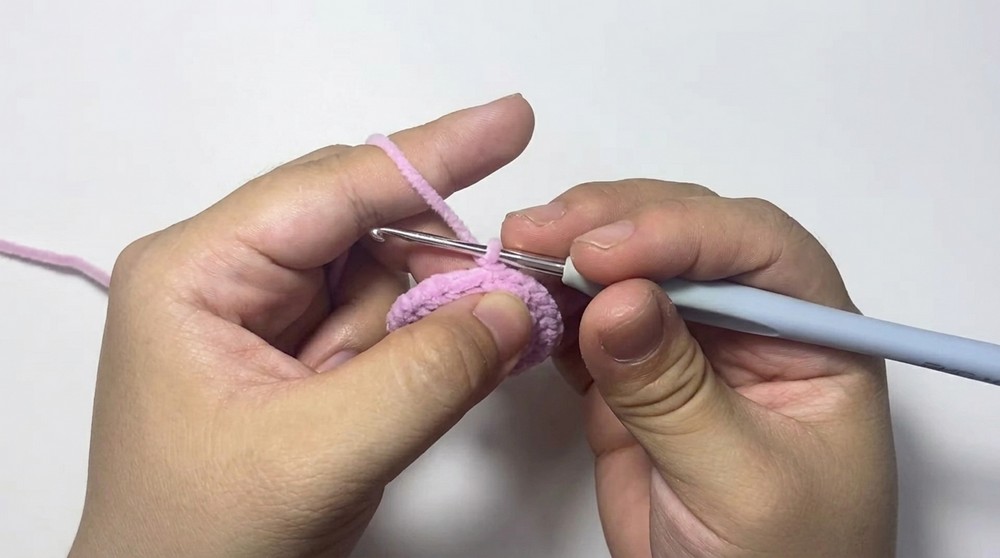
- R1: Create a MR, work 6 sc in the ring. (6)
- R2: 6 v (2 sc in each st around). (12)
- R3: (1 sc, 1 v) repeat 6 times. (18)
- R4: (1 sc, 1 v, 1 sc) repeat 6 times. (24)
- R5: (3 sc, 1 v) repeat 6 times. (30)
- R6: (2 sc, 1 v, 2 sc) repeat 6 times. (36)
- R7: (5 sc, 1 v) repeat 6 times. (42)
- R8: (3 sc, 1 v, 3 sc) repeat 6 times. (48)
- R9–R16: 48 sc (work evenly around for 8 rounds).
(Stuff head as you go.) - R17: (3 sc, 1 a) repeat 6 times. (36)
- R18: (5 sc, 1 a) repeat 6 times. (30)
- R19: (2 sc, 1 a, 2 sc) repeat 6 times. (24)
- R20: (3 sc, 1 a) repeat 6 times. (18)
- R21: (1 sc, 1 a) repeat 6 times. (12)
- FO, leaving a long tail for sewing.
Body & Legs
Legs (Make 2; begin with orange or black for “fins”):
- Begin with MR, work 6 sc in ring. (6)
- R2: 6 v (2 sc in each st). (12)
- R3: (1 sc, 1 v) repeat 6 times. (18)
- R4: 18 sc (work evenly around).
- FO on first leg, but don’t cut yarn on the second leg.
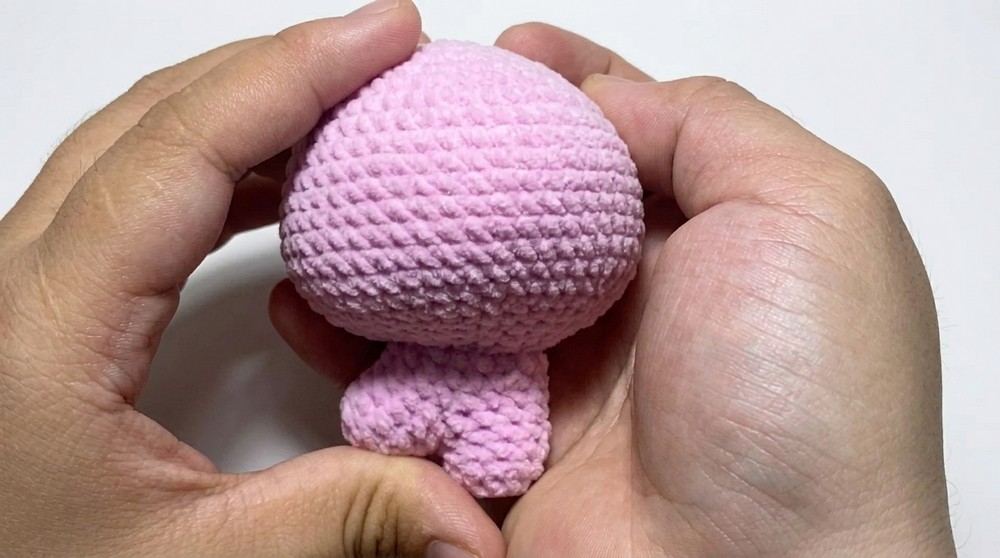
Body (joining legs):
- Use second leg (last stitch worked); ch 2, then join with a sc to first leg.
- Work 18 sc around first leg, 2 sc on chain, 18 sc on second leg, 2 sc on opposite side of chain. (40)
- From here, work 18 sc per round on both legs from R4 to R9. (Maintain consistent stitch count on each leg)
- FO and leave a long tail.
Appendages & Details
Head Fin (Dorsal Fin):
- Ch 8, turn.
- Work 1 sc in 2nd ch from hook, 1 sc in next st, 2 hdc in next st, 1 hdc in each of next 2 sts, 1 sc in next, sl st in last.
- FO, leave tail for attaching.
Ear/Side Fins (Make 2):
- Ch 6, turn.
- Work 1 sc in 2nd ch from hook, 2 sc in next st, 1 hdc in next, 1 hdc in next, sc in last, sl st to finish.
- FO, leave tail for attaching.
Mouth:
- Ch 24, join ends with sl st to form a ring.
- 24 sc around edge.
- FO, leave tail for sewing.
Clothes (Optional Accent):
- Ch 22, turn.
- Work 22 sc across each row for 3 rows.
- For armholes, ch 4 at beginning and end of next row, then continue sc across.
- FO and weave in ends.
Assembly
- Using a tapestry needle, sew the head securely to the body.
- Glue or sew eyes evenly spaced on the head above the midline.
- Attach mouth centrally just below the eyes.
- Sew/glue dorsal (head) fin to the centerline of the head.
- Attach side fins symmetrically on each side of the body.
- Add clothing accent as a sash or collar if desired.
- Weave in all loose yarn ends.
- Check for securely attached small parts if toy will be handled by children.
Finished Size
- Approximate final measurements are 10–12 cm (4–4.75 in) long and 7 cm (2.75 in) tall, with proportional fins and a rounded, expressive head.
Conclusion
The classic Hangyodon shape and charming details make this pattern an excellent choice for both display and gifting. This project allows for simple color variations and adaptation for other fish characters, while keeping construction clear and manageable.
Mastering basic amigurumi shapes and careful assembly ensures a delightful, professional finish with distinctive stripes and lively features. Regular stuffing and stitch checking, combined with careful placement of features, brings the whimsical aquatic creature to life for all ages to enjoy.
Leave a Reply